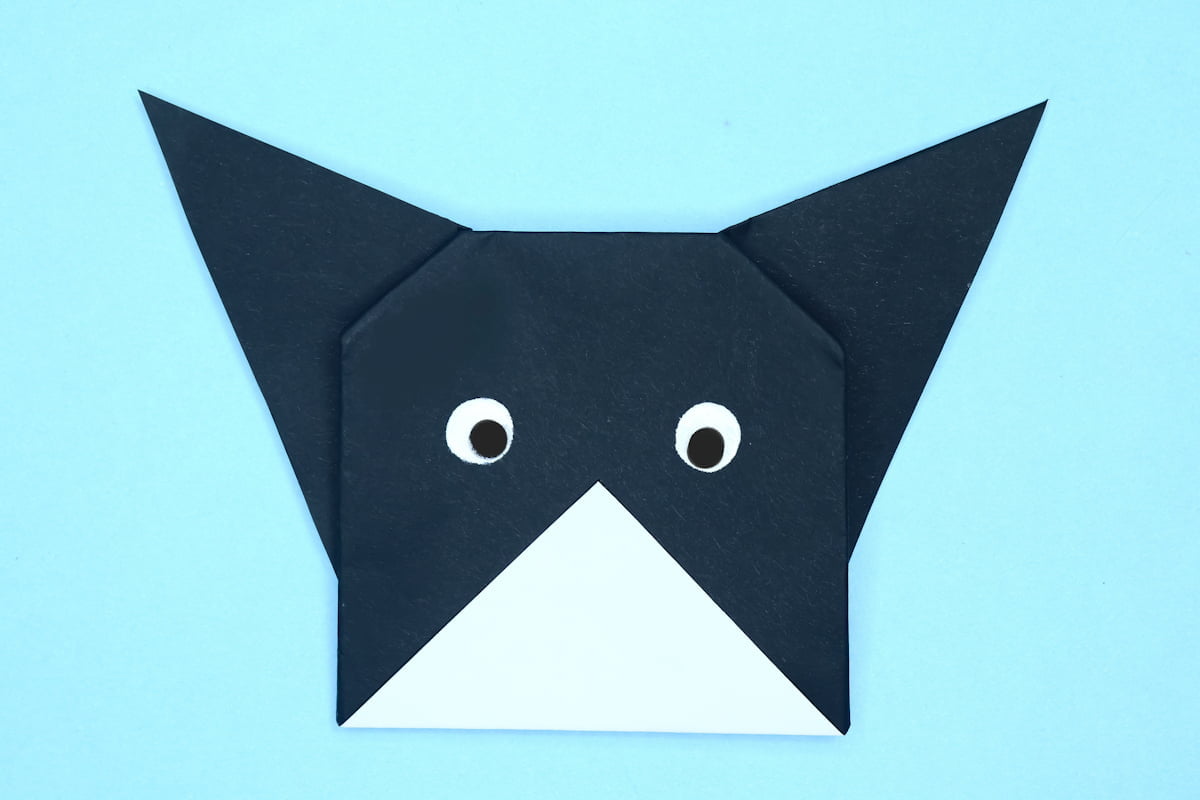
Do you own or know someone who owns a Boston terrier? Surprise them or, uh…yourself with this simple and cute-looking origami Boston terrier.
Easy Origami Boston Terrier Instructions
Difficulty: Easy
Learn how to fold an easy origami Boston terrier. Instructions are simple and easy with clear step-by-step pictures.
Step 1

1
Start with a square piece of origami paper. I am using an 7×7 inches sheet of paper.
If you only have regular paper, follow these instructions on how to make a square origami paper.
If you only have regular paper, follow these instructions on how to make a square origami paper.
Step 2

2
If you are using a double sided color paper then face the lighter side upwards and rotate it diagonally.
Step 3
3
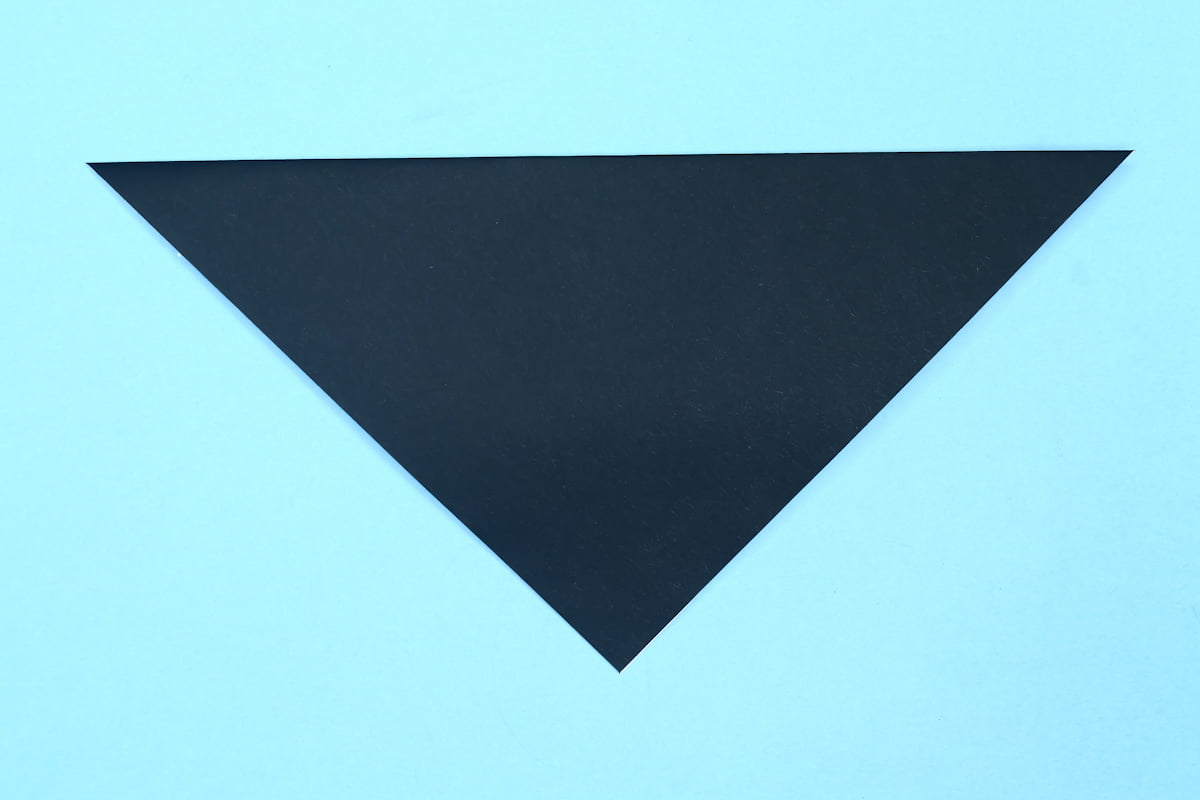
Fold the paper in half by folding the top corner to the bottom corner.
Step 4

4
Fold the bottom corner of the top layer up.
Step 5

5
Turn the paper over.
Step 6
6
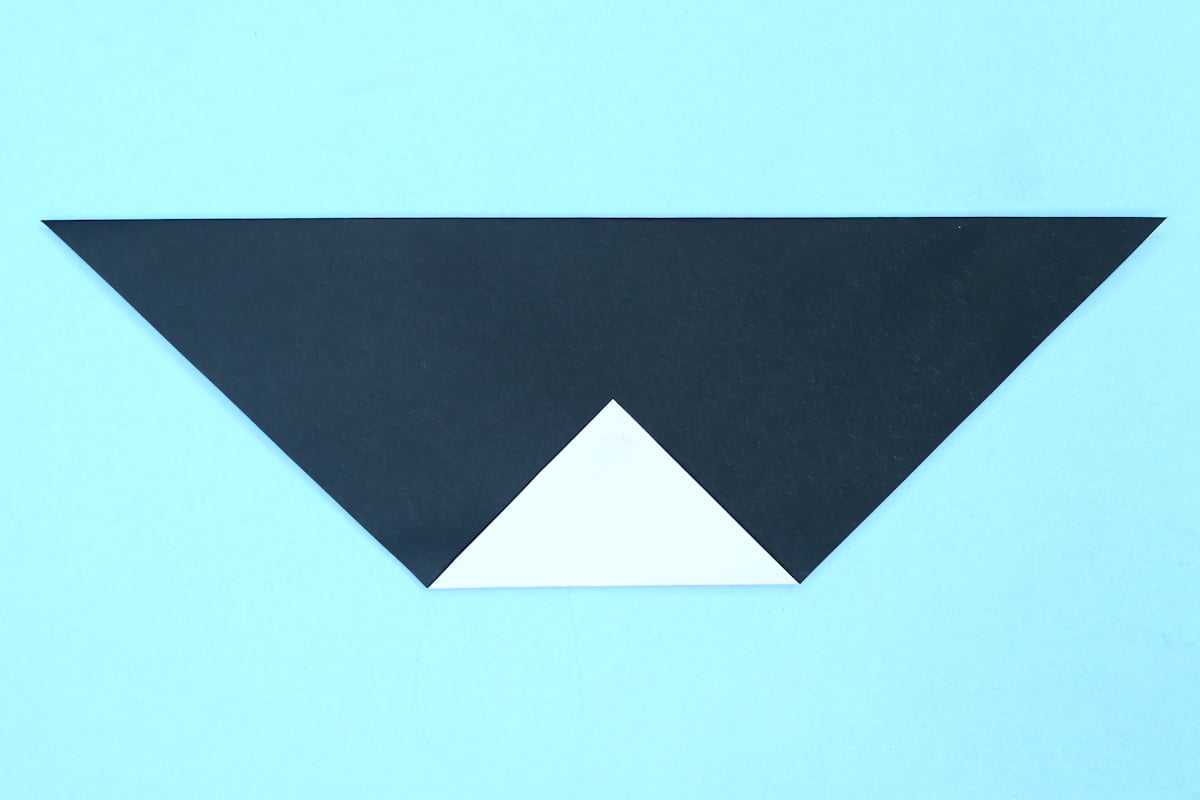
Fold the bottom corner up.
Step 7

7
Mentally divide the paper into 3 parts and fold the right 1/3rd to the left side.
Step 8

8
Fold the left 1/3rd over to the right.
Step 9
9
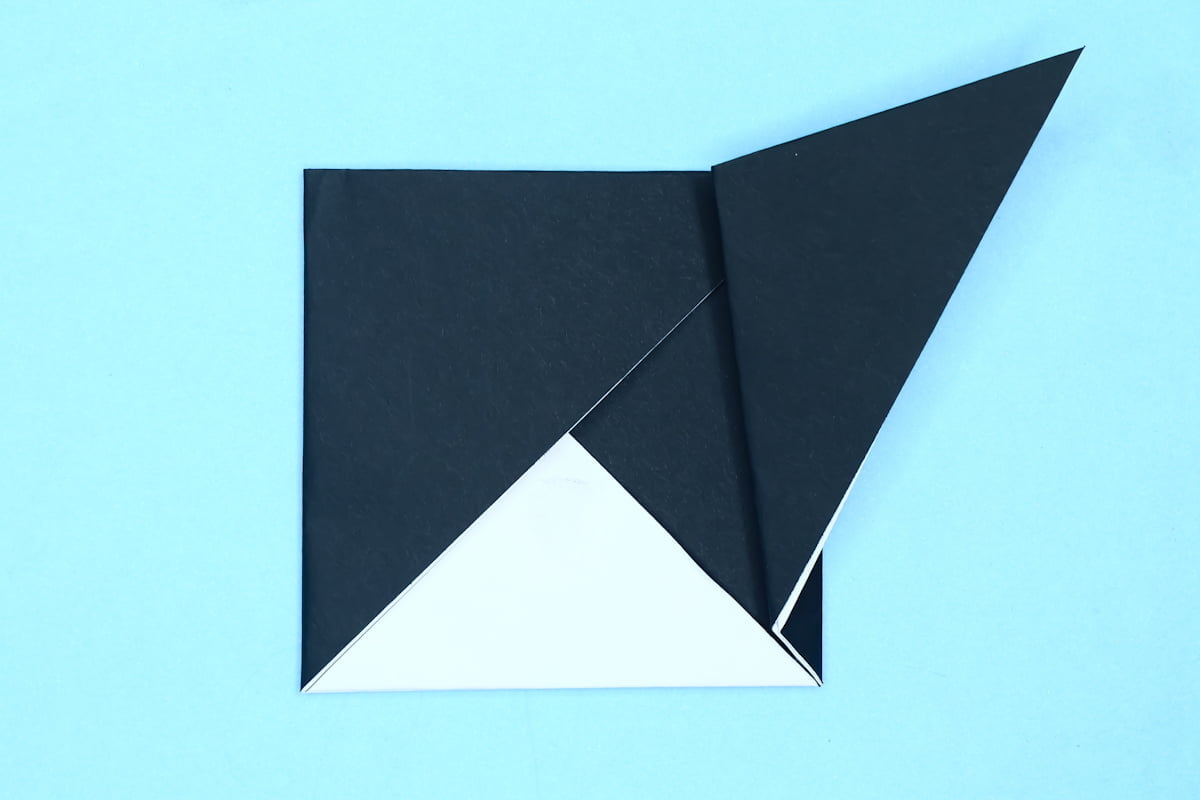
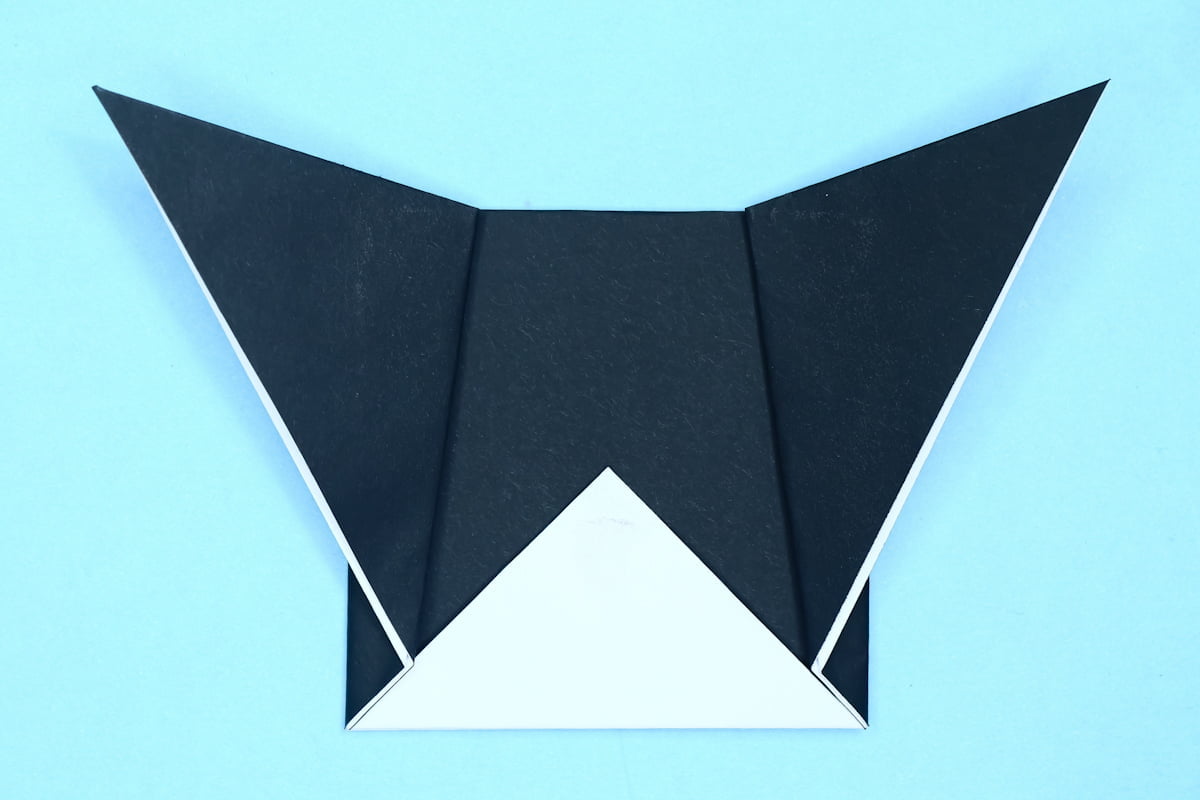
Fold the right flap up diagonally as shown. This will form the ear of the dog. You can make the ear bigger or smaller by changing where you start the fold.
Step 10
10
Fold the left flap up diagonally as shown.
Step 11
11
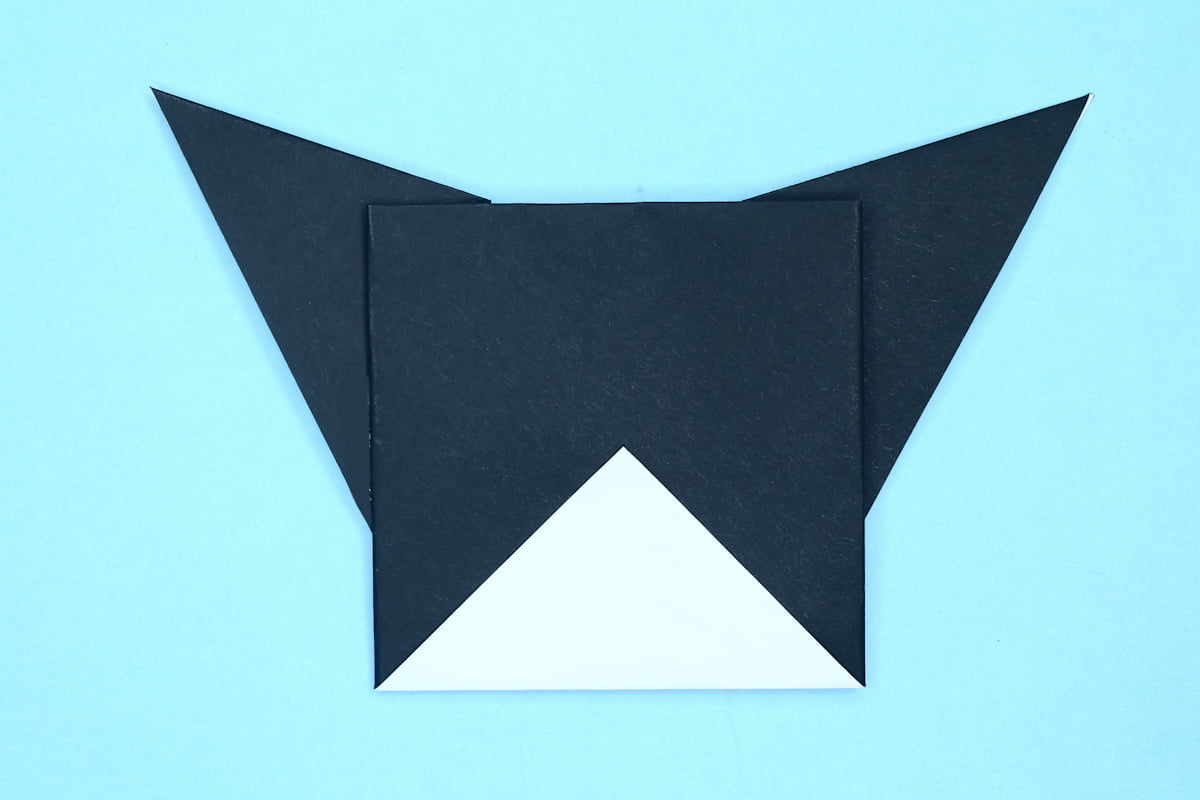
Turn the paper over.
Step 12
12
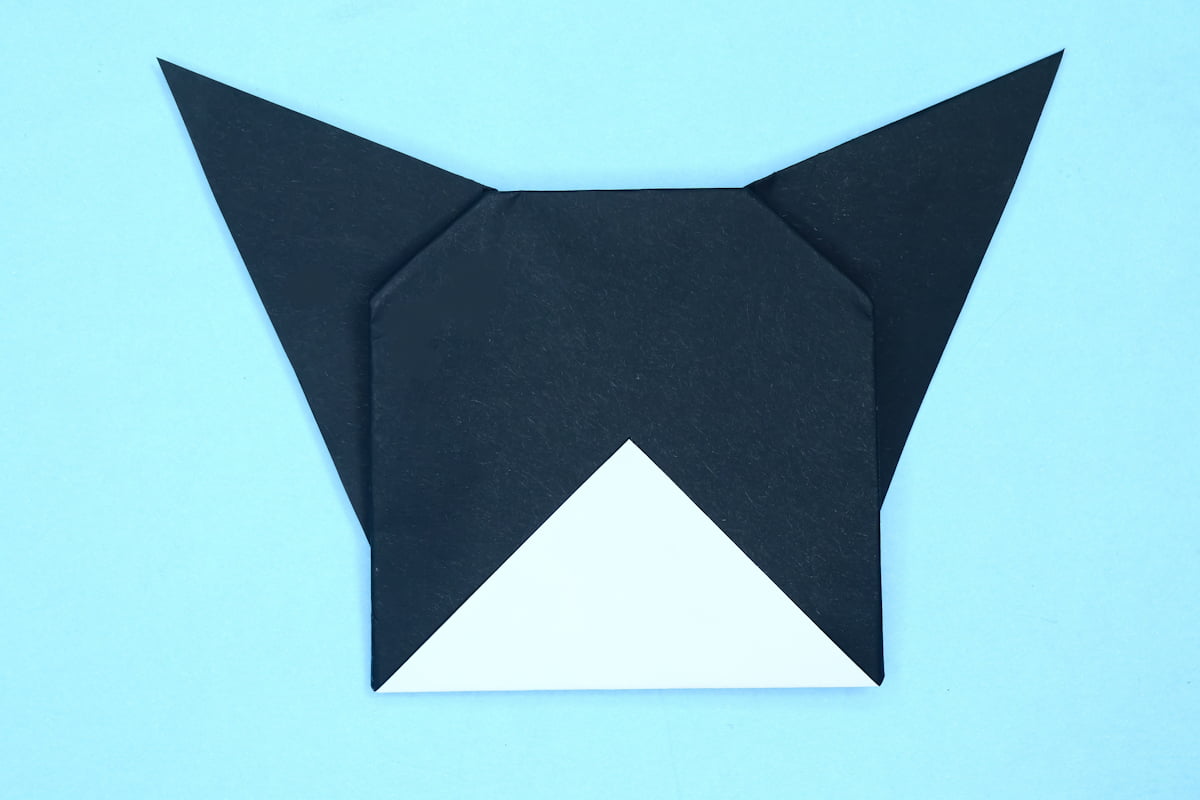
Fold back the top left and right corners of the square to make its head a little rounder.
Step 13

13
You can draw a cute little face to make it look more fun to play!
Share and Comment
We would love to see your creations! Scroll down to the comments section and share a photo of your origami.

Leave a Reply