Kids will have lots of fun making this simple origami dog. It’s easy to fold and fun to draw the face on when you’re done. Just follow the instructions and pictures and you’ll have your very own easy origami dog!
Easy Origami Dog Instructions for Kids
Difficulty: Easy
Follow these easy, step-by-step origami dog instructions and pictures to learn how to fold your very own dog.
Step 1

1
Start with a square piece of origami paper. I am using an 7×7 inches origami paper.
If you only have regular paper, follow these instructions on how to make a square origami paper.
If you only have regular paper, follow these instructions on how to make a square origami paper.
Step 2

2
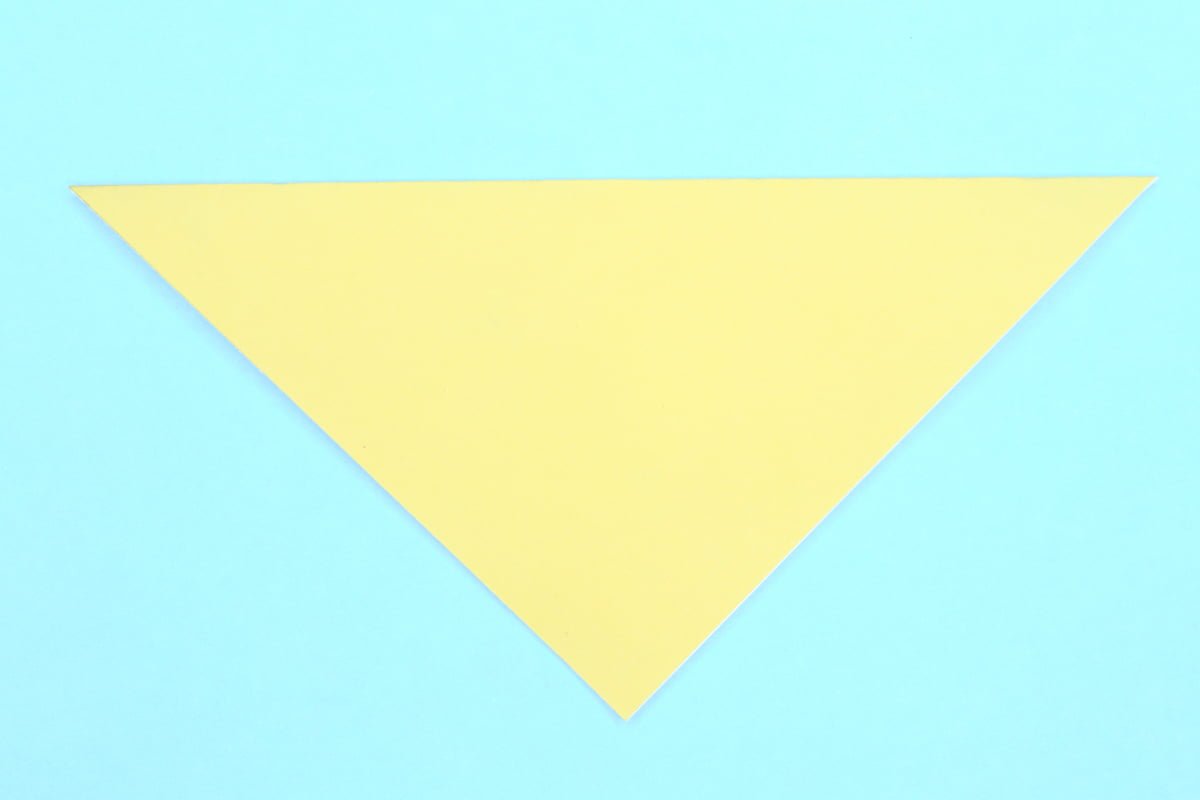
Face the lighter side upwards and move the paper diagonally.
Step 3
3
Fold paper in half by folding the top corner to the bottom corner.
Step 4
4
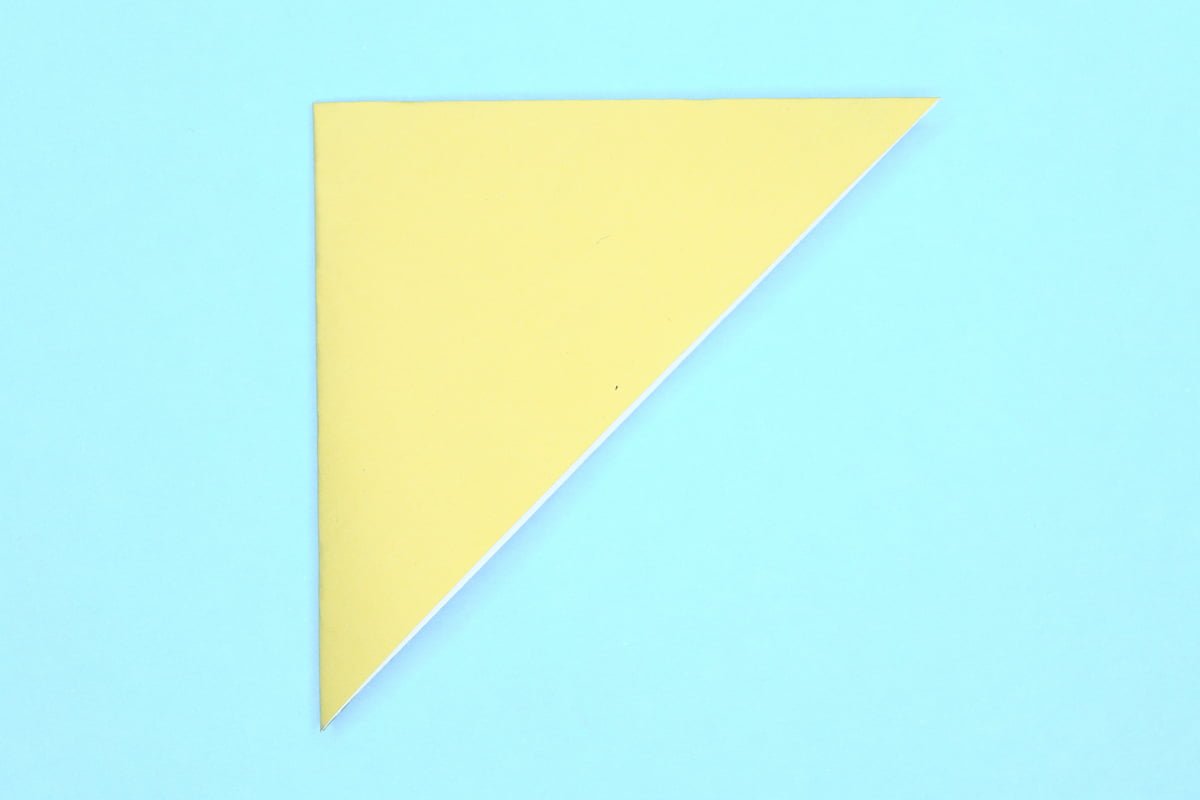
Fold the triangle in half by folding the left corner to the right corner.
Step 5
5
Unfold.
Step 6
6
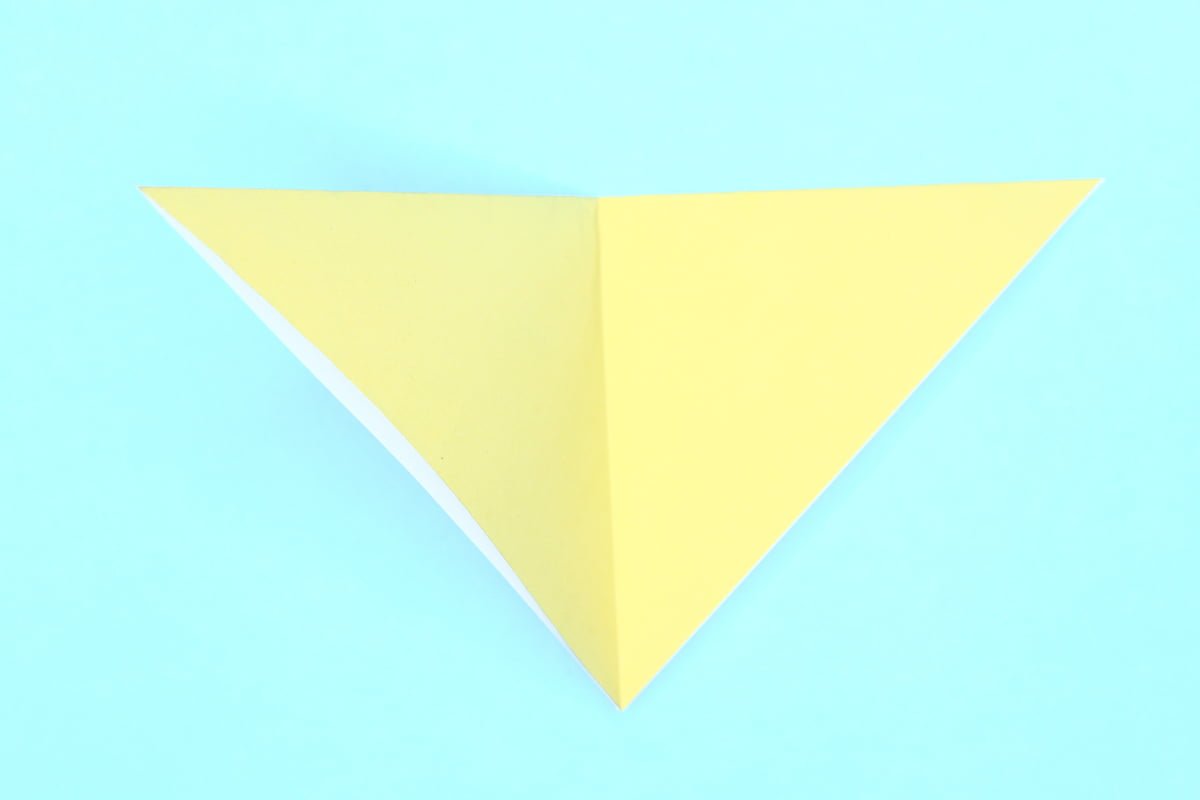
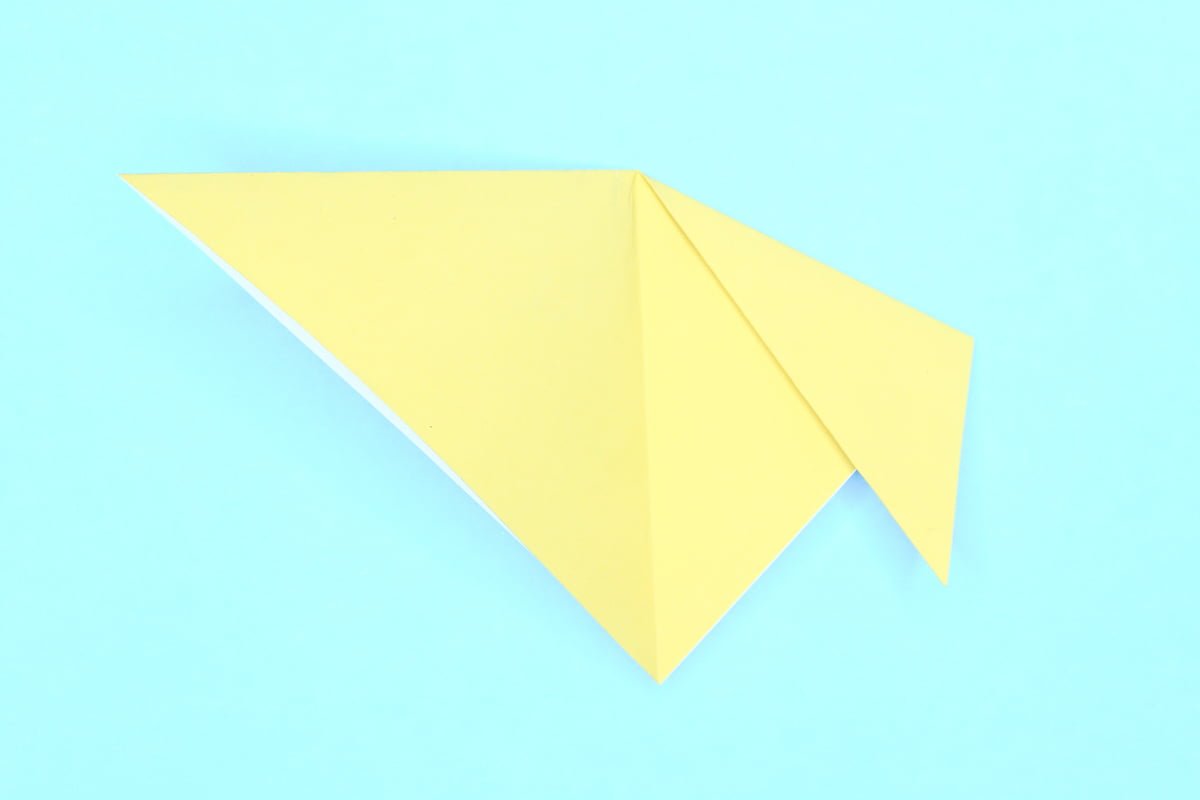
Fold the right corner of the triangle down at an angle like you see in the picture.
Step 7
7
Repeat the previous step on left side too.
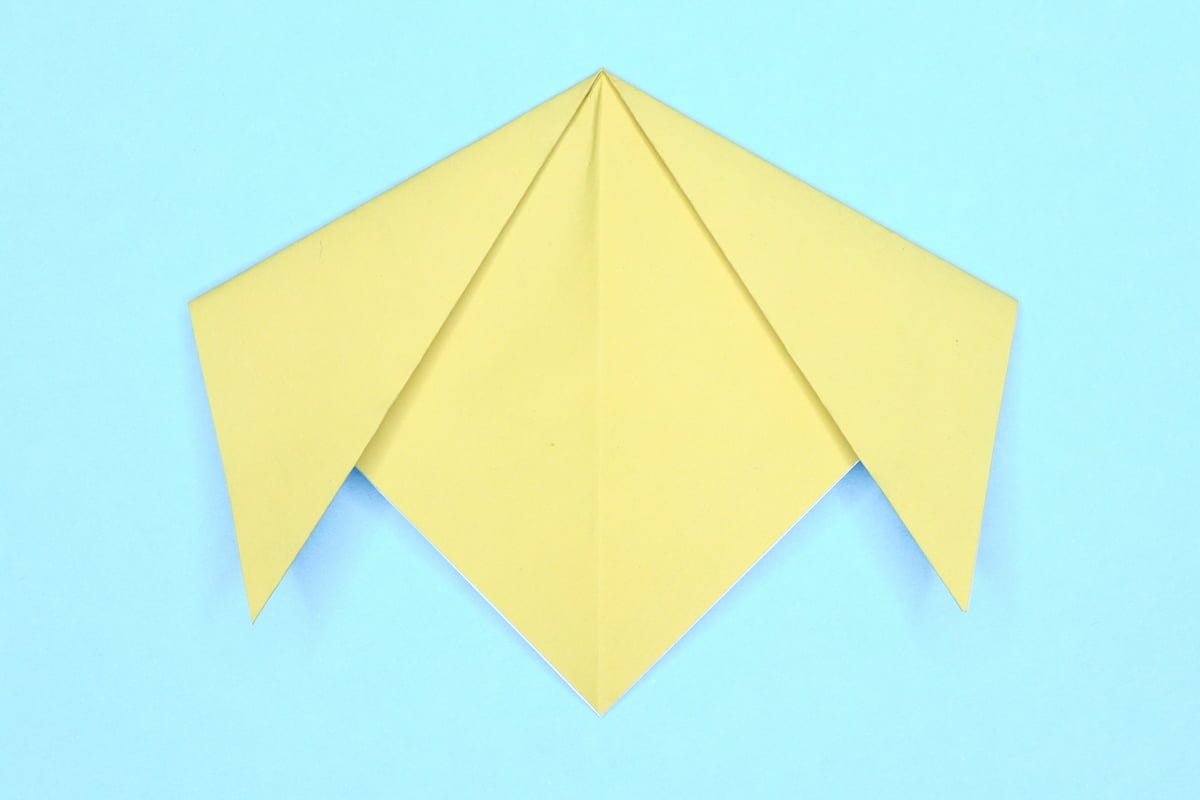
Step 8
8
Turn the figure over.
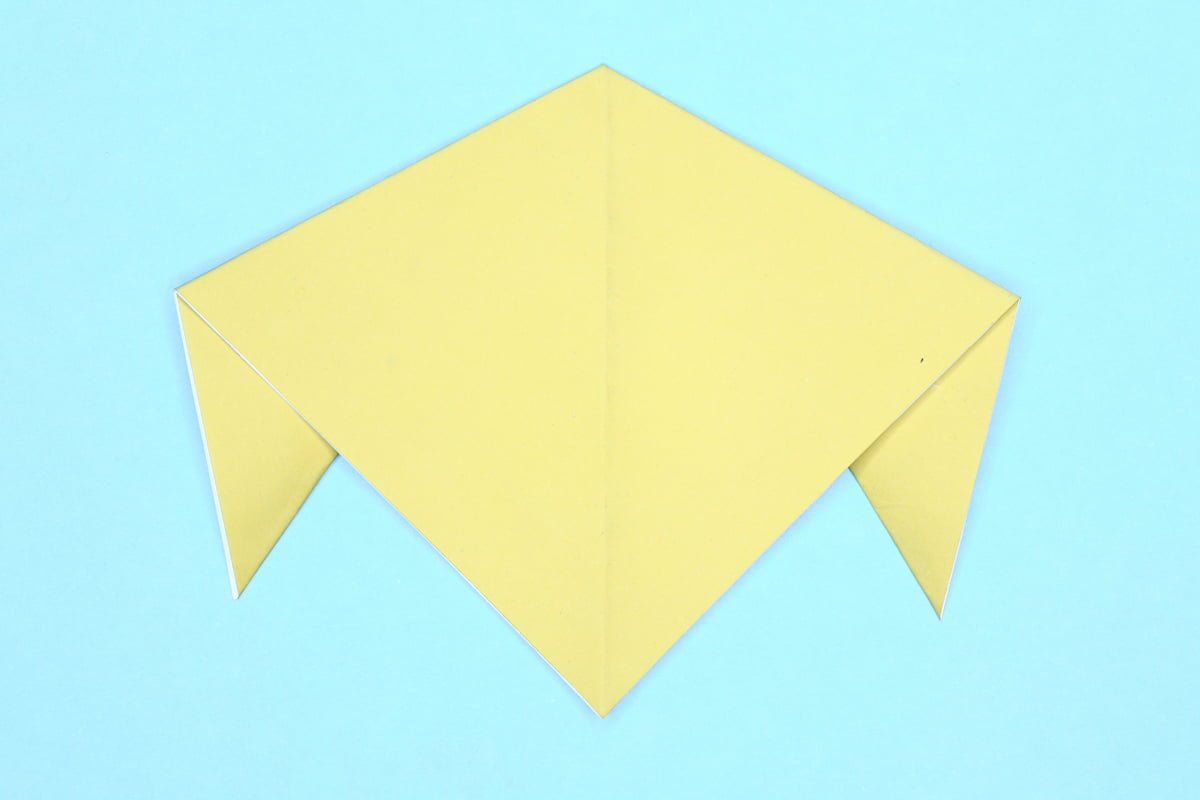
Step 9
9
The head’s too pointy! Fold the top corner to the front.
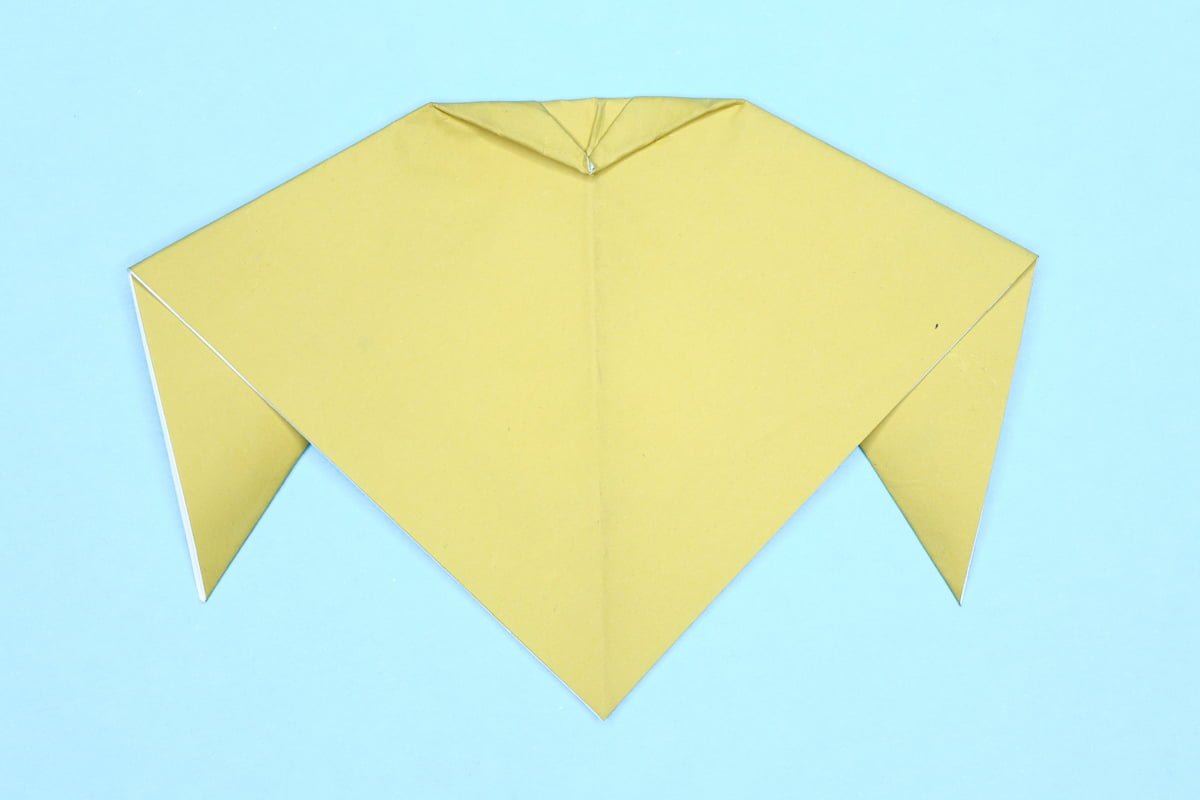
Step 10
10
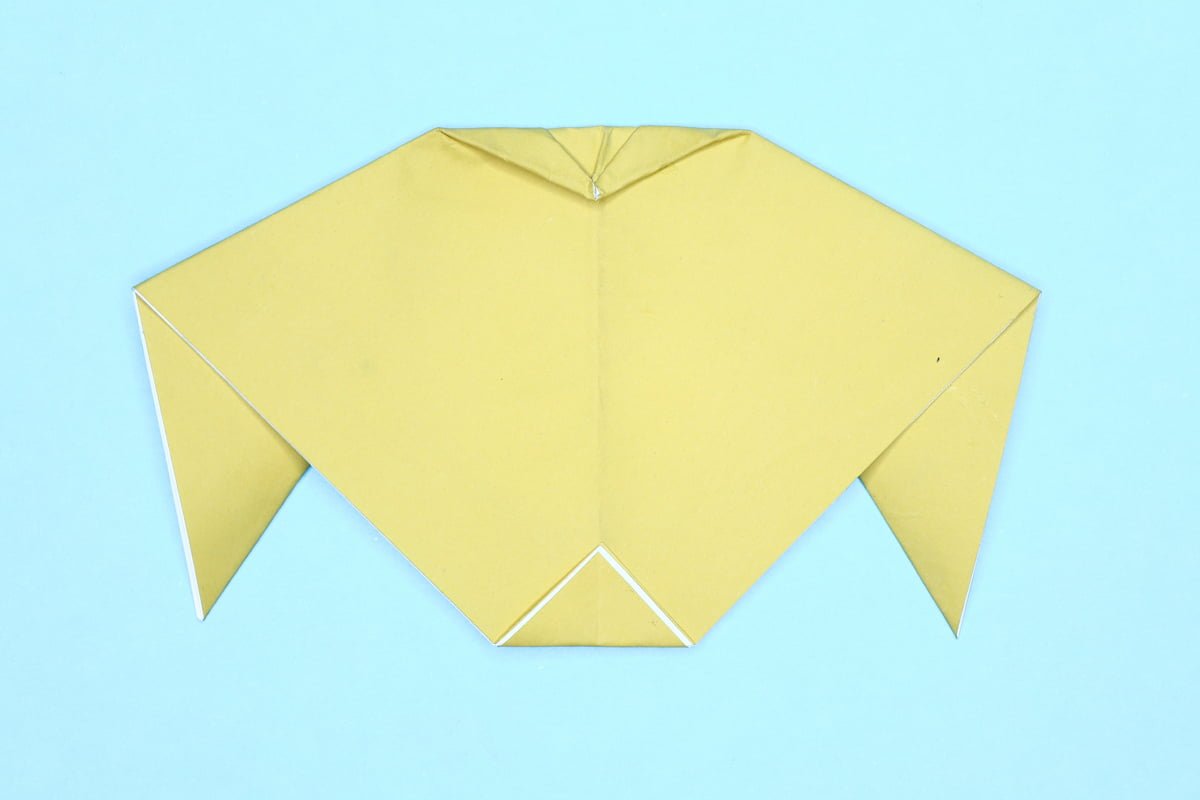
Unless you want a pointy chin, fold the bottom corner too.
Step 11
11
Turn the figure over.
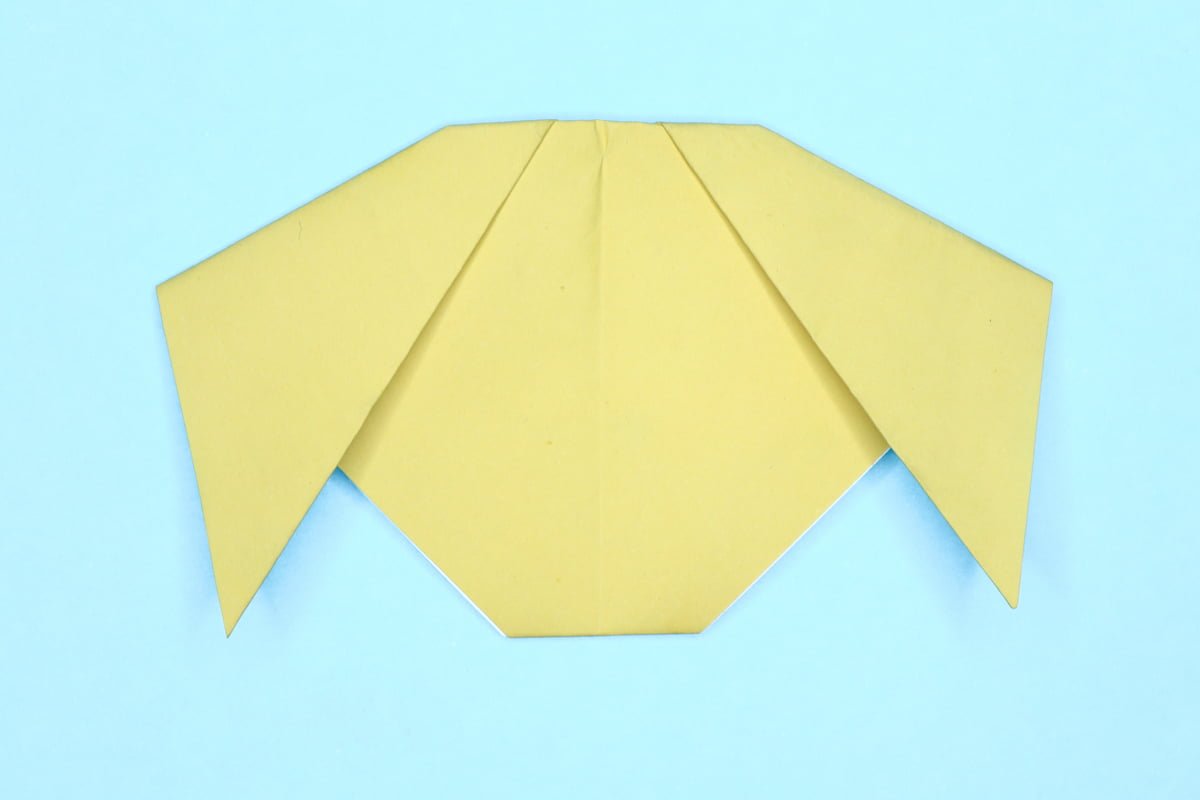
Step 12
12
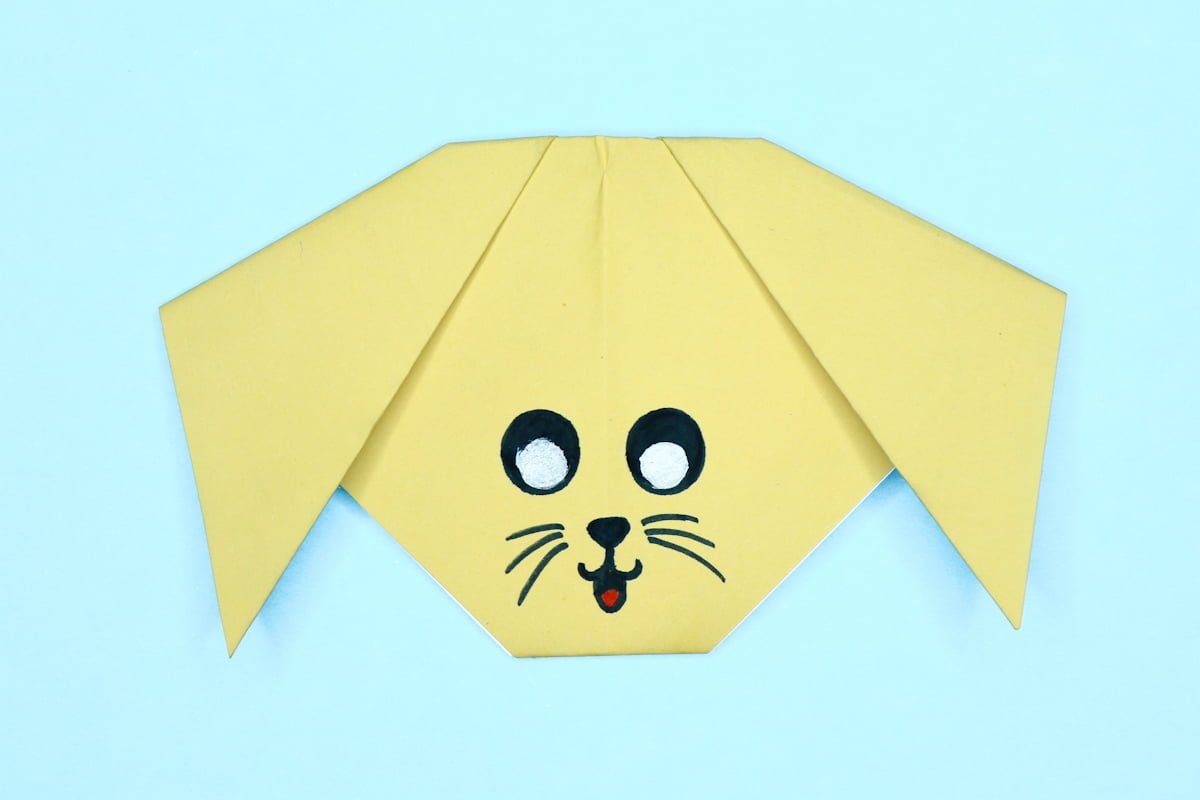
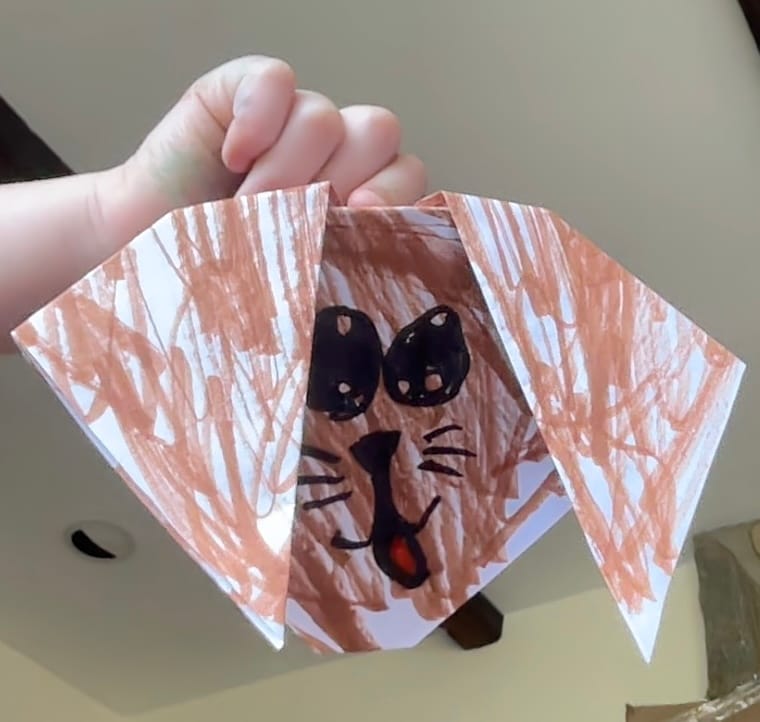
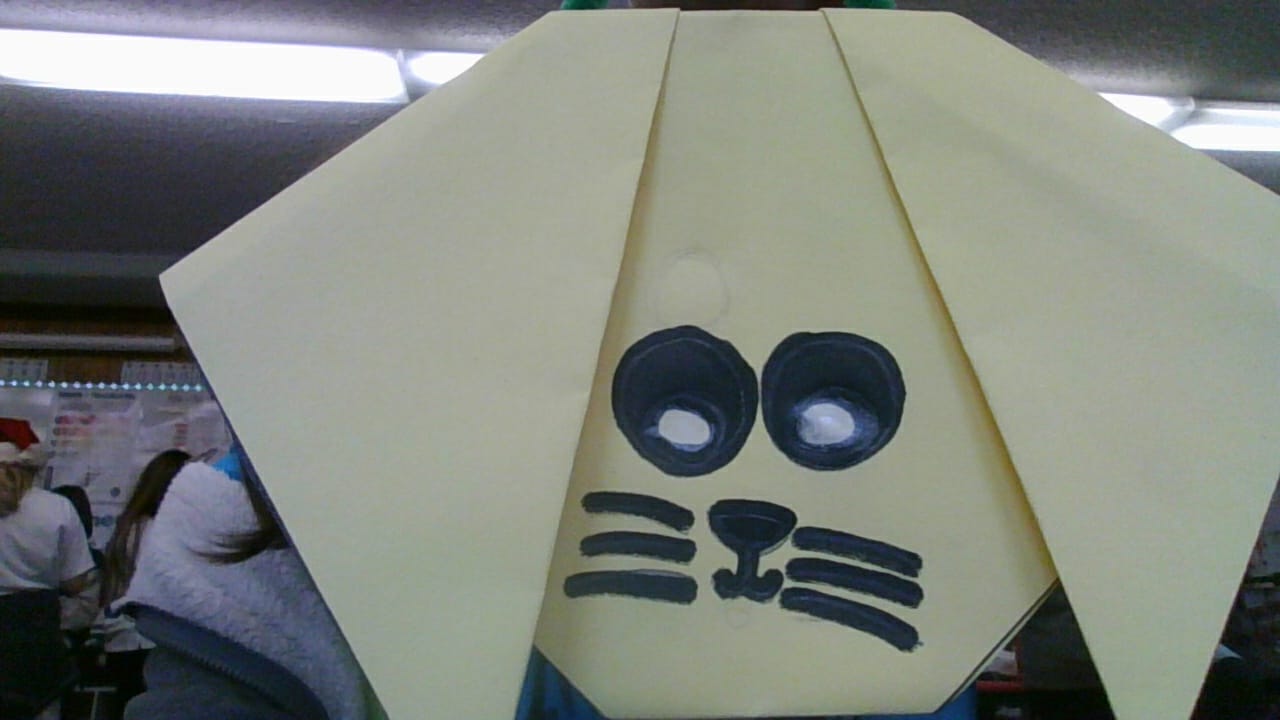
Give your dog a cute face by drawing the eyes, mouth and nose!
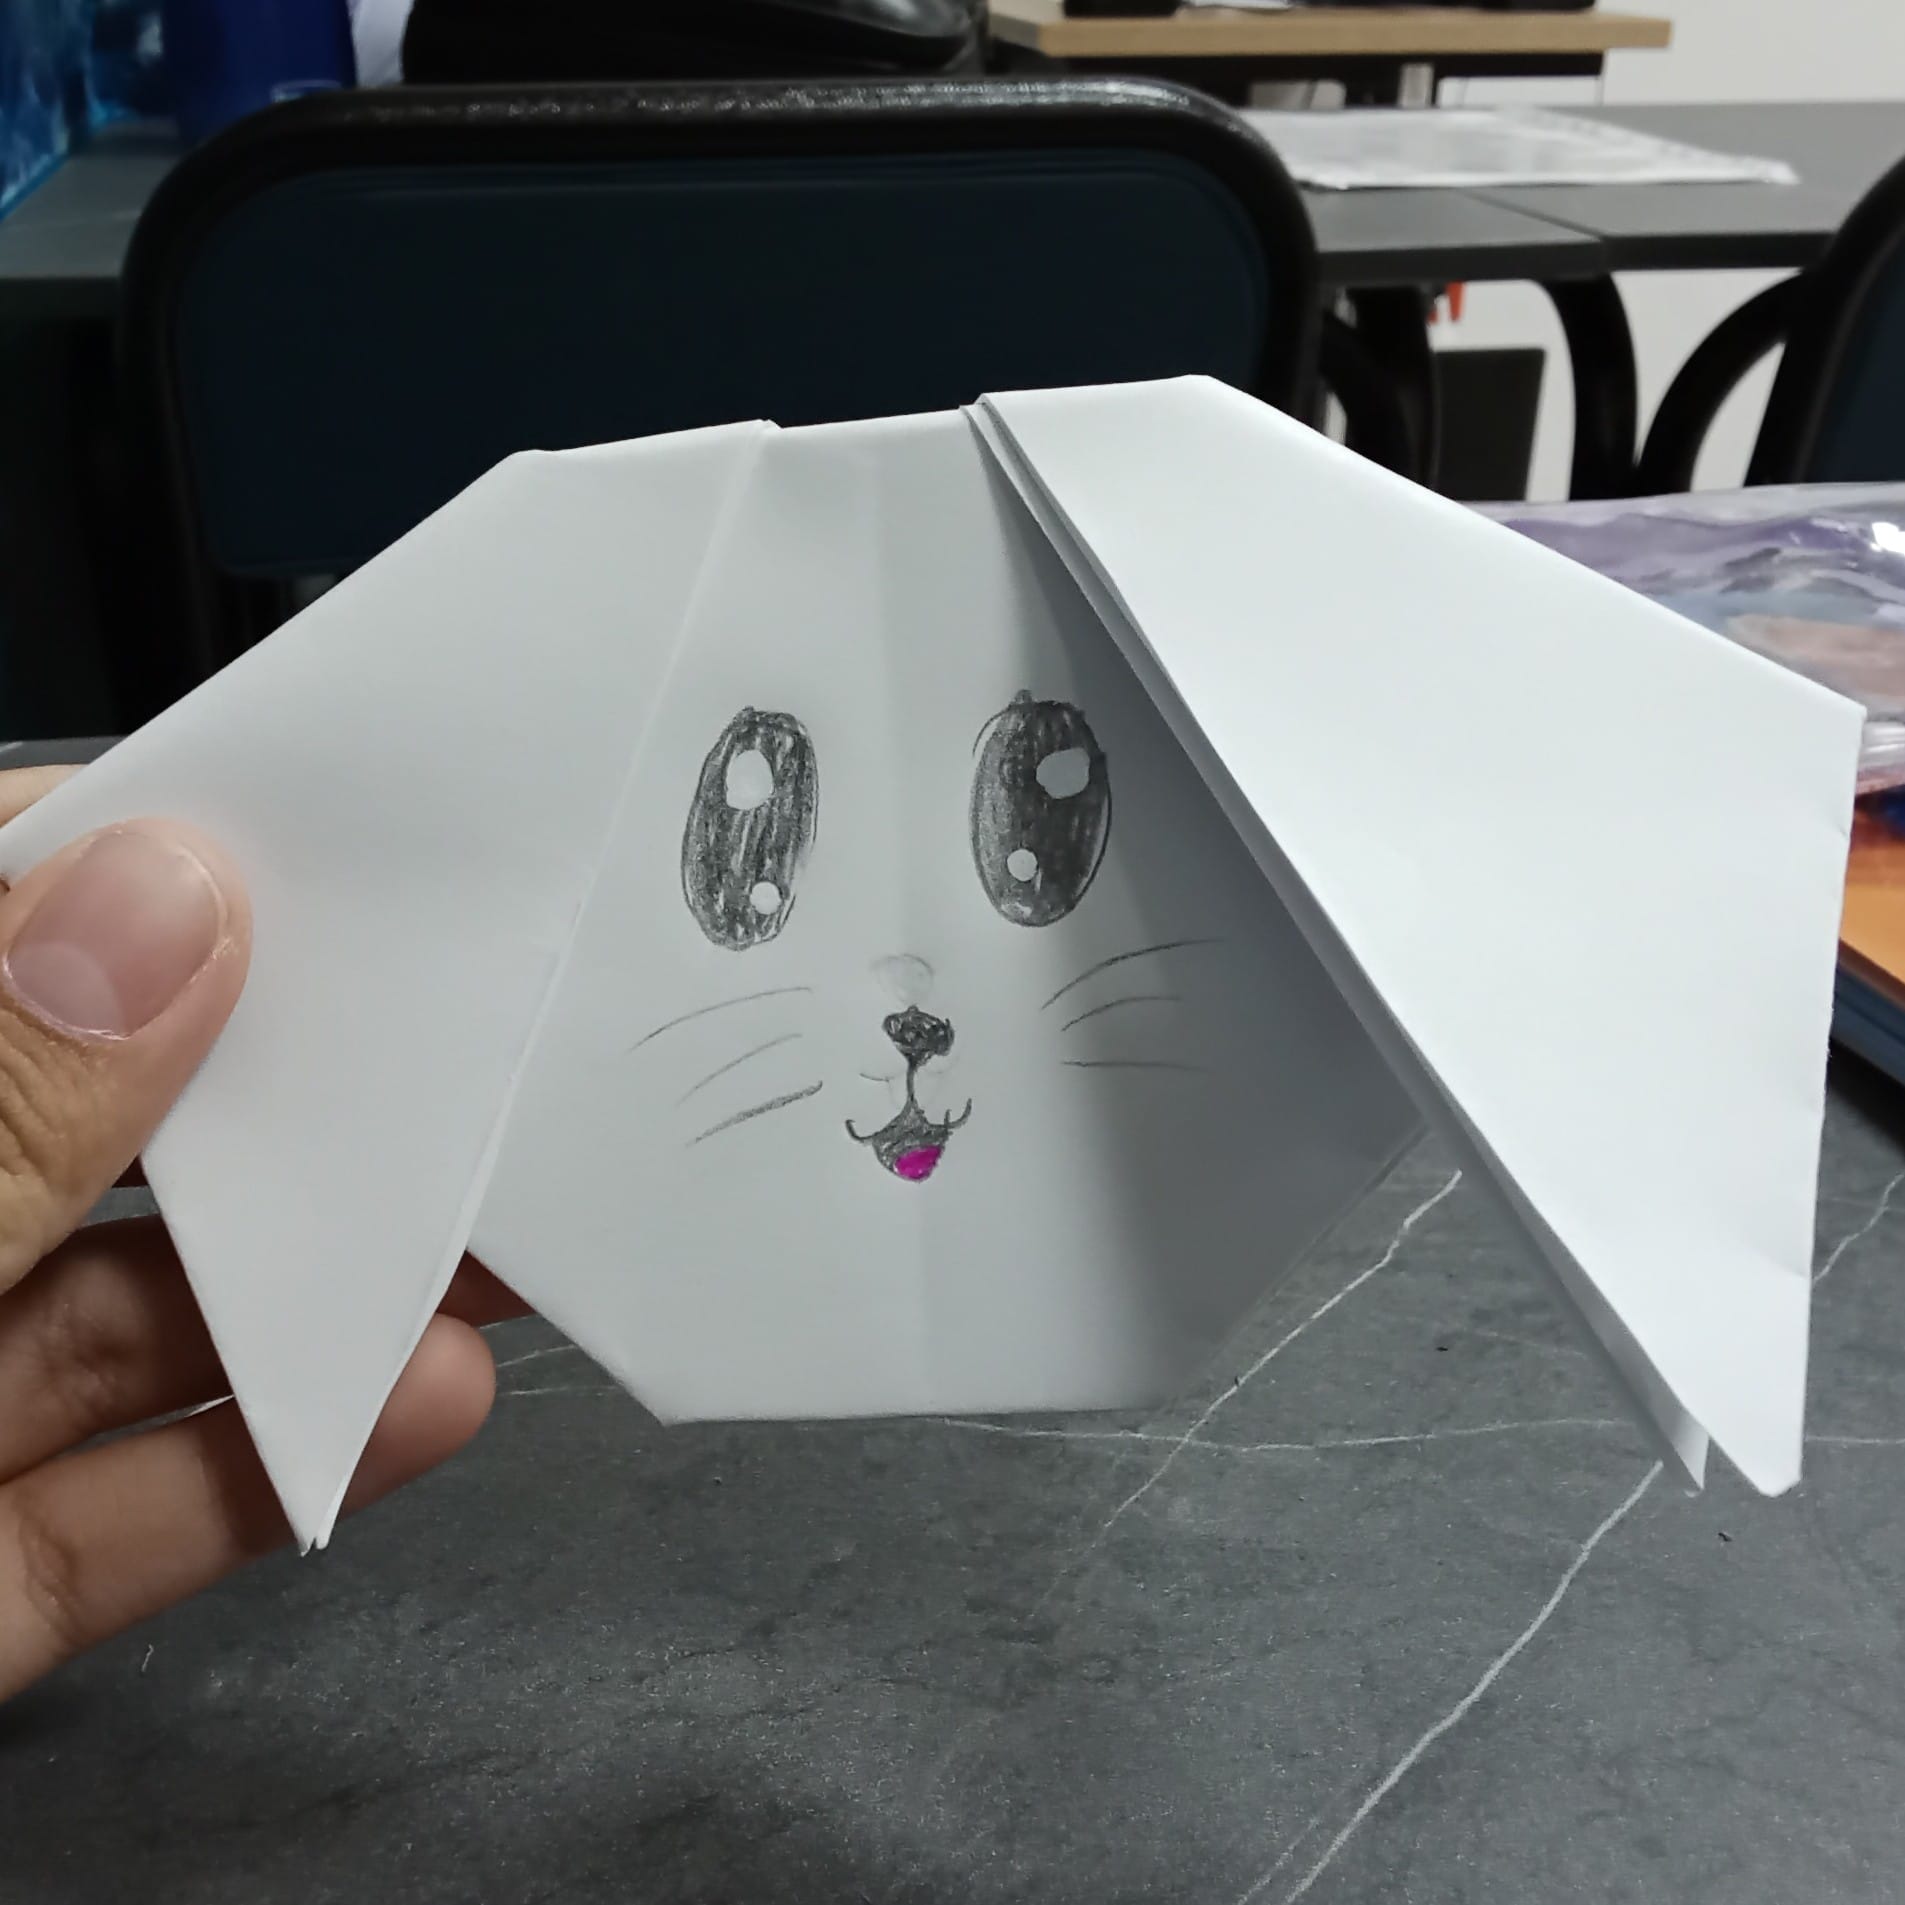
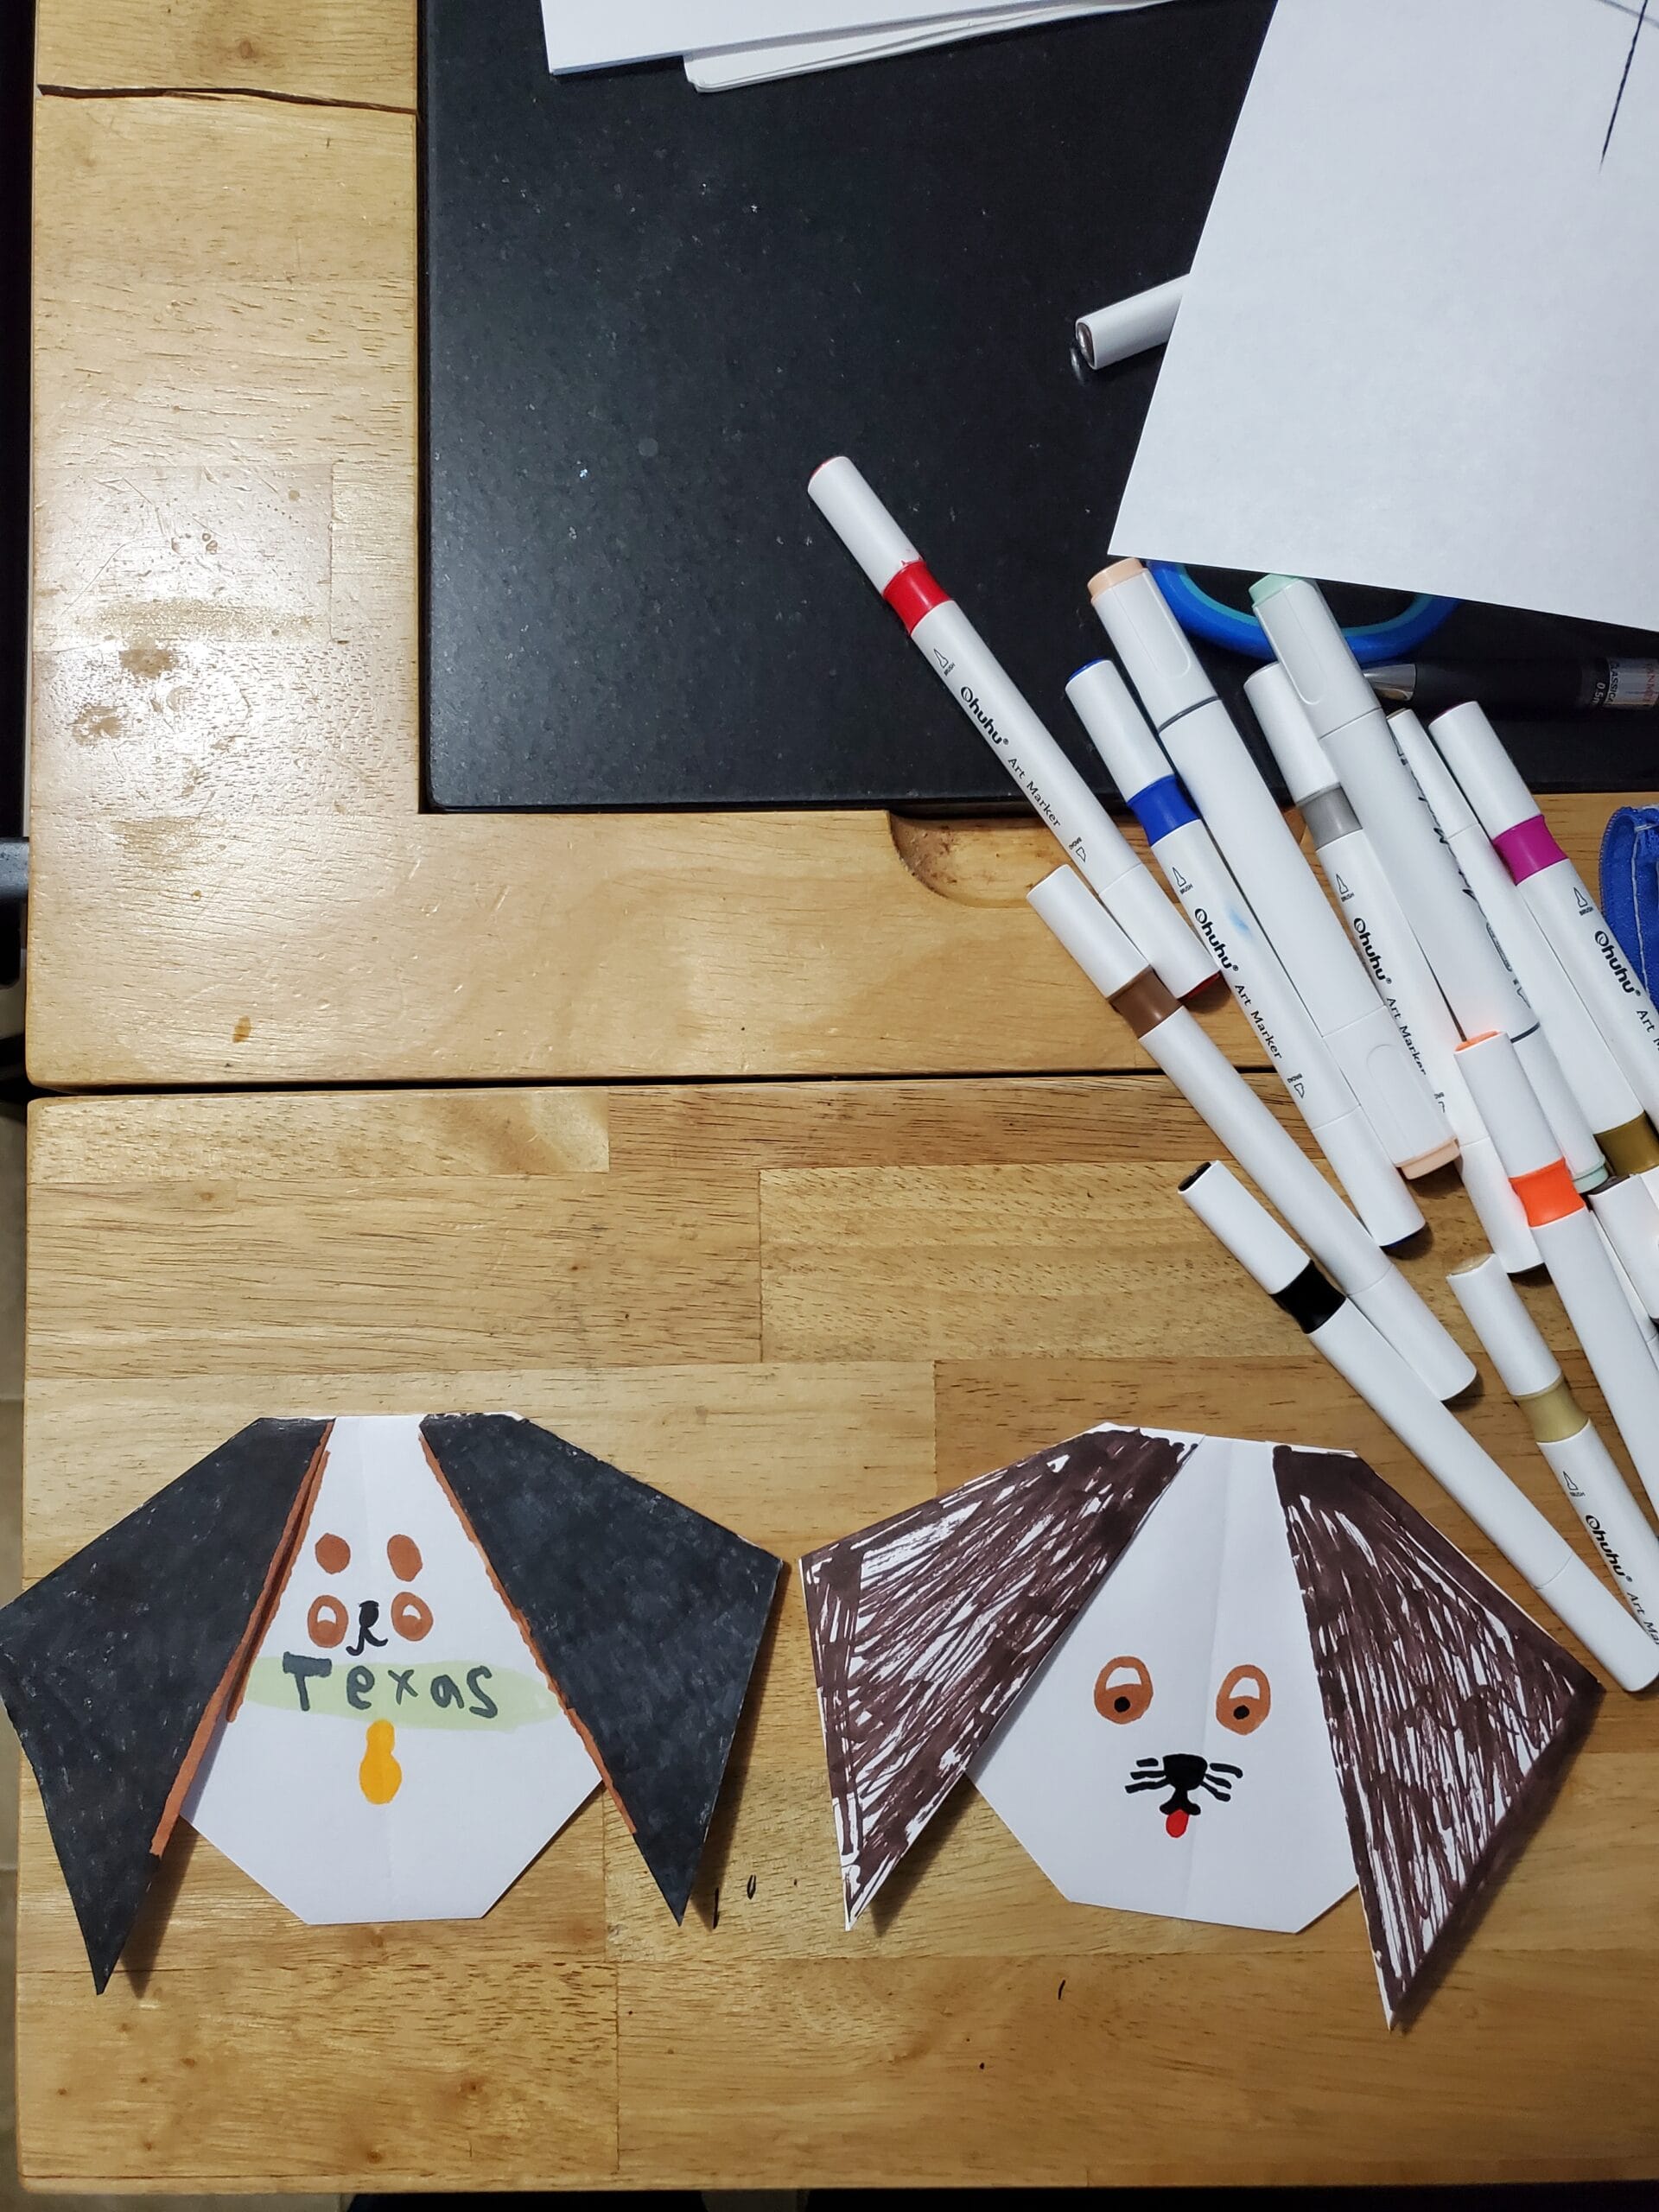
Share and Comment
We would love to see your creations! Scroll down to the comments section and share a photo of your origami.
Comments
9 responses to “Easy Origami Dog Instructions for Kids”
-

This is so easy and brings joy to someones day
-
Está muuuuuuuy fácil

-
It’s really helpful ❤️❤️❤️❤️❤️
-
This was easy and I enjoyed doing it with my five year old grandson. He really enjoyed it that he actually colored it and added a collar. Thank you!

-
The puppy is so cute! When I wiggle it, its ears look so cute and the puppy face I made is amazing 😉 Me and my daughter love it! We also made a butterfly out of origami and we loved it too! Now we have two new pets in the house!!!!!!

-
it’s the cutest!

-
amazing my 3 year old loves it
-
I love this so much its so easy thank u this is for a school projec:)
-
Thank you for posting this! Such a great activity with a 4 year old
Leave a Reply