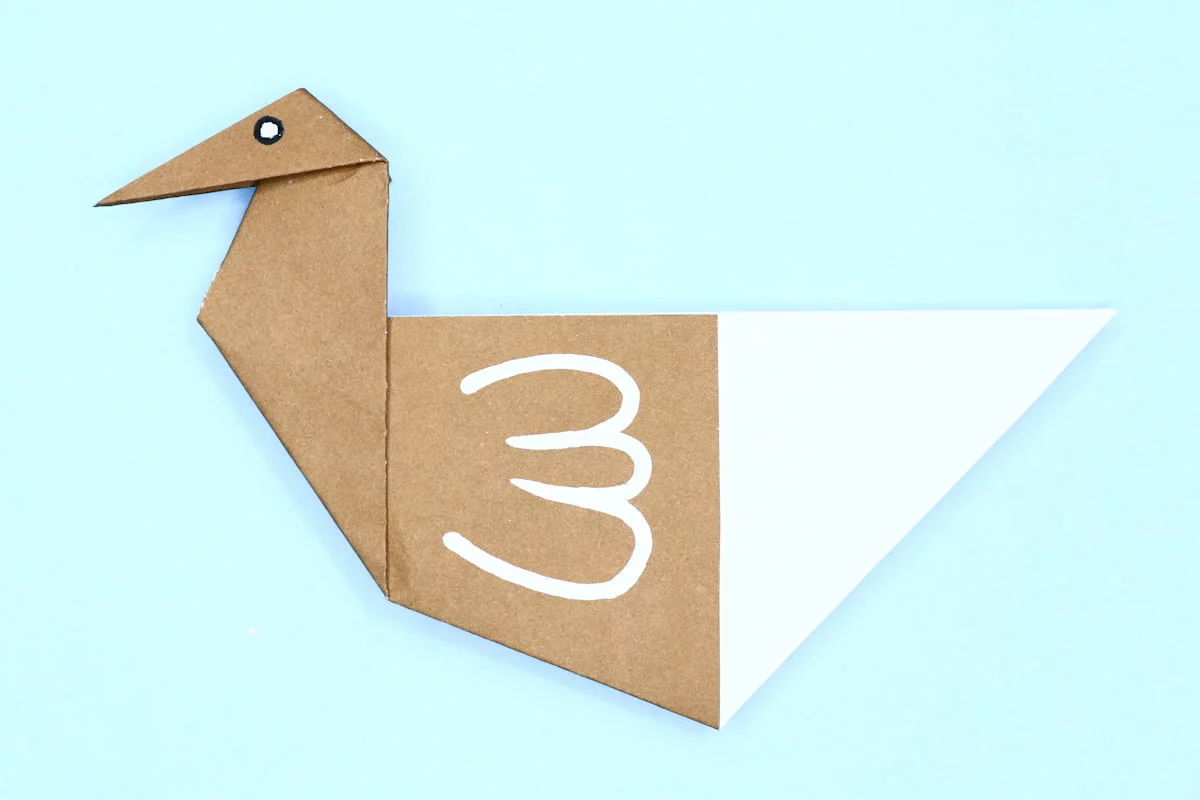
Do you enjoy hearing some “Quack! Quack!”? Create your own pet duck by following these few and simple steps. Unfortunately, you’ll have to make the “Quack! Quack” sounds yourself.
Easy Origami Duck Instructions
Category: Origami Birds
Difficulty: Easy
Learn how to fold a beautiful duck with our easy, step-by-step instructions and helpful images.
Step 1

1
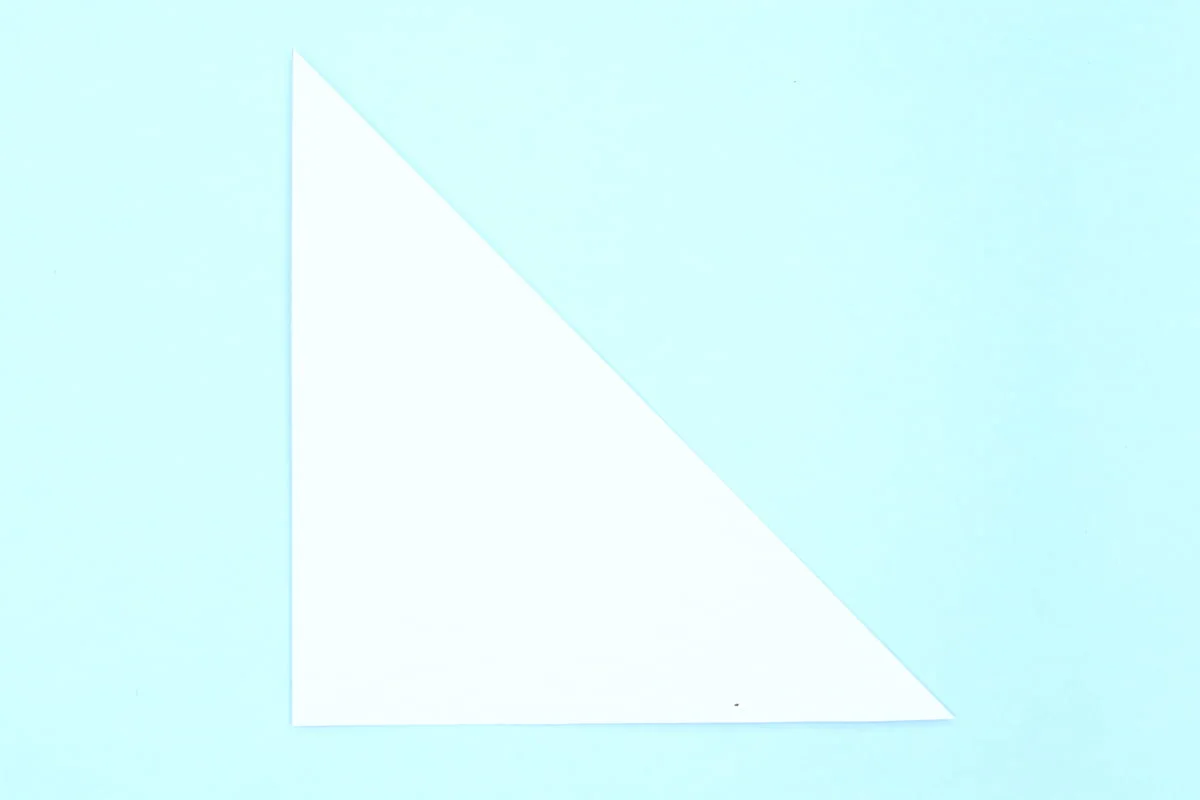
Start with a square piece of origami paper. I am using an 7×7 inches origami paper.
If you only have regular paper, follow these instructions on how to make a square origami paper.
If you only have regular paper, follow these instructions on how to make a square origami paper.
Step 2
2
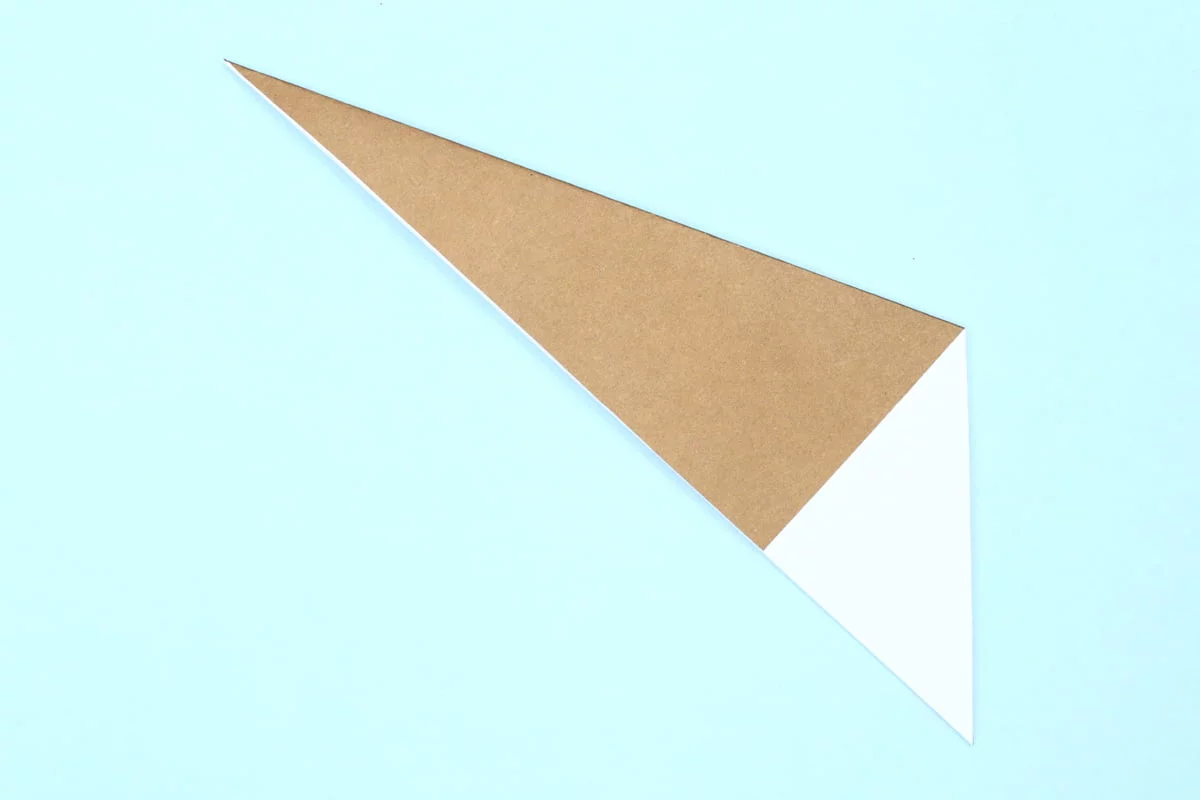
Fold the right corner to the left bottom corner.
Step 3
3
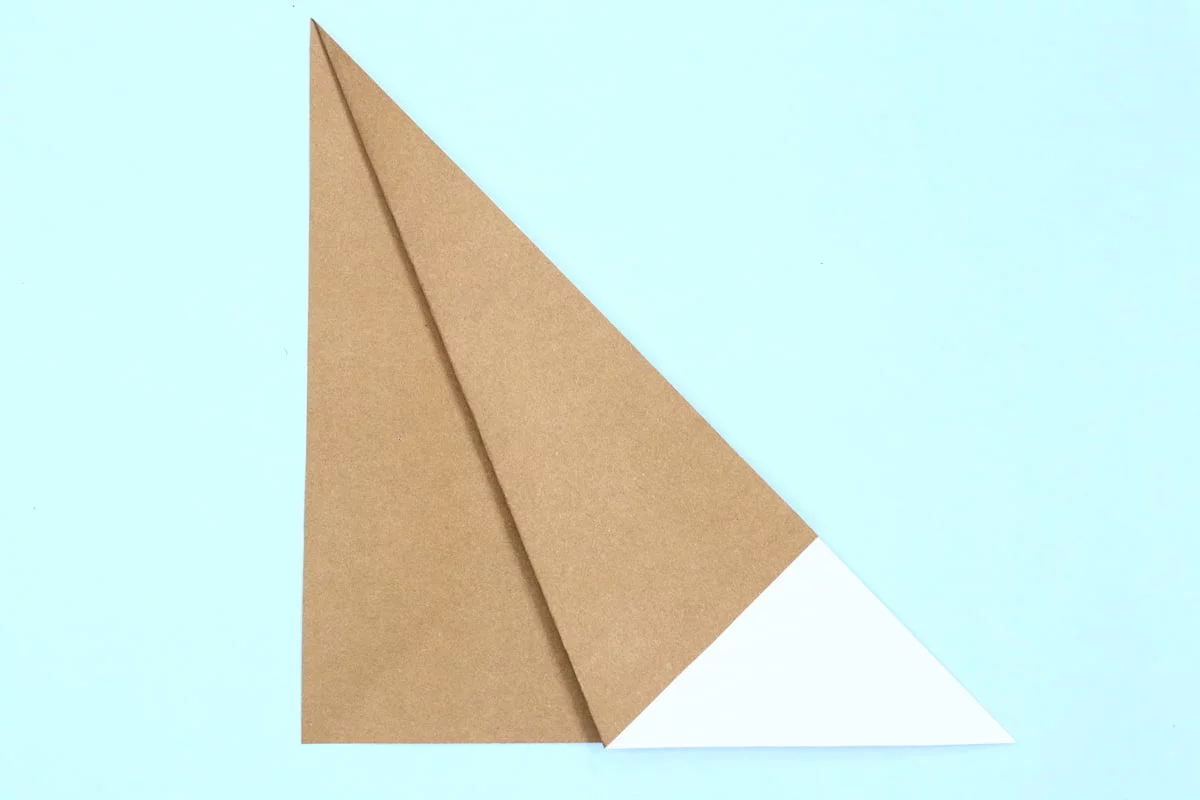
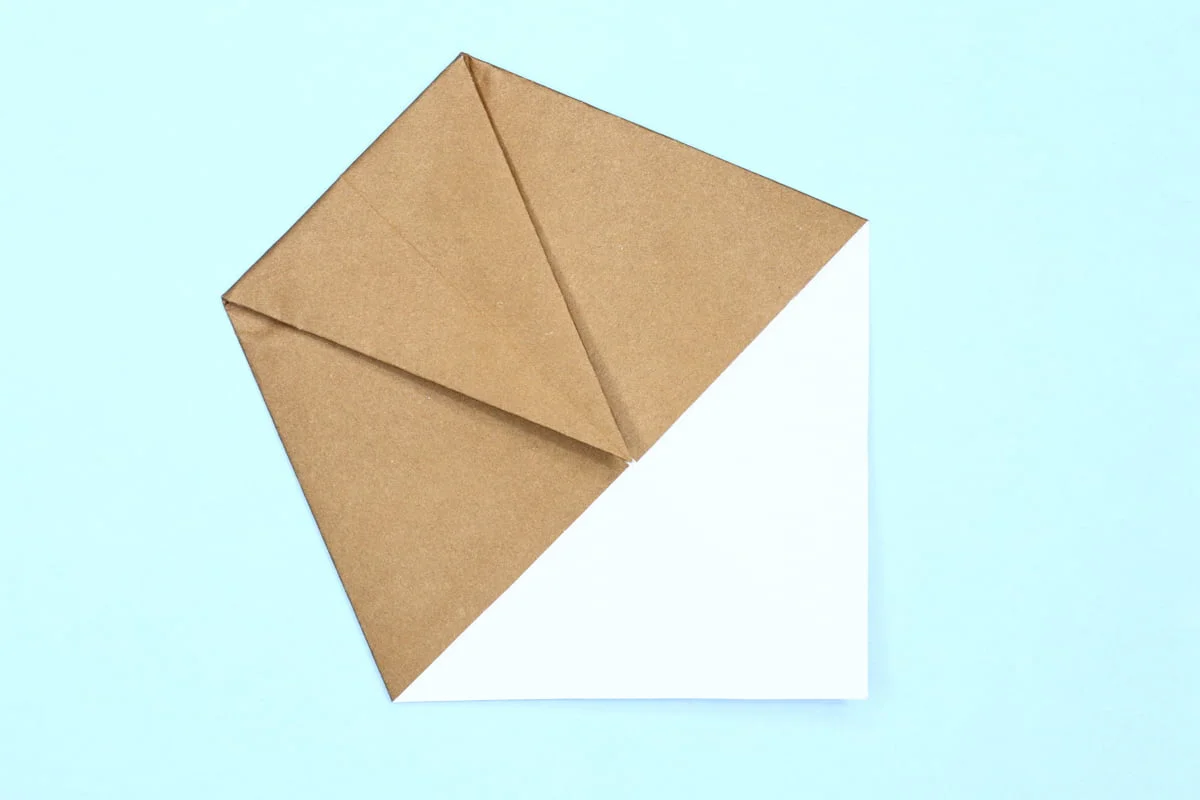
From the right corner bottom you’ve folded, fold in again diagonally to the right.
Step 4
4
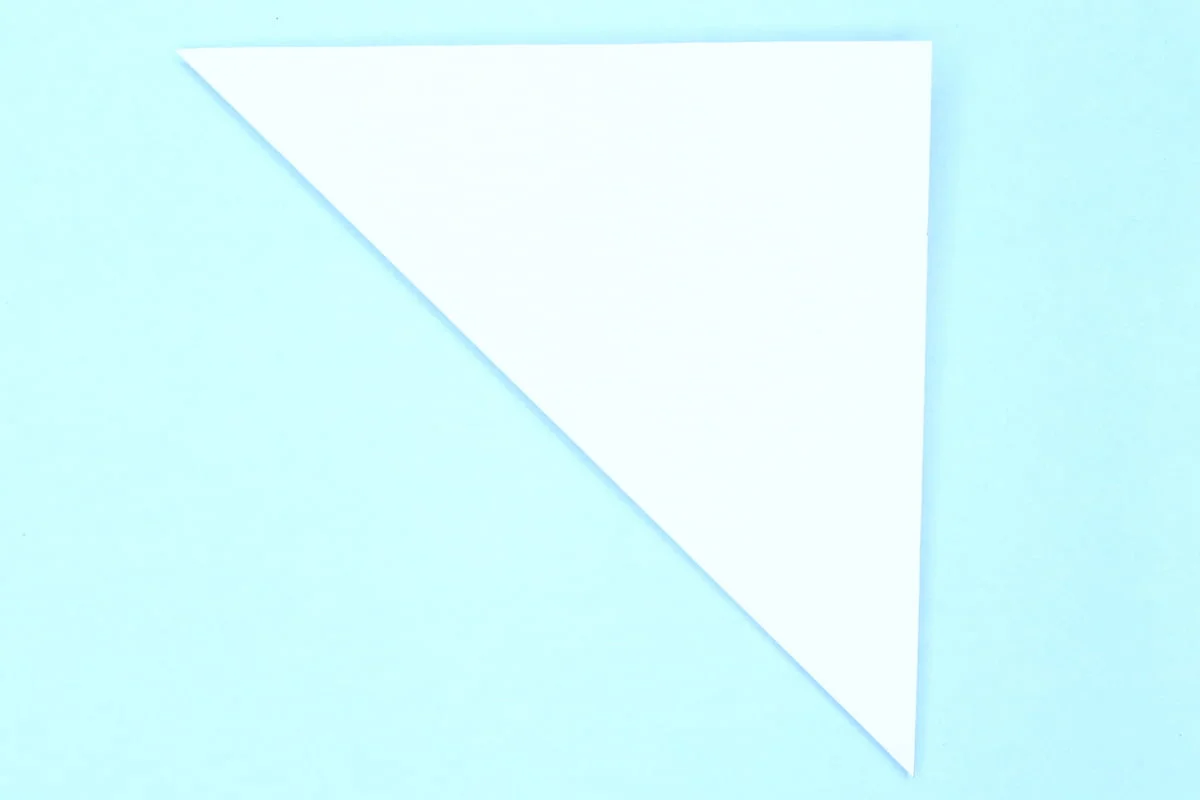
Turn the paper over.
Step 5
5
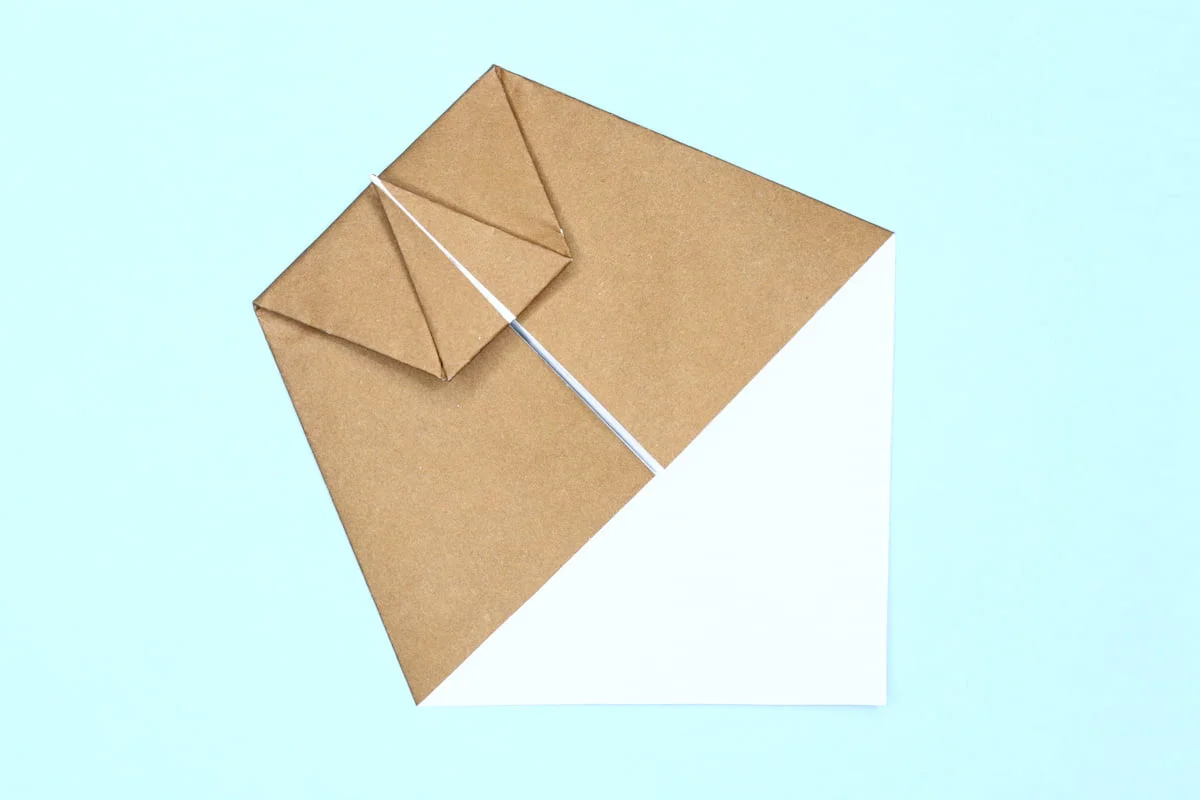
Fold again the center corner to the left edge.
Step 6

6
Unfold the paper.
Step 7
7
From the top point corner, fold the paper to the bottom before the flap.
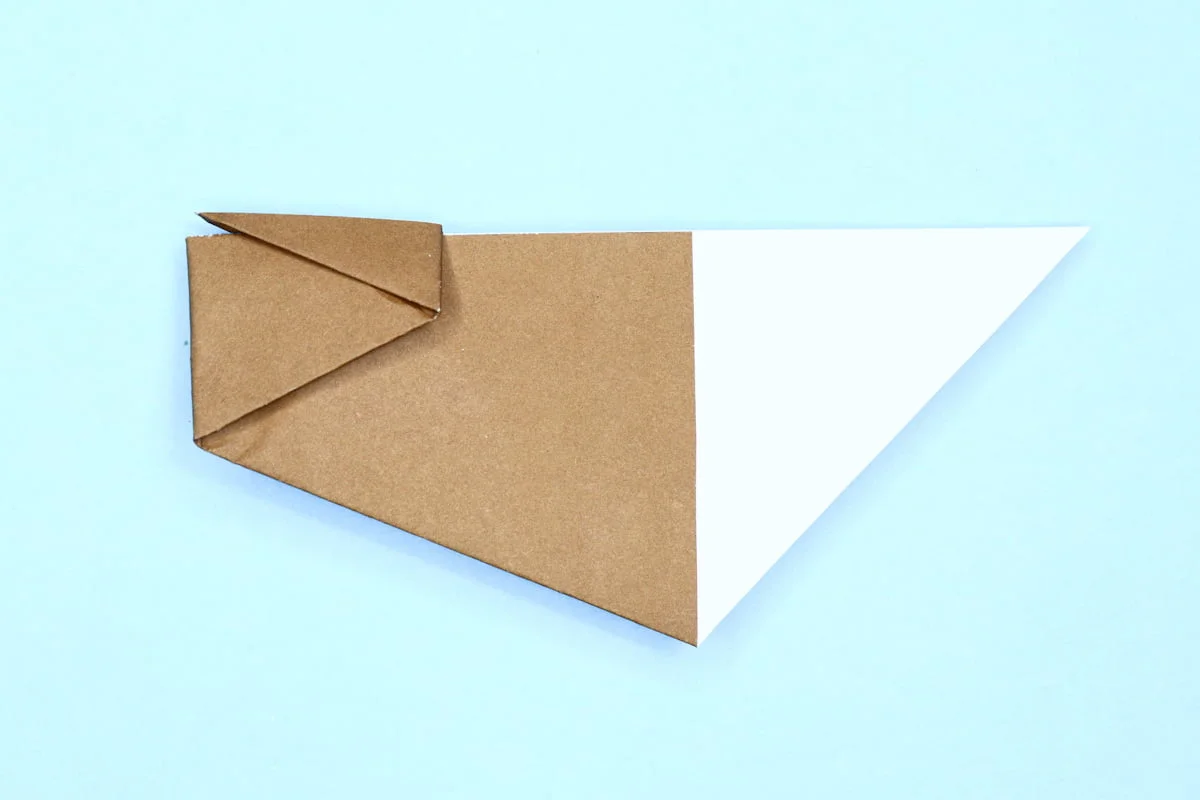
Step 8
8
Fold up the pointy corner.
Step 9
9
Fold the paper in half.
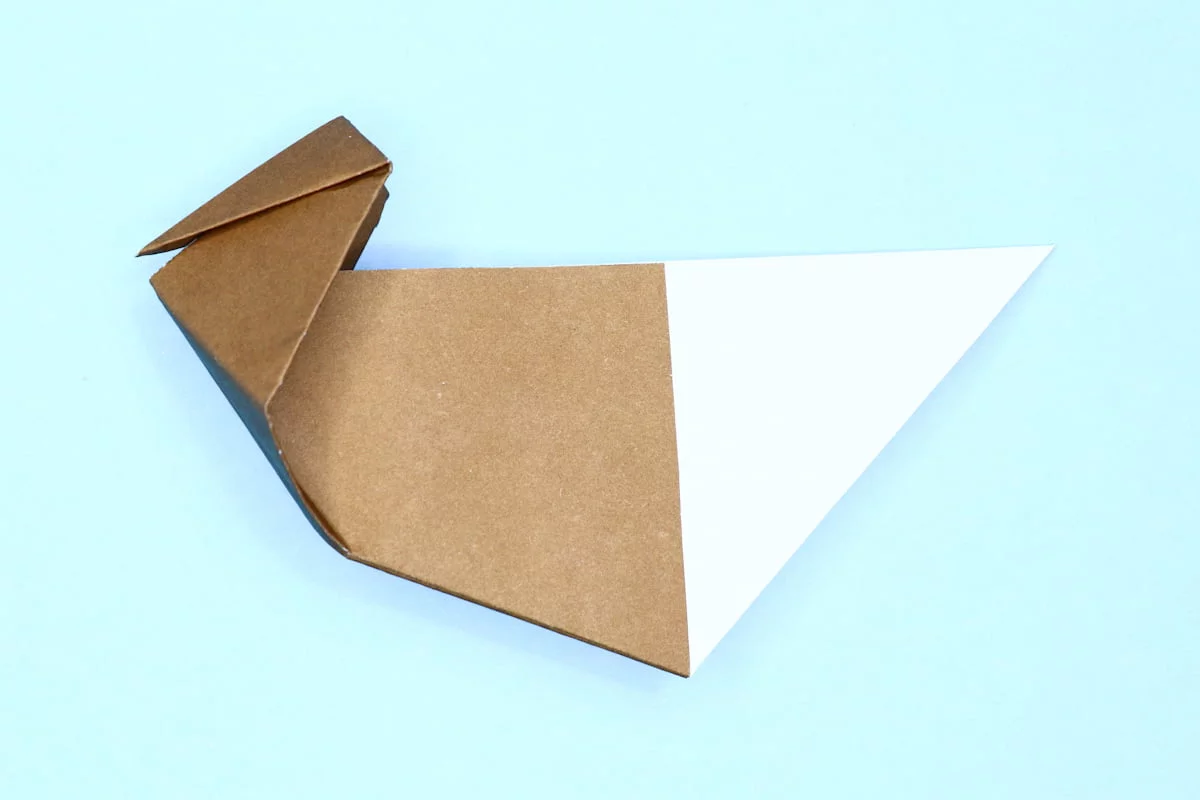
Step 10
10
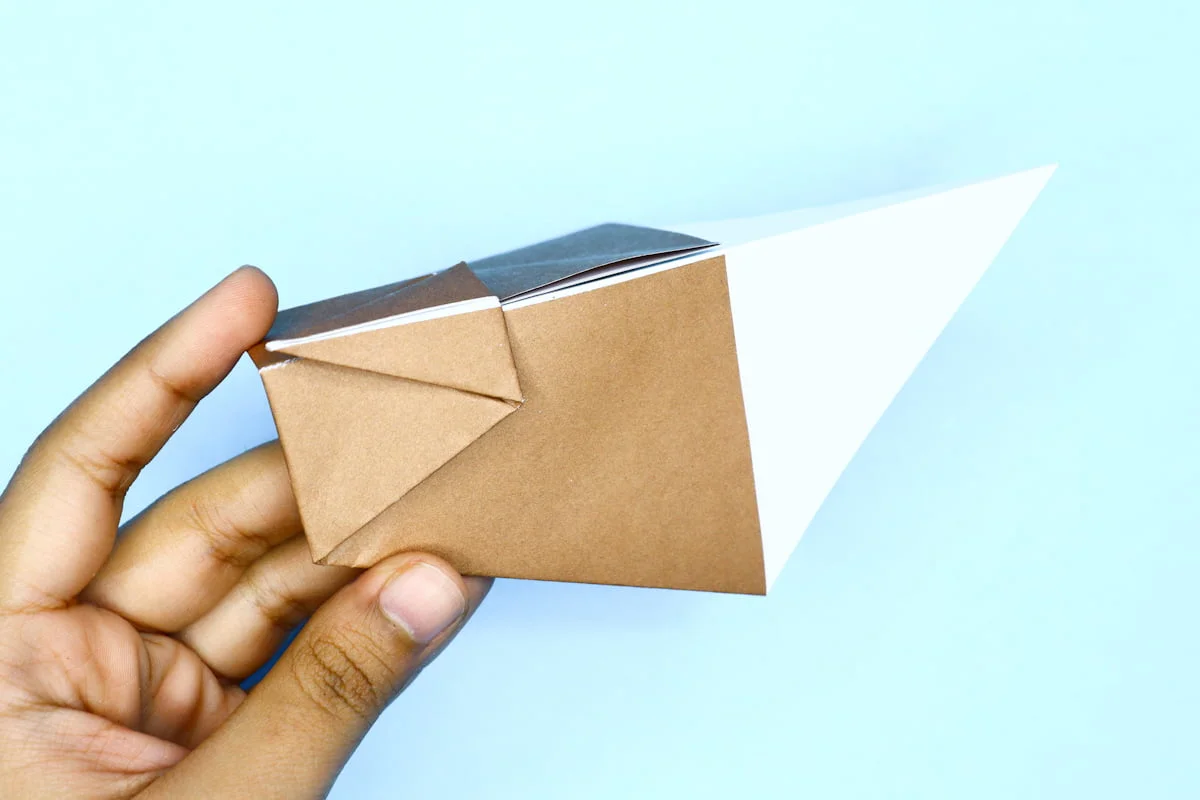
From the front view the model should look like this.
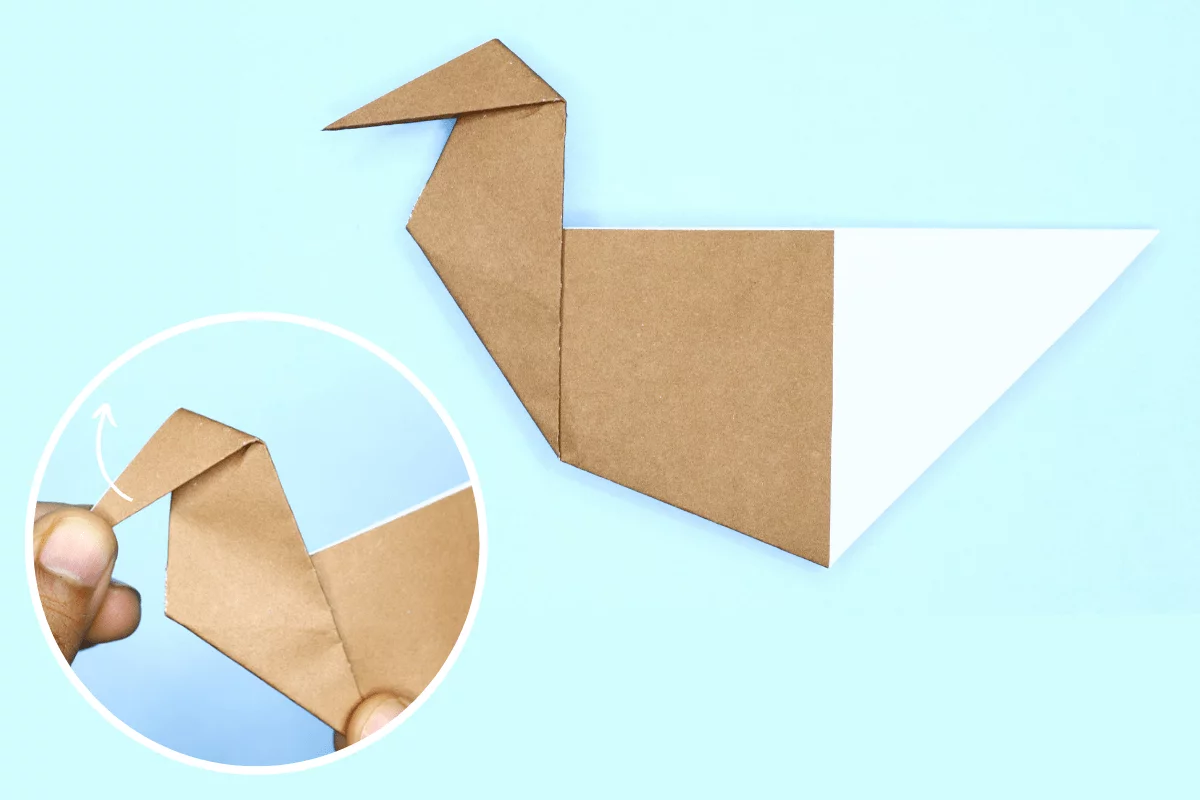
Step 11
11
Pull up the duck’s head.
Step 12
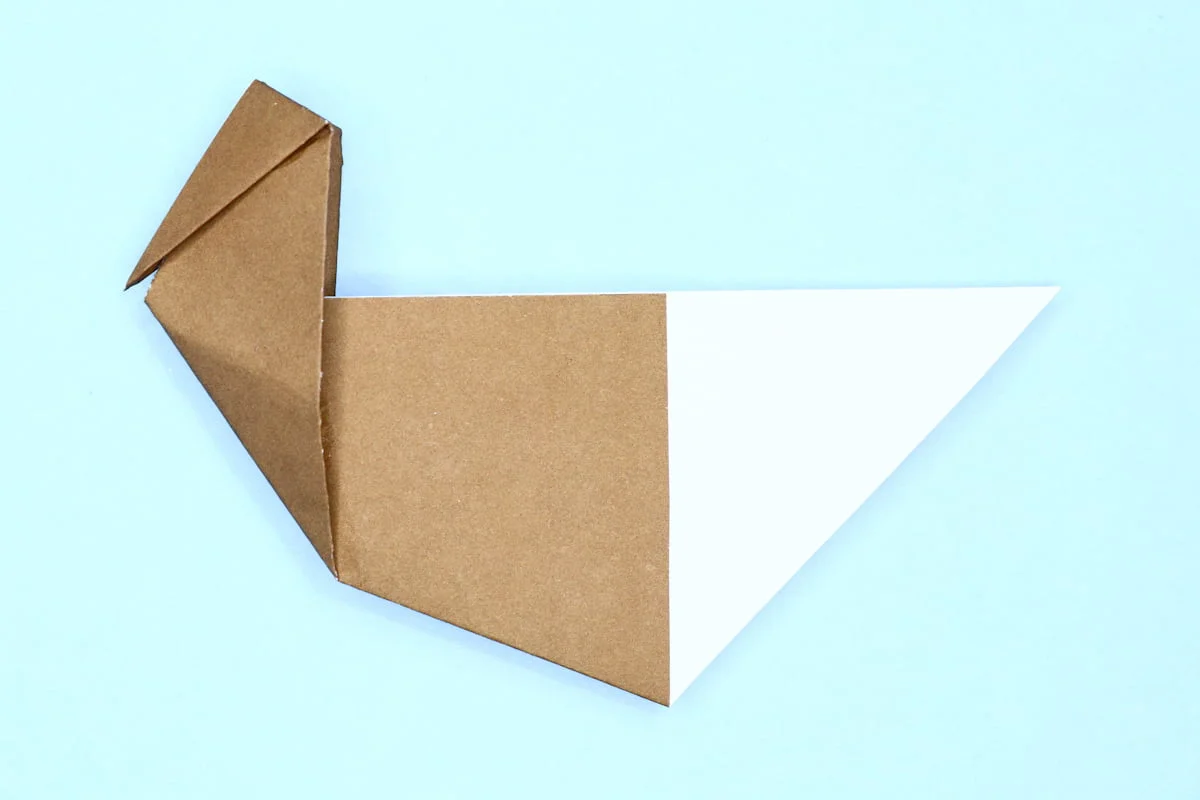
12
Now fold the bottom edge to form the duck’s neck.
Step 13
13
Emphasize the fold on the duck’s head.
Step 14
14
Draw the eyes and wings to make it look even more cuter and you’re all done!
Share and Comment
We would love to see your creations! Scroll down to the comments section and share a photo of your origami.
Leave a Reply