Easy Origami Fish Instructions

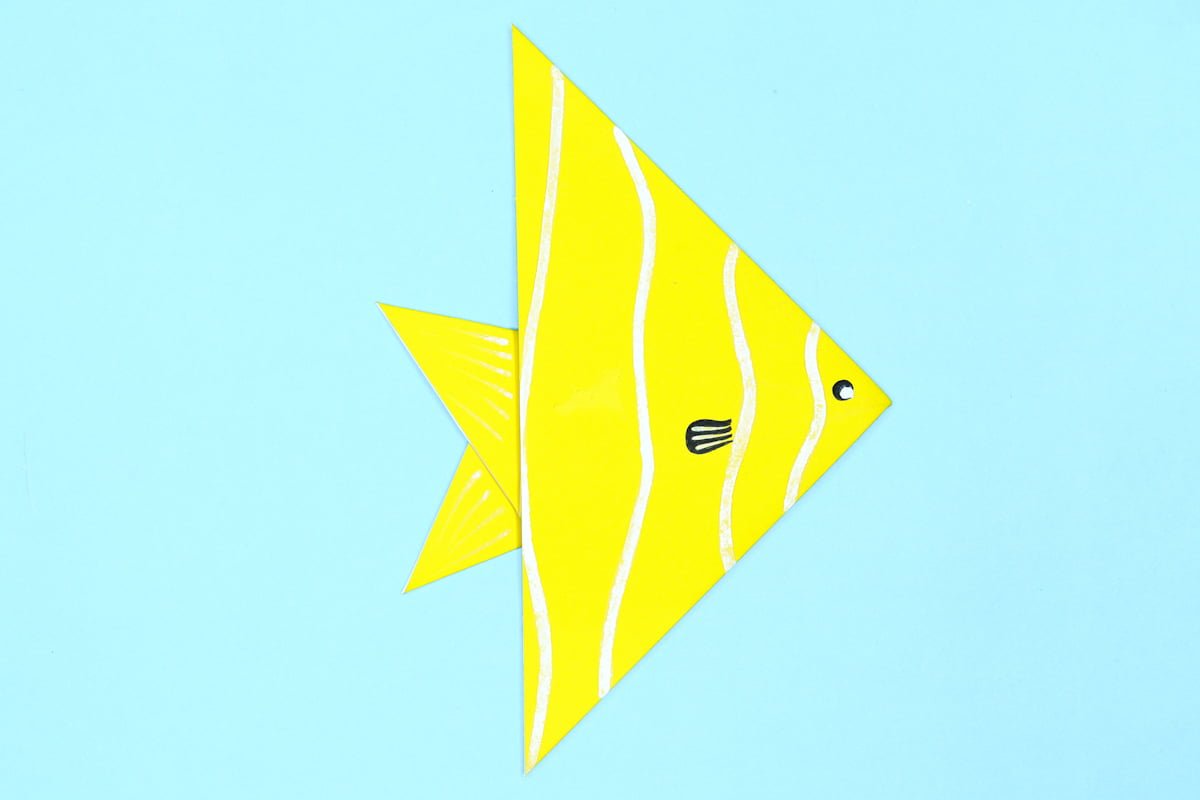
Fish origami final step
Difficulty: Easy
Follow these instructions to learn how to fold an origami fish. With these step-by-step instructions you can make a fish in a few minutes.

Kids will have lots of fun folding this easy origami fish and drawing in its eyes and stripes. I doubt they need help at all, but if they do, it would be to collapse the paper into a triangle and fold the fins perfectly. To center the fins perfectly, first place one over the other without creasing. Then kind of roll it up or down till they’re centered, and crease when they are.

If this easy origami fish doesn’t satisfy you, you can try the more challenging origami fish. It’s not an angelfish like this one, but it leans towards more of the traditional fish figure. It’s not too hard, but definitely “showoffable”.

Step 1
Fish origami step 1
1
Start with a square piece of origami paper. I am using an 7×7 inches origami paper.

If you only have regular paper, follow these instructions on how to make a square origami paper.

Step 2
Fish origami step 2
2
Face the lighter side upwards if you are using a two sided color paper.

Step 3
Fish origami step 3
3
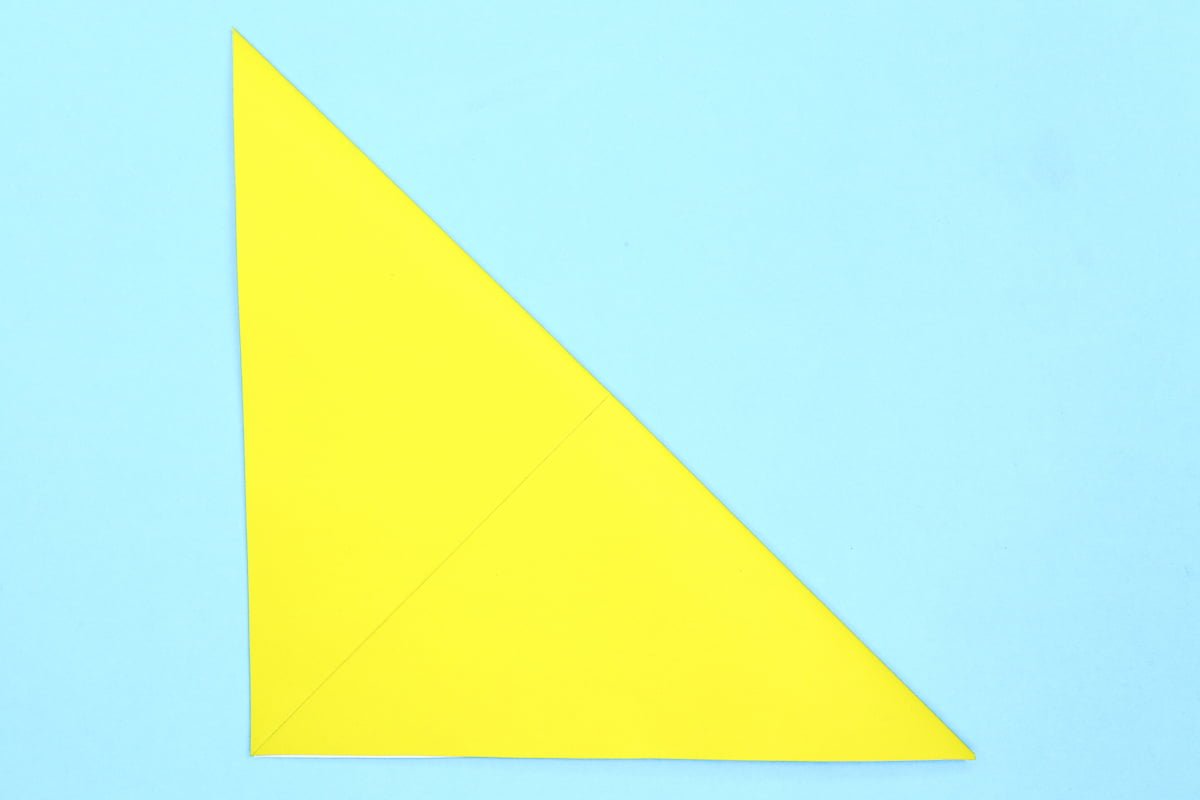
Fold the the upper left corner to the lower right corner.

Step 4
Fish origami step 4
4
Unfold. You now have a diagonal crease where the dotted grey line goes.

Step 5
Fish origami step 5
5
Fold the upper right corner to the lower left corner.

Step 6
Fish origami step 6
6
Unfold.

Step 7
Fish origami step 7
7
Fold the top half back.

Step 8
Fish origami step 8
8
Unfold.

Step 9
Fish origami step 9
9
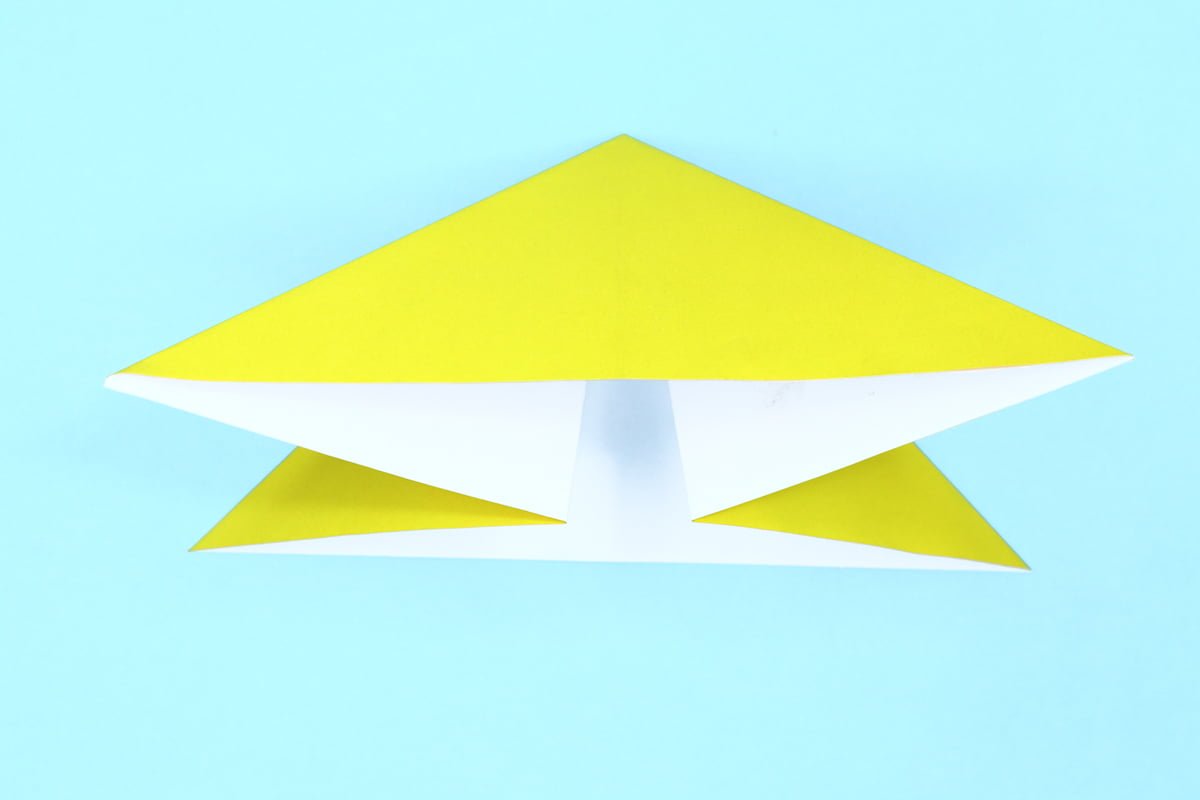
Poke the center with your finger so that the center pops in.

Step 10
Fish origami step 10
10
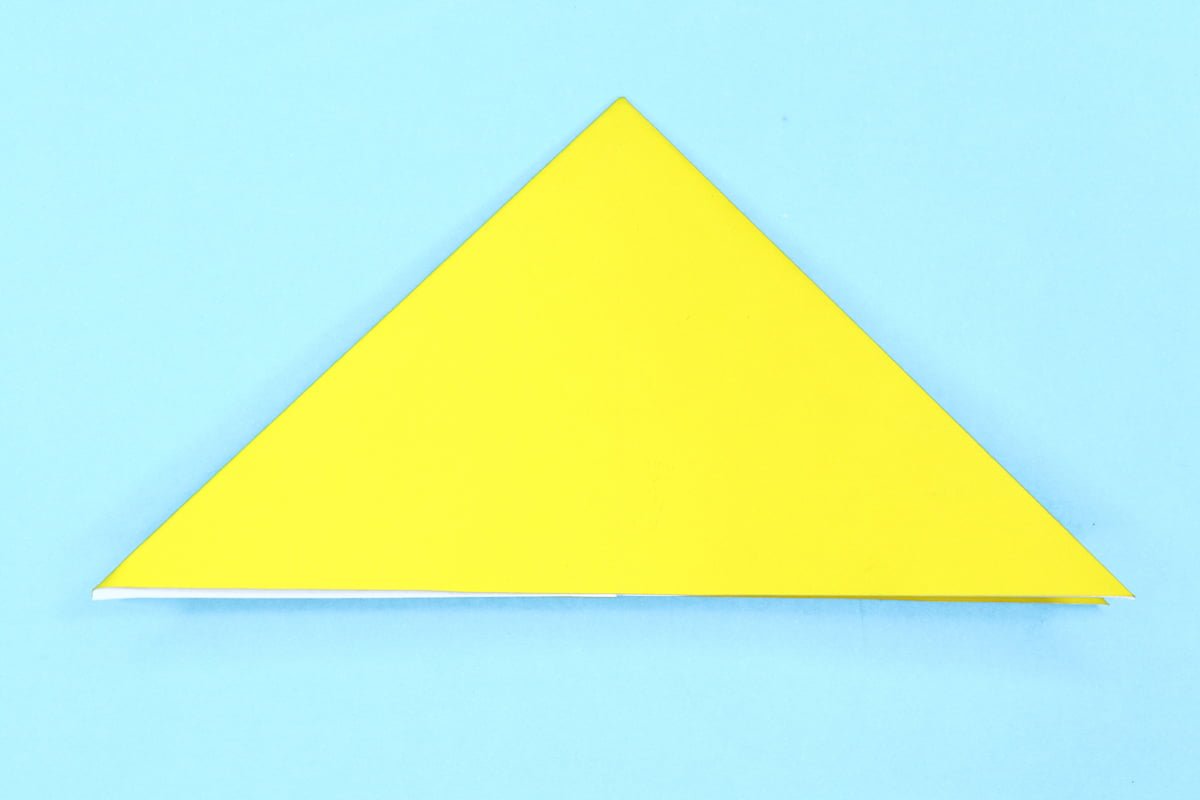
Bring the left and right sides together so that the paper collapses into a triangle.

Step 11
Fish origami step 11
11
Press firmly to flatten the triangle.

Step 12
Fish origami step 12
12
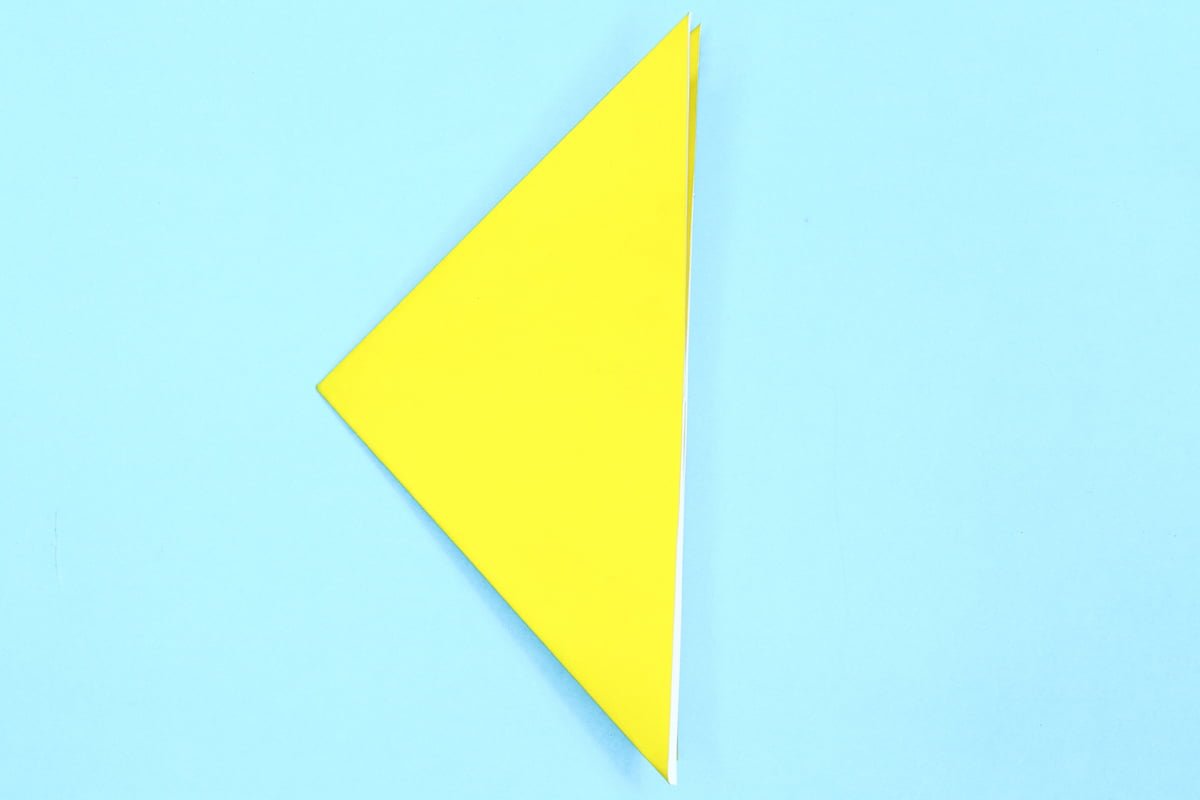
Rotate the triangle left 90° (counter-clockwise).

Step 13
Fish origami step 13
13
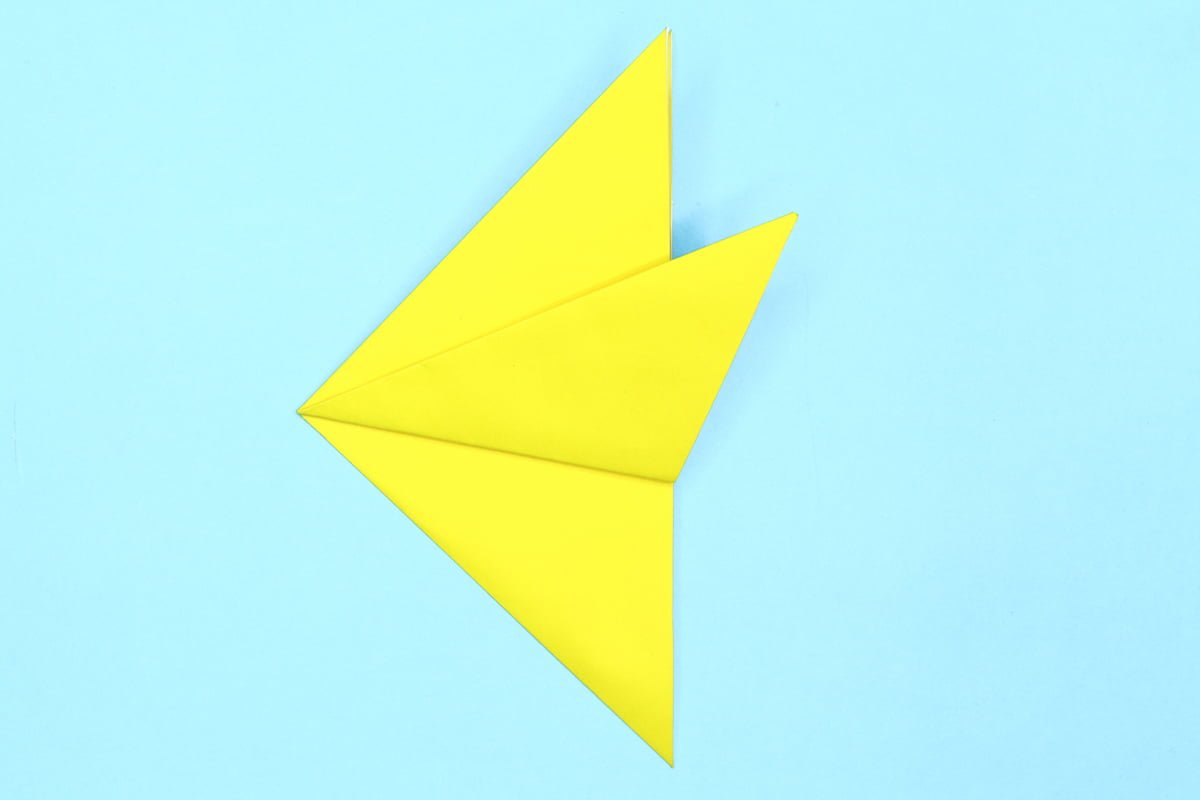
Fold the bottom corner up a little above the center.

Step 14
Fish origami step 14
14
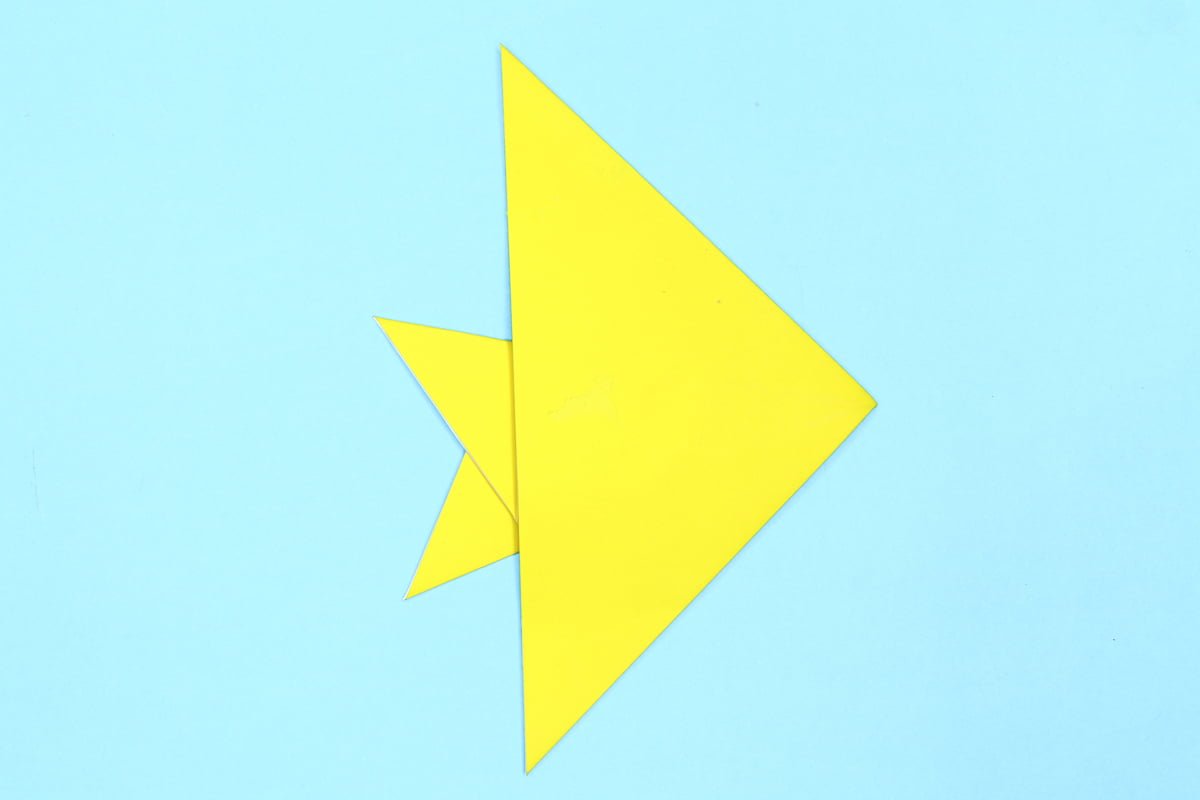
Fold the top flap over the bottom.

Step 15
Fish origami step 15
15
Turn the fish over and you’re done.

Step 16
Fish origami final step
16
Draw the eye and some stripes to make it look nice!

Share and Comment
We would love to see your creations! Scroll down to the comments section and share a photo of your origami.

Comments

One response to “Easy Origami Fish Instructions”

  1. this is the best step by step origami making thing that I could find

Leave a Reply

Your email address will not be published. Required fields are marked *

Drop file here