Emily, my 3rd grader niece, showed this origami boy I made to her sister Jasmine, and Jasmine asked if she could make an origami girl. Emily took on the challenge and came up with this design. It’s very easy to make with no tricky folds at all. Have fun!
How to Make an Easy Origami Girl
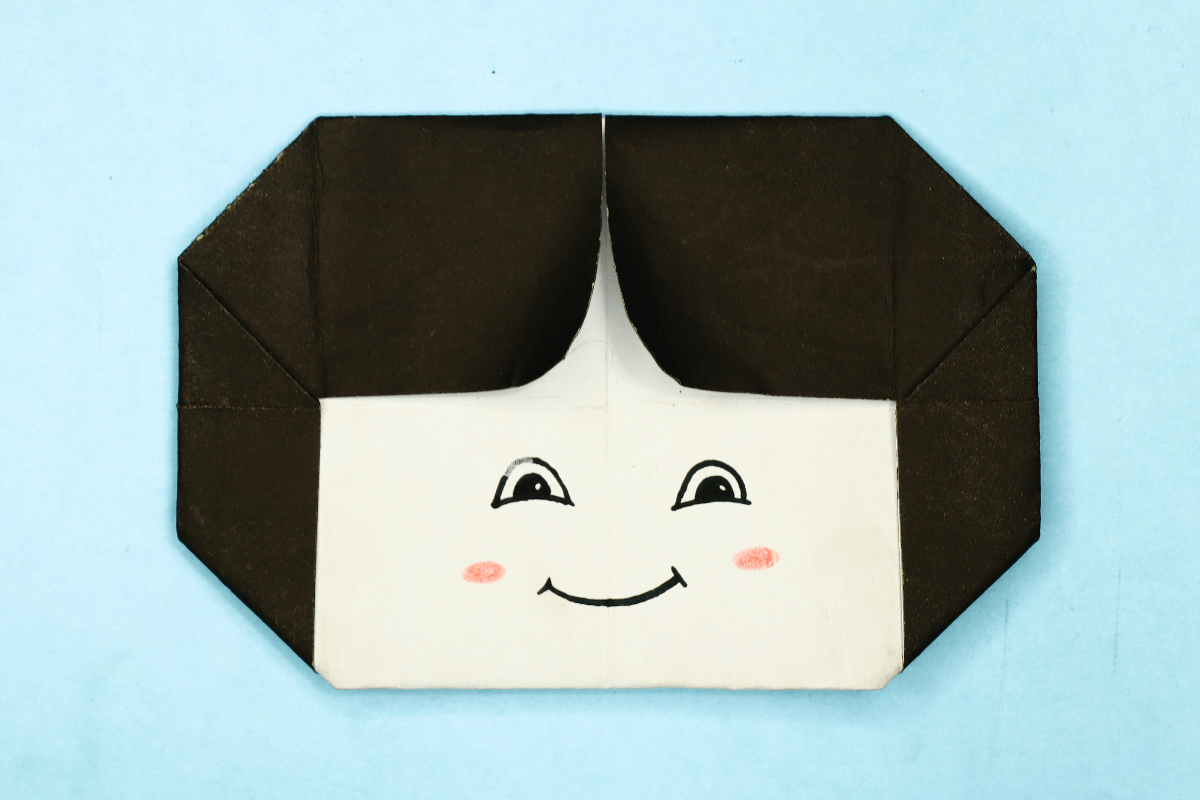
Difficulty: Easy
Learn how to fold an origami girl with ease! Follow our simple step-by-step tutorial to create a charming paper figure in minutes.
Step 1

1
Start with a square sheet of origami paper. I am using an 7×7 inches origami paper.
If you only have regular paper, follow these instructions on how to make a square origami paper.
If you only have regular paper, follow these instructions on how to make a square origami paper.
Step 2
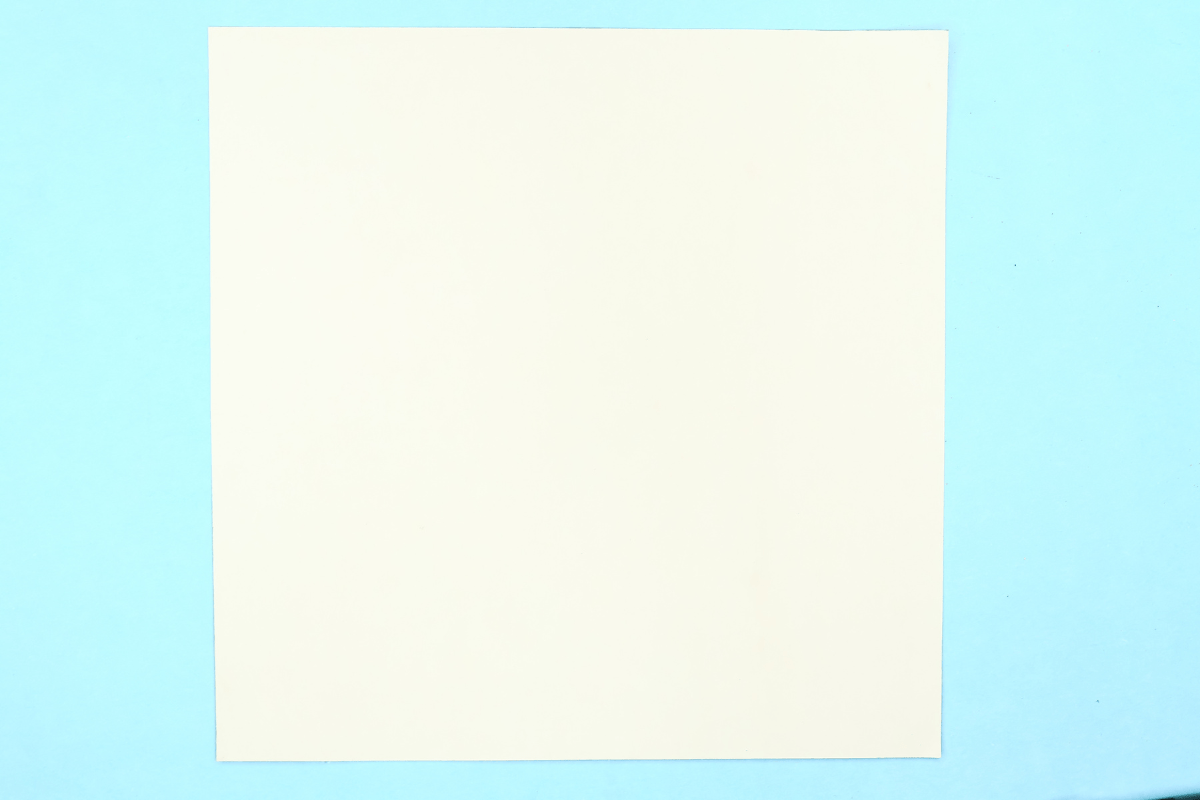
2
If you are using two color sided origami paper then face the lighter side upwards.
Step 3
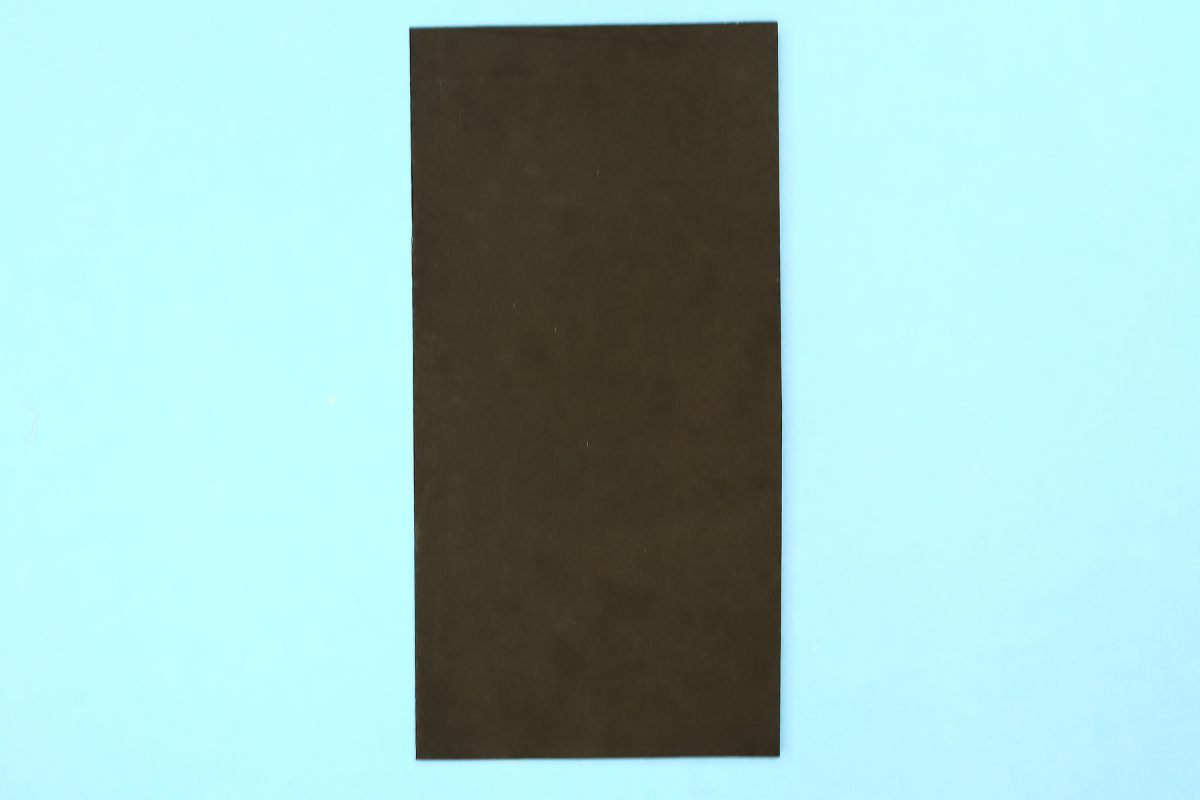
3
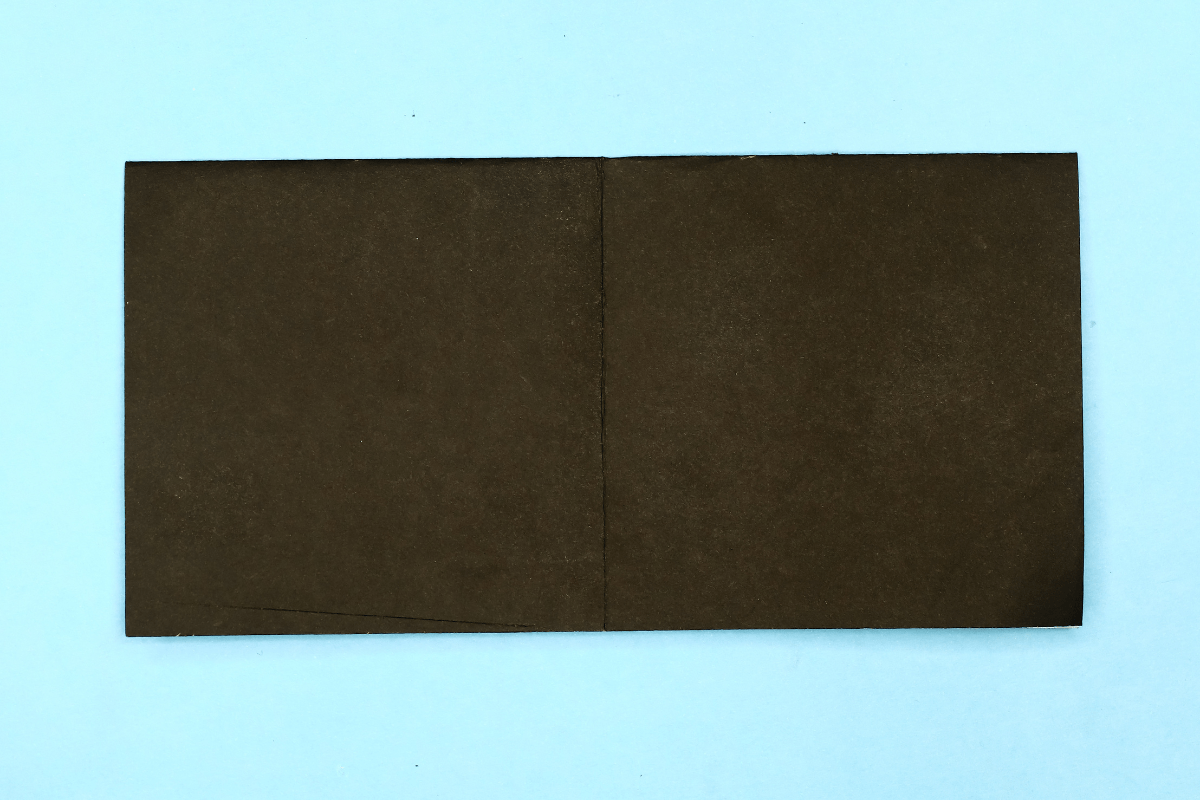
Fold the paper in half from left to right.
Step 4
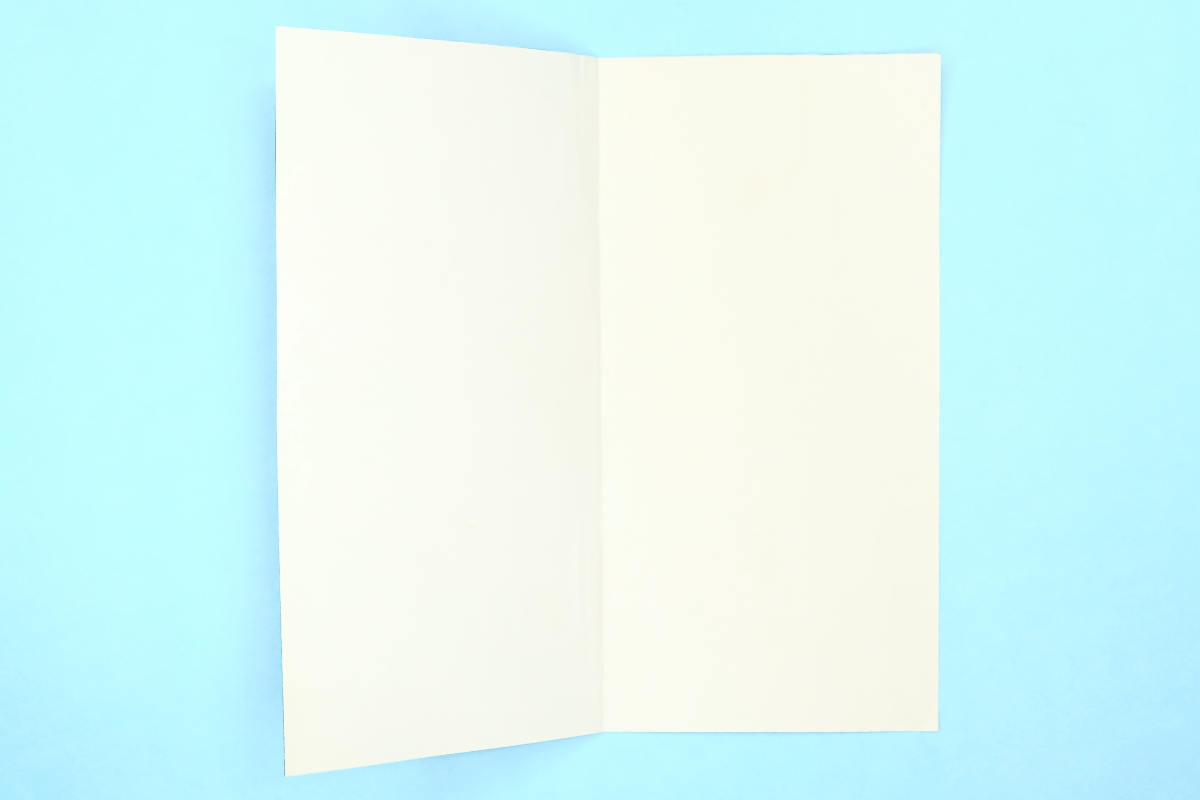
4
Simply unfold.
Step 5
5
Fold the paper in half again, but from top to bottom.
Step 6
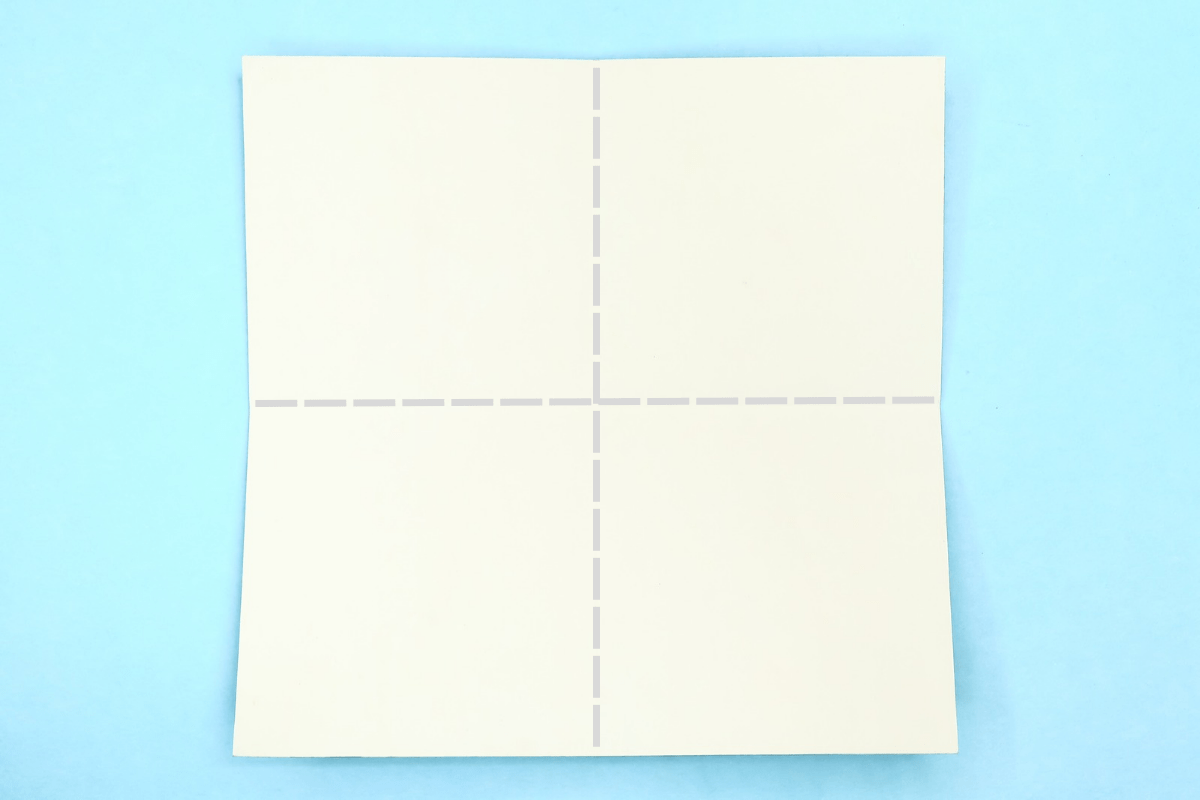
6
Unfold. You now have a crease where the dotted gray line goes.
Step 7
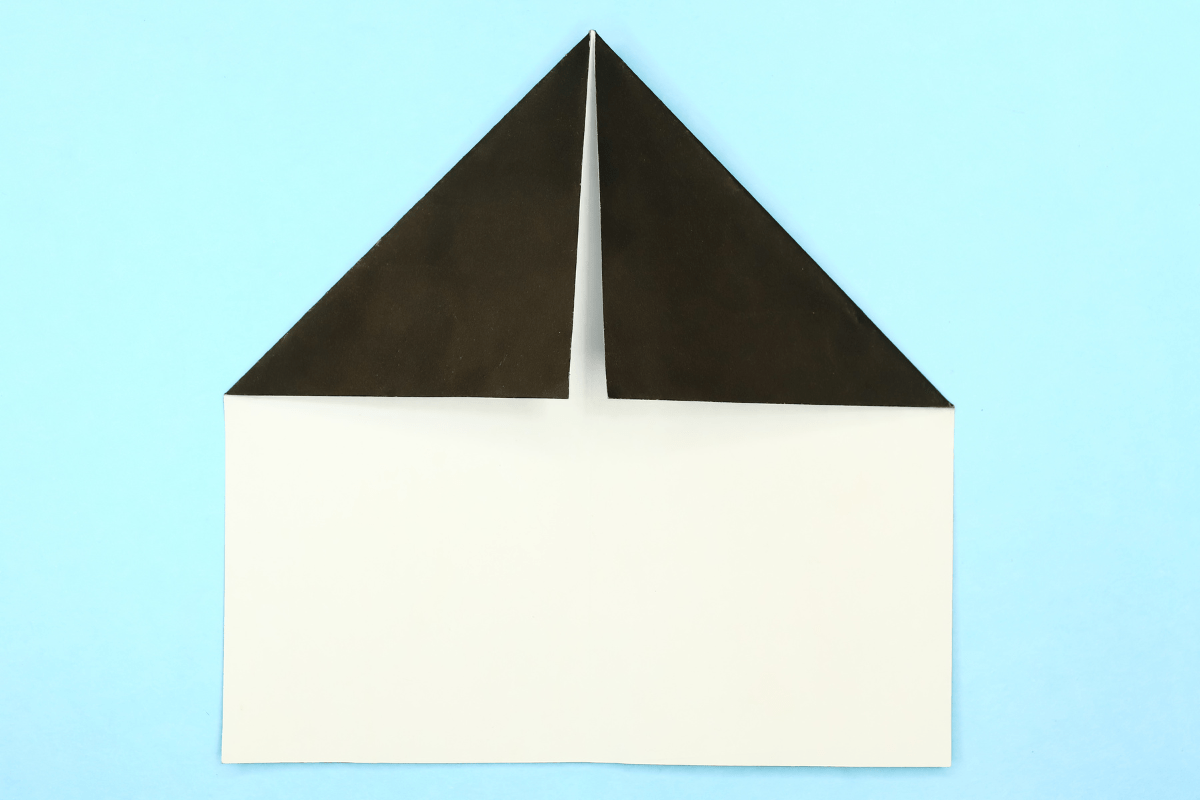
7
Fold the top left and right corners to the center.
Step 8
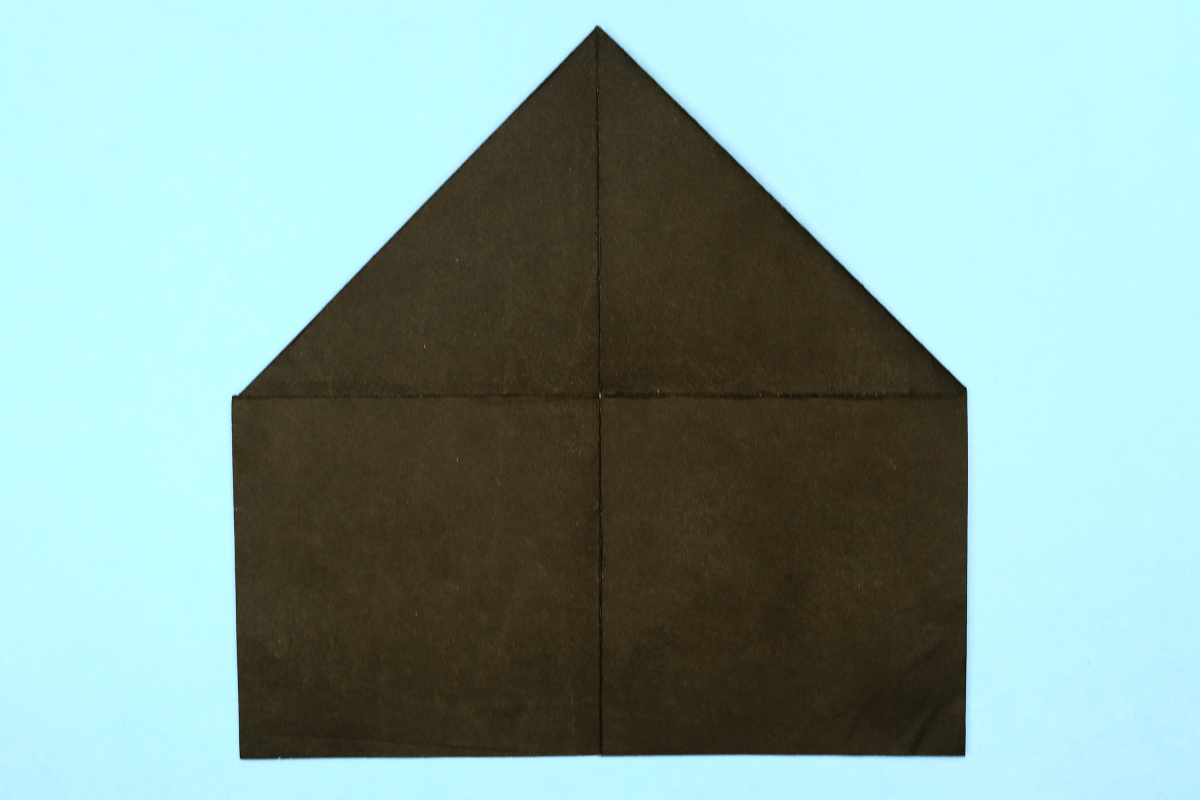
8
Turn the paper over.
Step 9
9
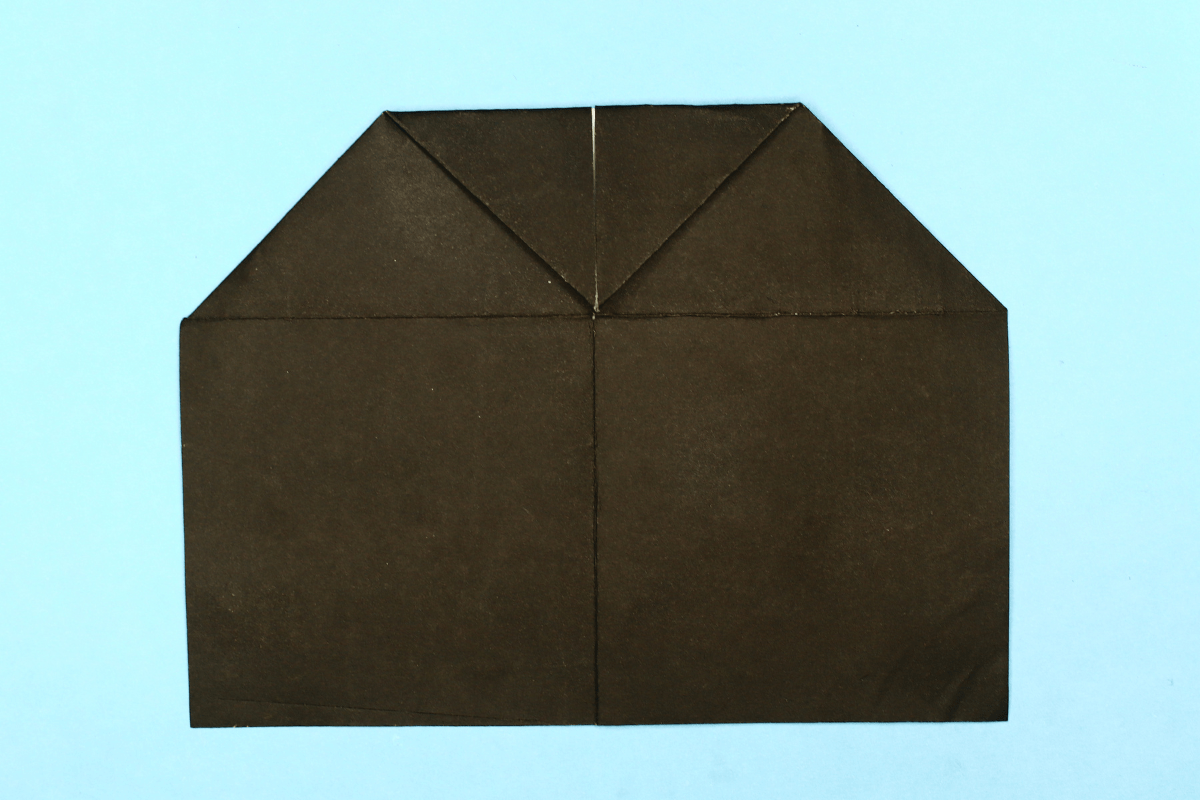
Fold the top corner to the center crease.
Step 10
10
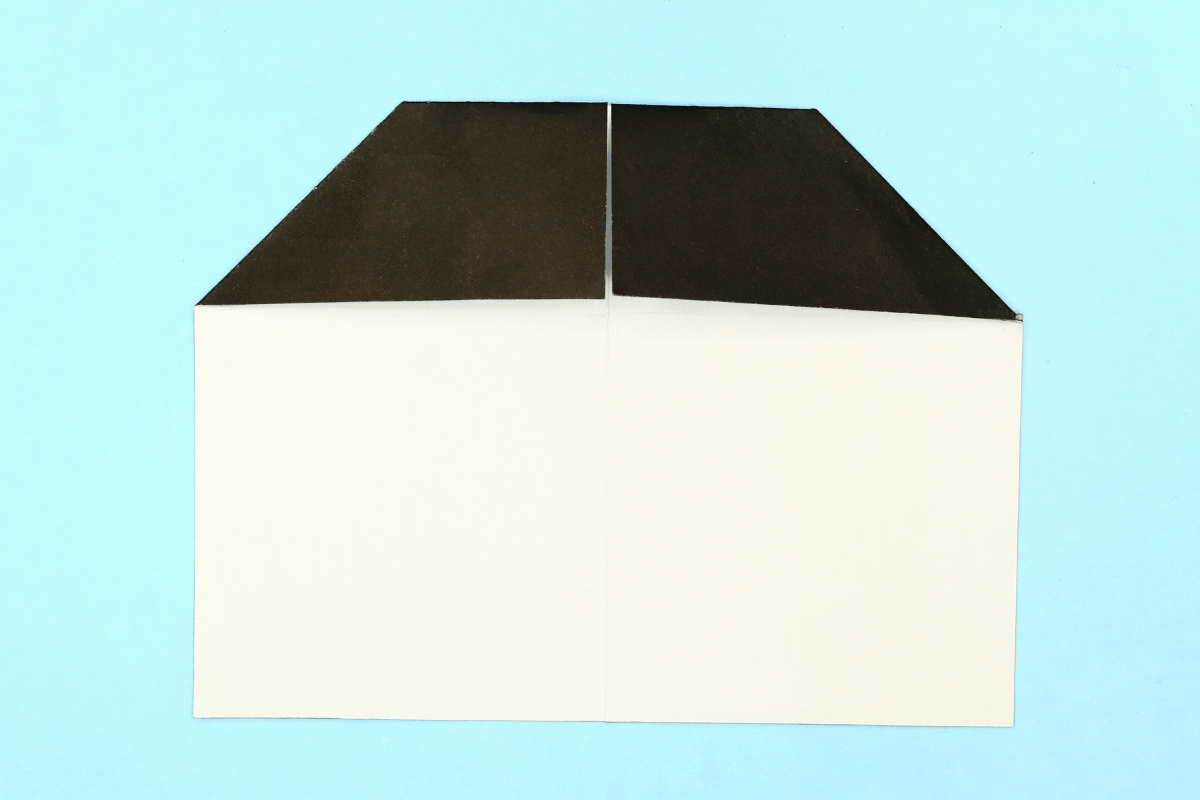
Turn the paper over again.
Step 11
11
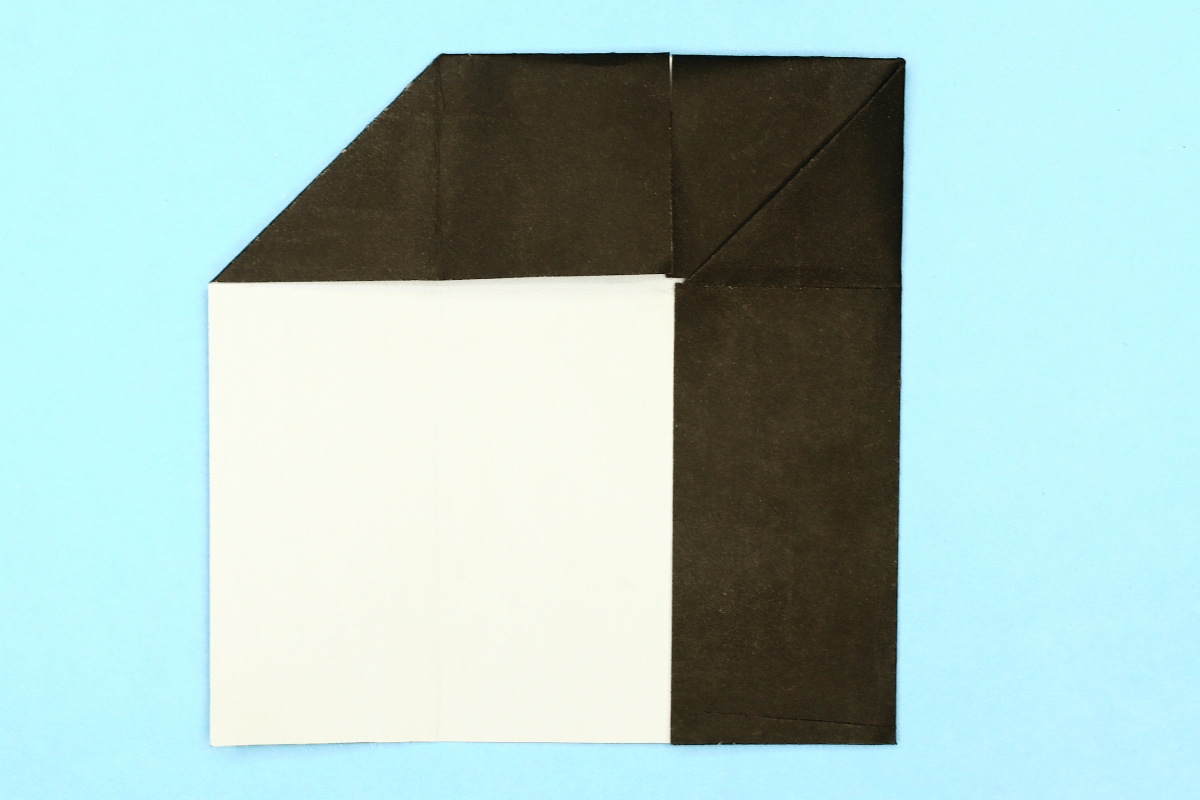
Fold the right side so that it’s edge meets at the center.
Step 12
12
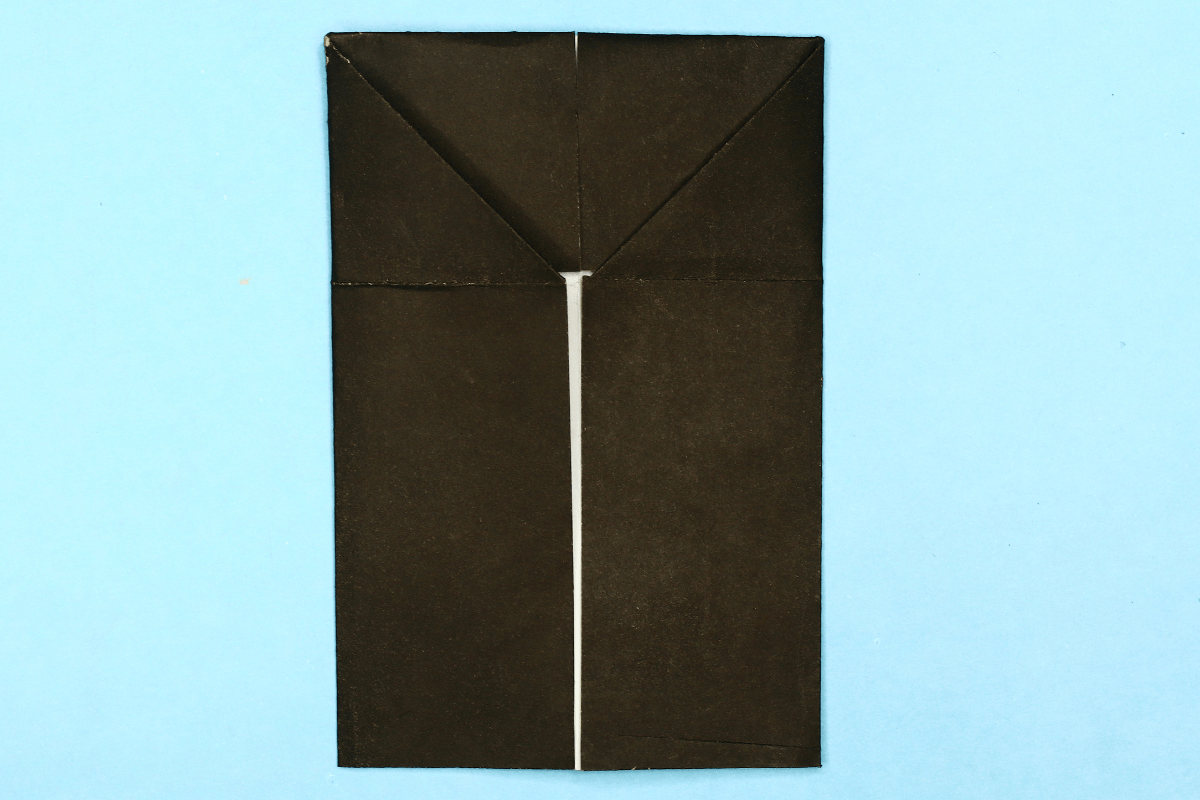
Fold the left side so that it’s edge meets at the center.
Step 13
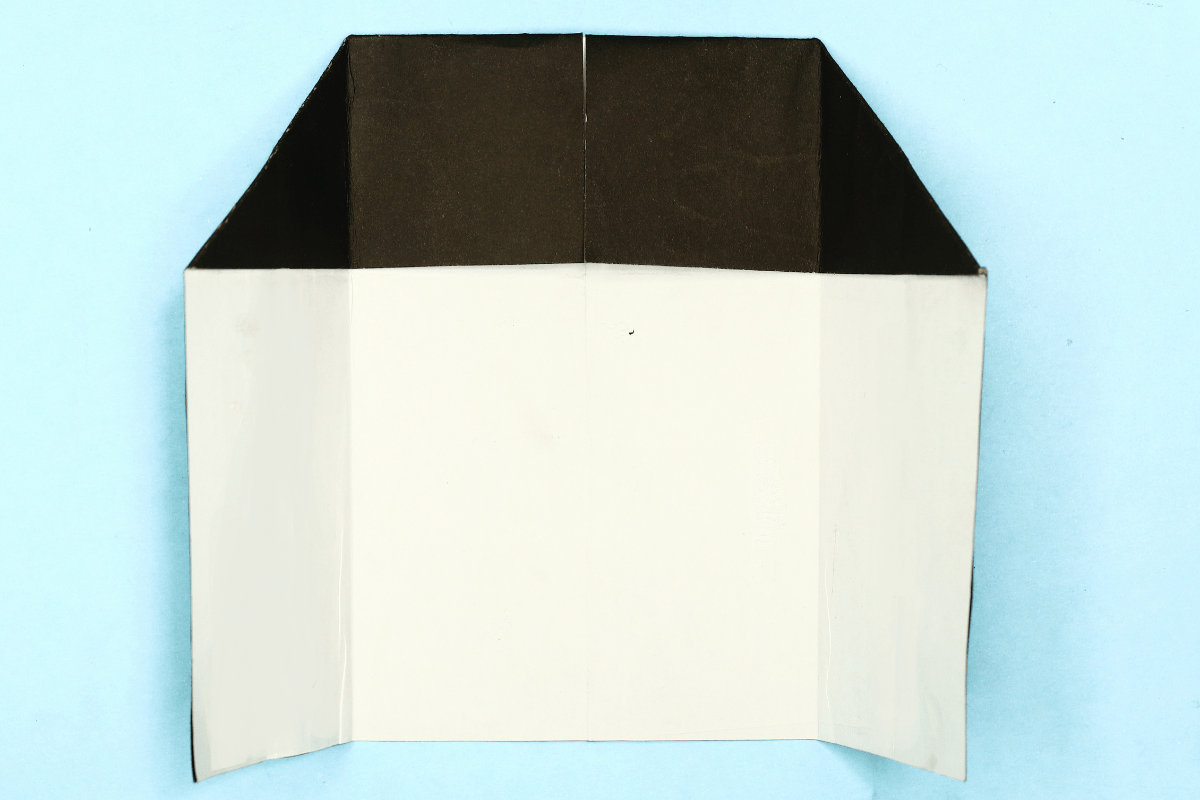
13
Simply unfold. Now we have two creases.
Step 14
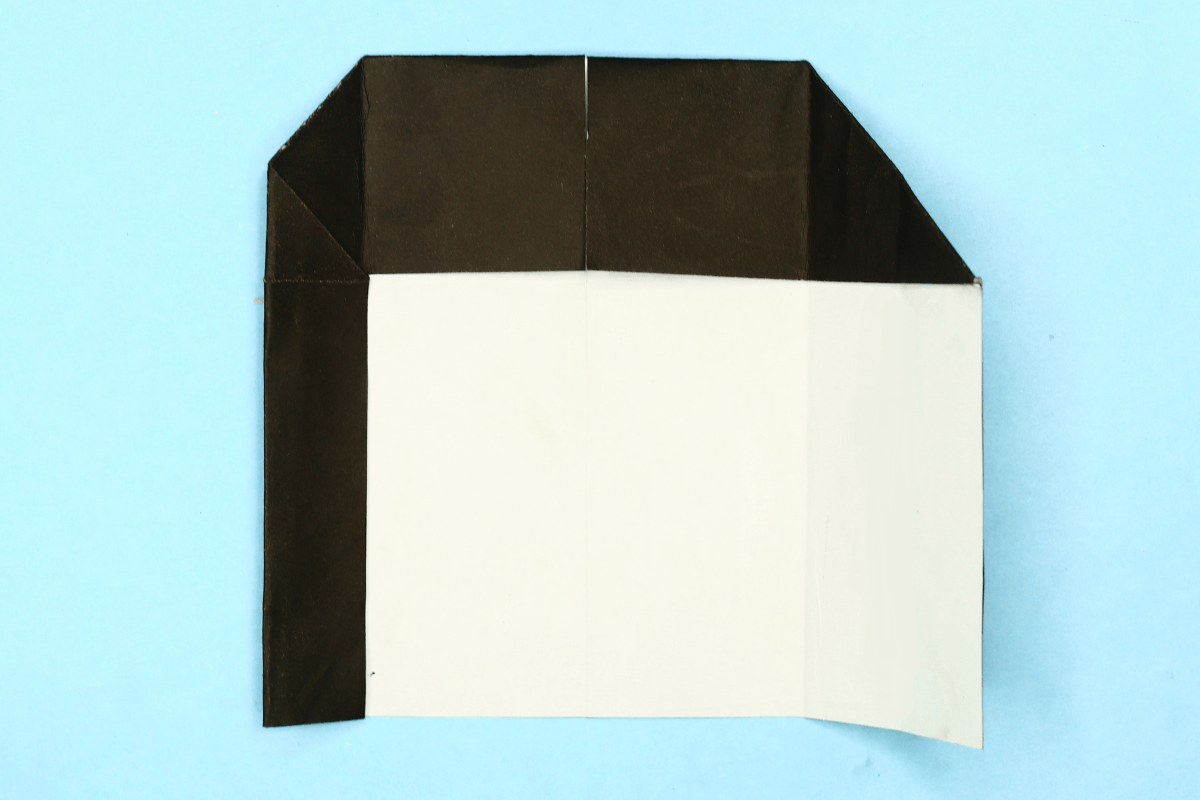
14
Now fold the left edge to the crease you just made.
Step 15
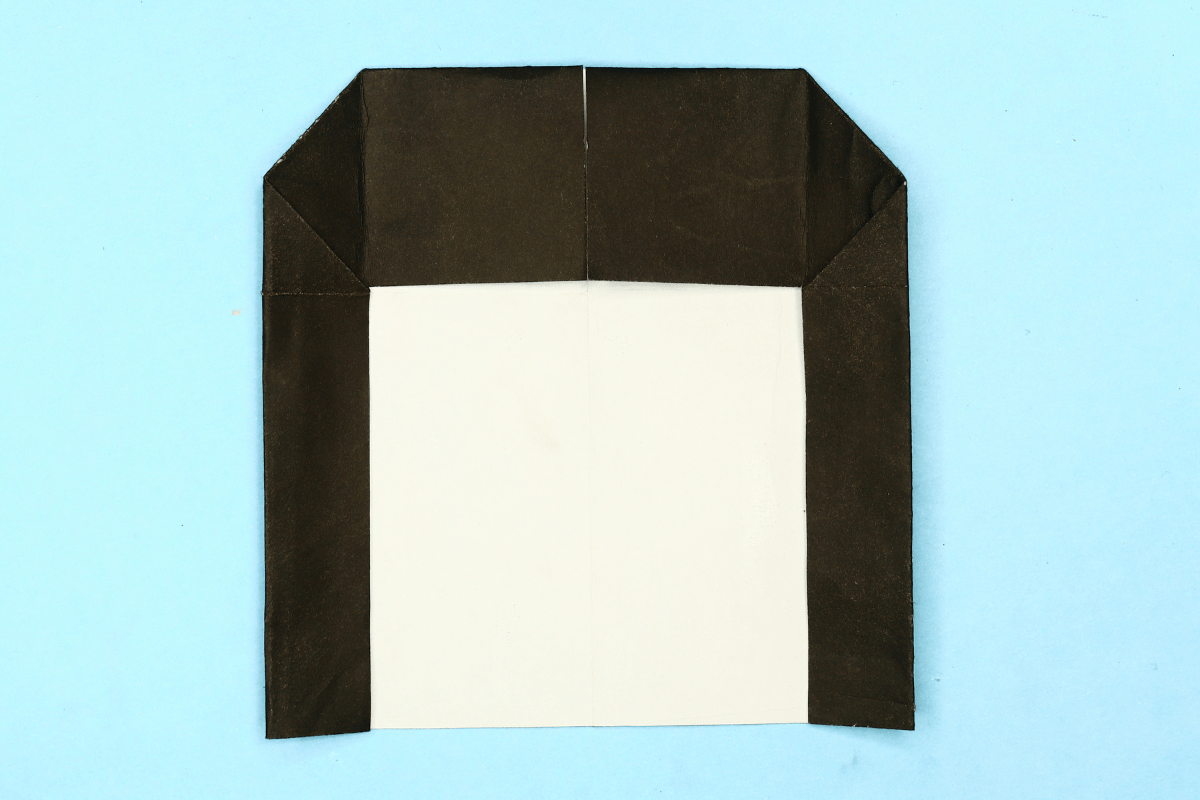
15
Now fold the right edge to the crease you just made.
Step 16
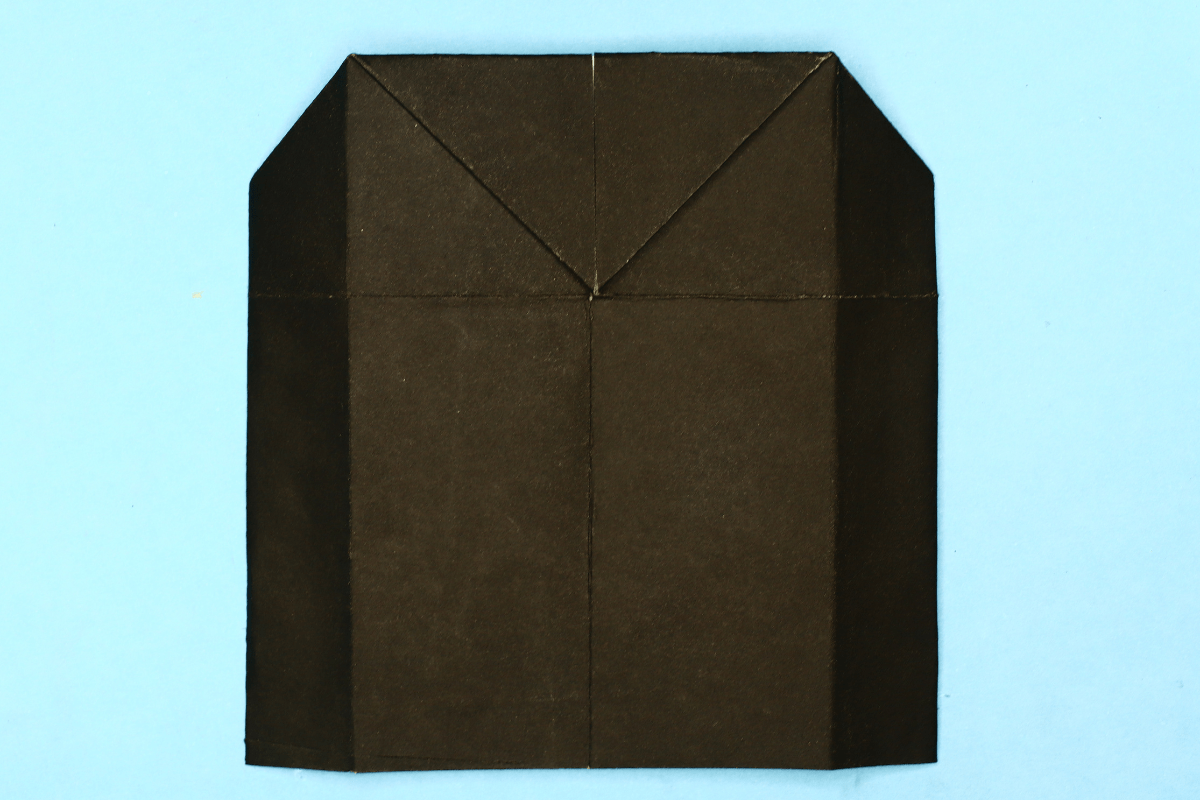
16
Turn the figure over.
Step 17
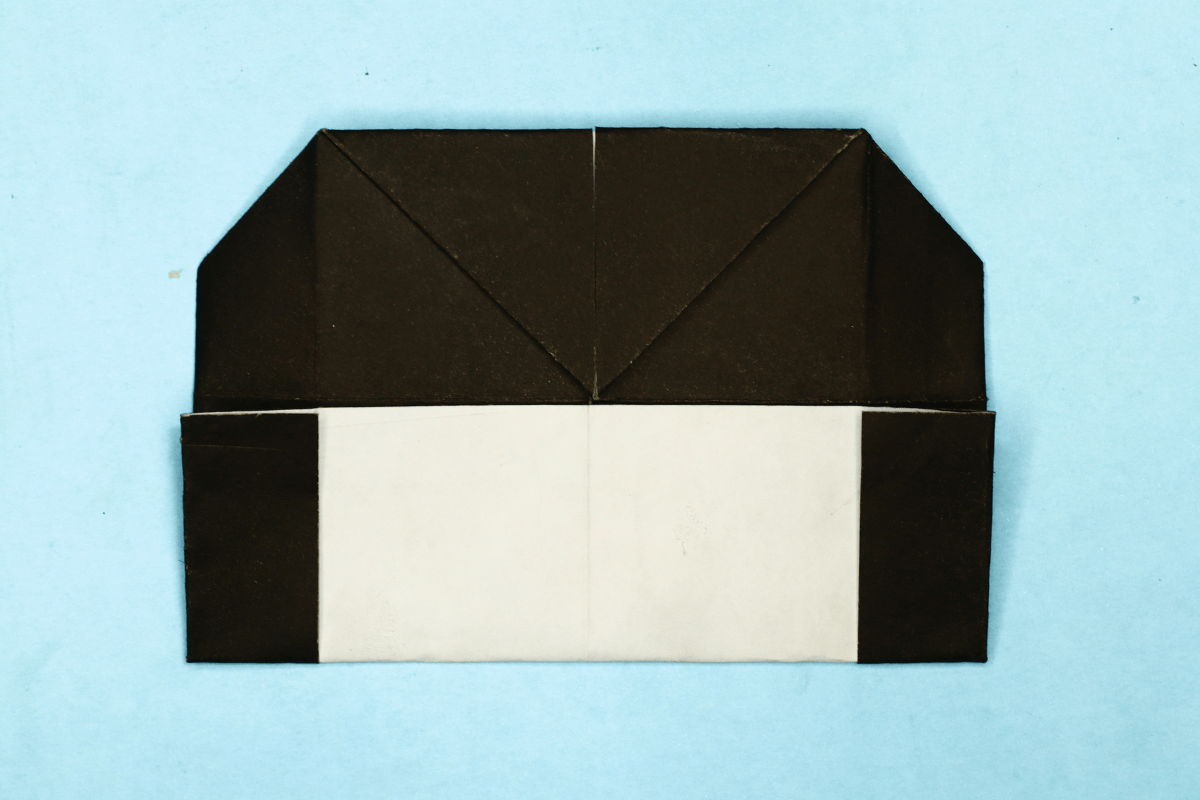
17
Fold the bottom edge up to the bottom of the triangle.
Step 18
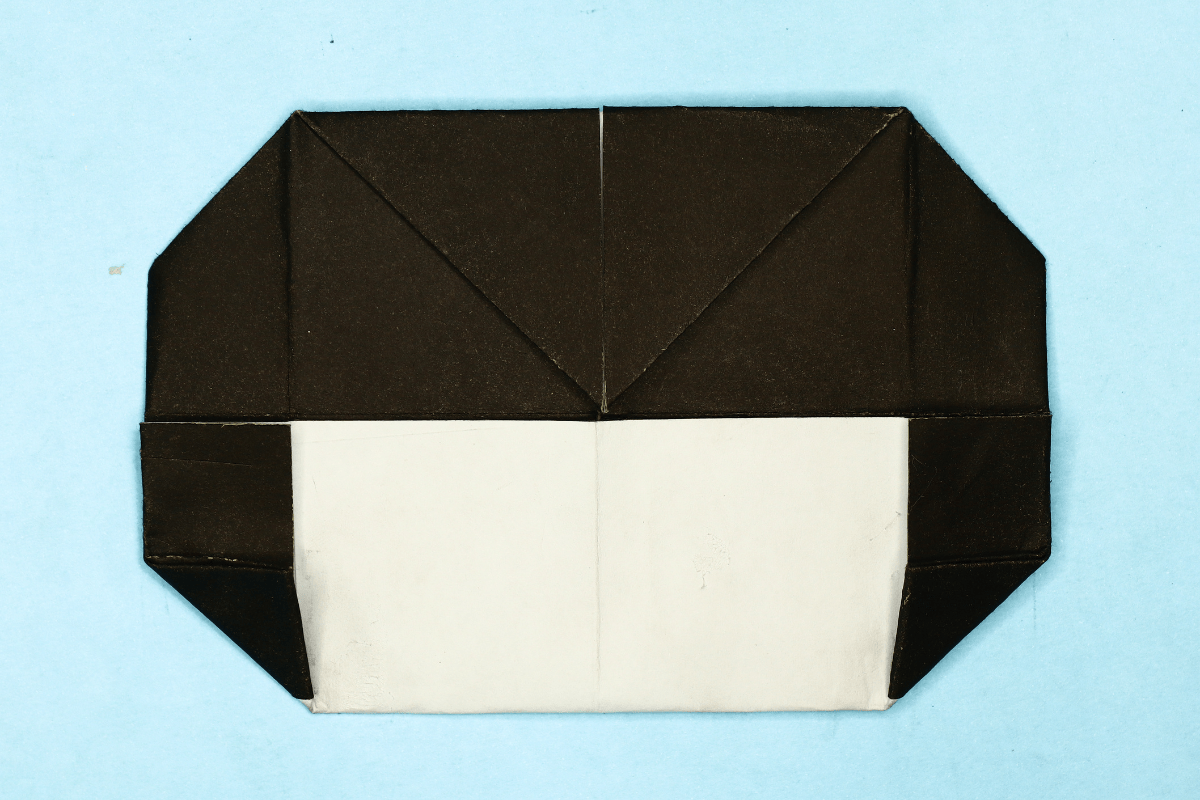
18
Fold up the bottom left and right corners.
Step 19
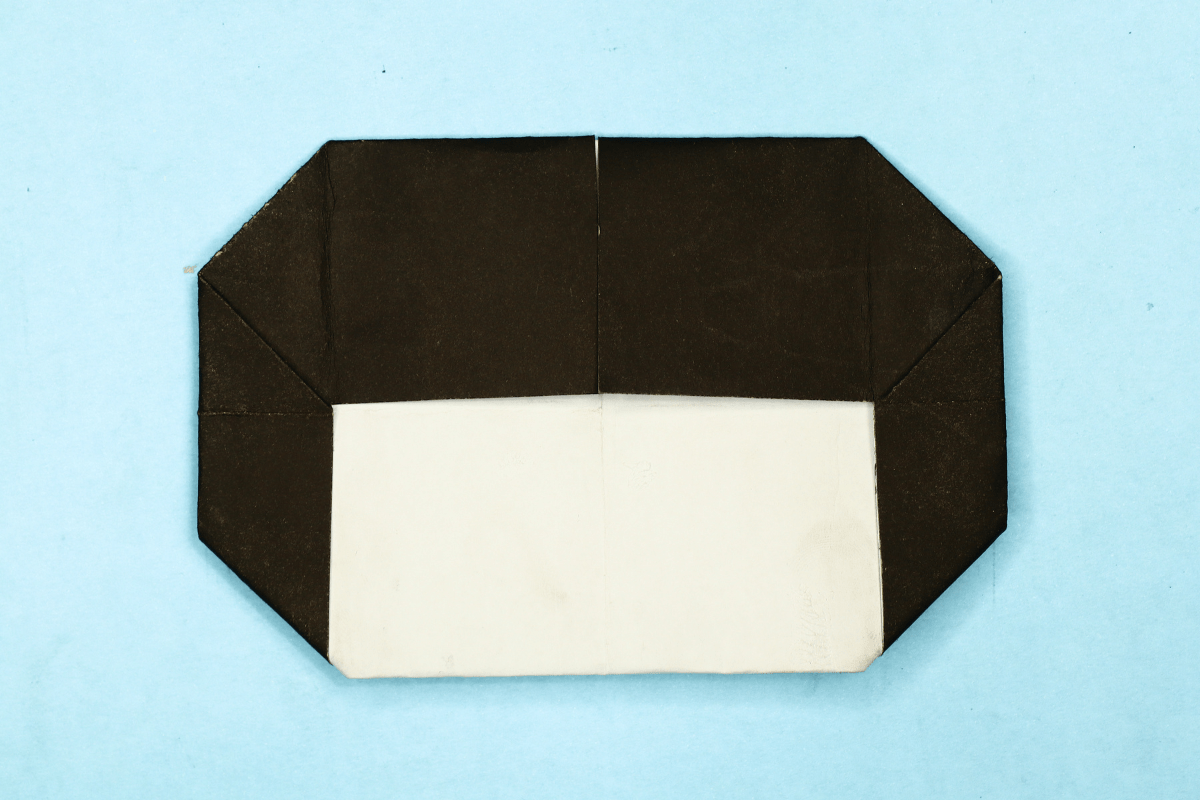
19
Turn the figure over. We’re almost done.
Step 20
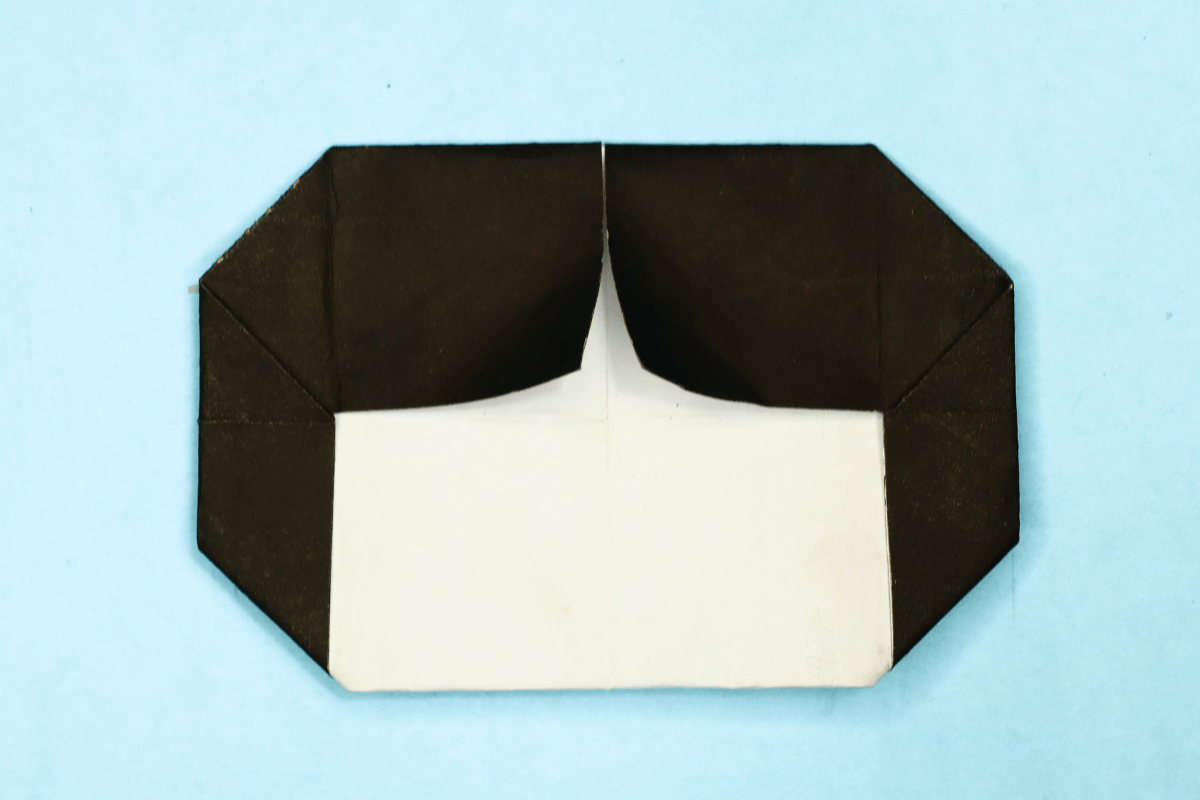
20
Take the left and right corner flaps in the center and fold some of them out.
Step 21

21
Draw on the face and here you have and origami girl!
Share and Comment
We would love to see your creations! Scroll down to the comments section and share a photo of your origami.

Leave a Reply