Whether you’re an experienced folder or just starting out, this guide will walk you through each fold to create a majestic and detailed paper lion head. Perfect for craft enthusiasts, and anyone looking for a fun and rewarding challenge.
Easy Origami Lion Instructions
Difficulty: Easy
Learn how to fold a stunning Origami lion with our easy and detailed step-by-step instructions.
Step 1
1
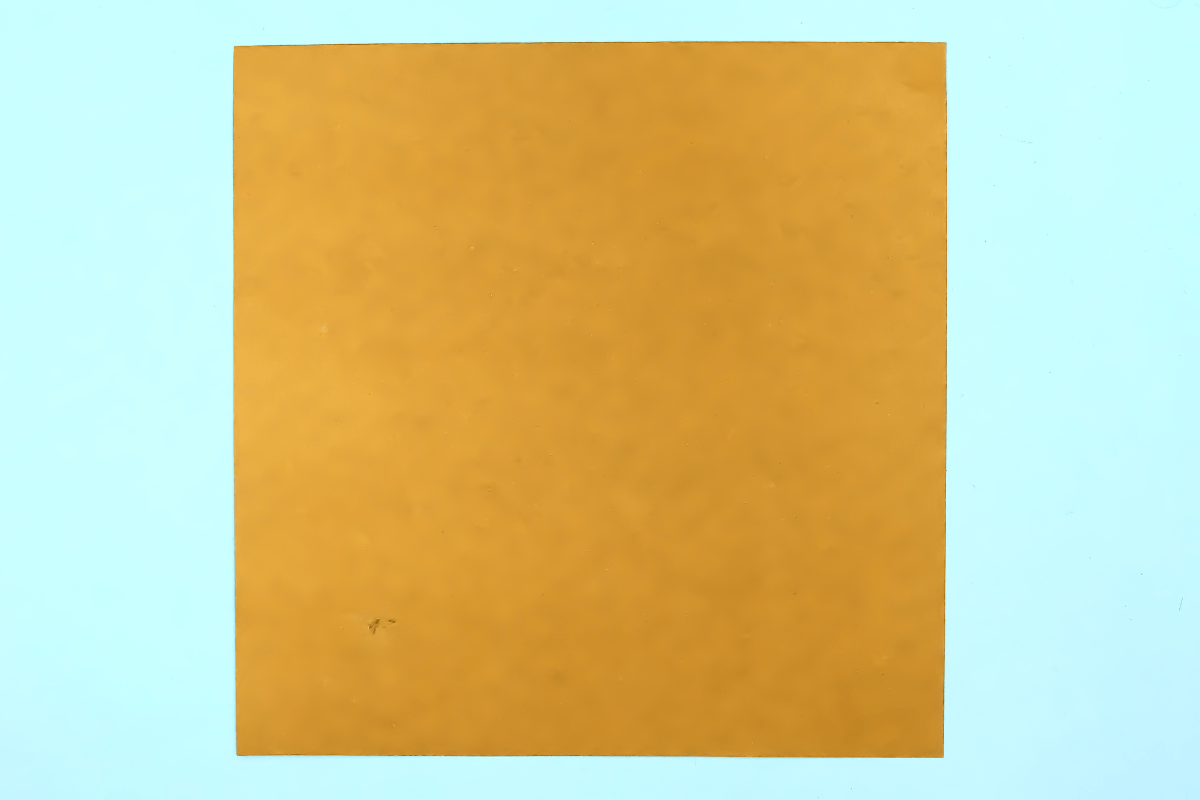
Start with a square sheet of origami paper. I am using an 7×7 inches origami paper.
If you only have regular paper, follow these instructions on how to make a square origami paper.
If you only have regular paper, follow these instructions on how to make a square origami paper.
Step 2
2
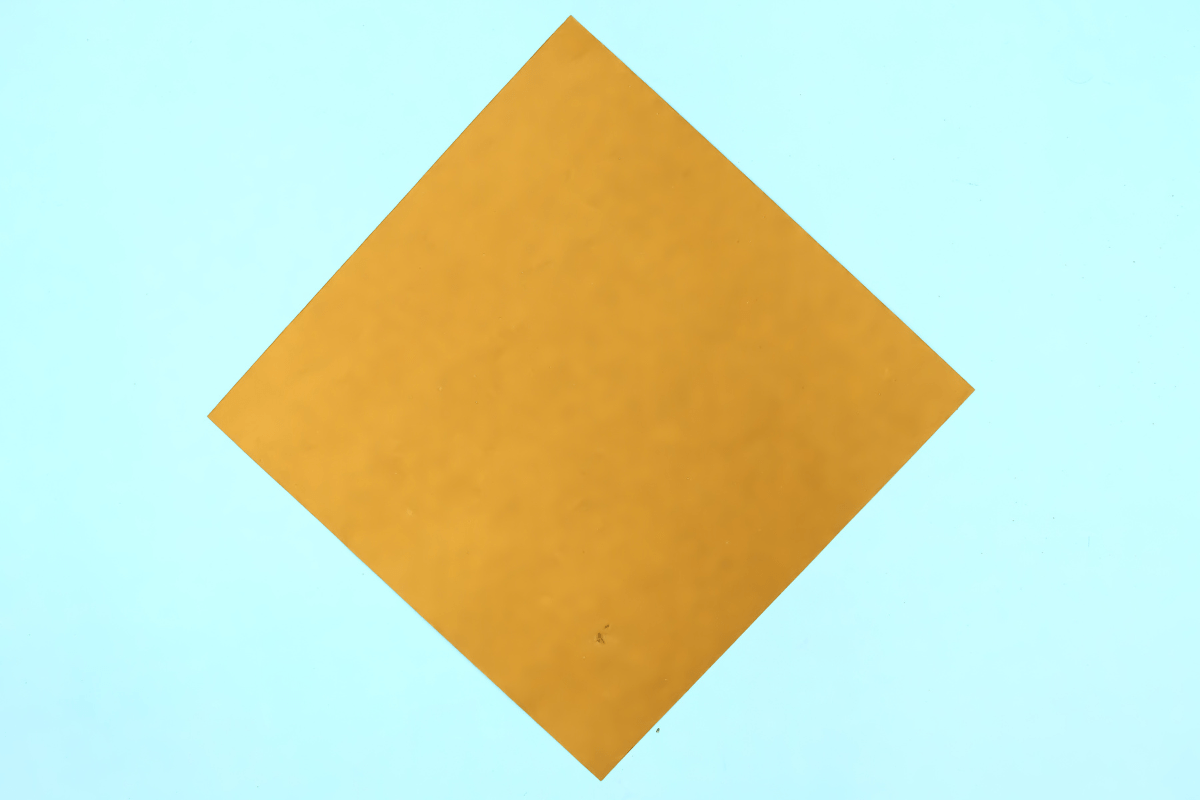
If you using two color sided origami paper then face the lighter side upwards.
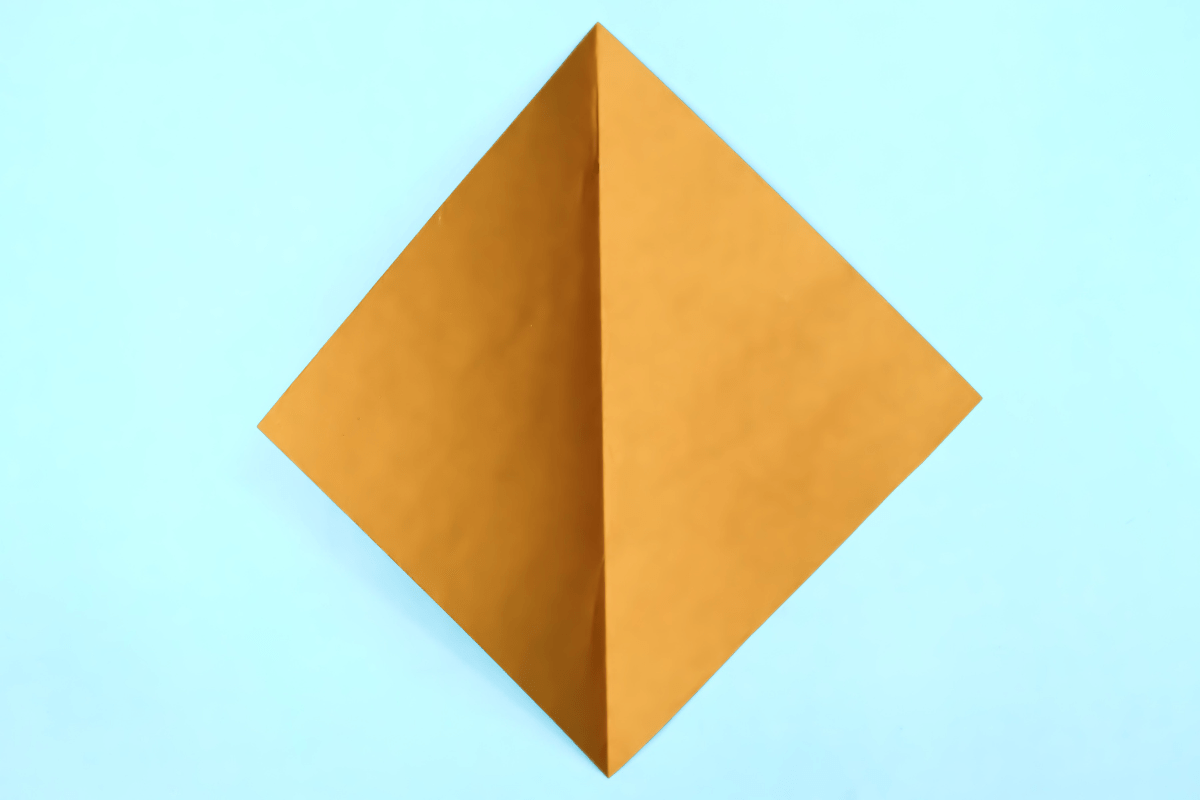
Step 3
3
Fold the left half to the right, corner to corner.
Step 4
4
Unfold.
Step 5
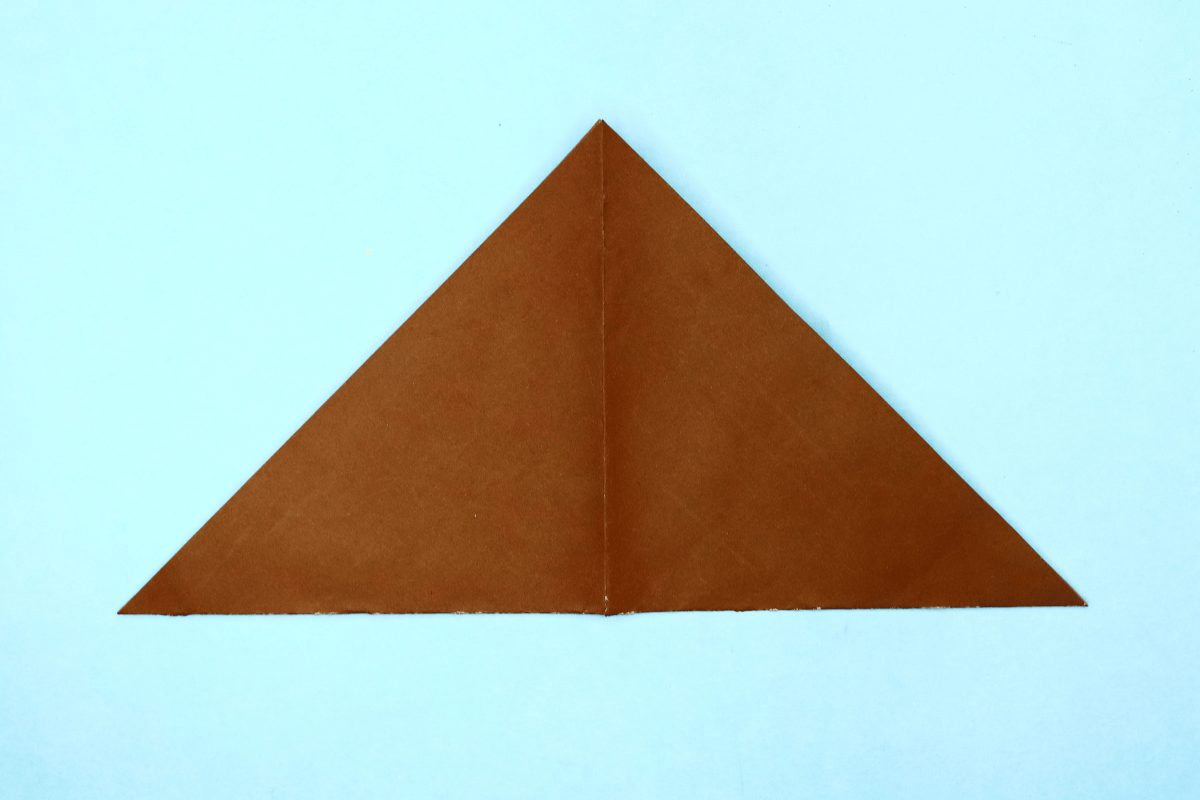
5
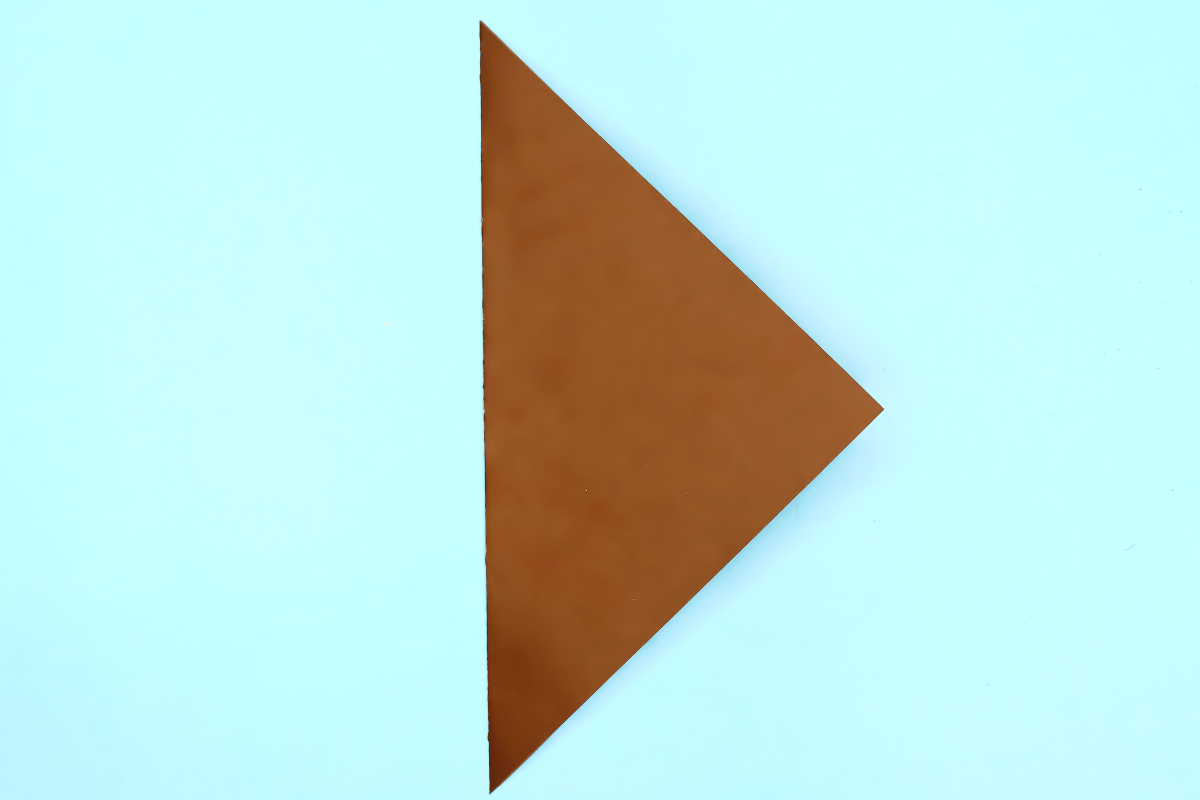
Fold the bottom half upwards.
Step 6
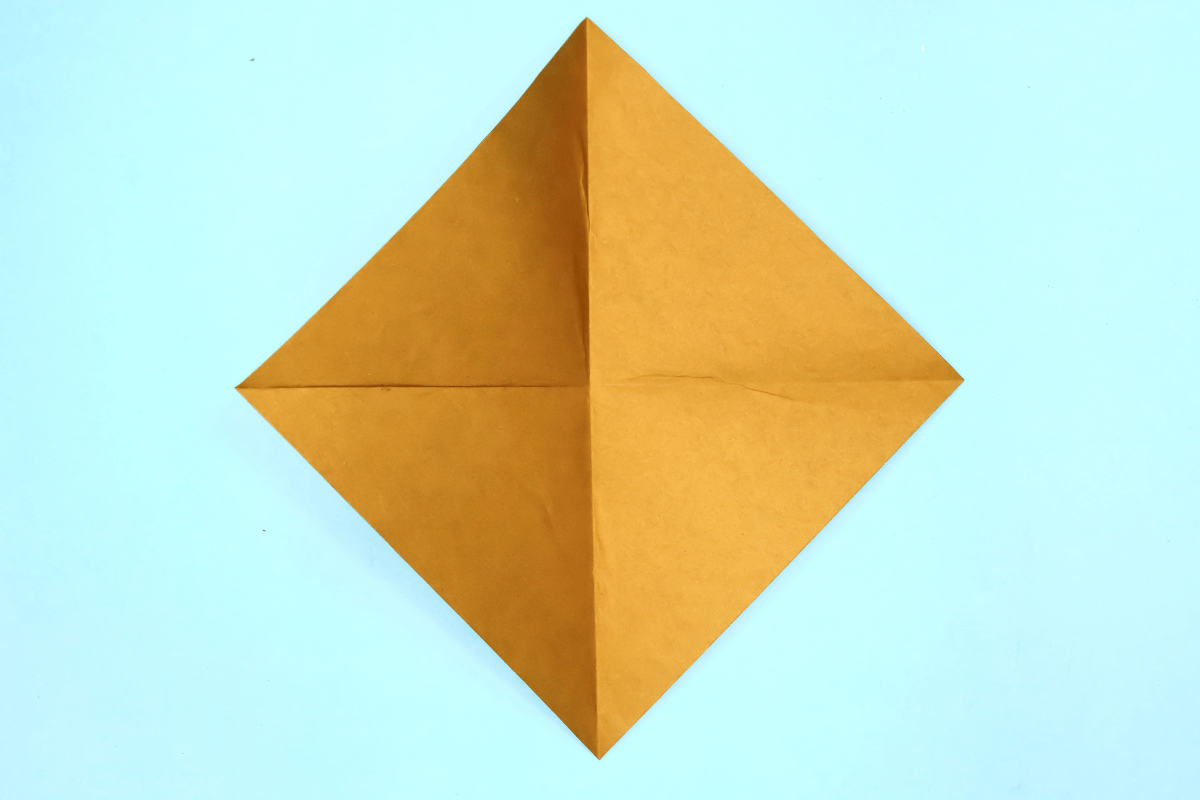
6
Unfold.
Step 7
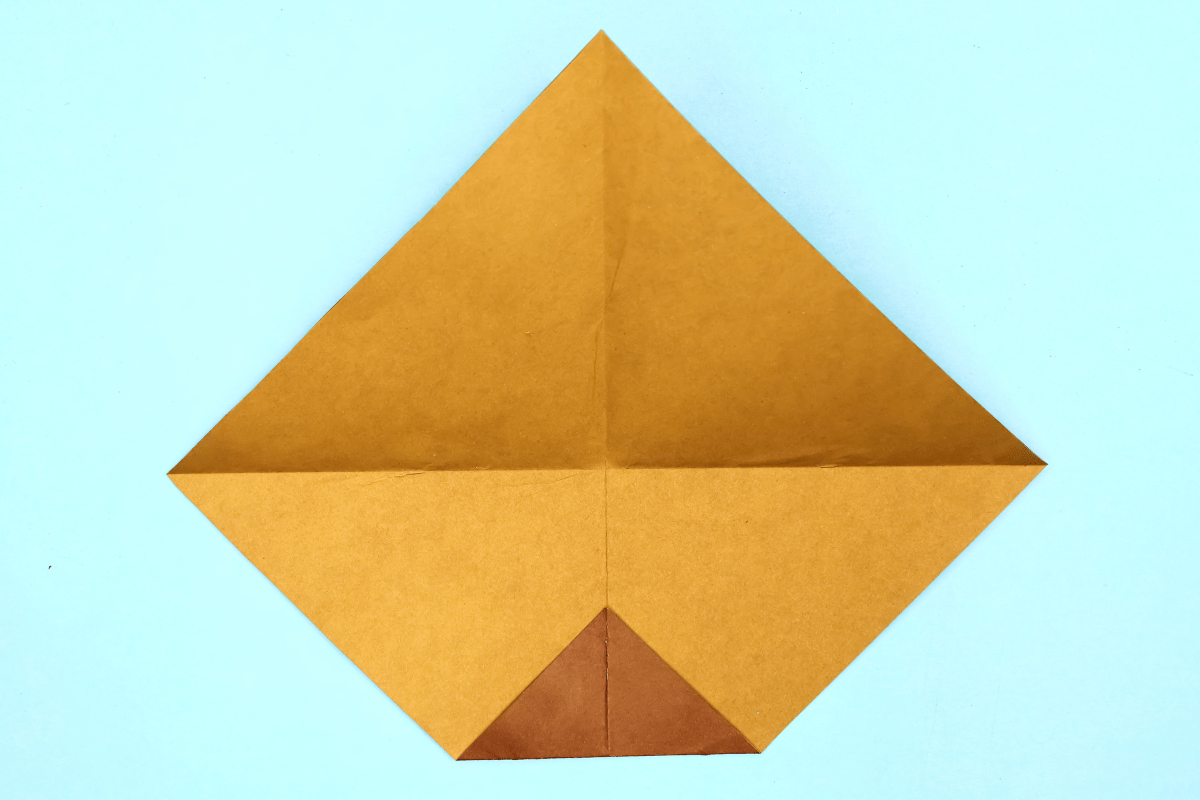
7
Fold a part of the bottom corner up as shown in the picture.
Step 8
8
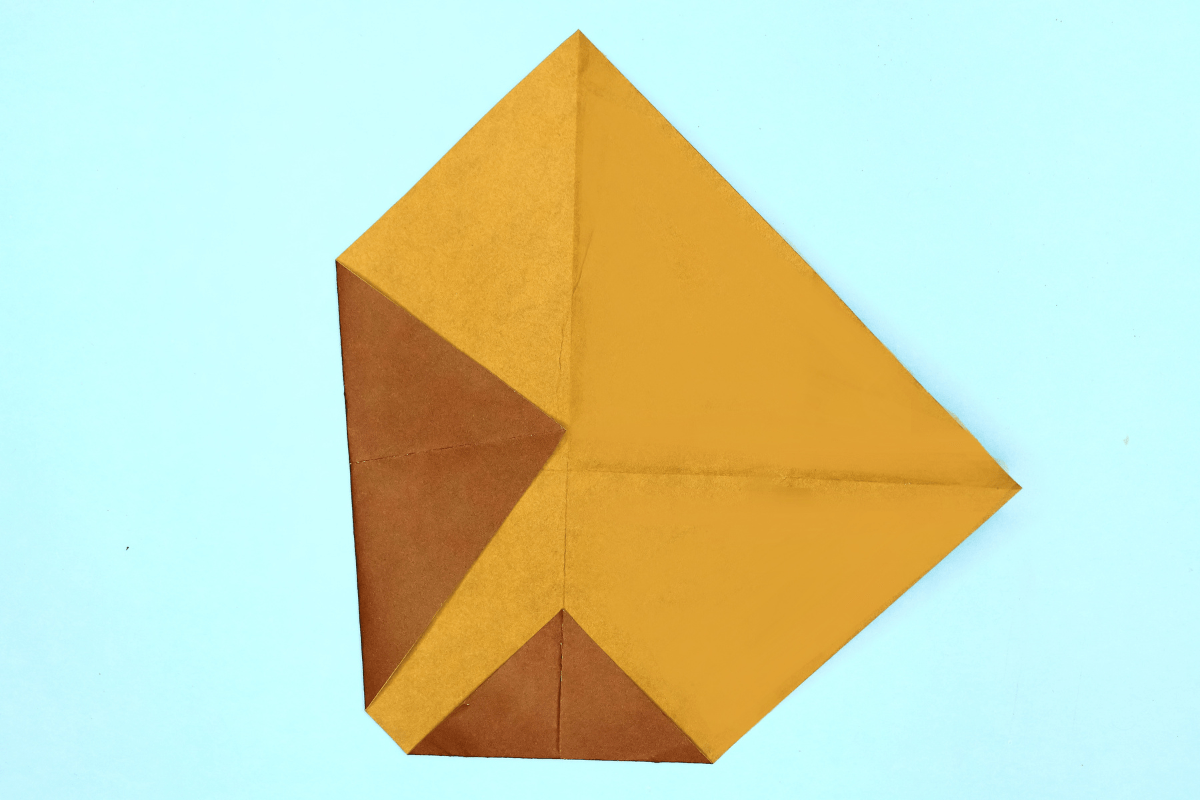
Fold the left corner in above the horizontal crease like in the picture.
Step 9
9
Fold the right corner in above the horizontal crease like in the picture.
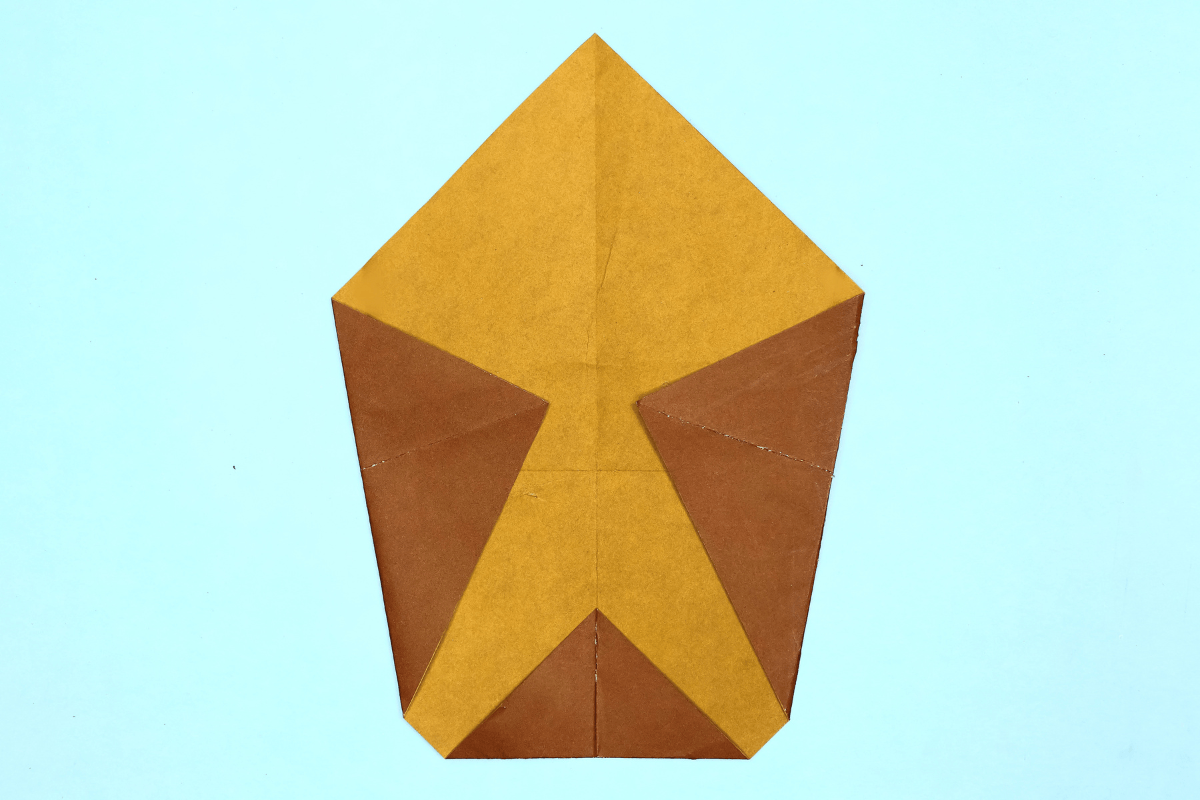
Step 10
10
Fold the paper in half by moving the bottom corner backwards to meet the top corner.
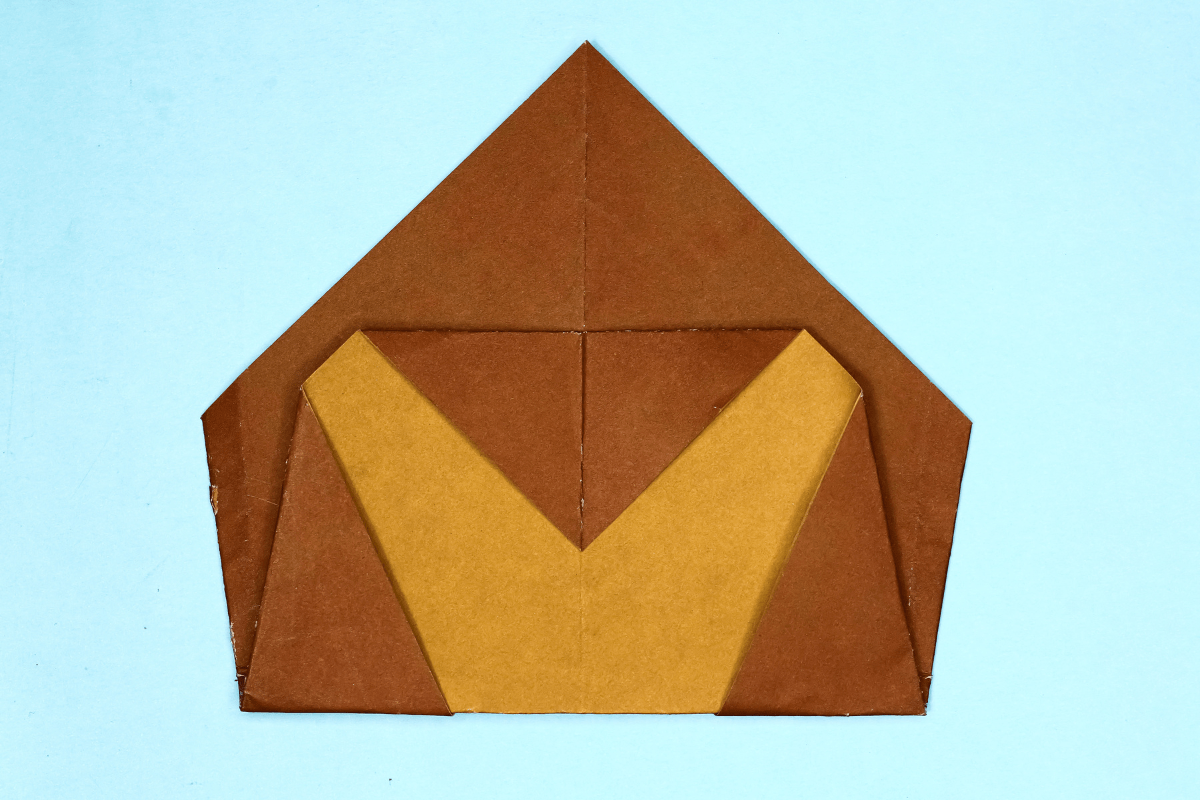
Step 11
11
Turn the figure over.
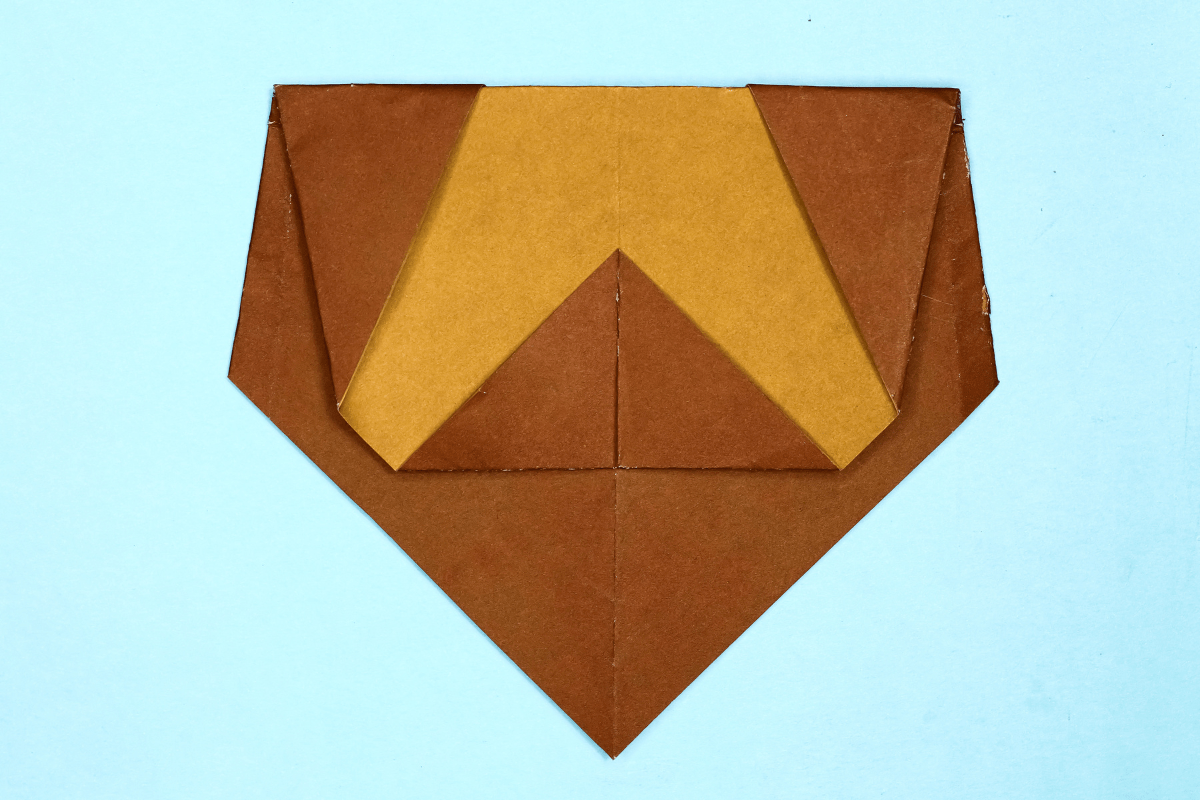
Step 12

12
Rotate the figure as shown.
Step 13
13
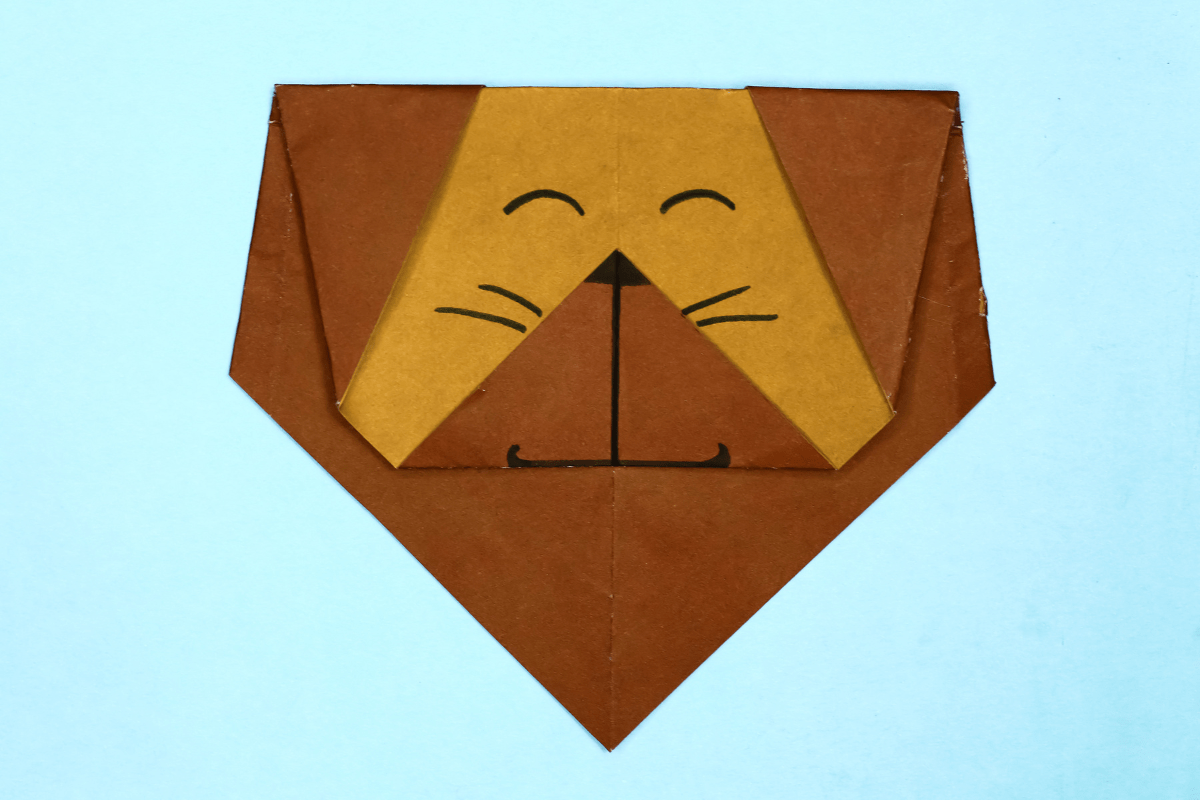
Draw on the face and here you have an origami paper lion!
Share and Comment
We would love to see your creations! Scroll down to the comments section and share a photo of your origami.
Comments
One response to “Easy Origami Lion Instructions”
-

this lion is so cute, I love it
Leave a Reply