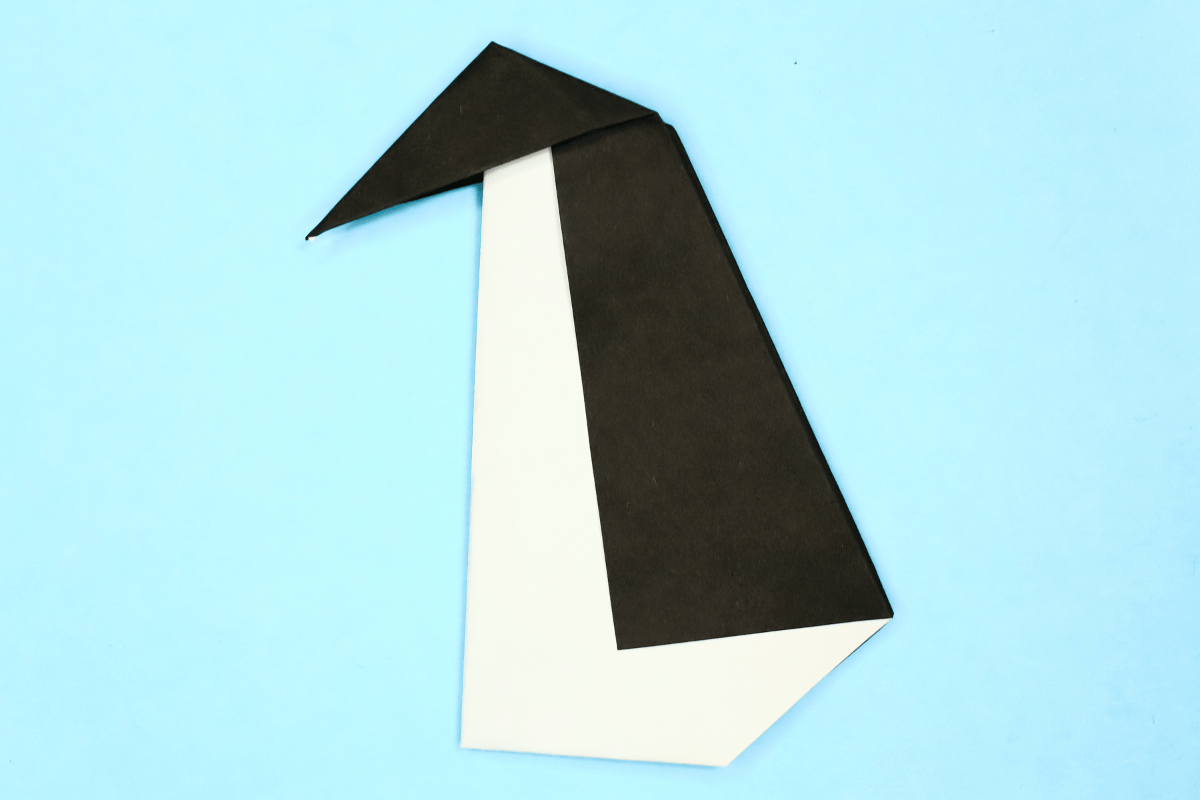
These easy origami penguin instructions will teach you to fold one using very simple and clear step-by-step photos. It’s so easy, even very young children should be able to fold it.
How to Make an Easy Origami Penguin
Difficulty: Easy
Learn how to fold an easy origami penguin. It’s very easy to make one and only takes a minute with these step-by-step instructions.
Step 1
1
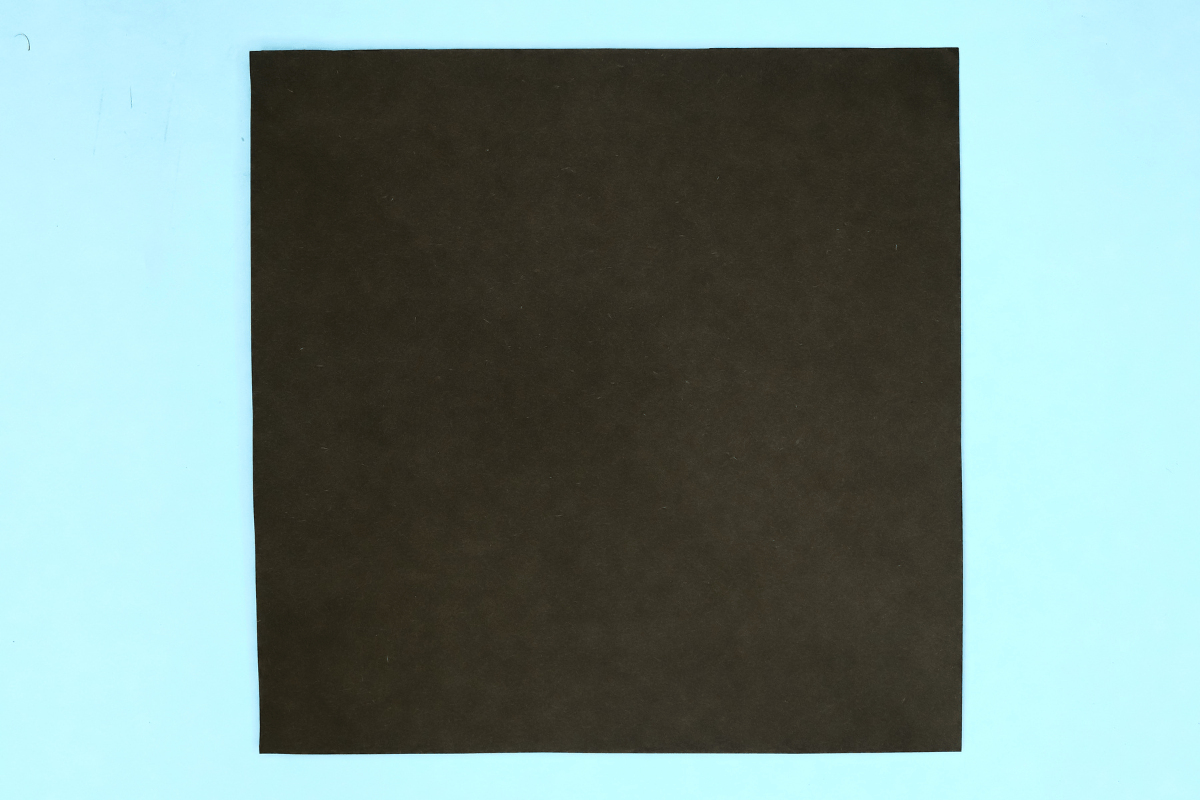
Start with a square piece of origami paper. I am using an 7×7 inches origami sheet.
If you only have regular paper, follow these instructions on how to make a square origami paper.
If you only have regular paper, follow these instructions on how to make a square origami paper.
Step 2
2
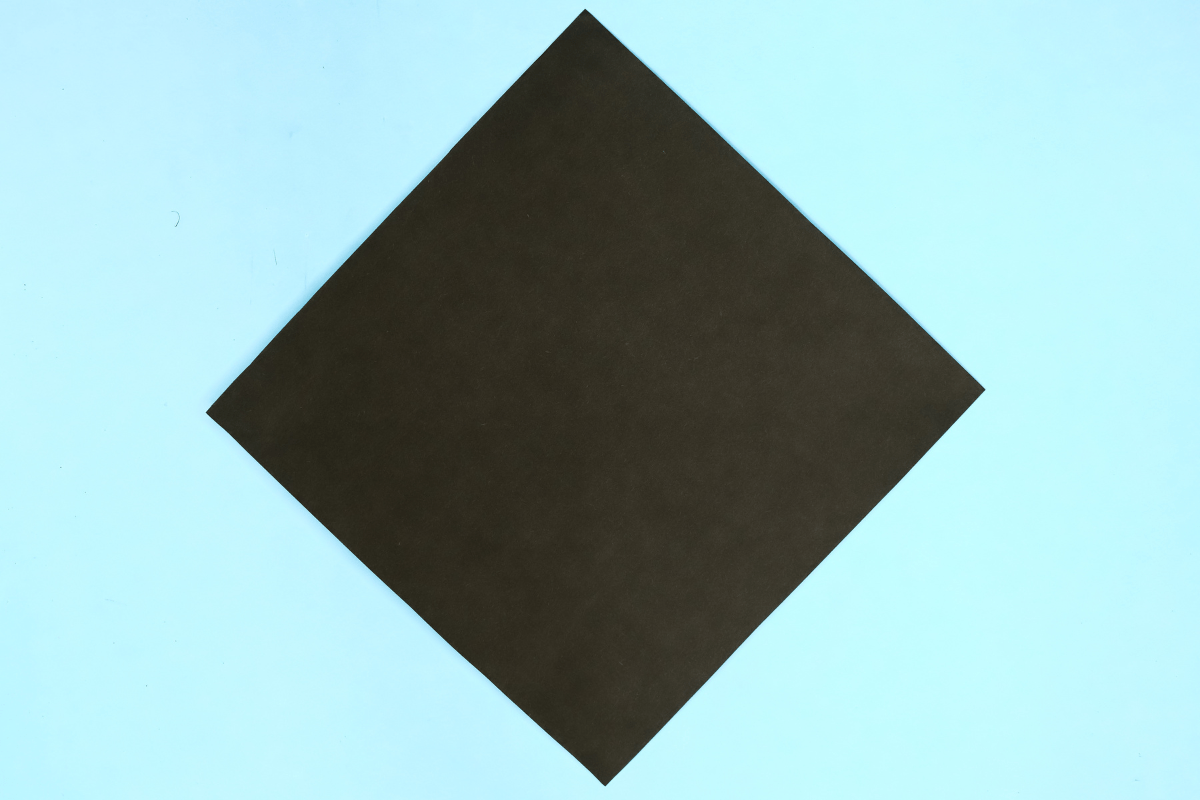
Rotate the sheet by 90°.
Step 3

3
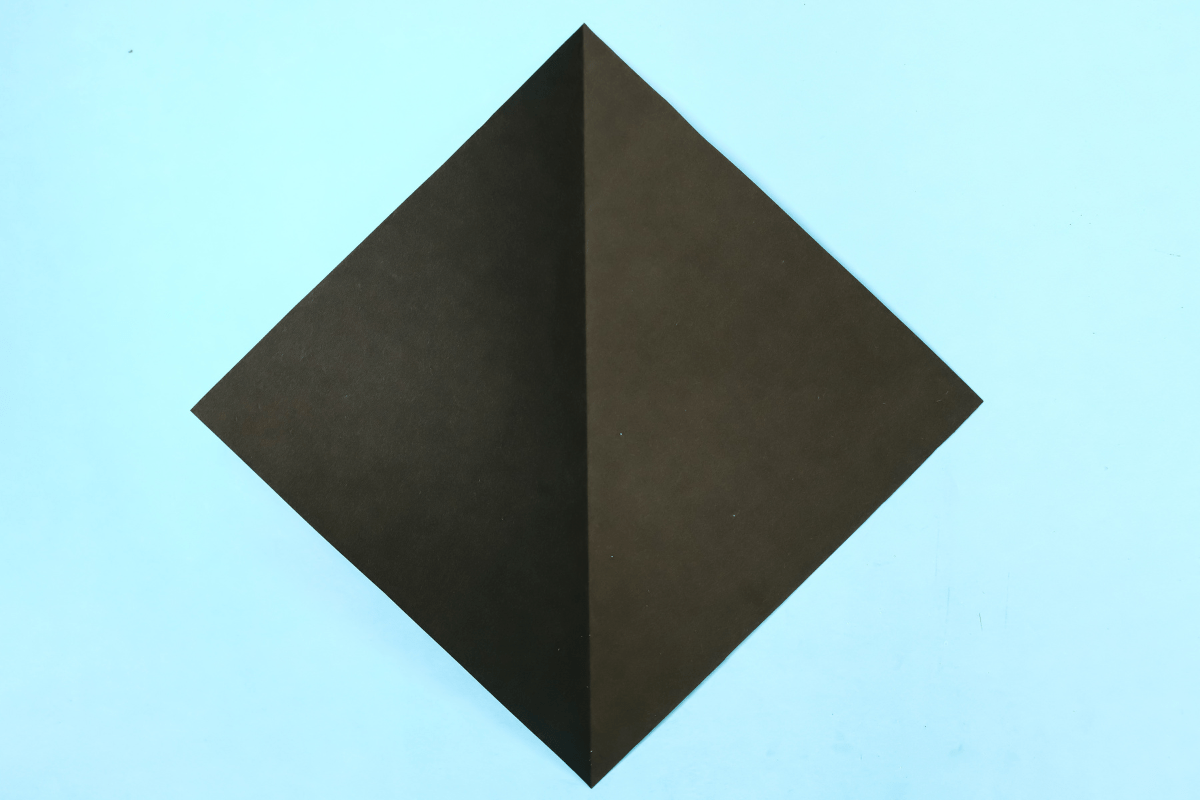
Let’s create a crease in the center to use as a guideline. Fold the paper in half.
Step 4
4
Unfold.
Step 5
5
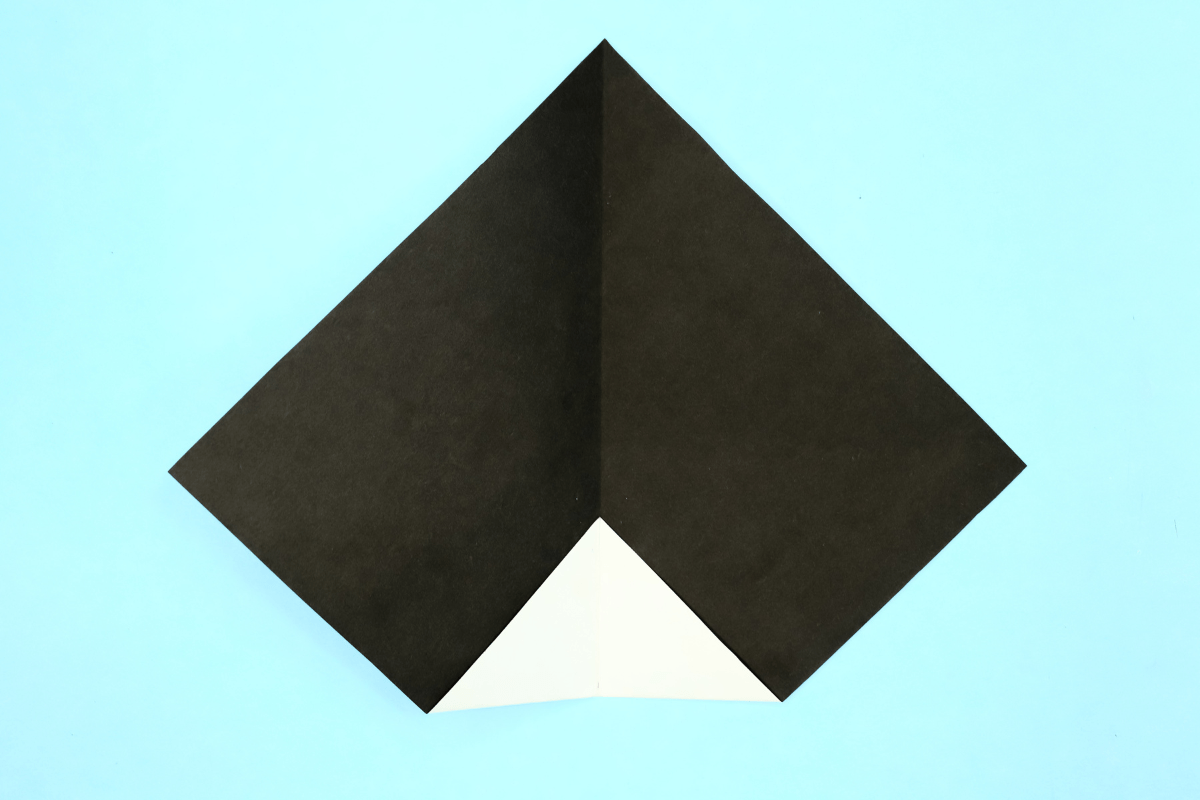
Fold the bottom corner up like this.
Step 6
6
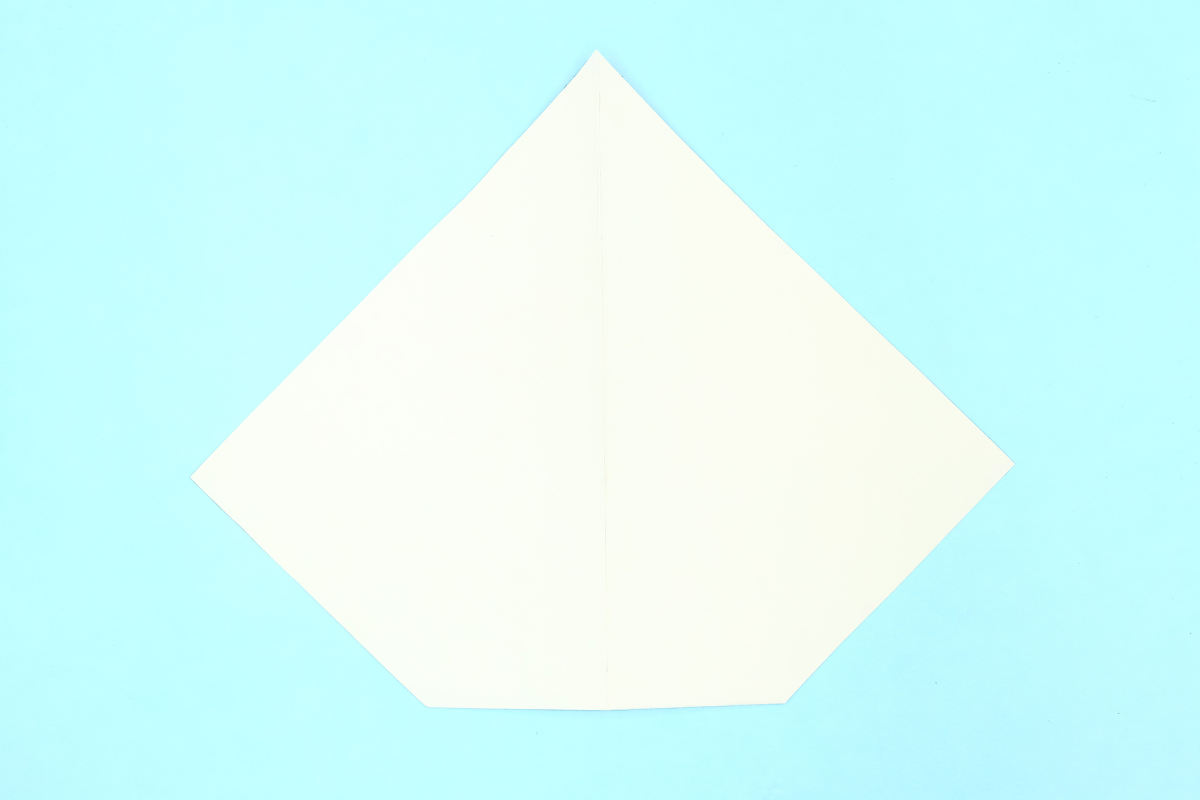
Turn the paper over.
Step 7
7
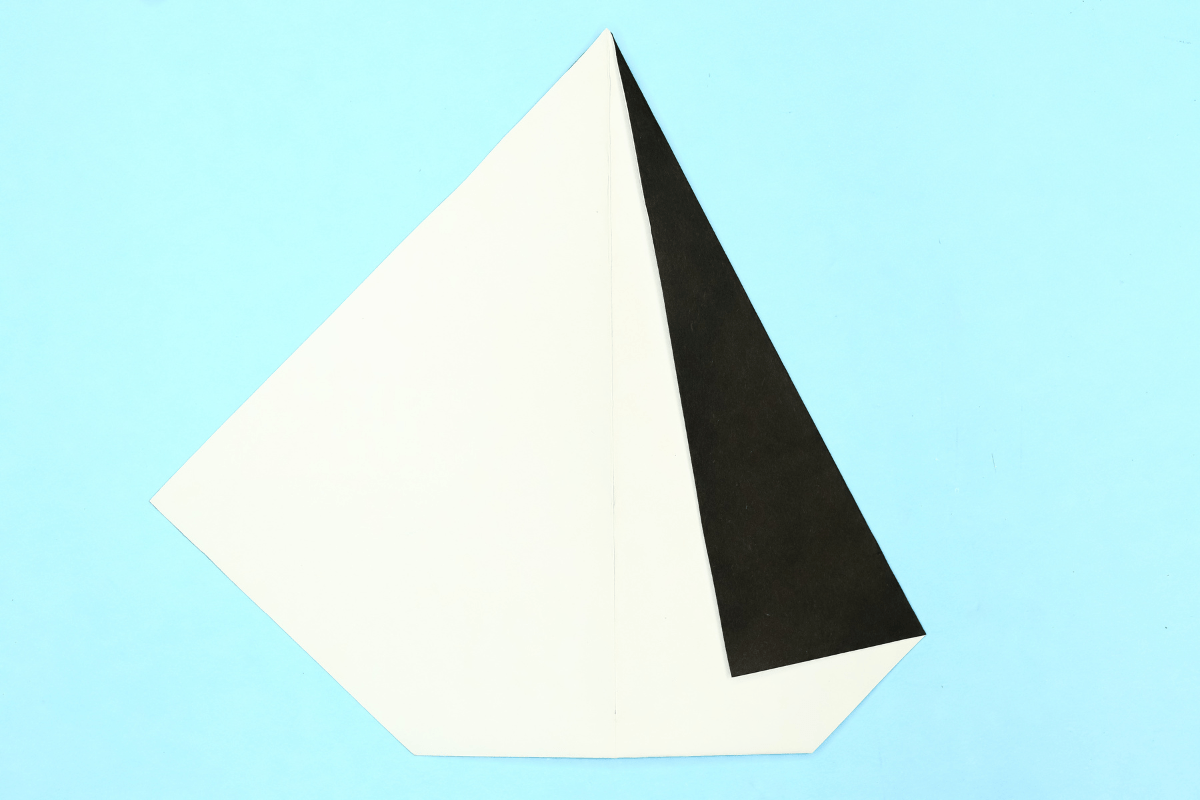
Fold in the right side like this.
Step 8
8
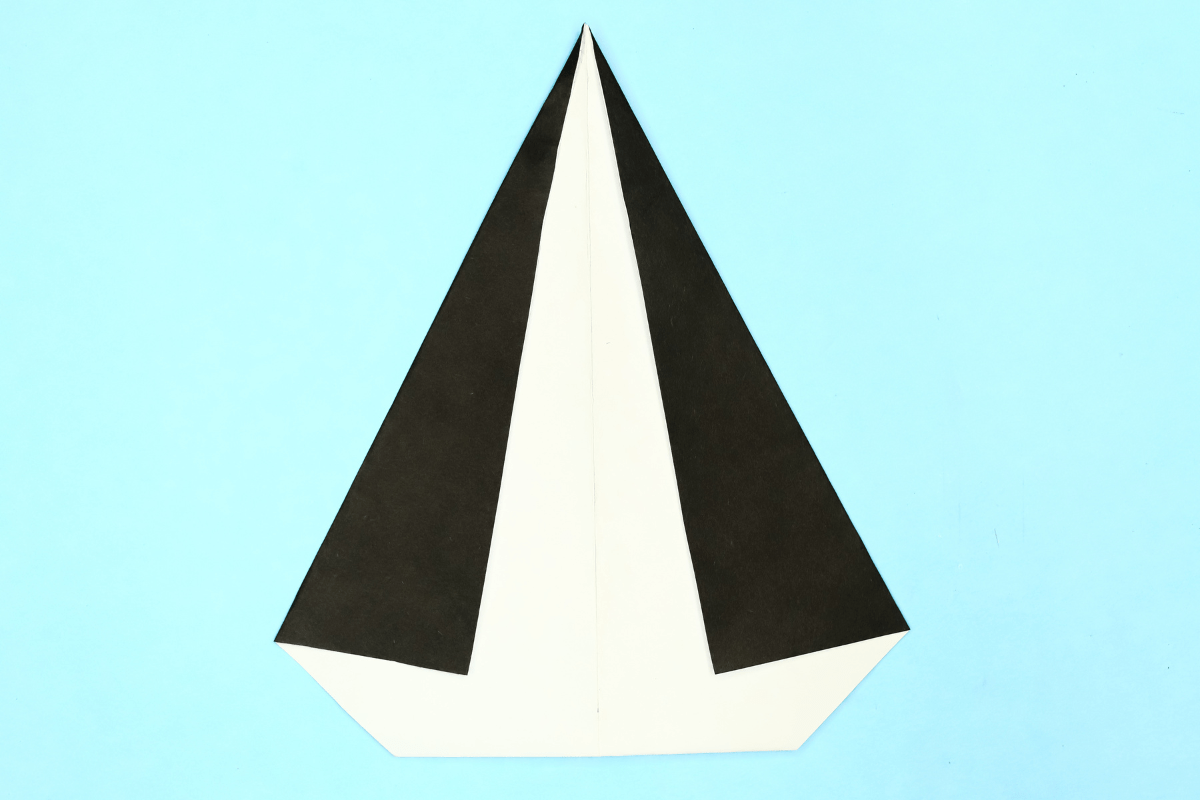
Fold in the left side like this.
Step 9
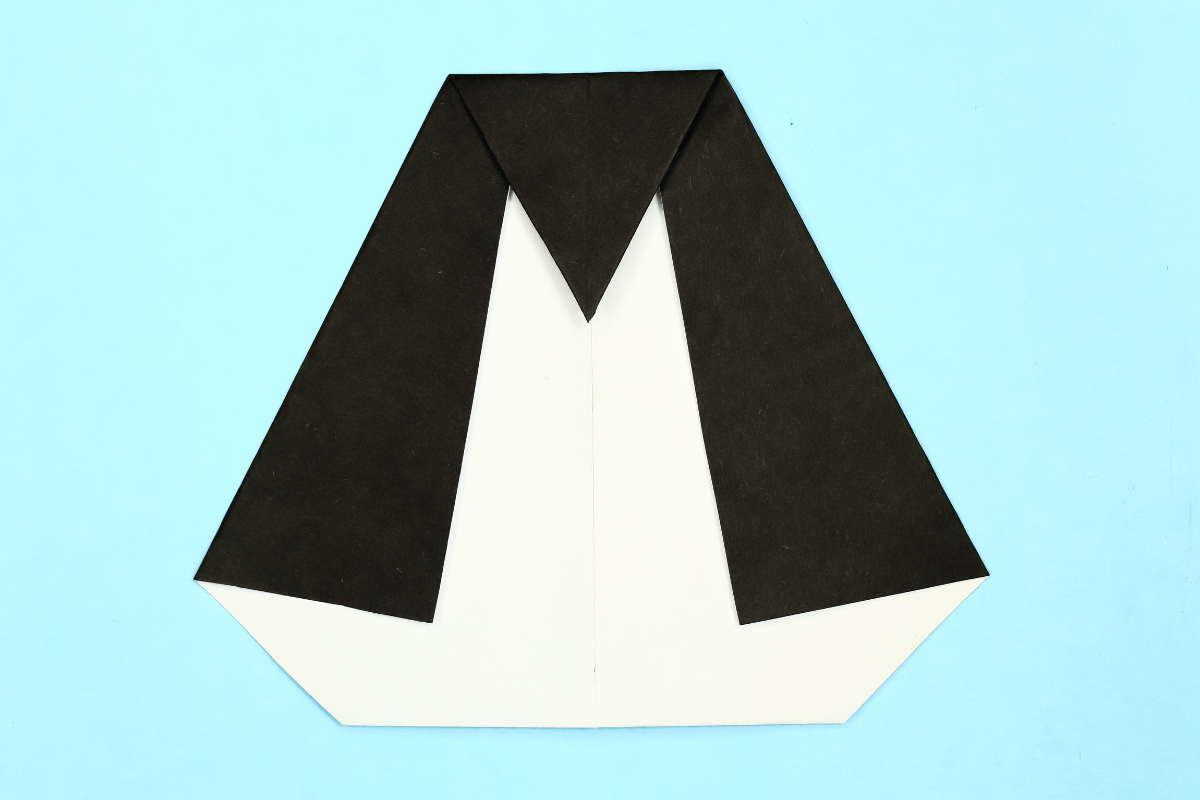
9
Fold the top point down like this.
Step 10
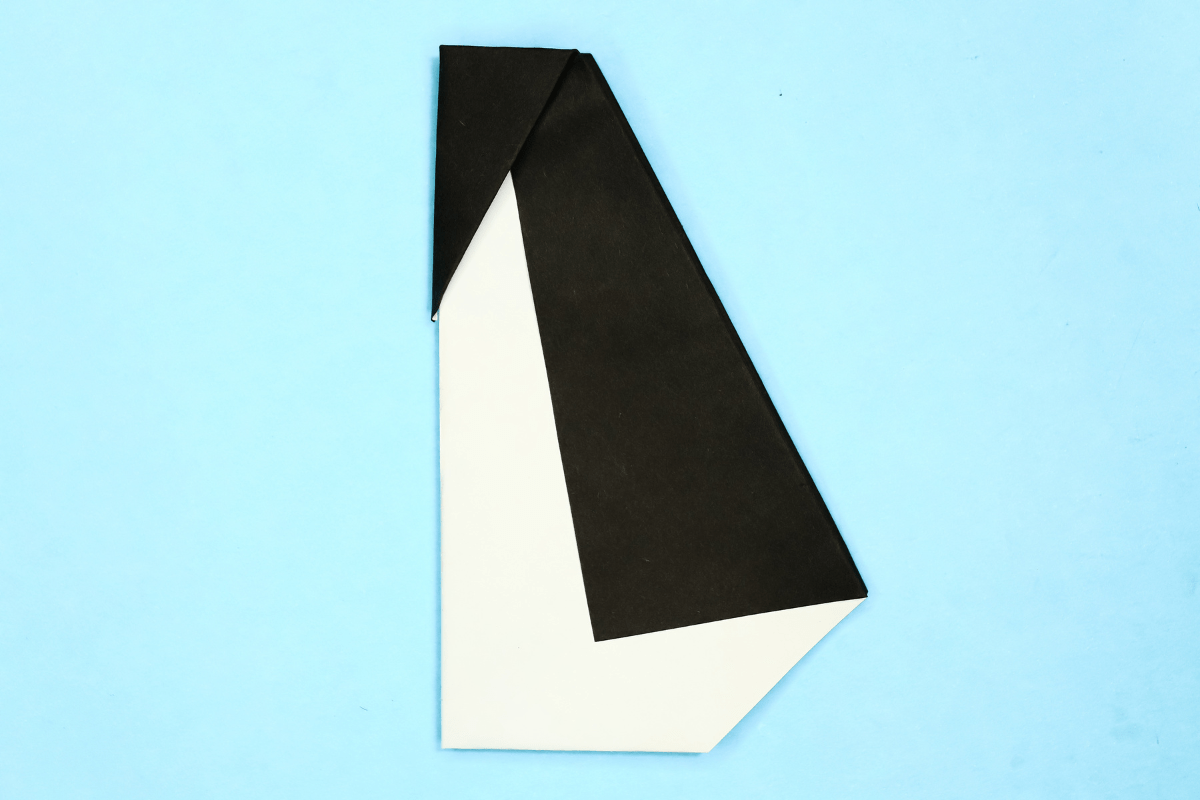
10
Fold the penguin in half by raising the center crease up and folding the sides back. This is called a mountain fold.
Step 11

11
Pull the beak out and flatten the back of the head like this.
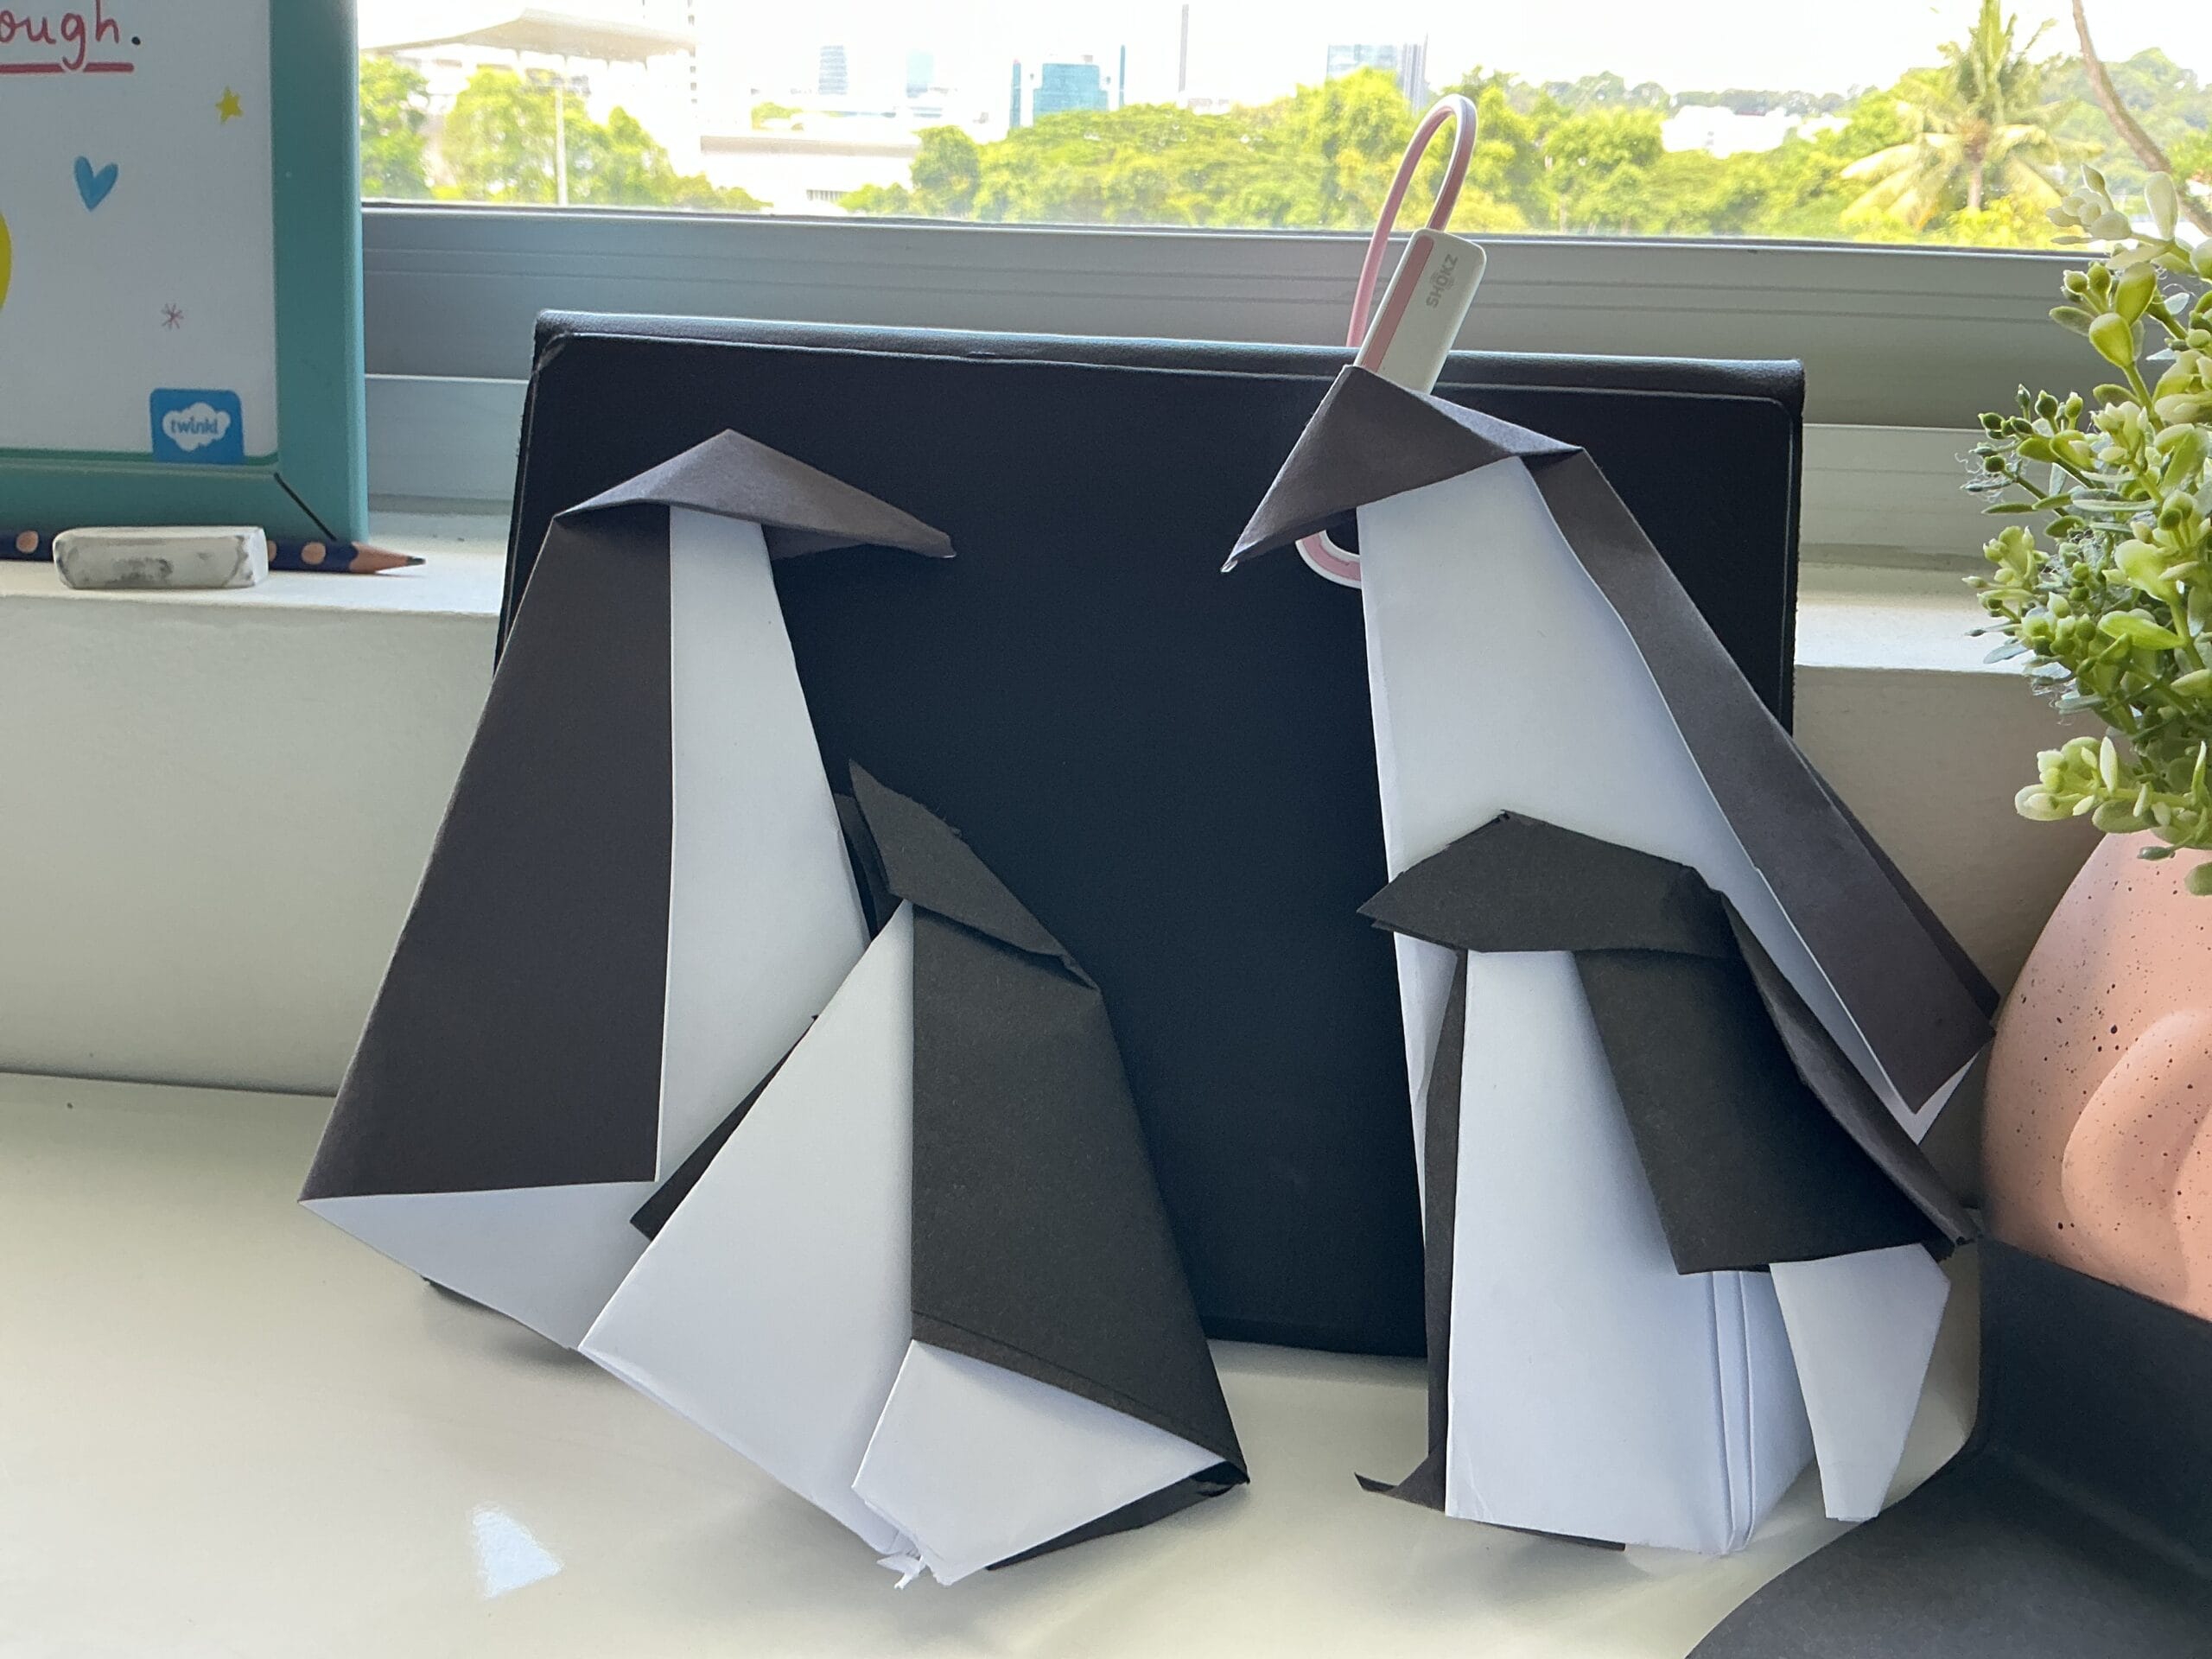
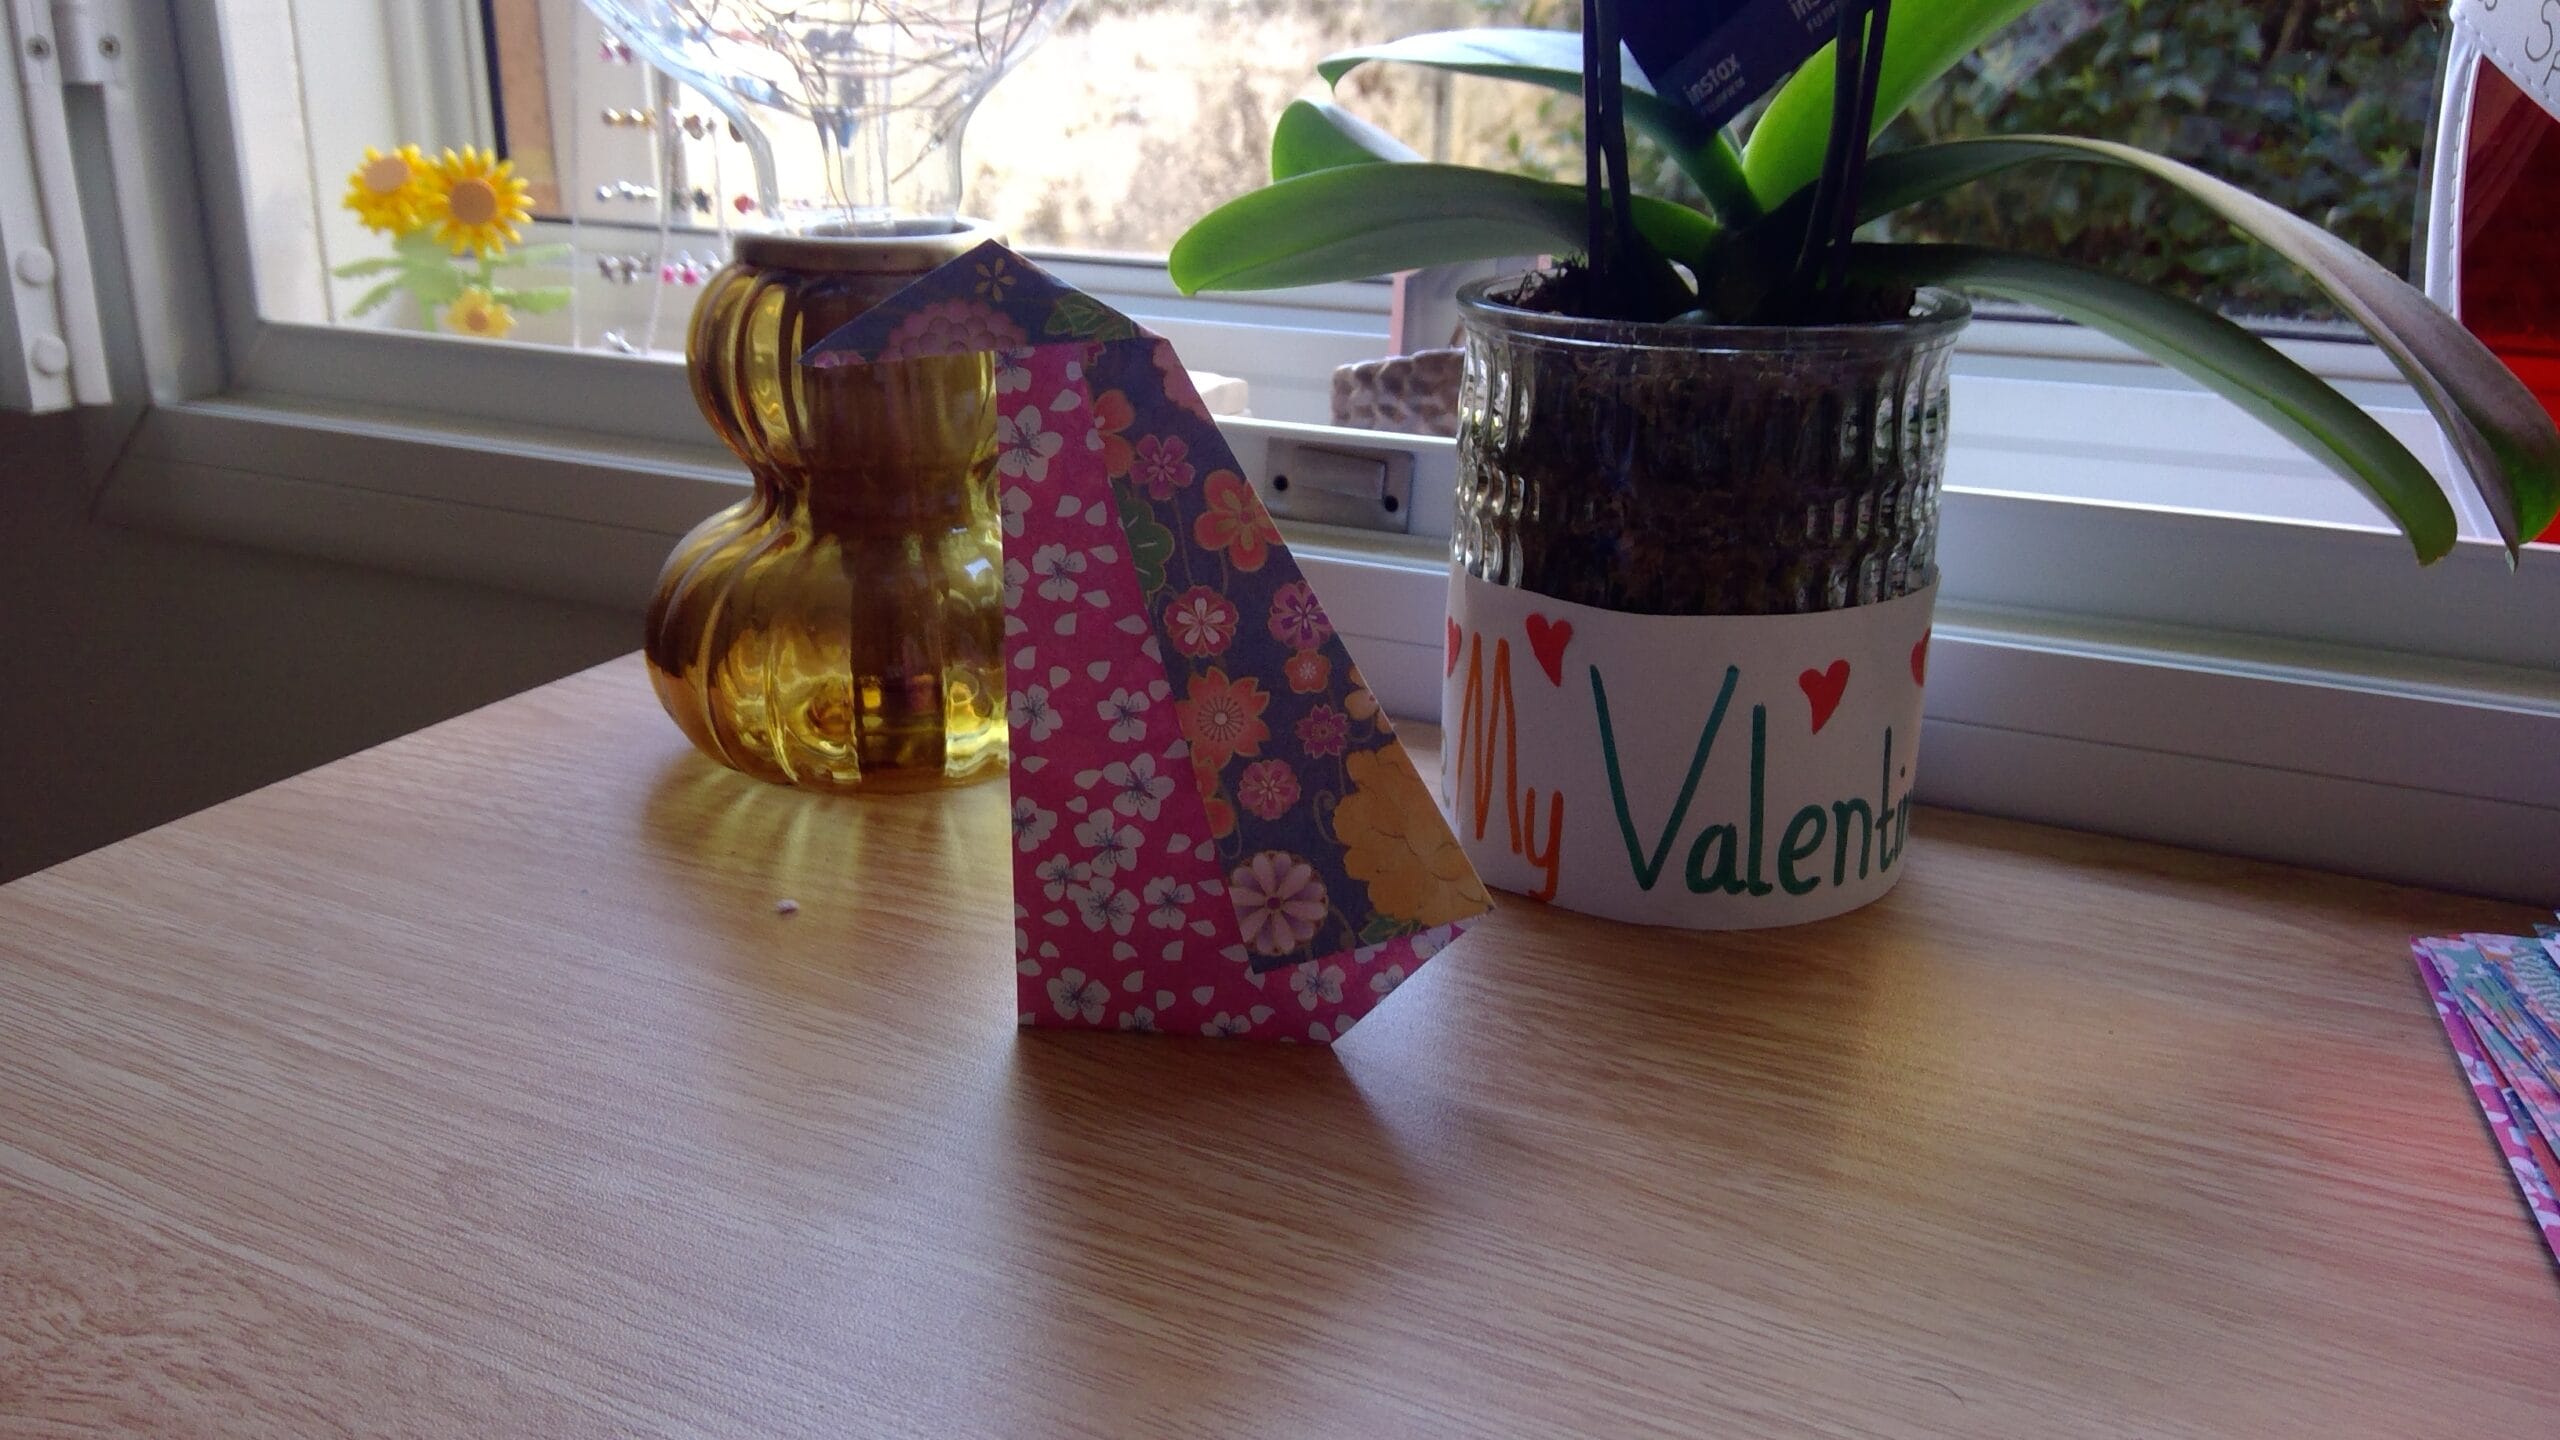
Step 12
12
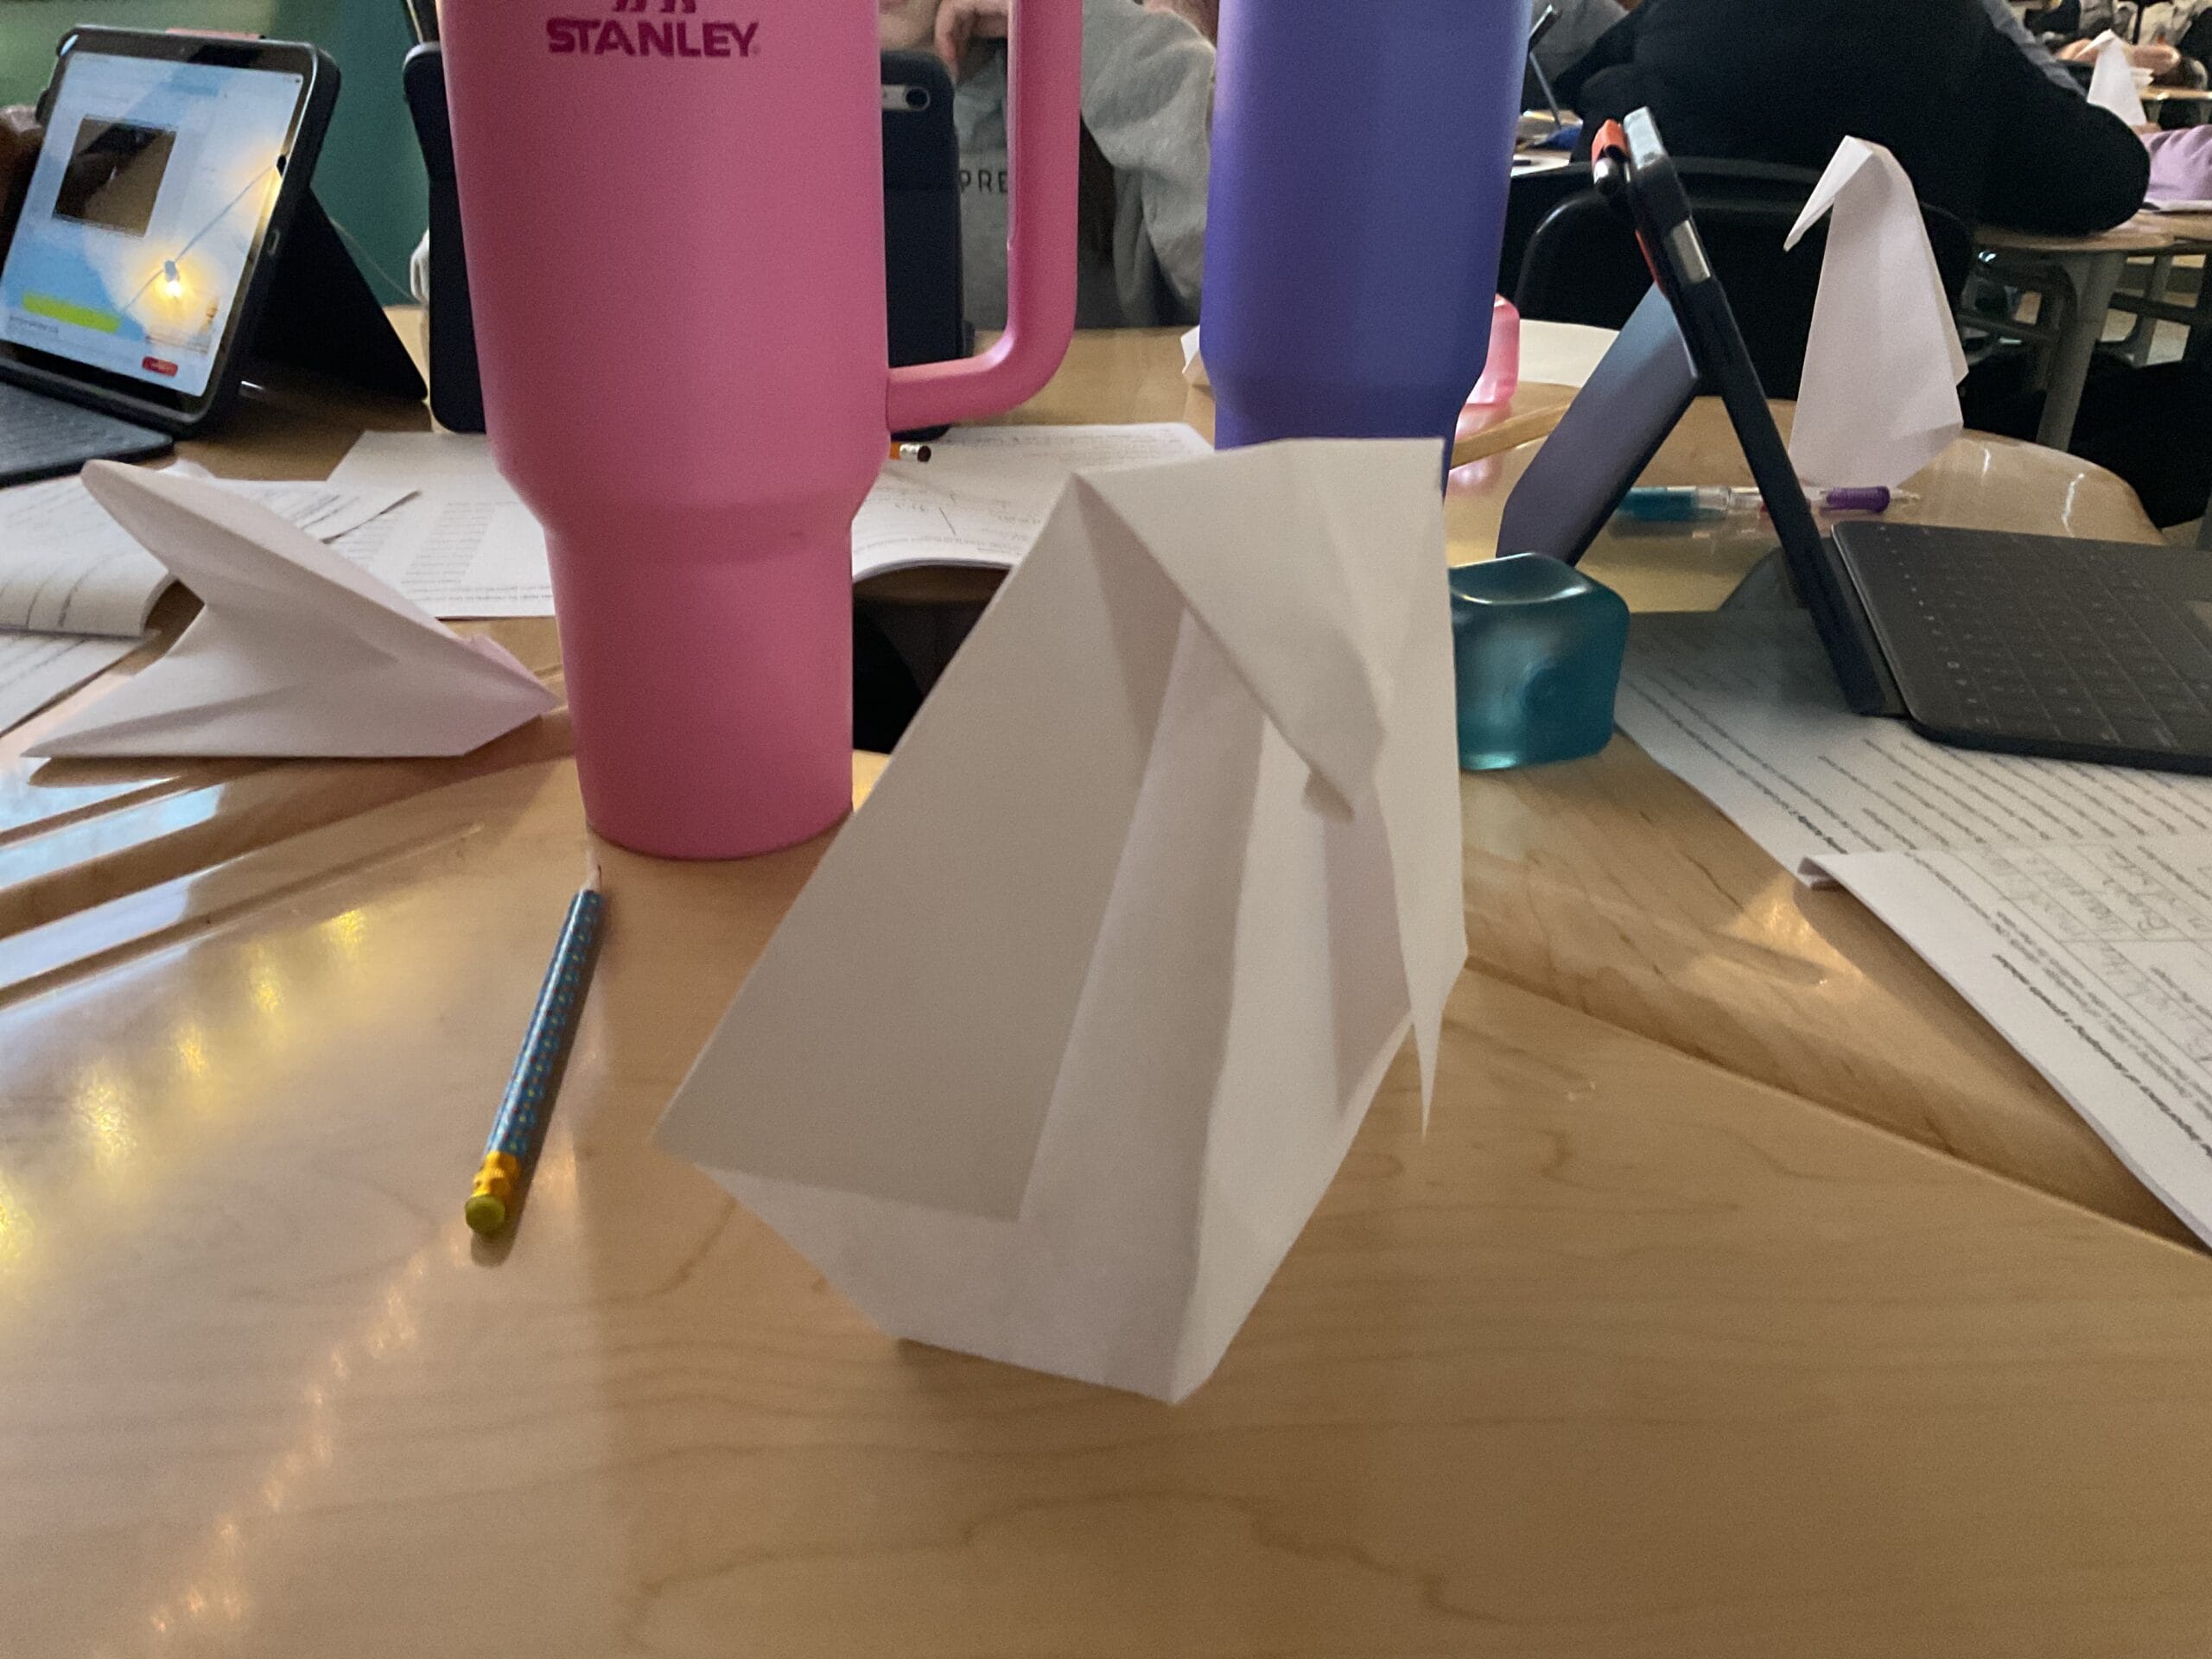
You just a made an origami penguin!
Share and Comment
We would love to see your creations! Scroll down to the comments section and share a photo of your origami.
Comments
4 responses to “How to Make an Easy Origami Penguin”
-

Super duper cute penguin

-
AWWWWWWWWWWW! Its adorable, and it can stand up as well!
AMAZING! Love it!
-
I love ❤️ it is a easy way to do it if you’re re so 😕 confused about it
-
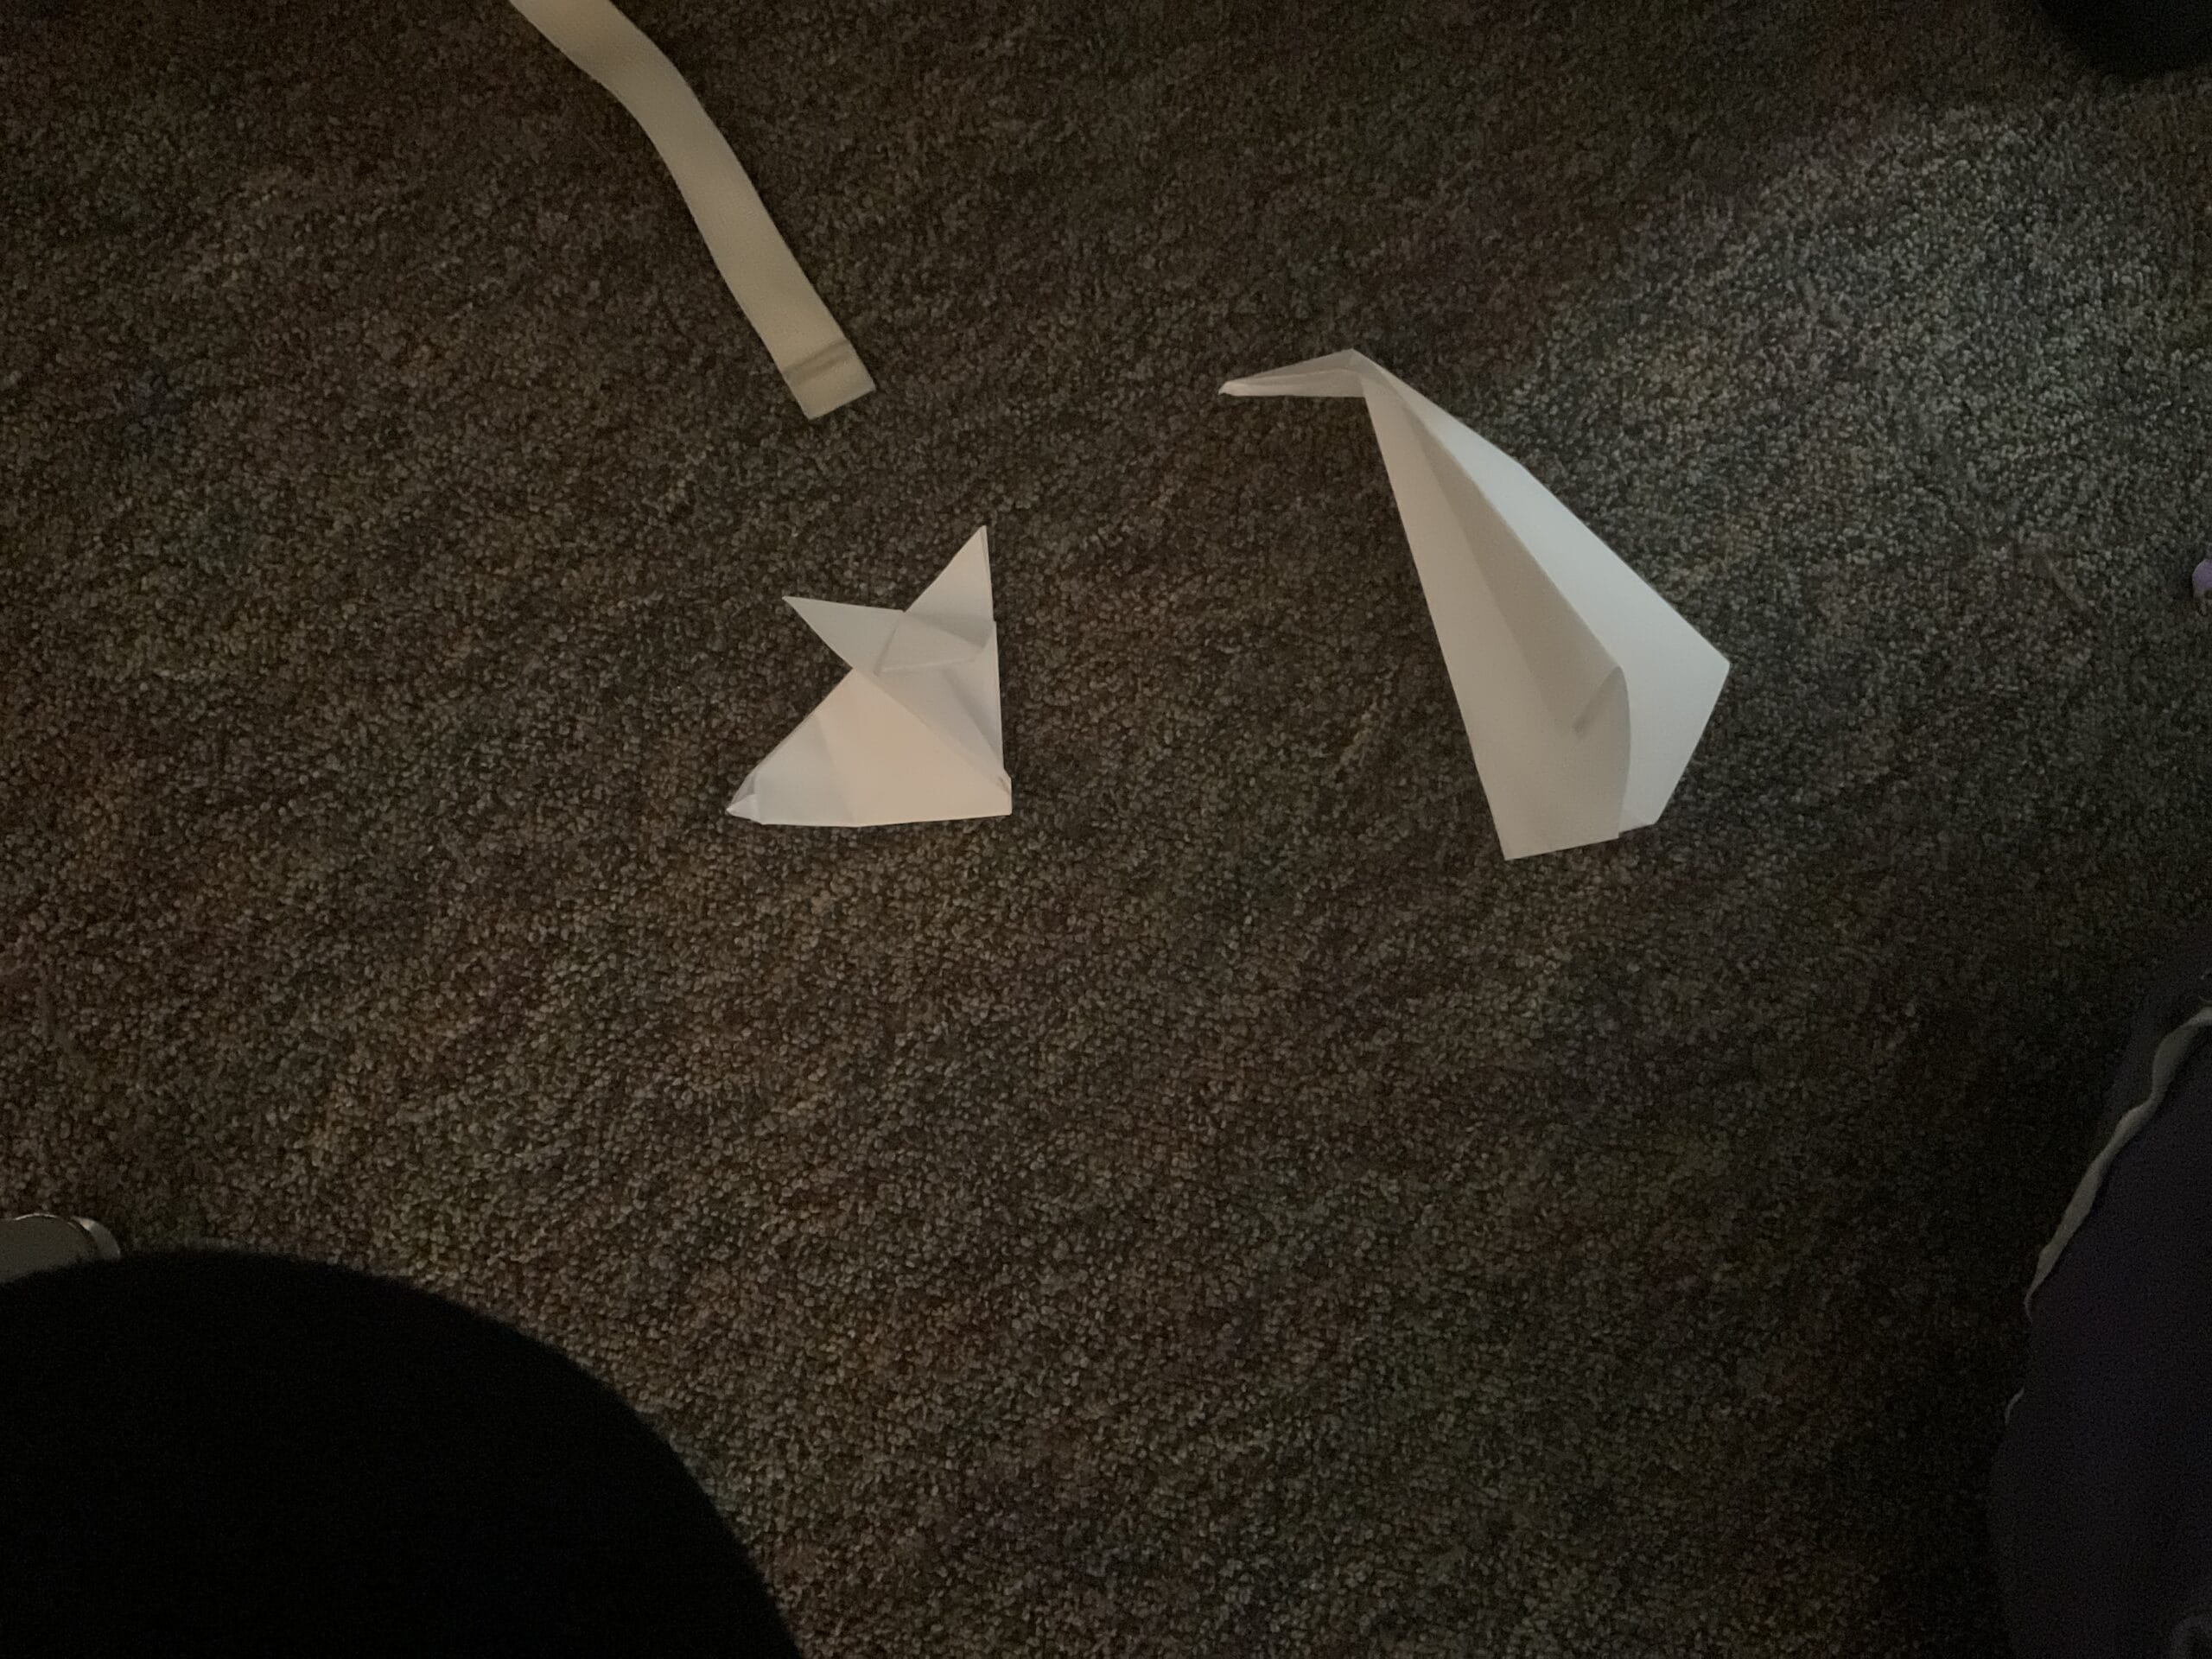
I made a fox and a penguin and both were awfully cute
Leave a Reply