Easy Origami Pug Dog Instructions
Difficulty: Easy
Learn how to fold an easy origami pug dog or puppy. It’s very easy to make one and only takes a minute with these step-by-step instructions.
Step 1
1
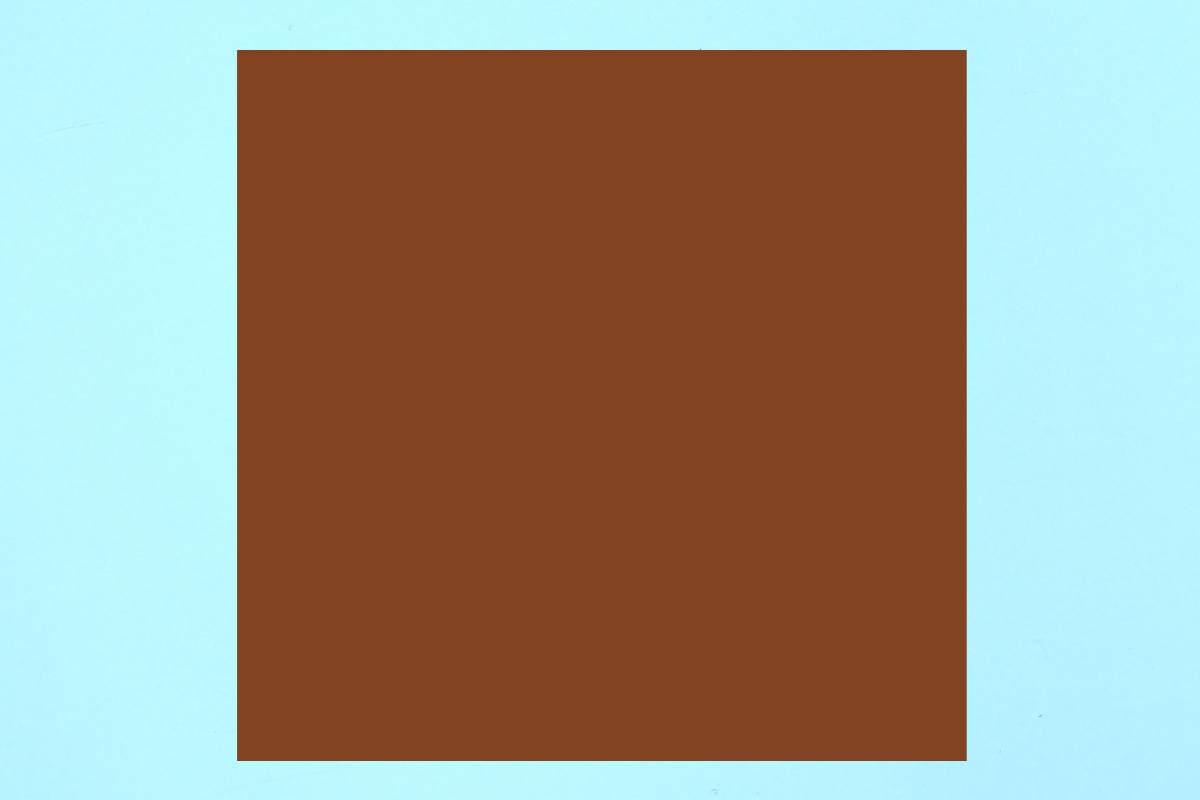
Start with a square piece of origami paper. I am using an 7×7 inches two color sided origami paper.
If you only have regular paper, follow these instructions on how to make a square origami paper.
If you only have regular paper, follow these instructions on how to make a square origami paper.
Step 2
2
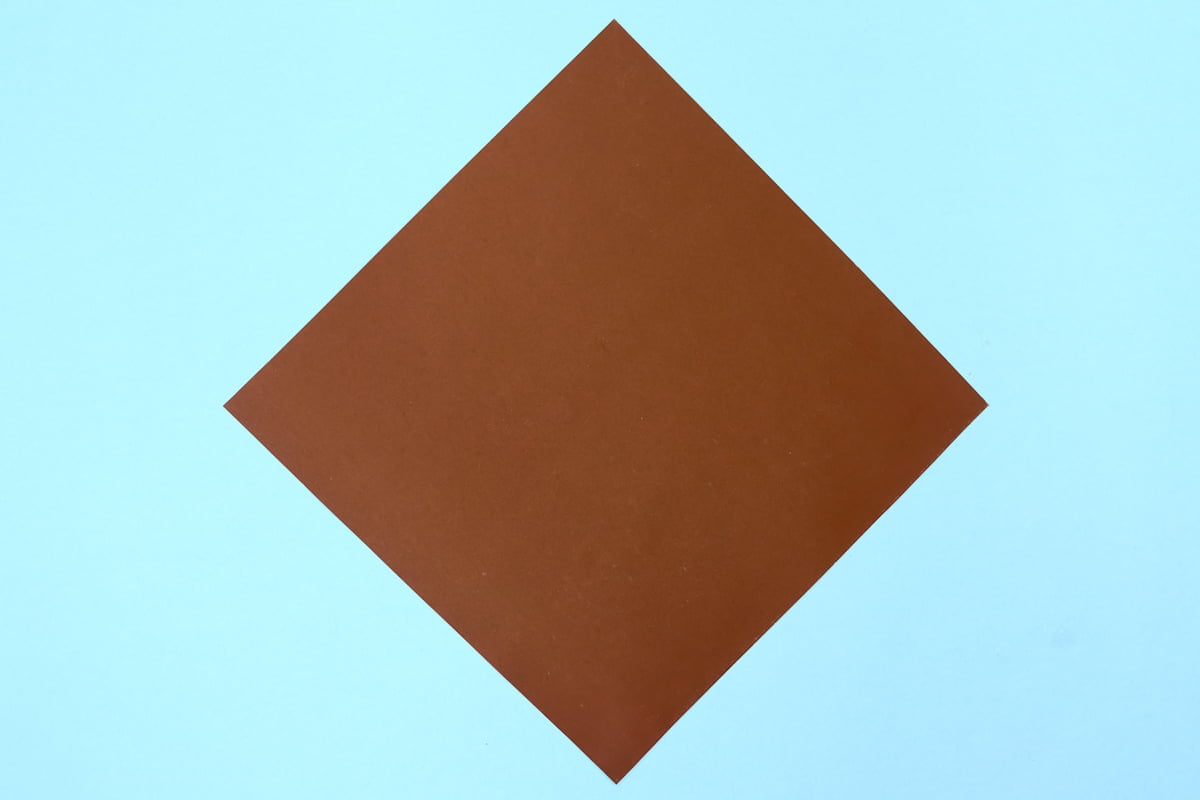
If you are using two color sided paper then face the darker side upwards and rotate the paper diagonally.
Step 3
3
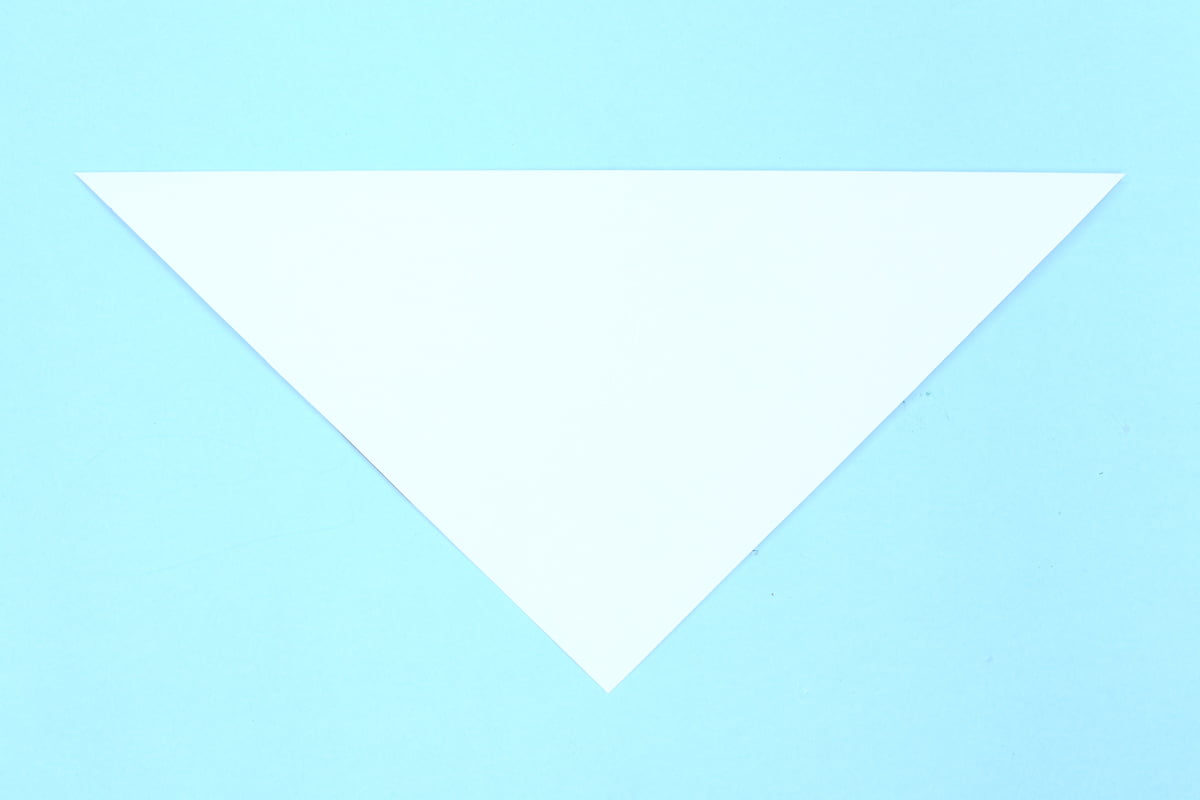
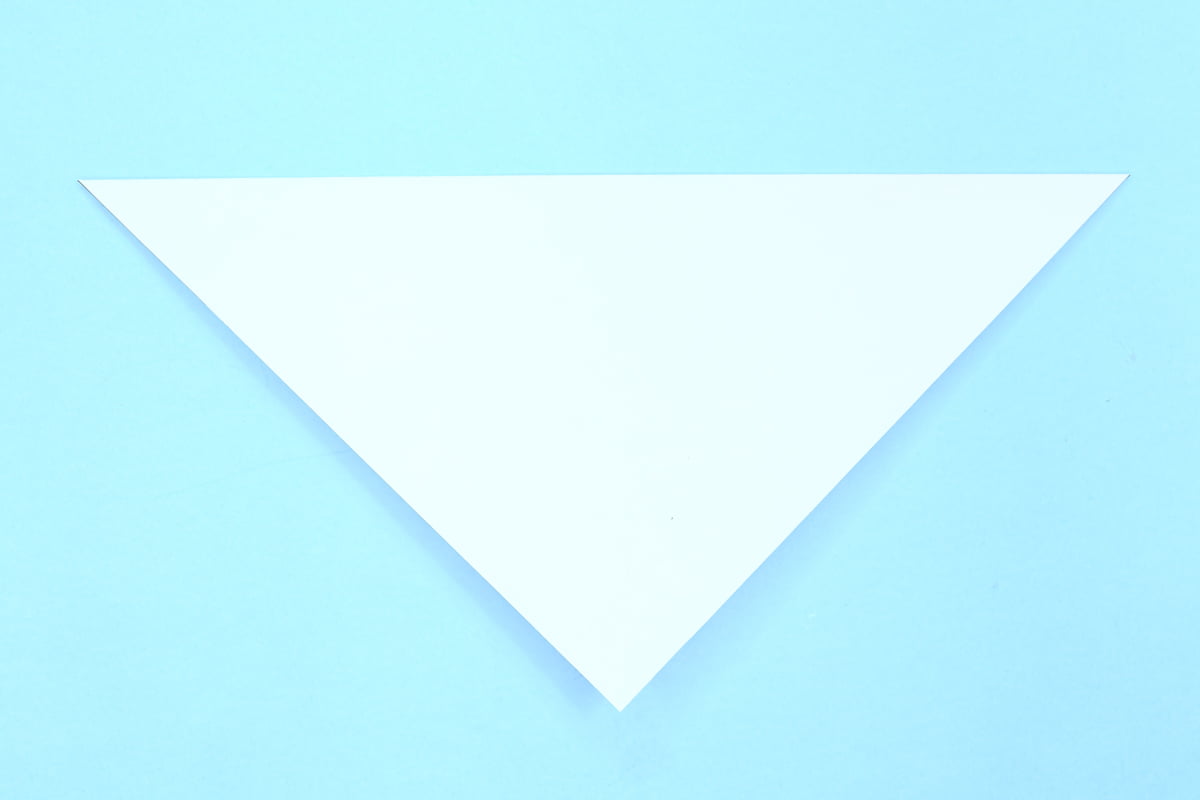
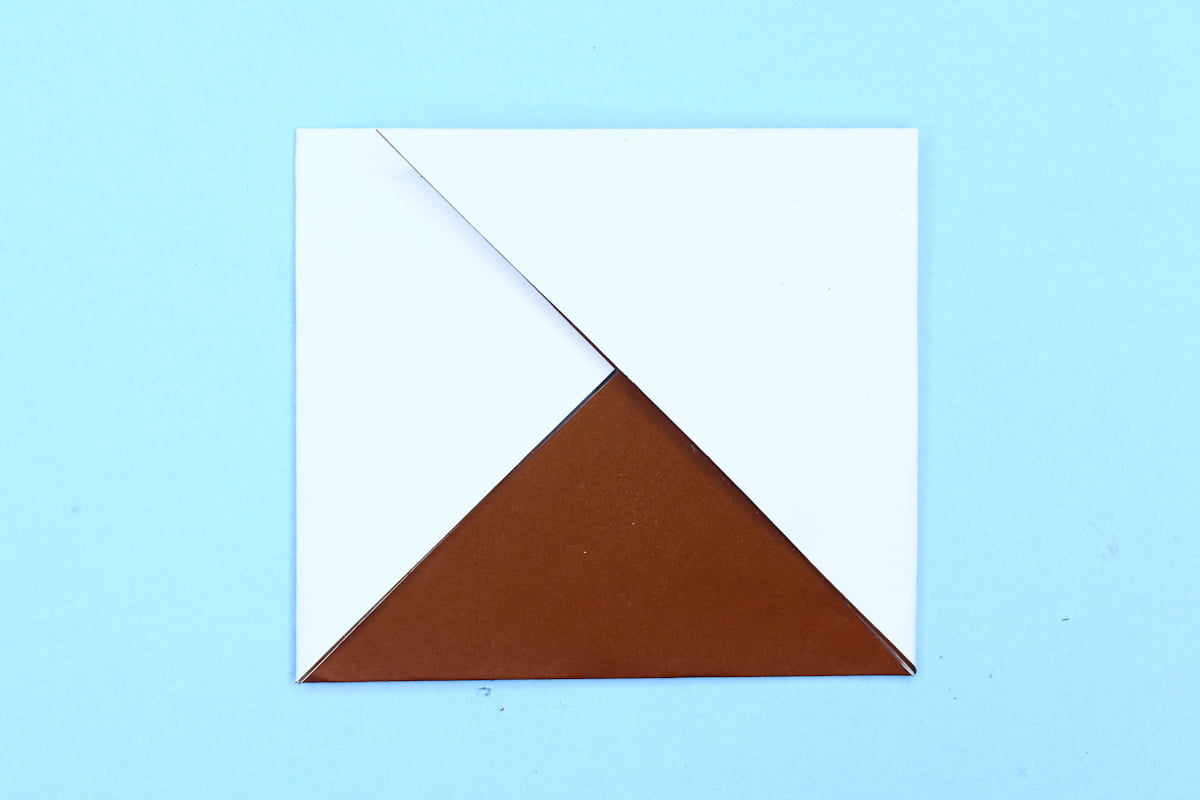
Fold the paper in half by folding the top corner to the bottom corner.
Step 4
4
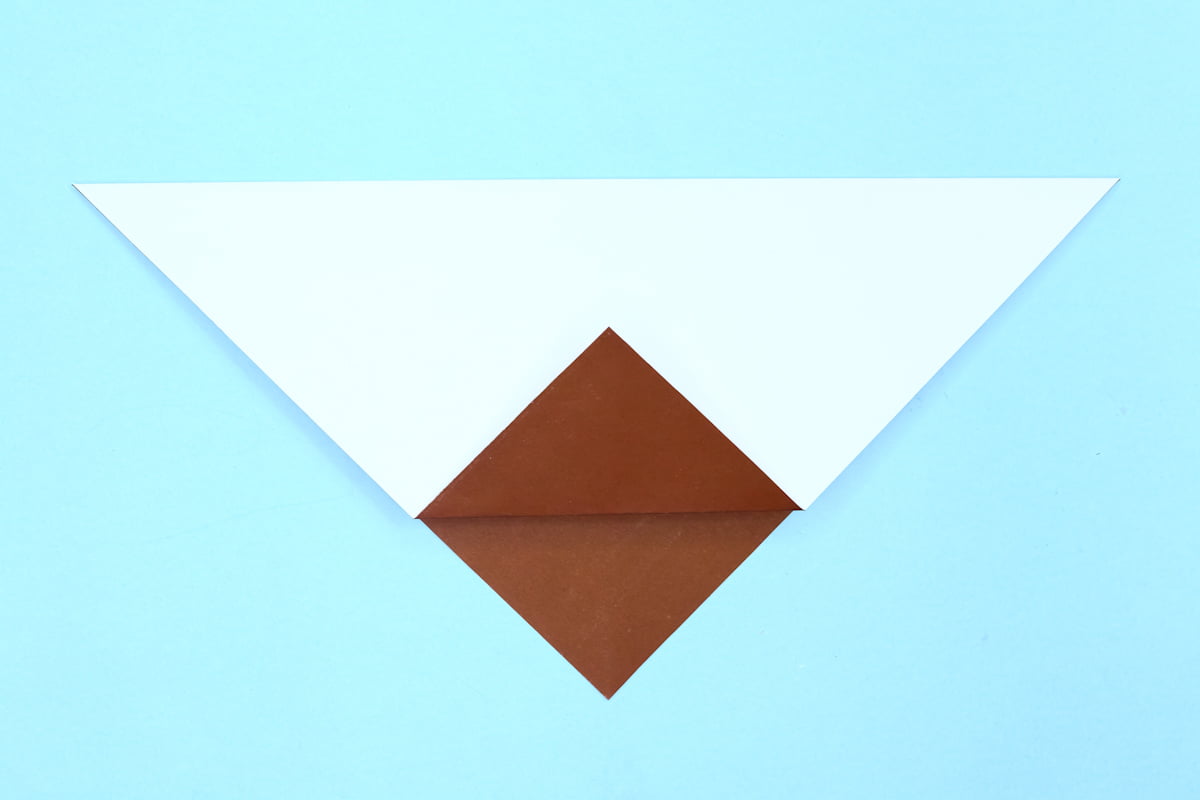
Fold the bottom corner of the top layer up about halfway.
Step 5
5
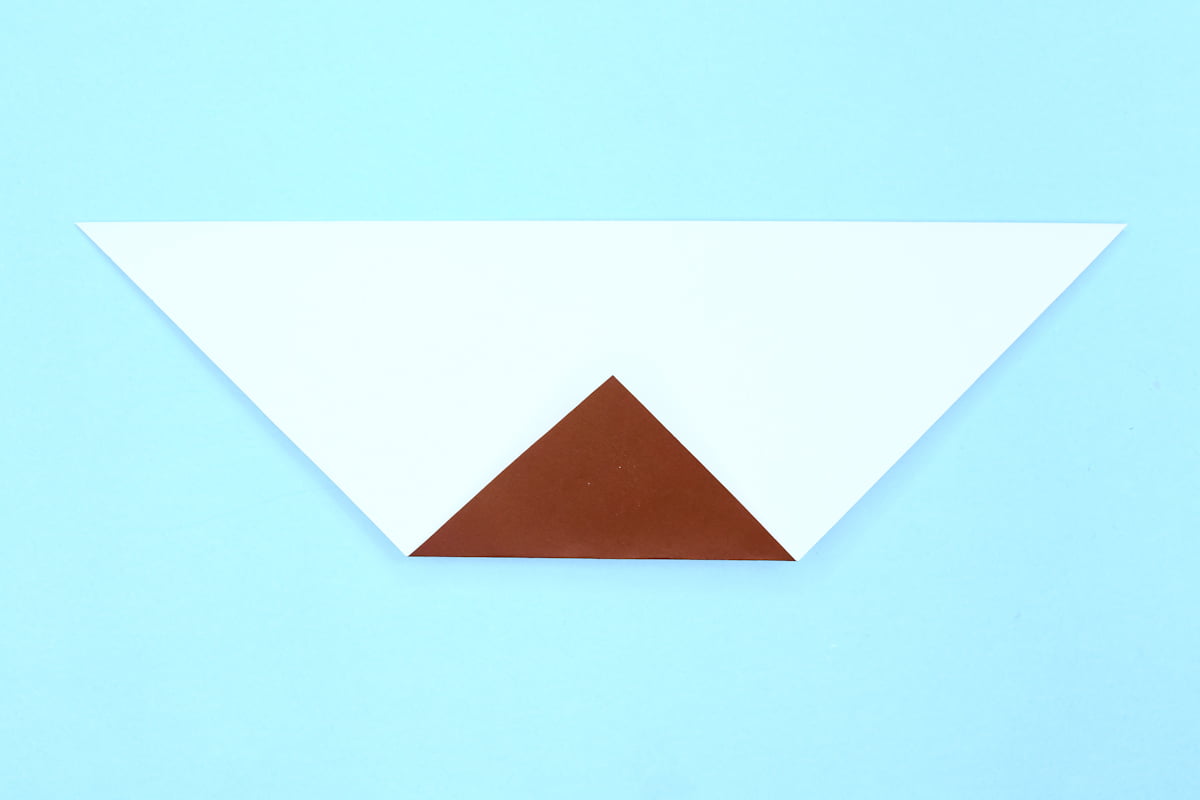
Flip over the model.
Step 6
6
Fold the bottom corner of the top layer up about halfway.
Step 7
7
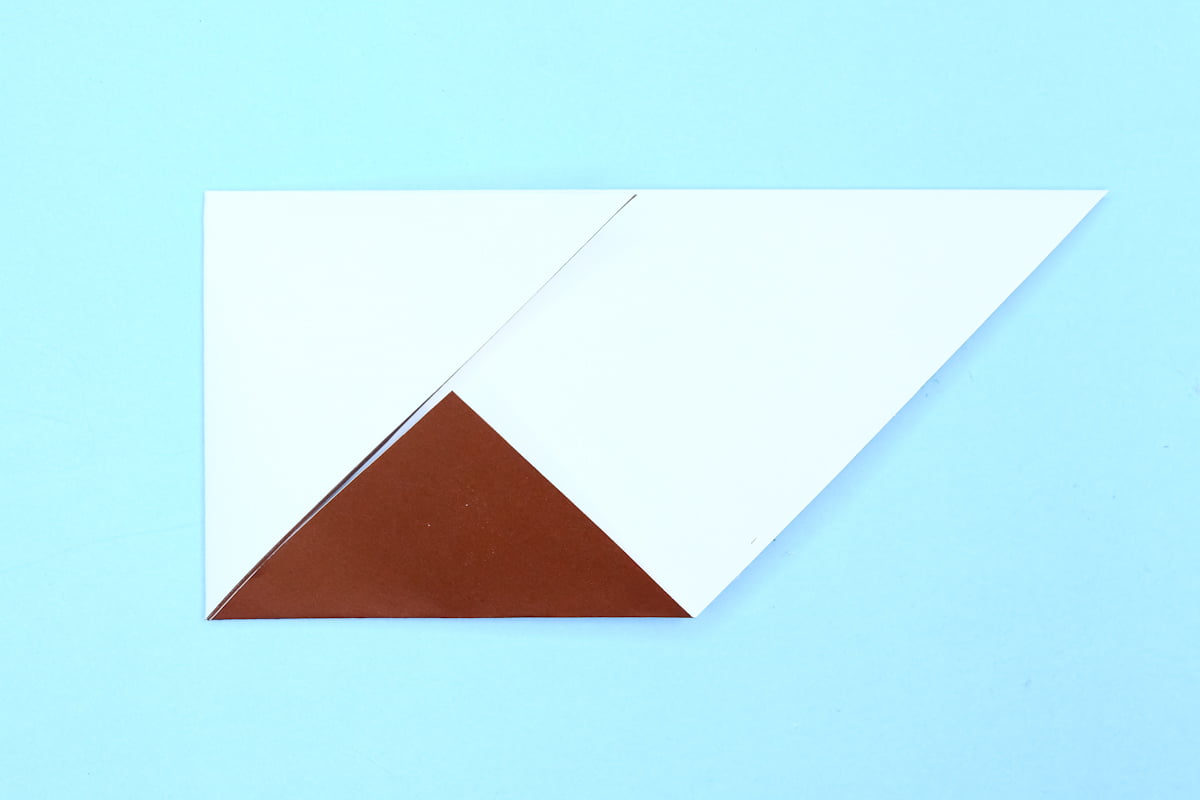
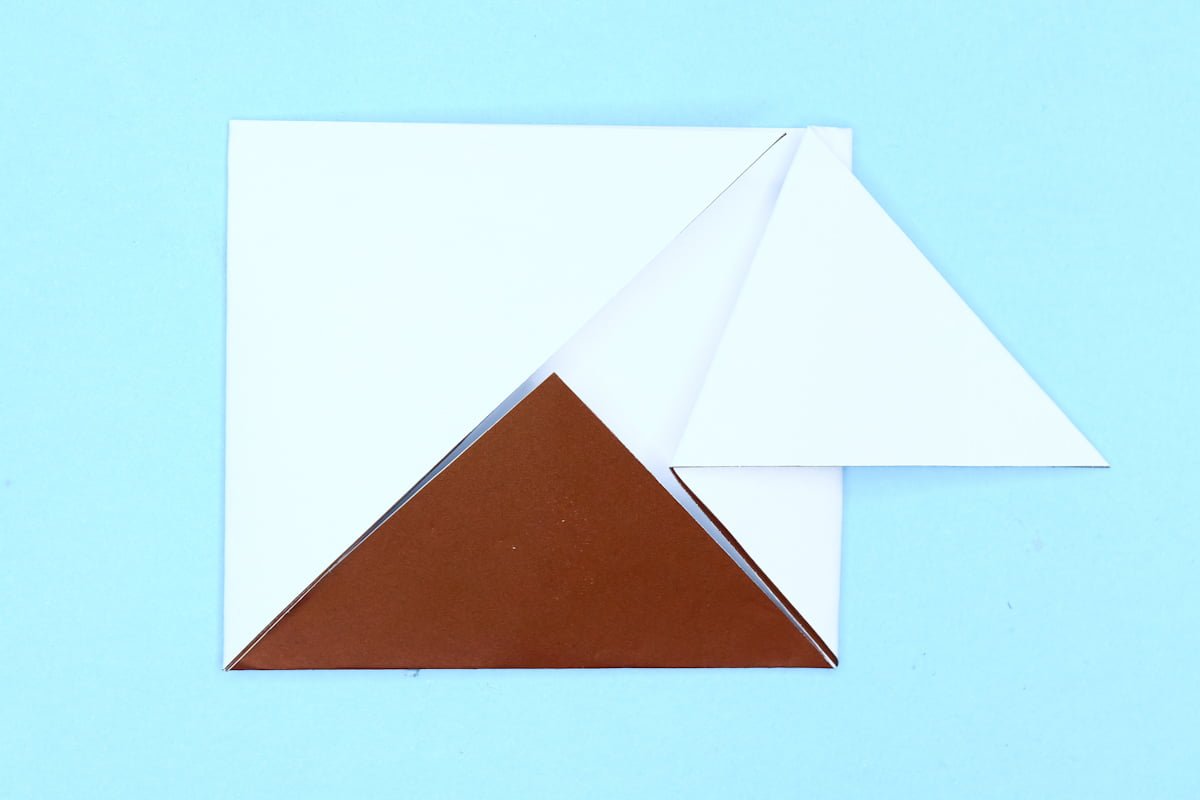
Mentally divide the paper into 3 parts and fold the left 1/3rd over.
Step 8
8
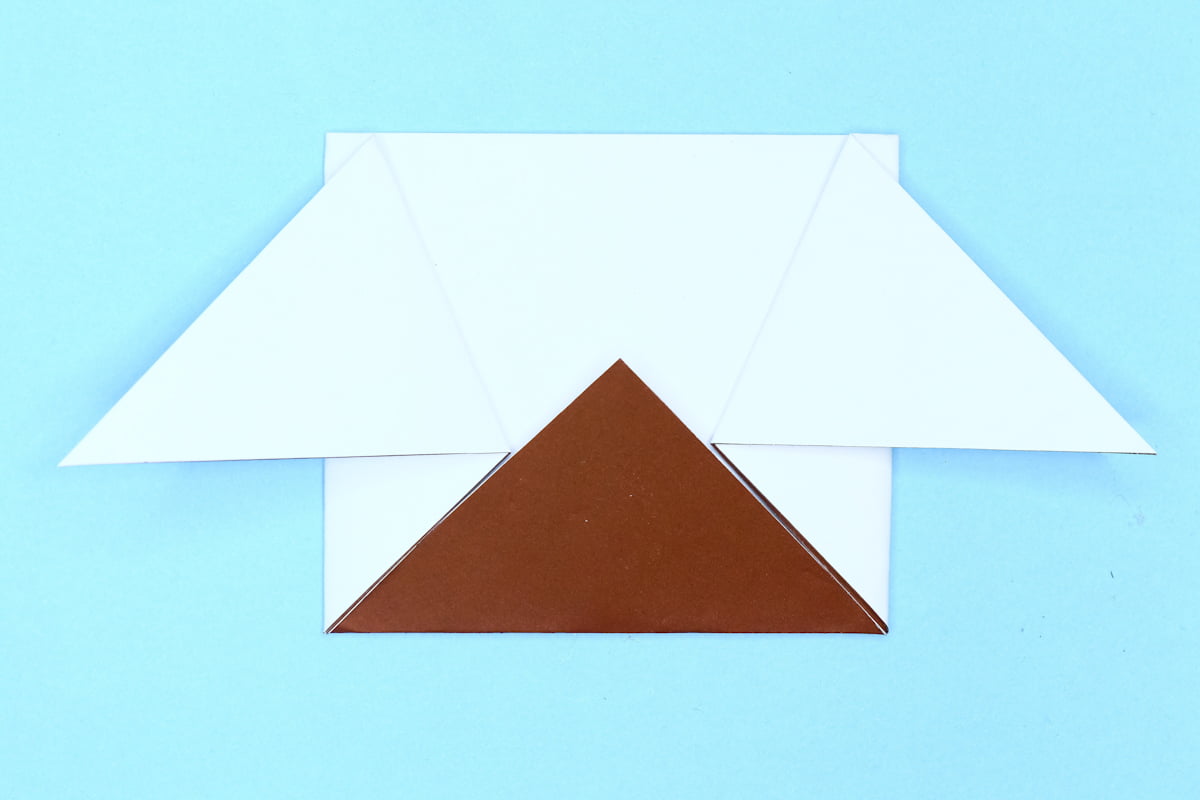
Now fold in the right side.
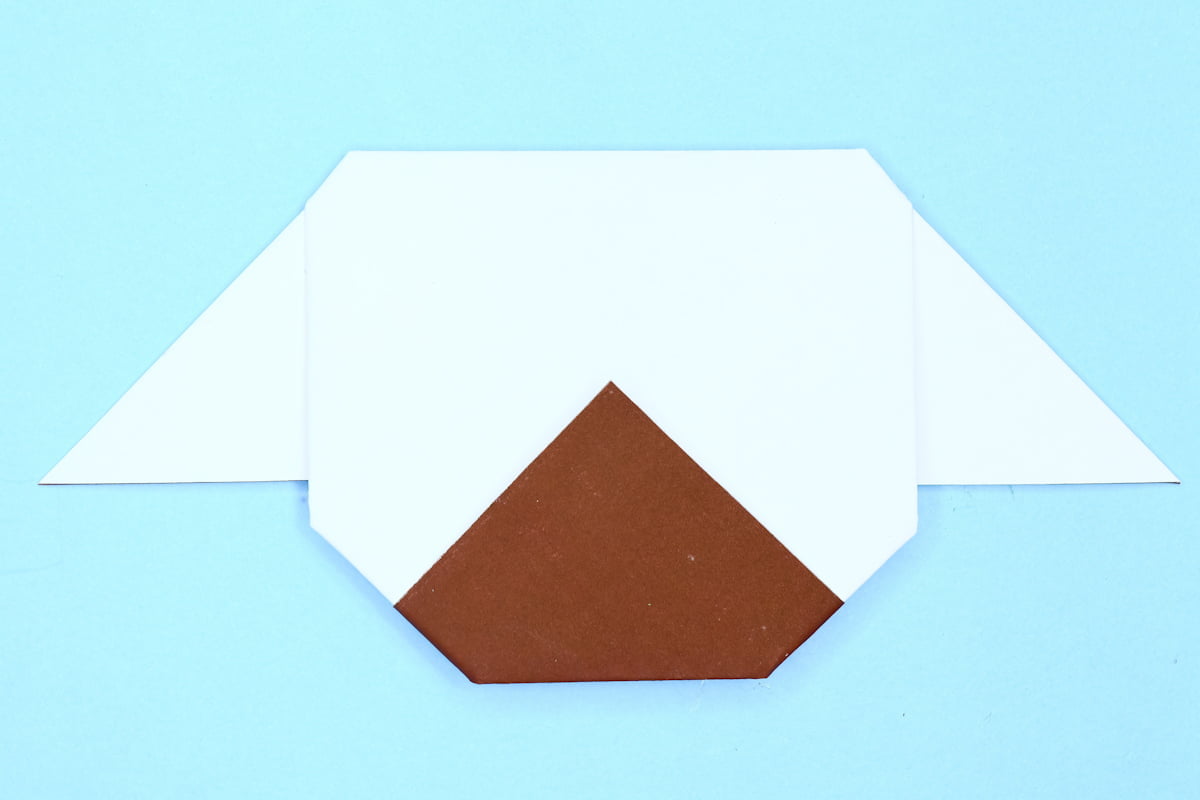
Step 9
9
Fold out the right ear.
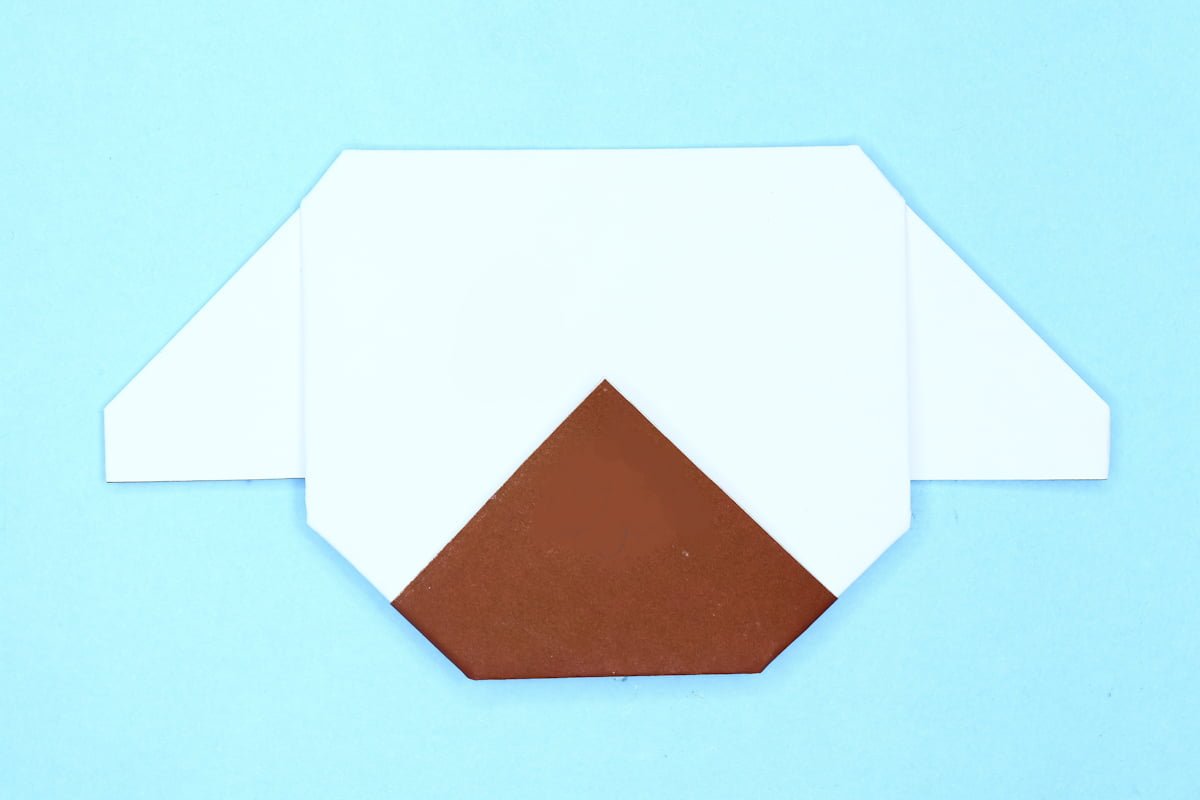
Step 10
10
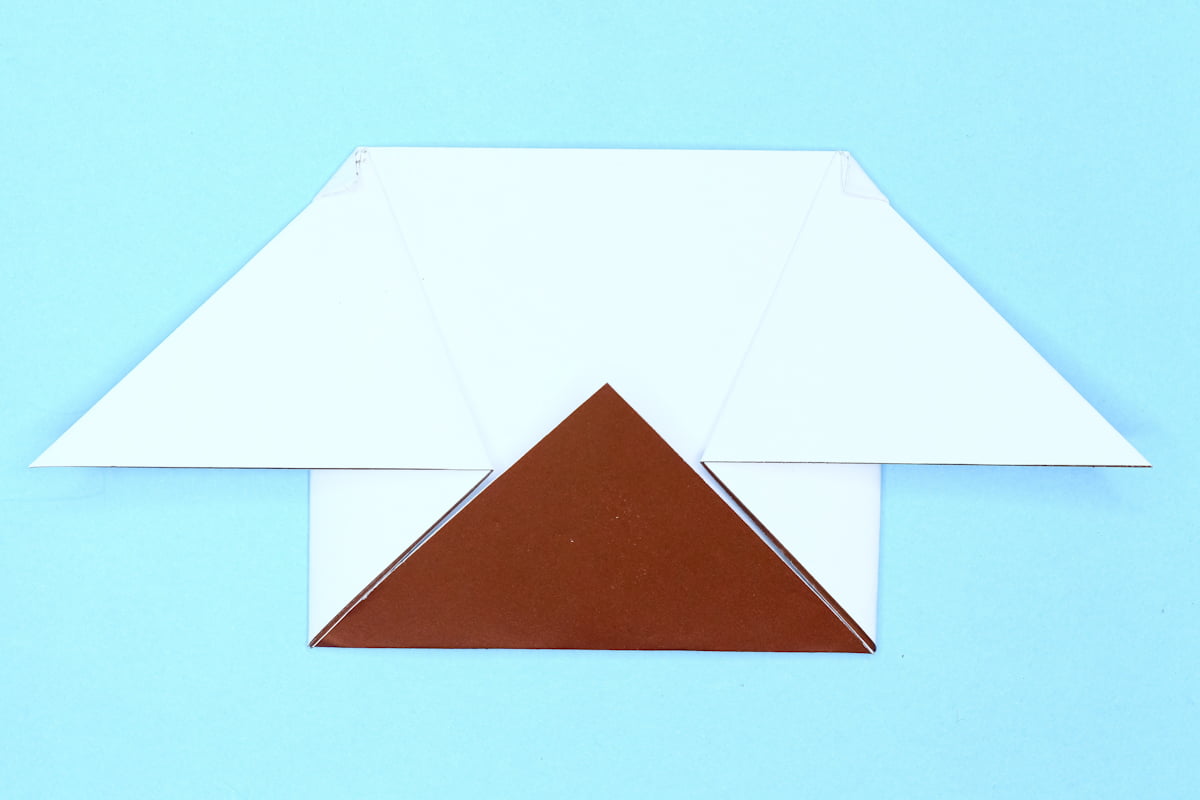
Fold out the left ear.
Step 11
11
Fold in the top left and right corners.
Step 12

12
Fold in the bottom corners.
Step 13
13
Turn the paper over.
Step 14
14
You can also fold the ears in if you don’t like pointy ears.
Step 15
15
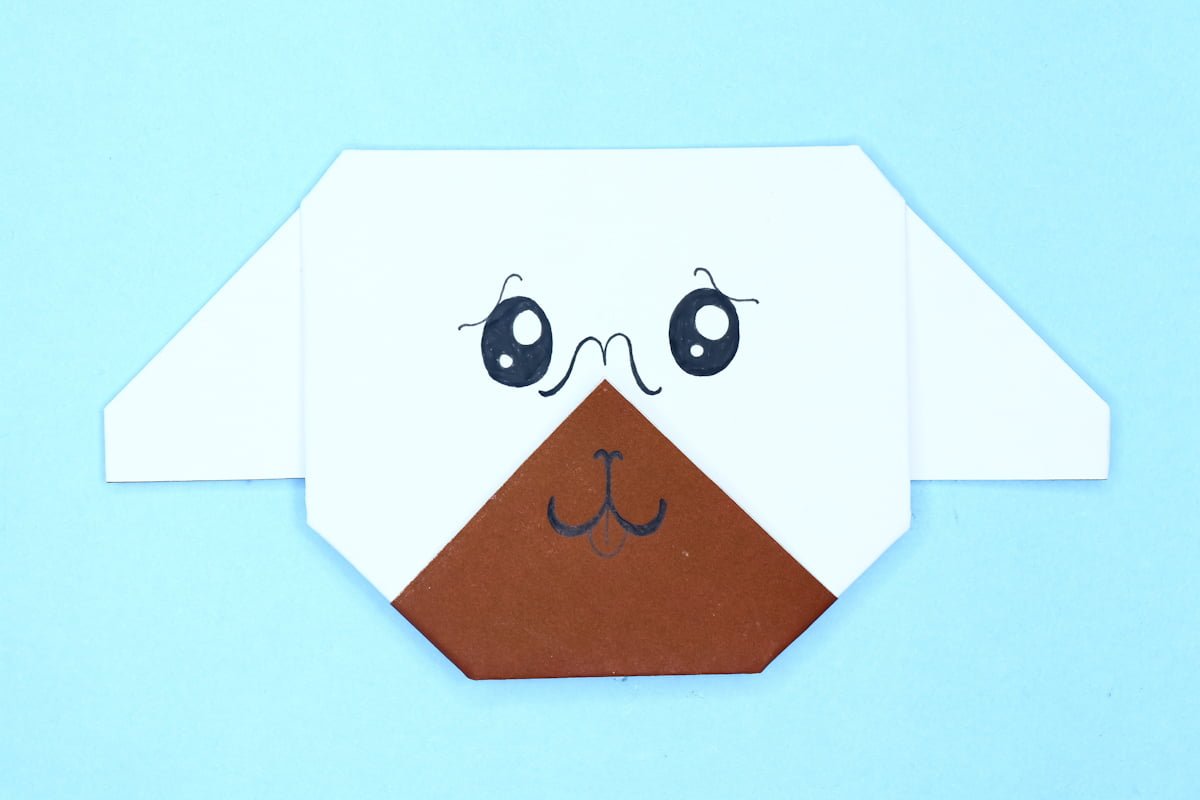
Draw the pug’s face and now you have a cute paper pug to play with!
Share and Comment
We would love to see your creations! Scroll down to the comments section and share a photo of your origami.
Leave a Reply