How to Make a Flapping Origami Butterfly

Flapping butterfly final step
Difficulty: Intermediate
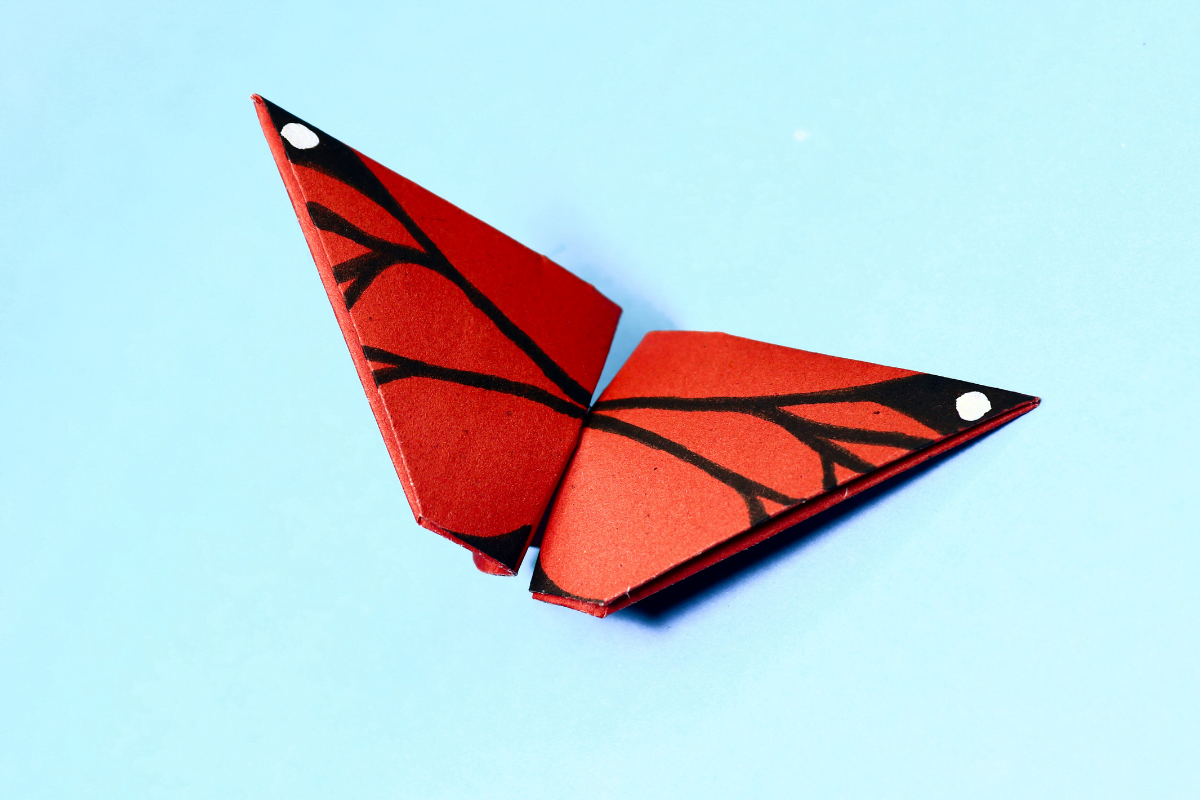
Make an origami flapping butterfly in minutes! Follow our easy step-by-step guide for a fun and simple paper craft for all ages.

This brilliantly designed origami flapping butterfly by Deg Farrelly is fun to play with and fortunately, easy to make. The first time I saw this, I was intrigued by its flapping motion and how it appears to gently sit on your fingertips.

I immediately began folding it and was surprised to see how something so cool can be so easy to make at the same time. I just had to create instructions for this origami butterfly and share this with you. Just follow the step-by-step guide and you’ll quickly learn to make an origami butterfly that can flap its wings.

P.S. Deg Farelly recommends folding the flapping butterfly with 8″ to 10″ paper because it flaps better. You can also split the paper in half and fold the butterfly with just a half sheet so that it’s not so thick. That means you get to have two butterflies instead of one with just one sheet of paper! Thanks for the tip, Deg!

Step 1
Flapping butterfly step 01
1
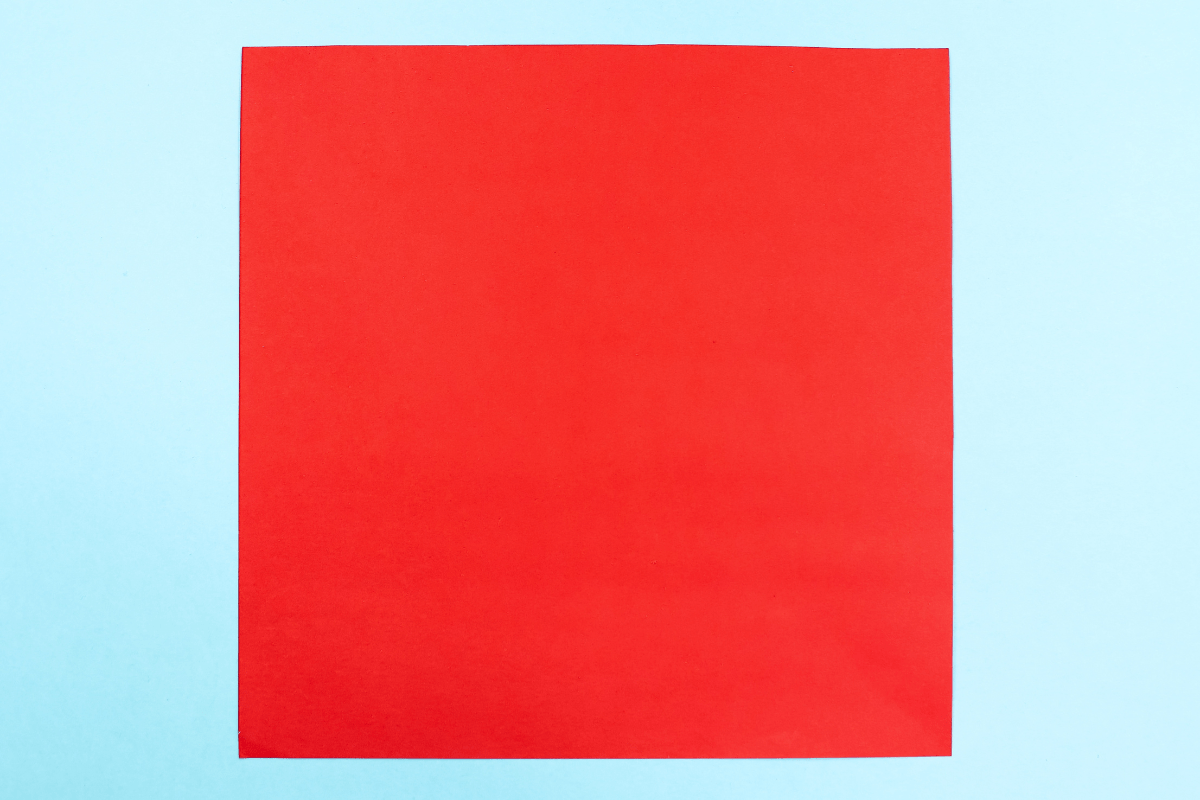
Start with a square sheet of origami paper. I am using an 7×7 inches origami paper.

If you only have regular paper, follow these instructions on how to make a square origami paper.

Step 2
Flapping butterfly step 02
2
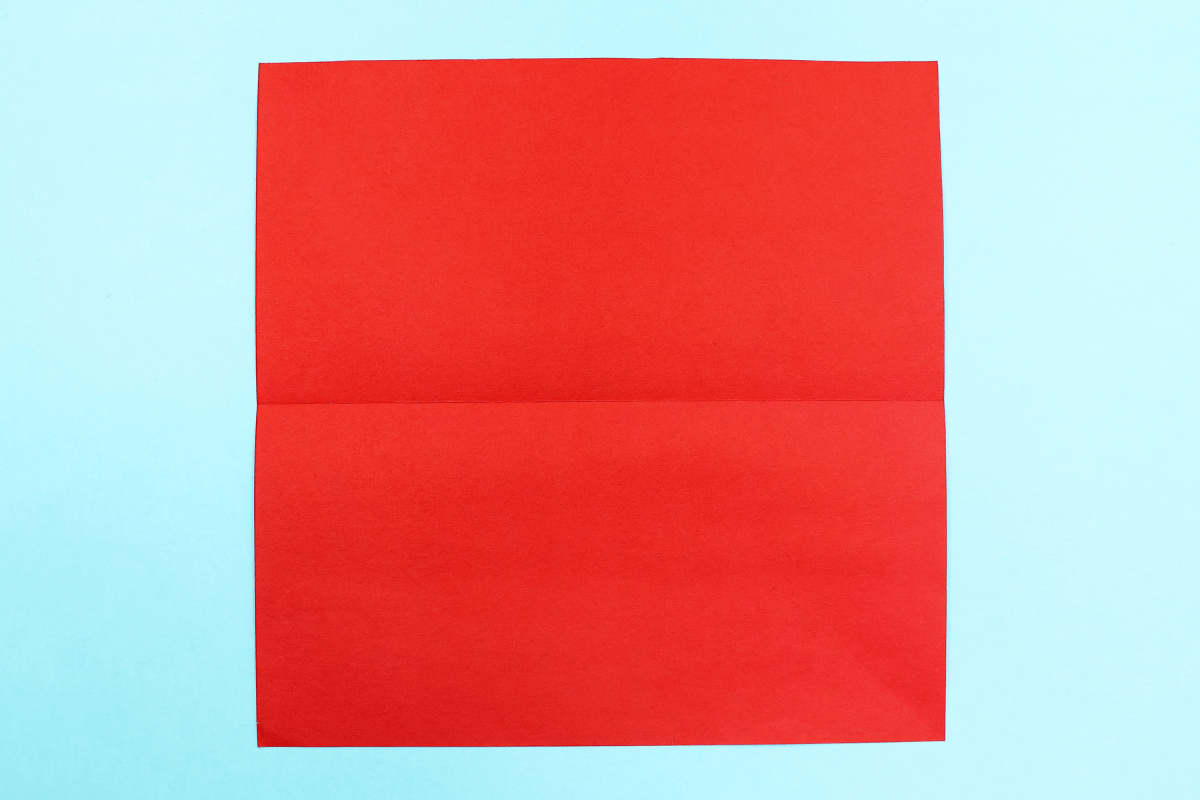
Simply fold the bottom half to the top half, making sure the edges meet, then unfold.

Step 3
Flapping butterfly step 03
3
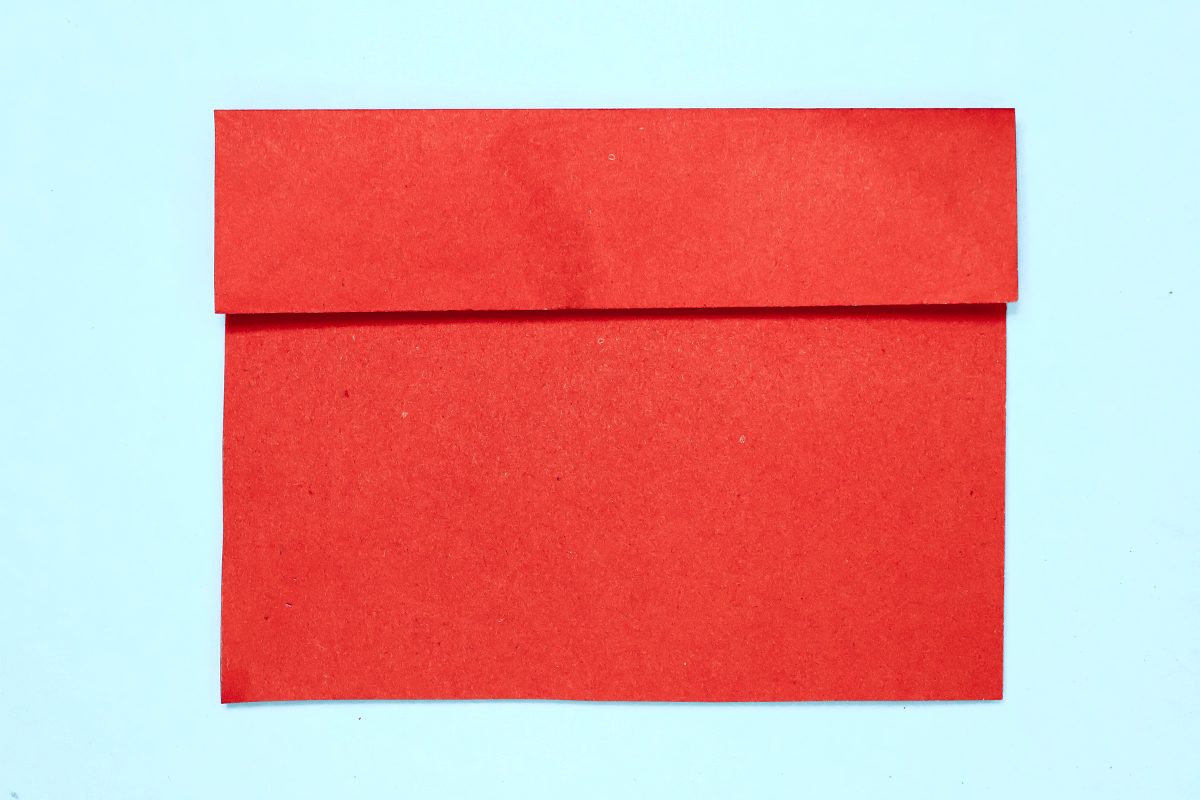
Fold the top edge to meet at the center.

Step 4
Flapping butterfly step 04
4
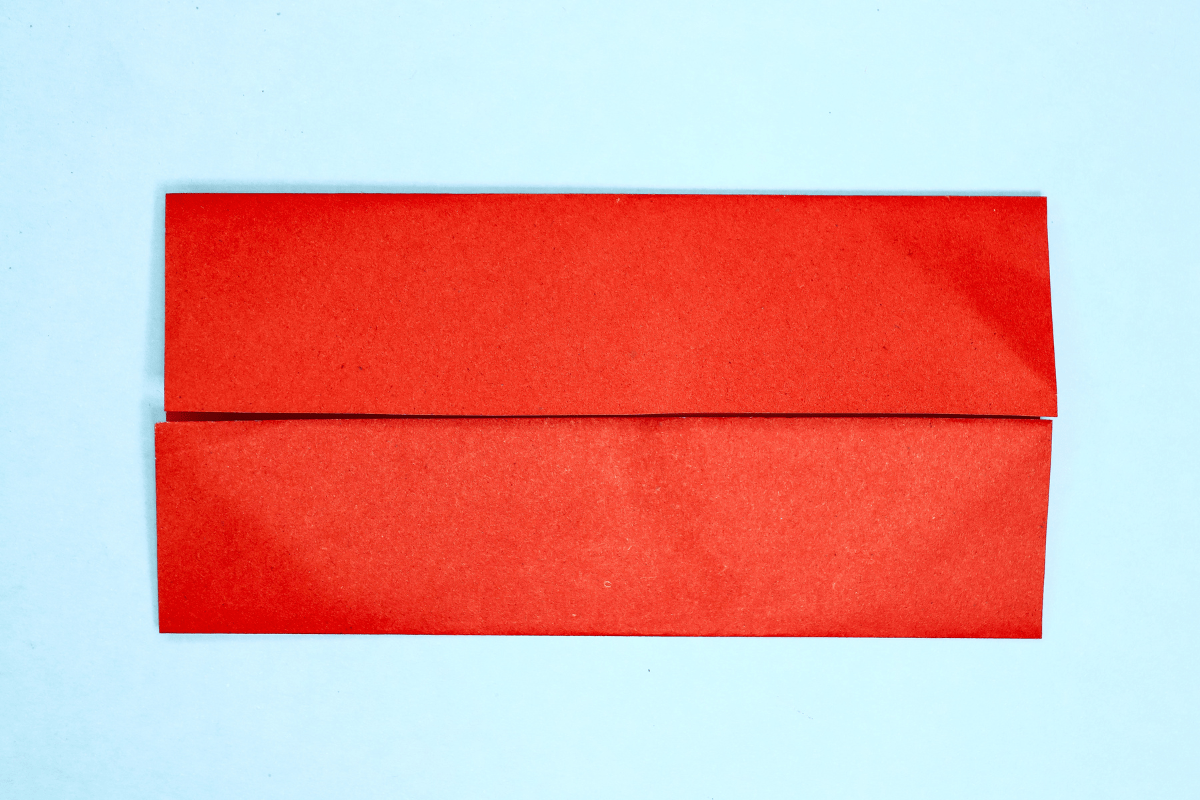
Now fold the bottom edge to meet at the center.

Step 5
Flapping butterfly step 05
5
Fold in the right corners so their edges meet at the center horizontal crease.

Step 6
Flapping butterfly step 06
6
Now fold in all left corners so their edges meet at the center horizontal crease.

Step 7
Flapping butterfly step 07
7
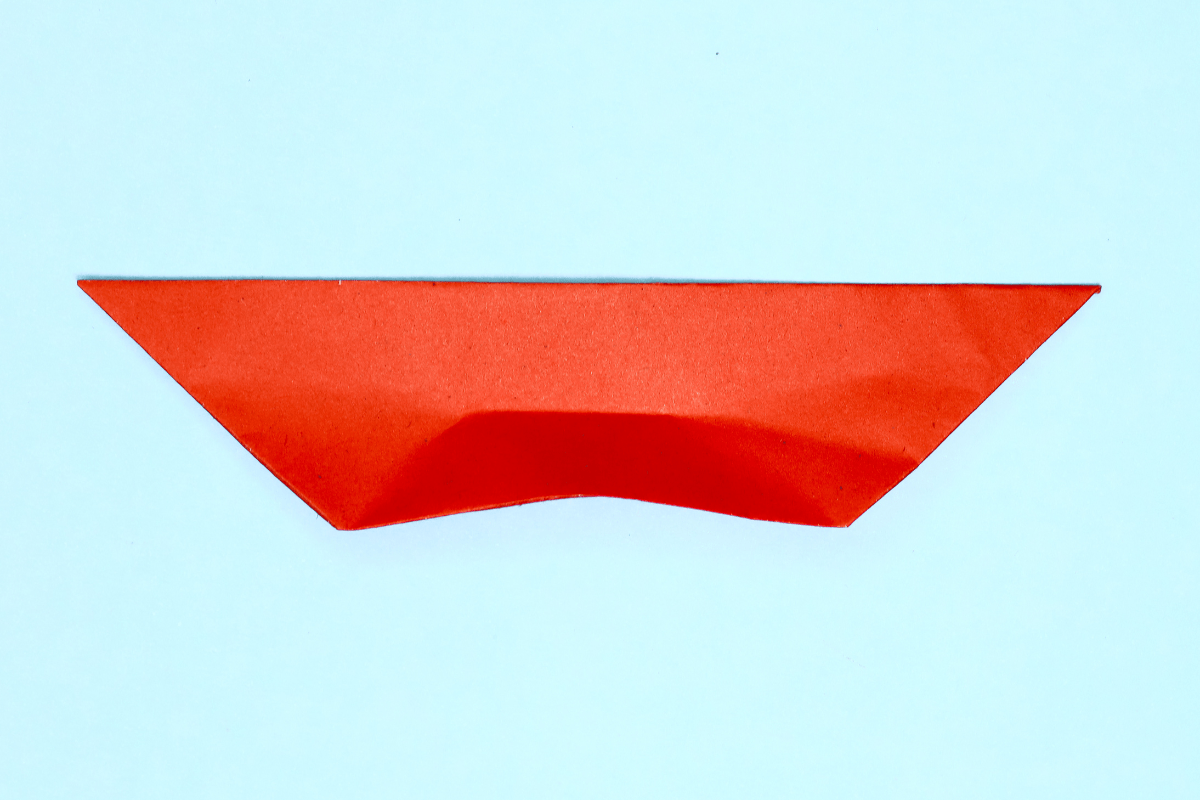
Fold down the top half.

Step 8
Flapping butterfly step 08
8
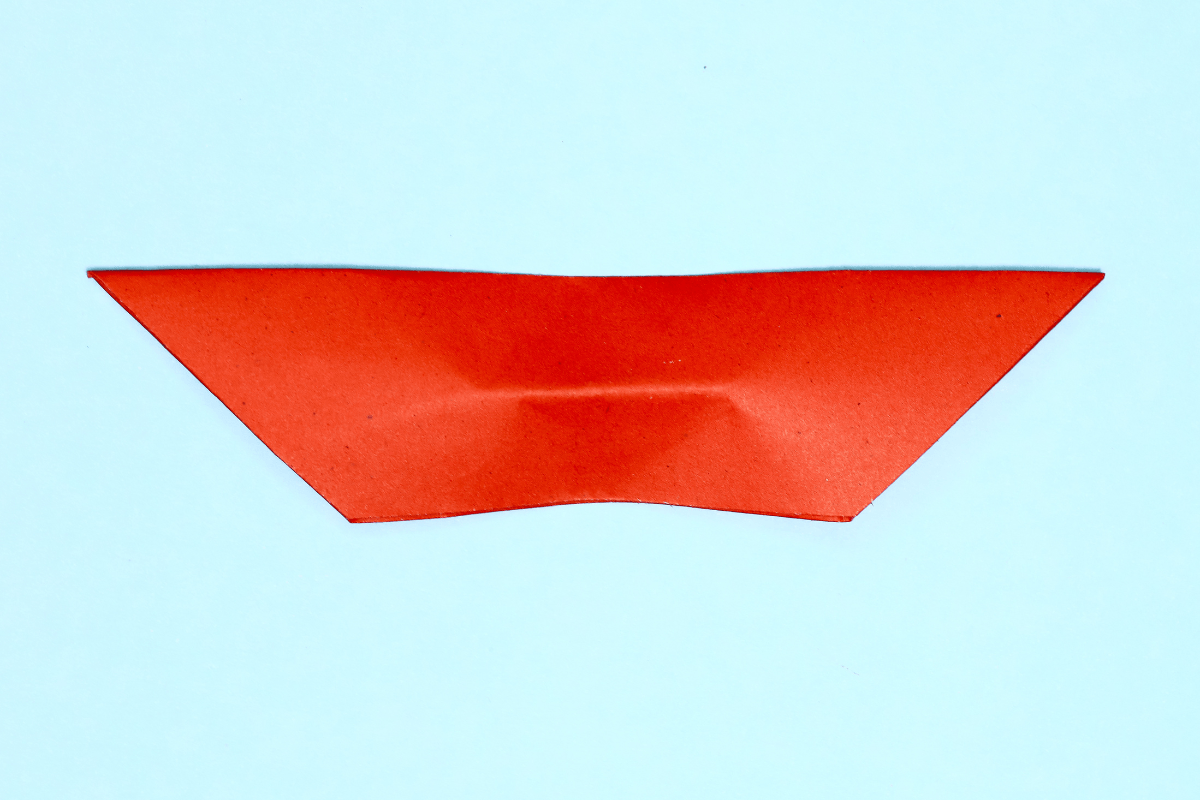
Fold the center of the bottom half to the top half. Crease about one inch (2.5 cm) of the center only with your fingernail. Do not crease all the way.

Step 9
Flapping butterfly step 09
9
Remove your finger and there should be a crease in the center only.

Step 10
Flapping butterfly step 10
10
Turn the figure over.

Step 11
Flapping butterfly step 11
11
Place a finger on top of the center of the paper.

Step 12
Flapping butterfly step 12
12
With your other hand, wrap the paper snugly around your finger.

Step 13
Flapping butterfly step 13
13
Remove your finger and use a fingernail and poke in the center of the bottom of the loop.

Step 14
Flapping butterfly step 14
14
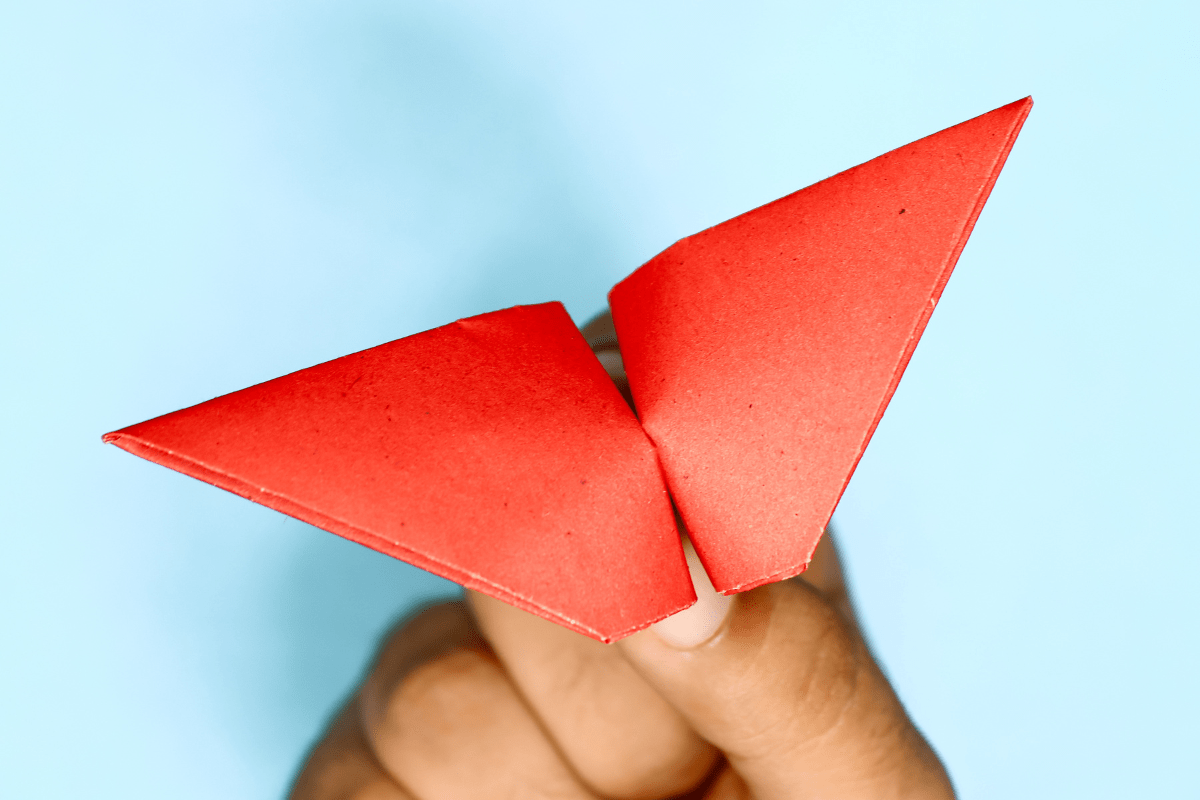
With your forefinger and thumb, grab both ends of the loop holes and pinch them together.

Step 15
Flapping butterfly final step
15
Pinch and release to make the butterfly flap!

Comments

Leave a Reply

Your email address will not be published. Required fields are marked *