   |
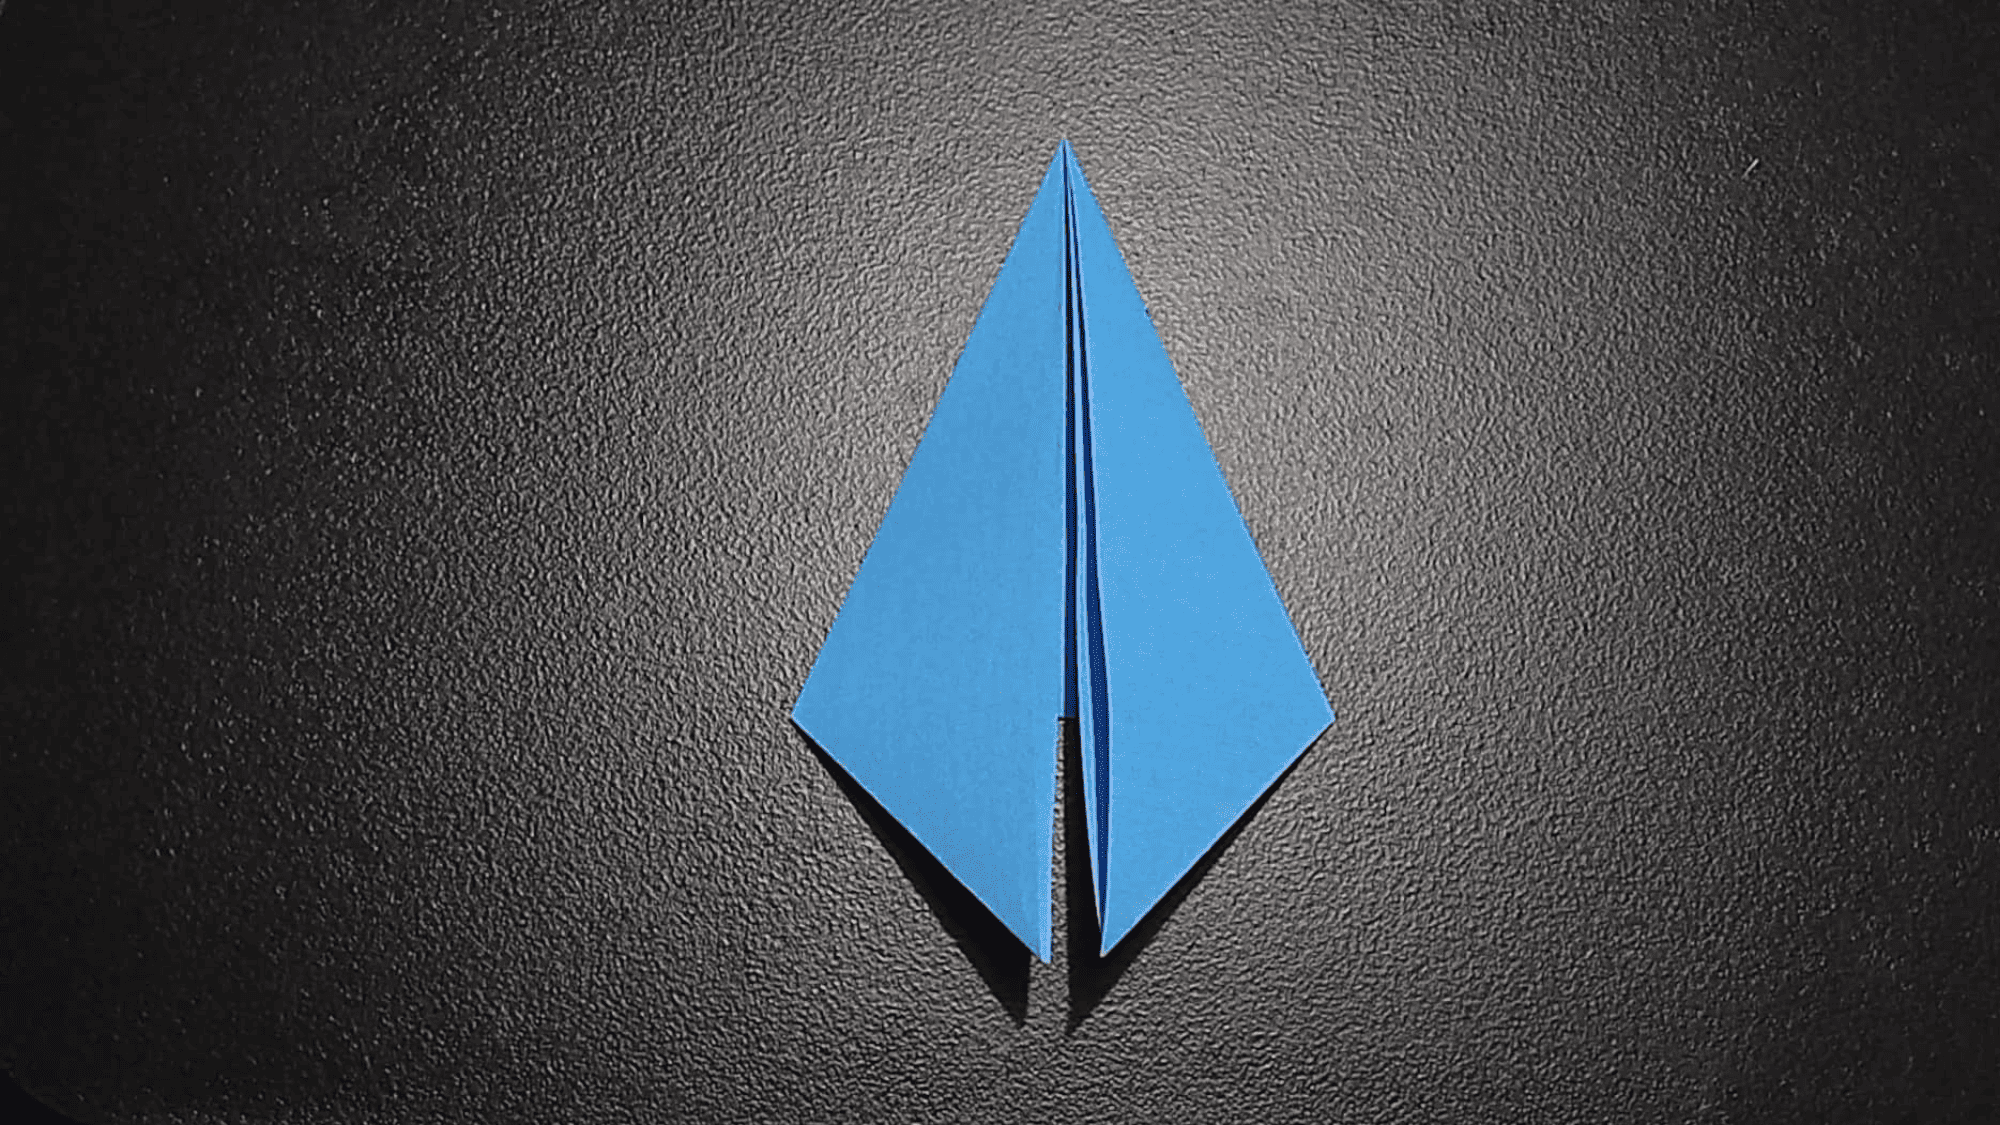
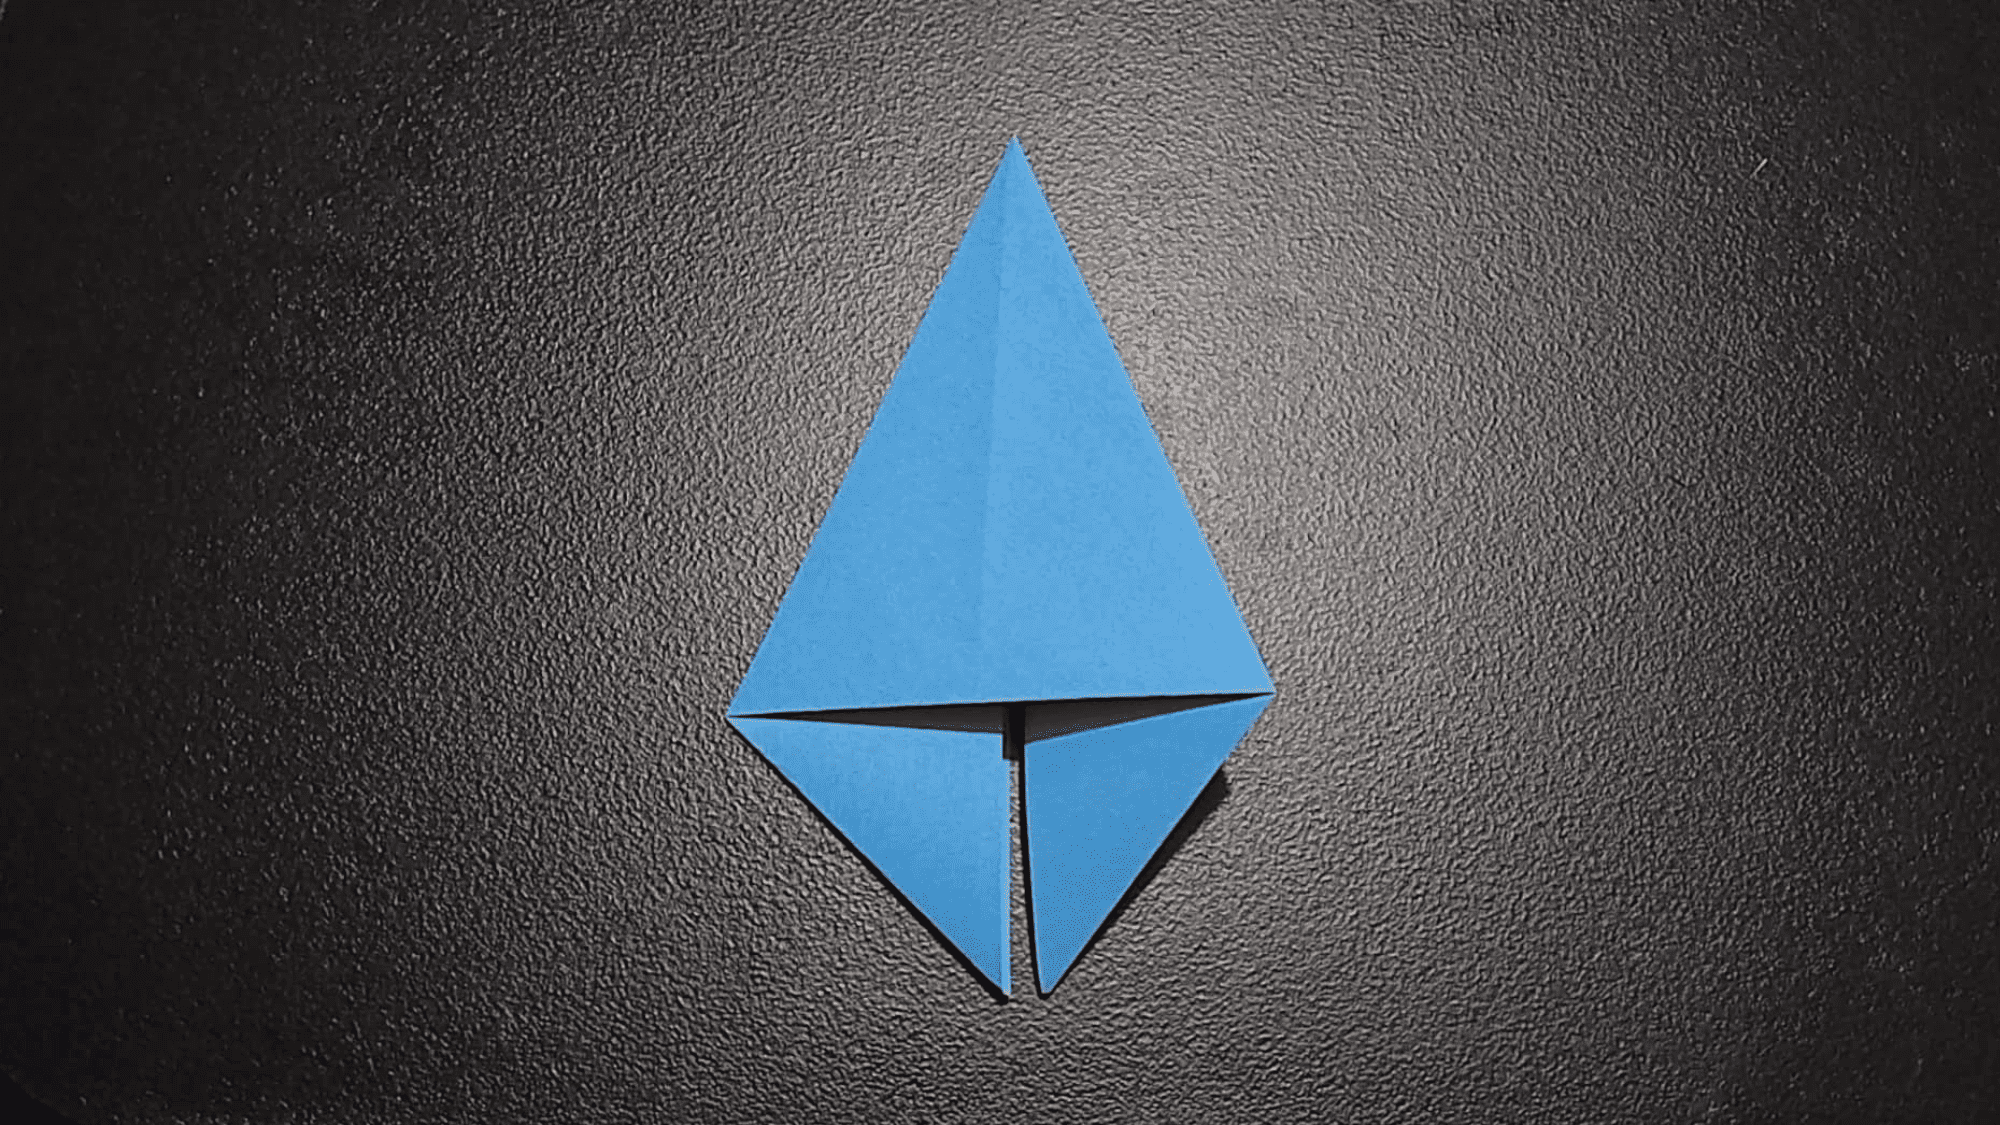
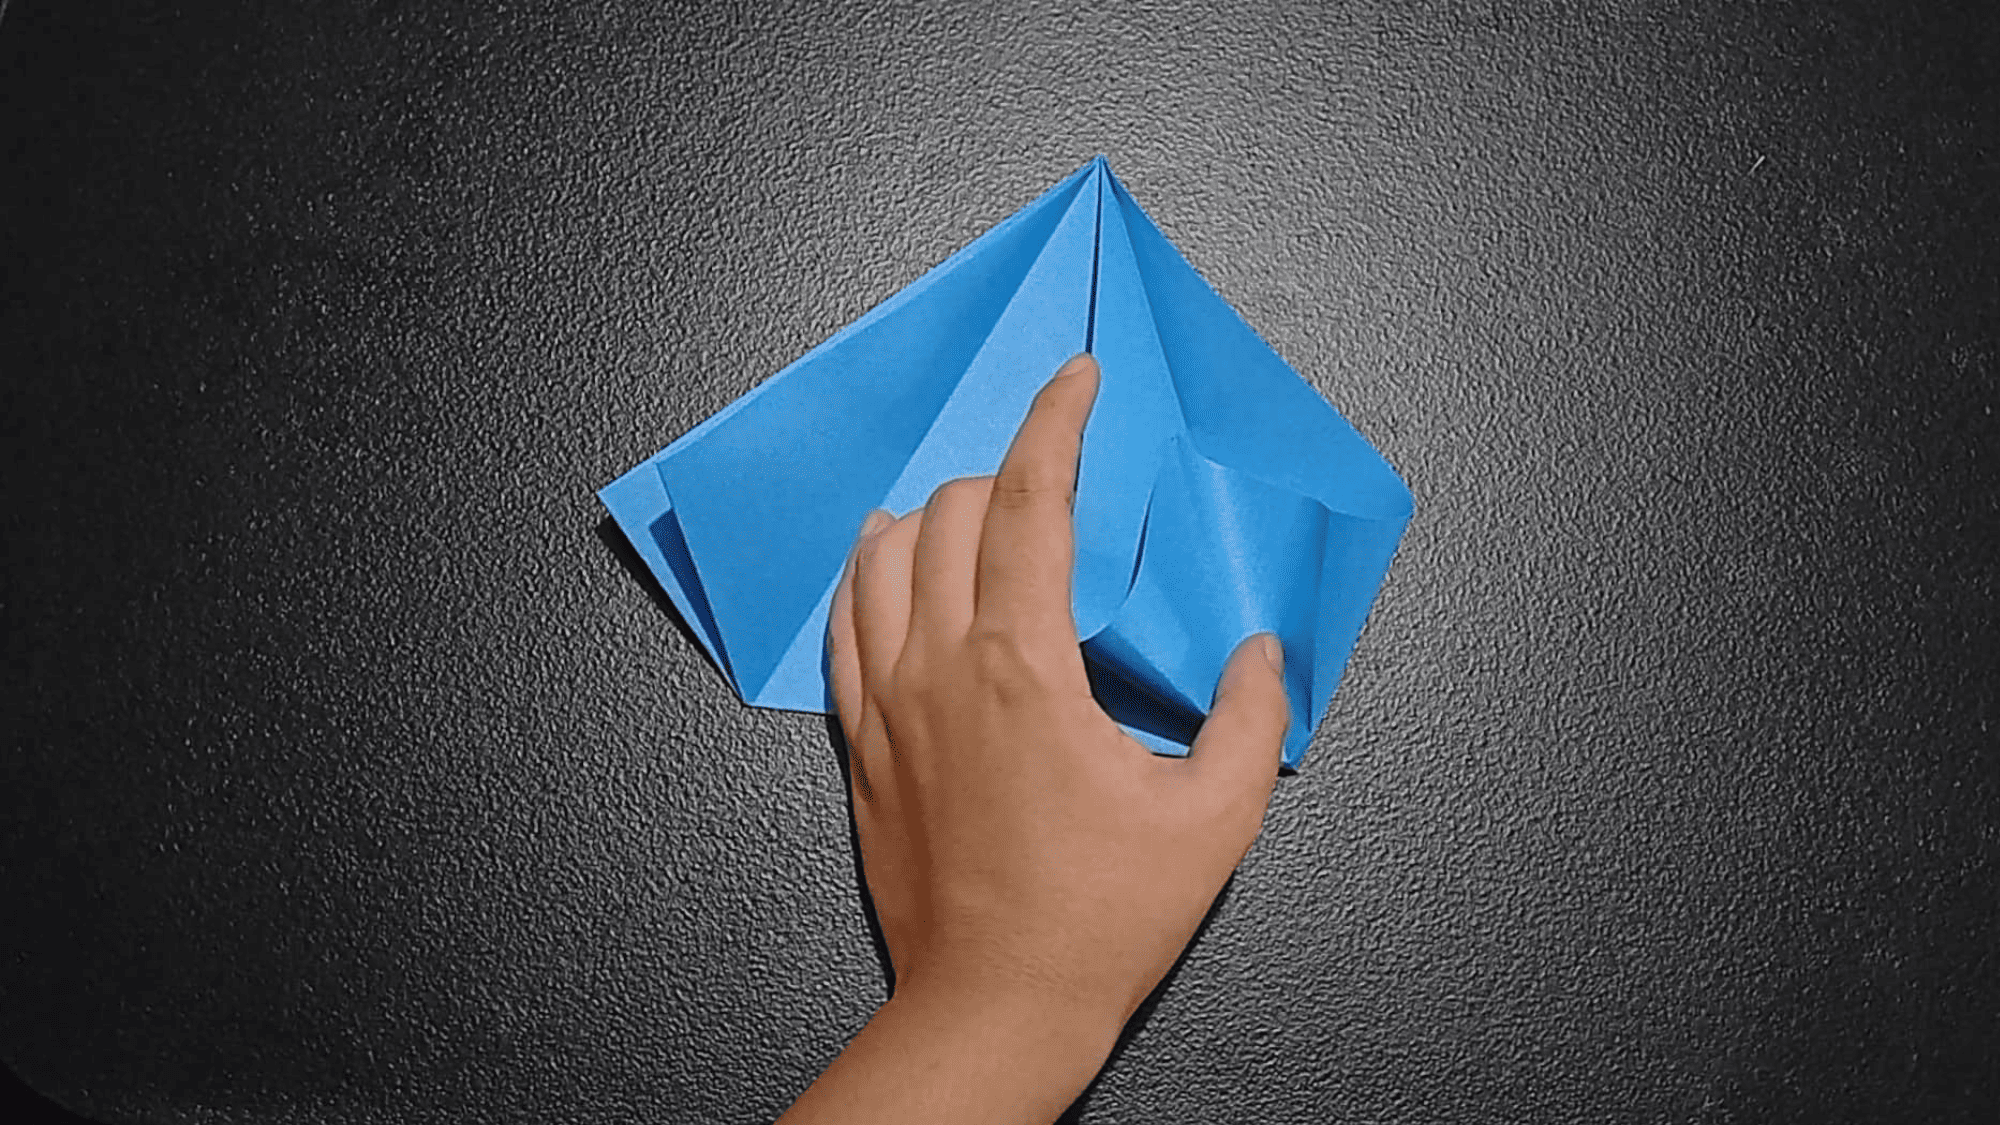
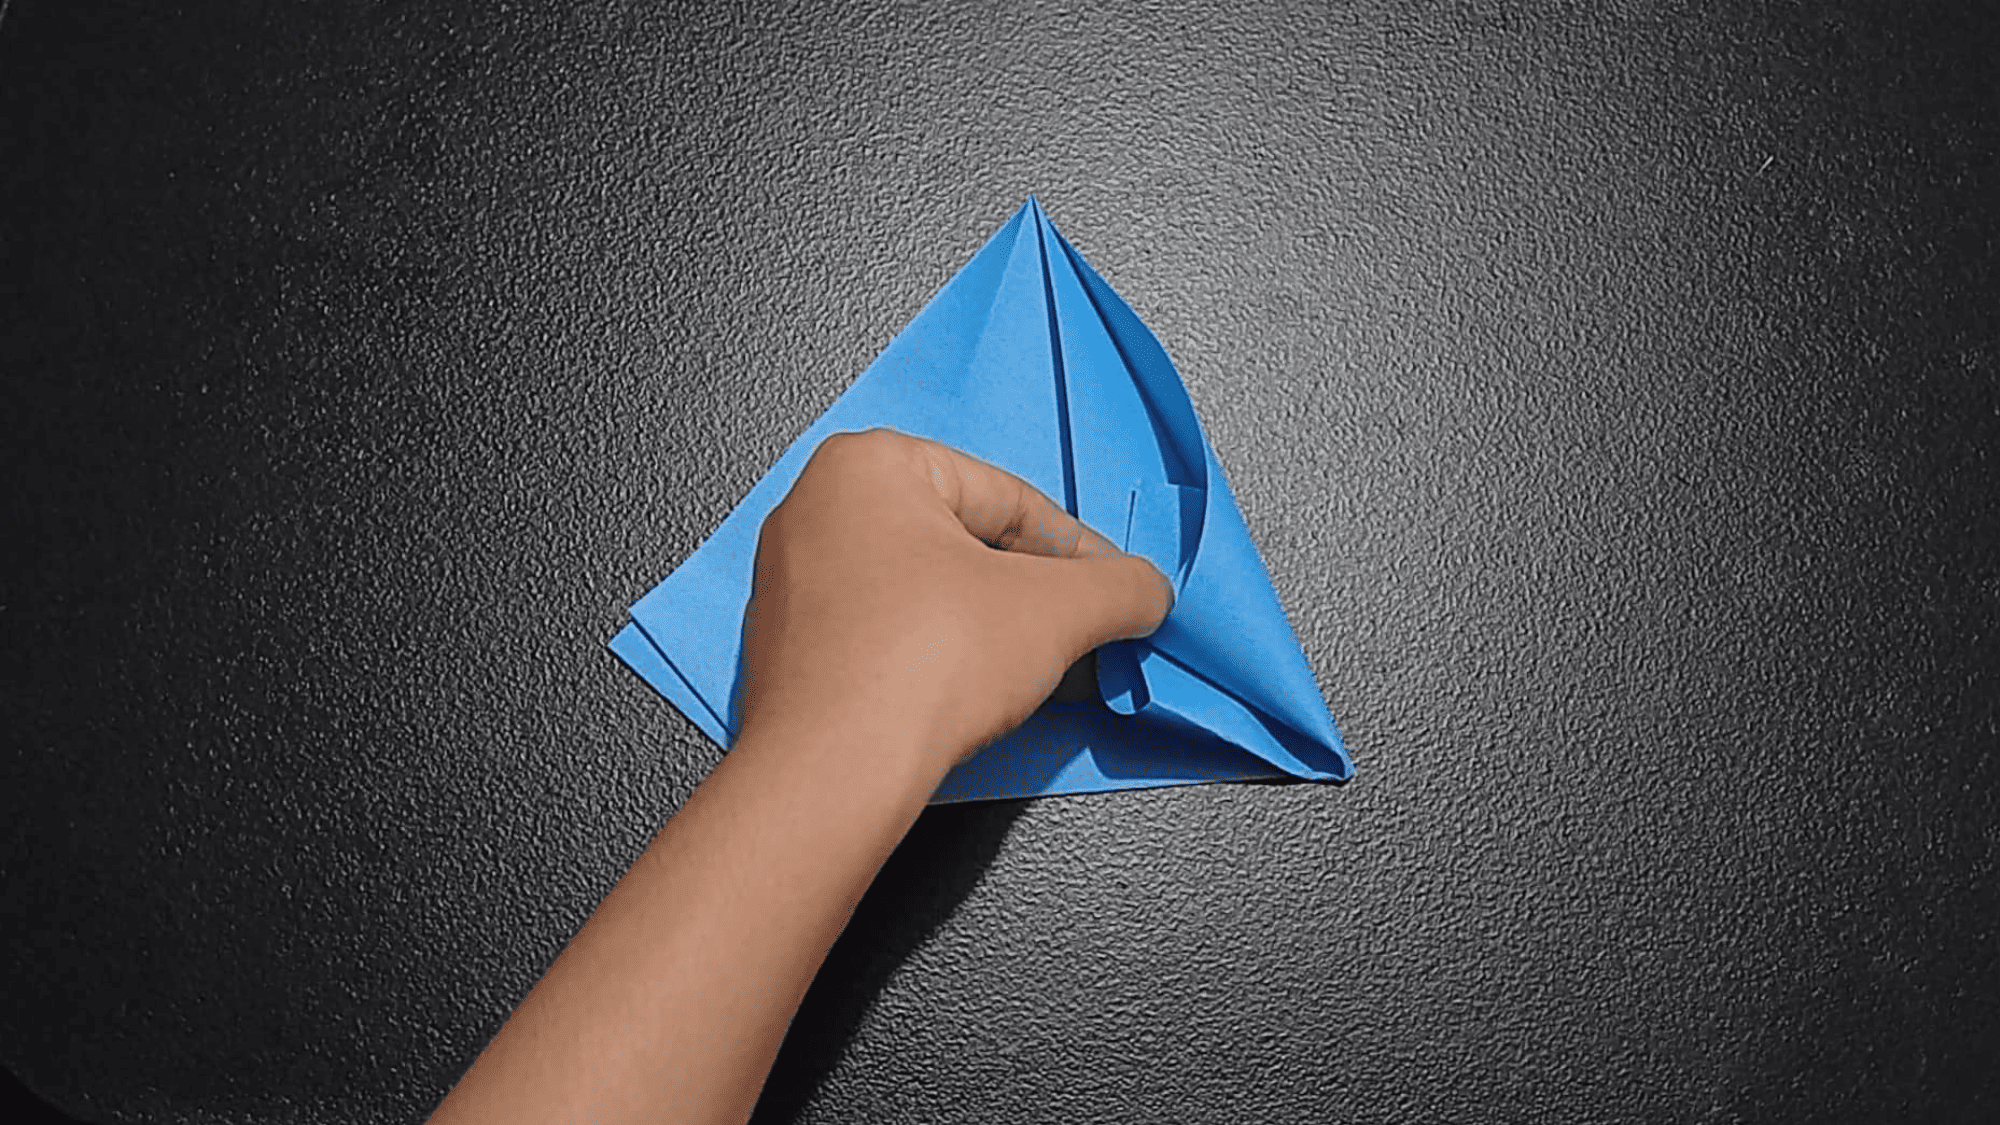
Step 11: Fold up to the left the left corner, and the right side, upward to the right. |
 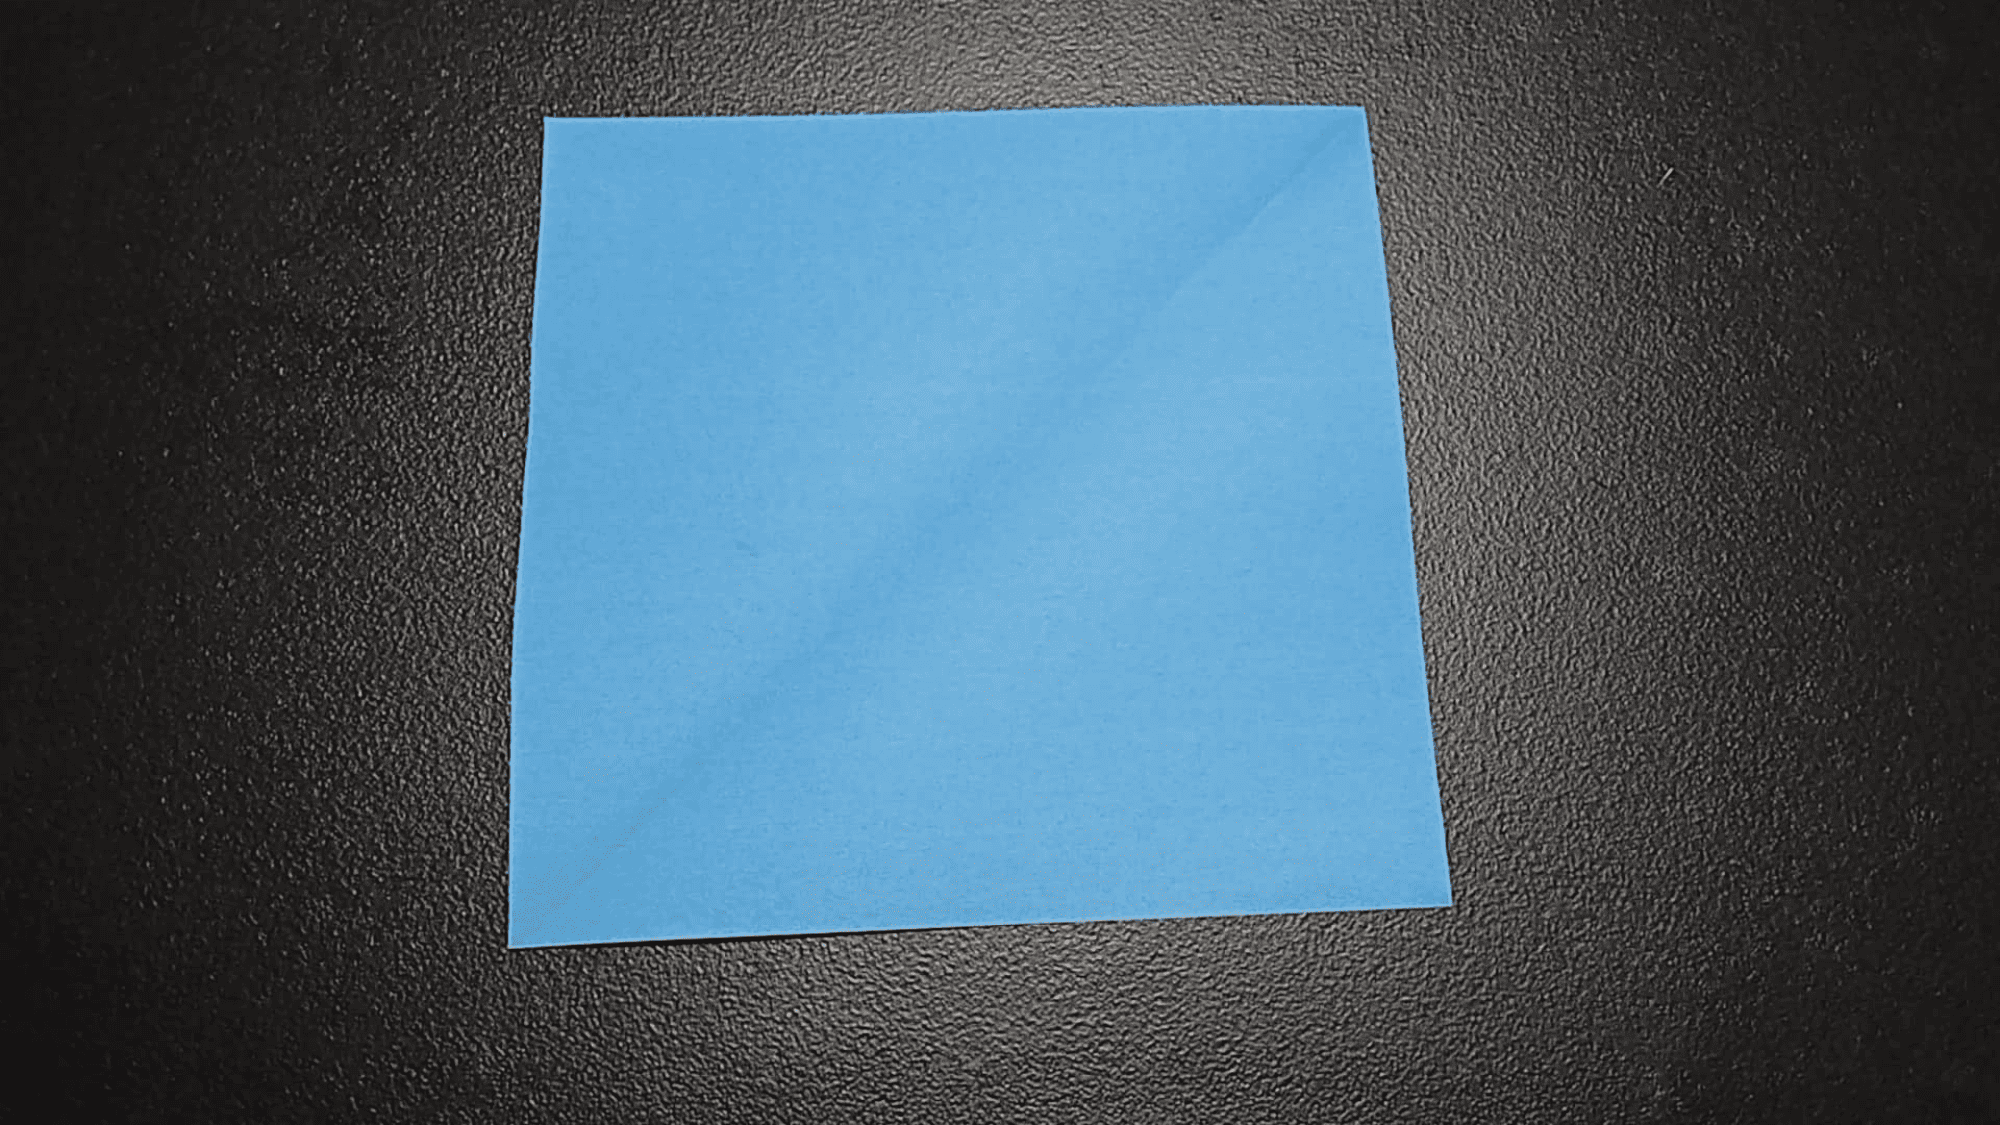 |
Step 12: Grab the other piece of paper then fold from top left corner to bottom right corner then unfold. |
 |
Step 13: Fold from the right corner to the bottom left corner. |
  |
Step 14: Rotate the paper, fold the left and right edges to the center. |
  |
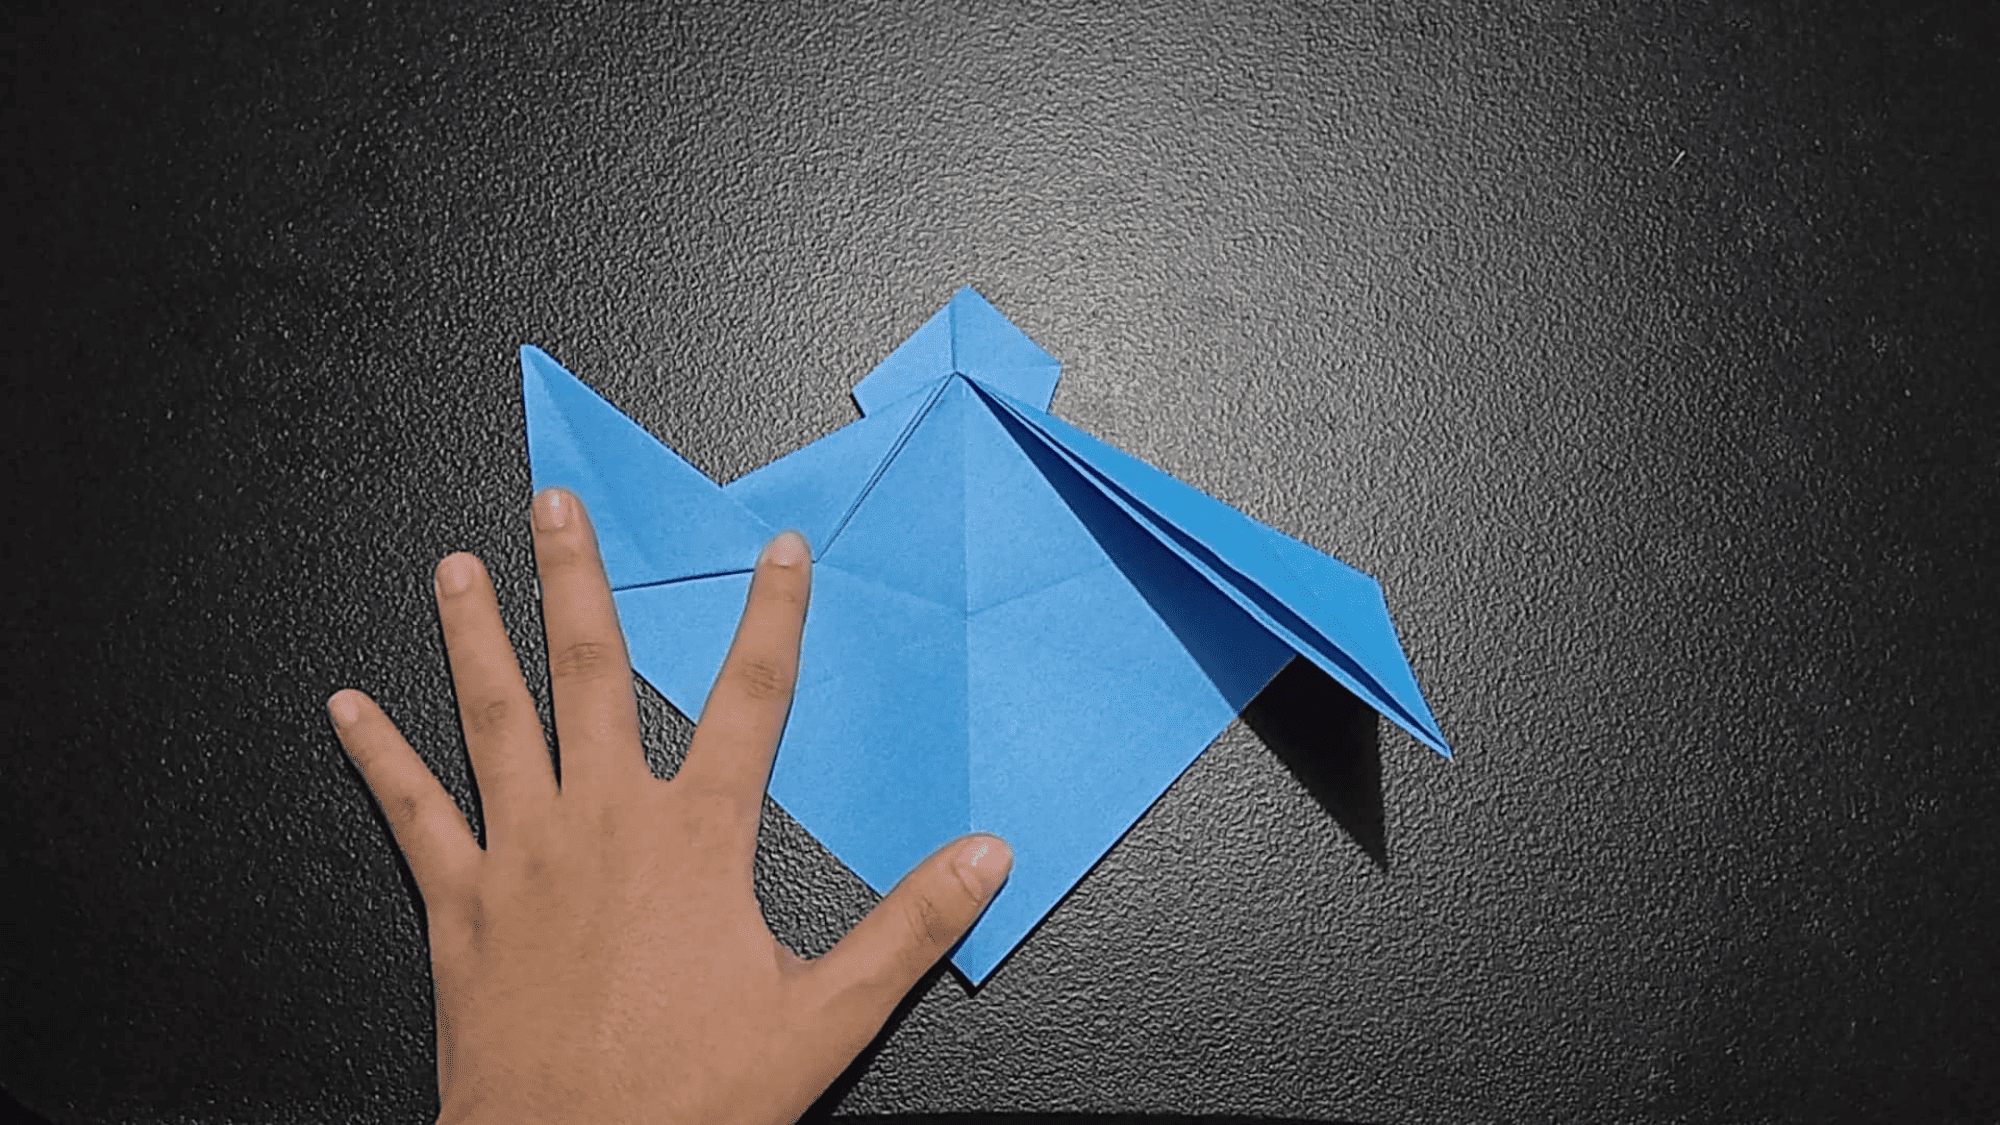
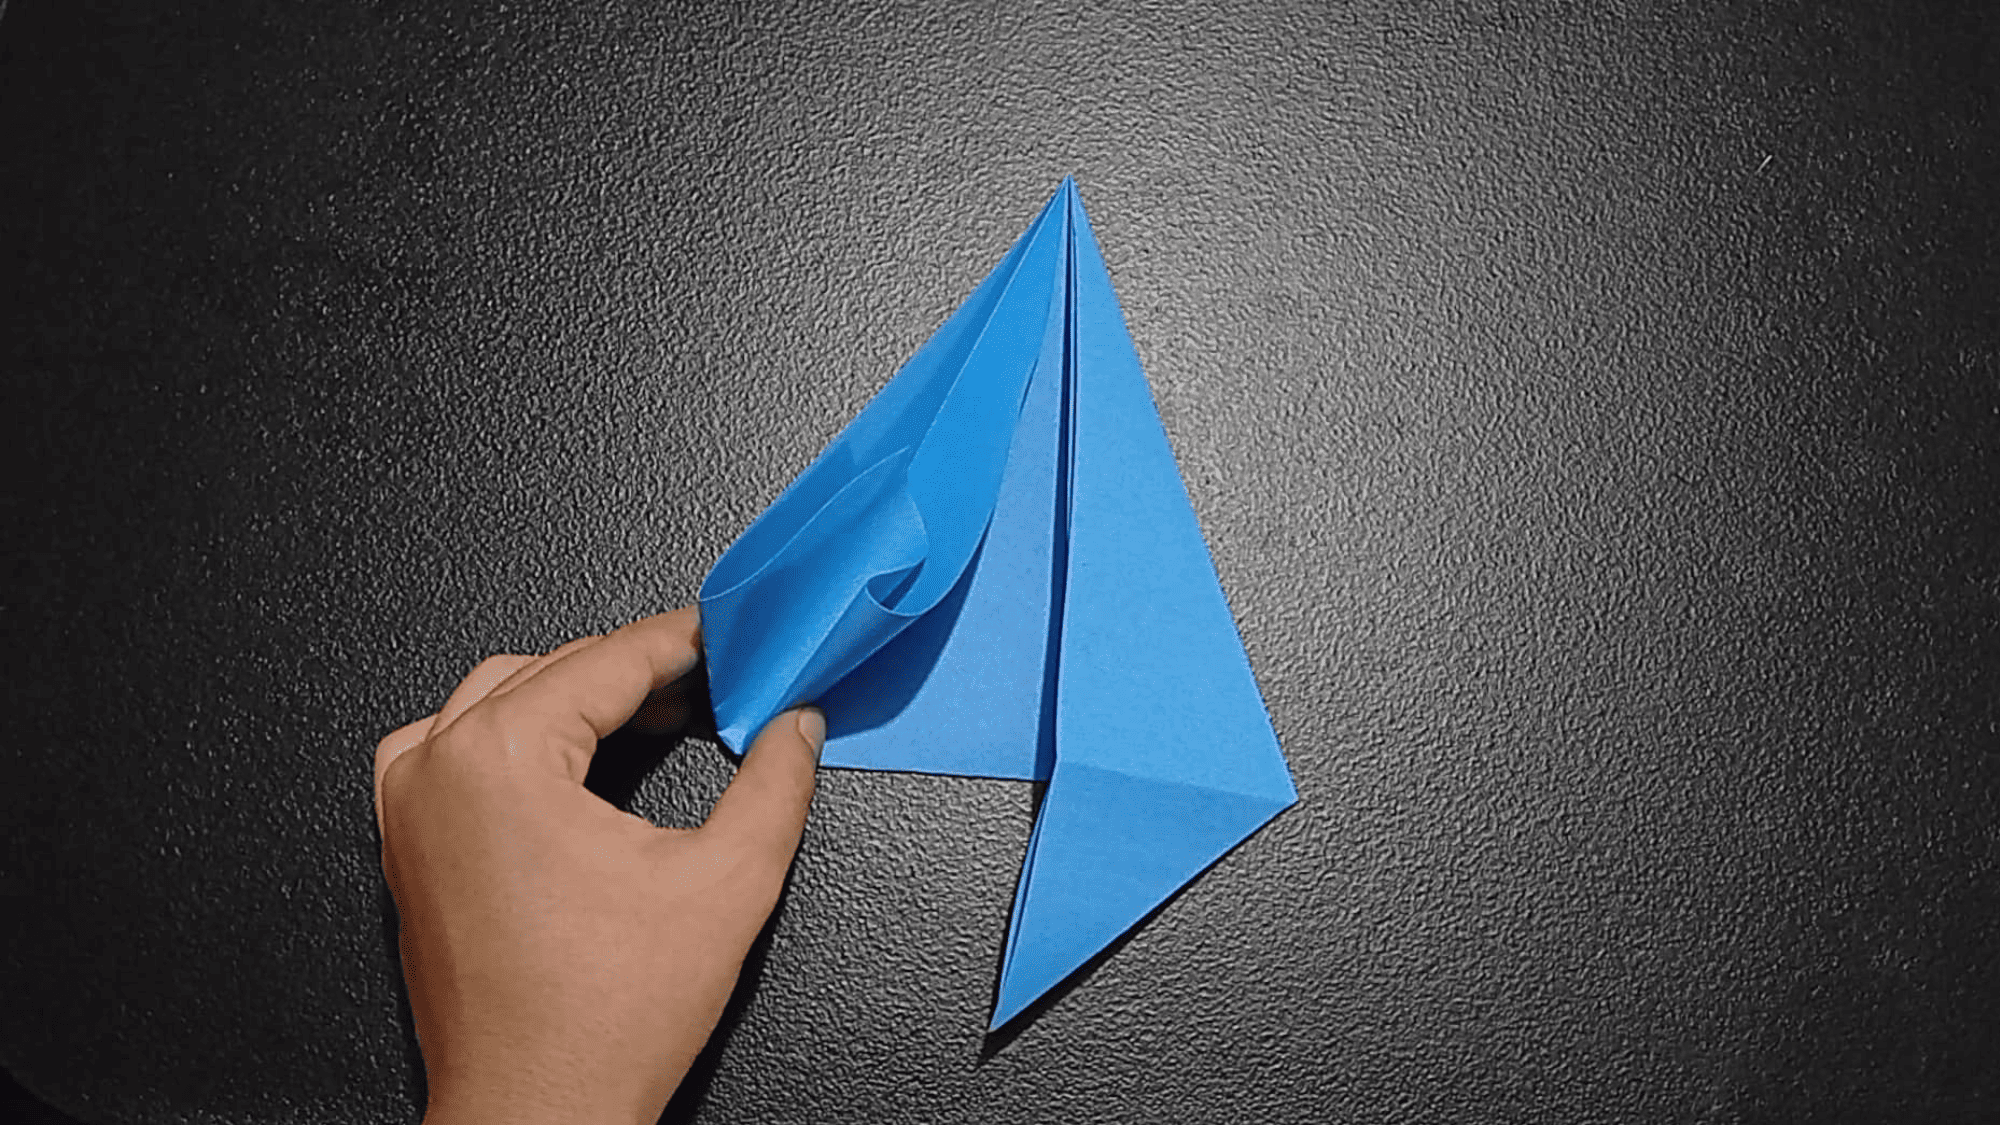
Step 15: Turn the paper over and fold the bottom flaps upward. |
  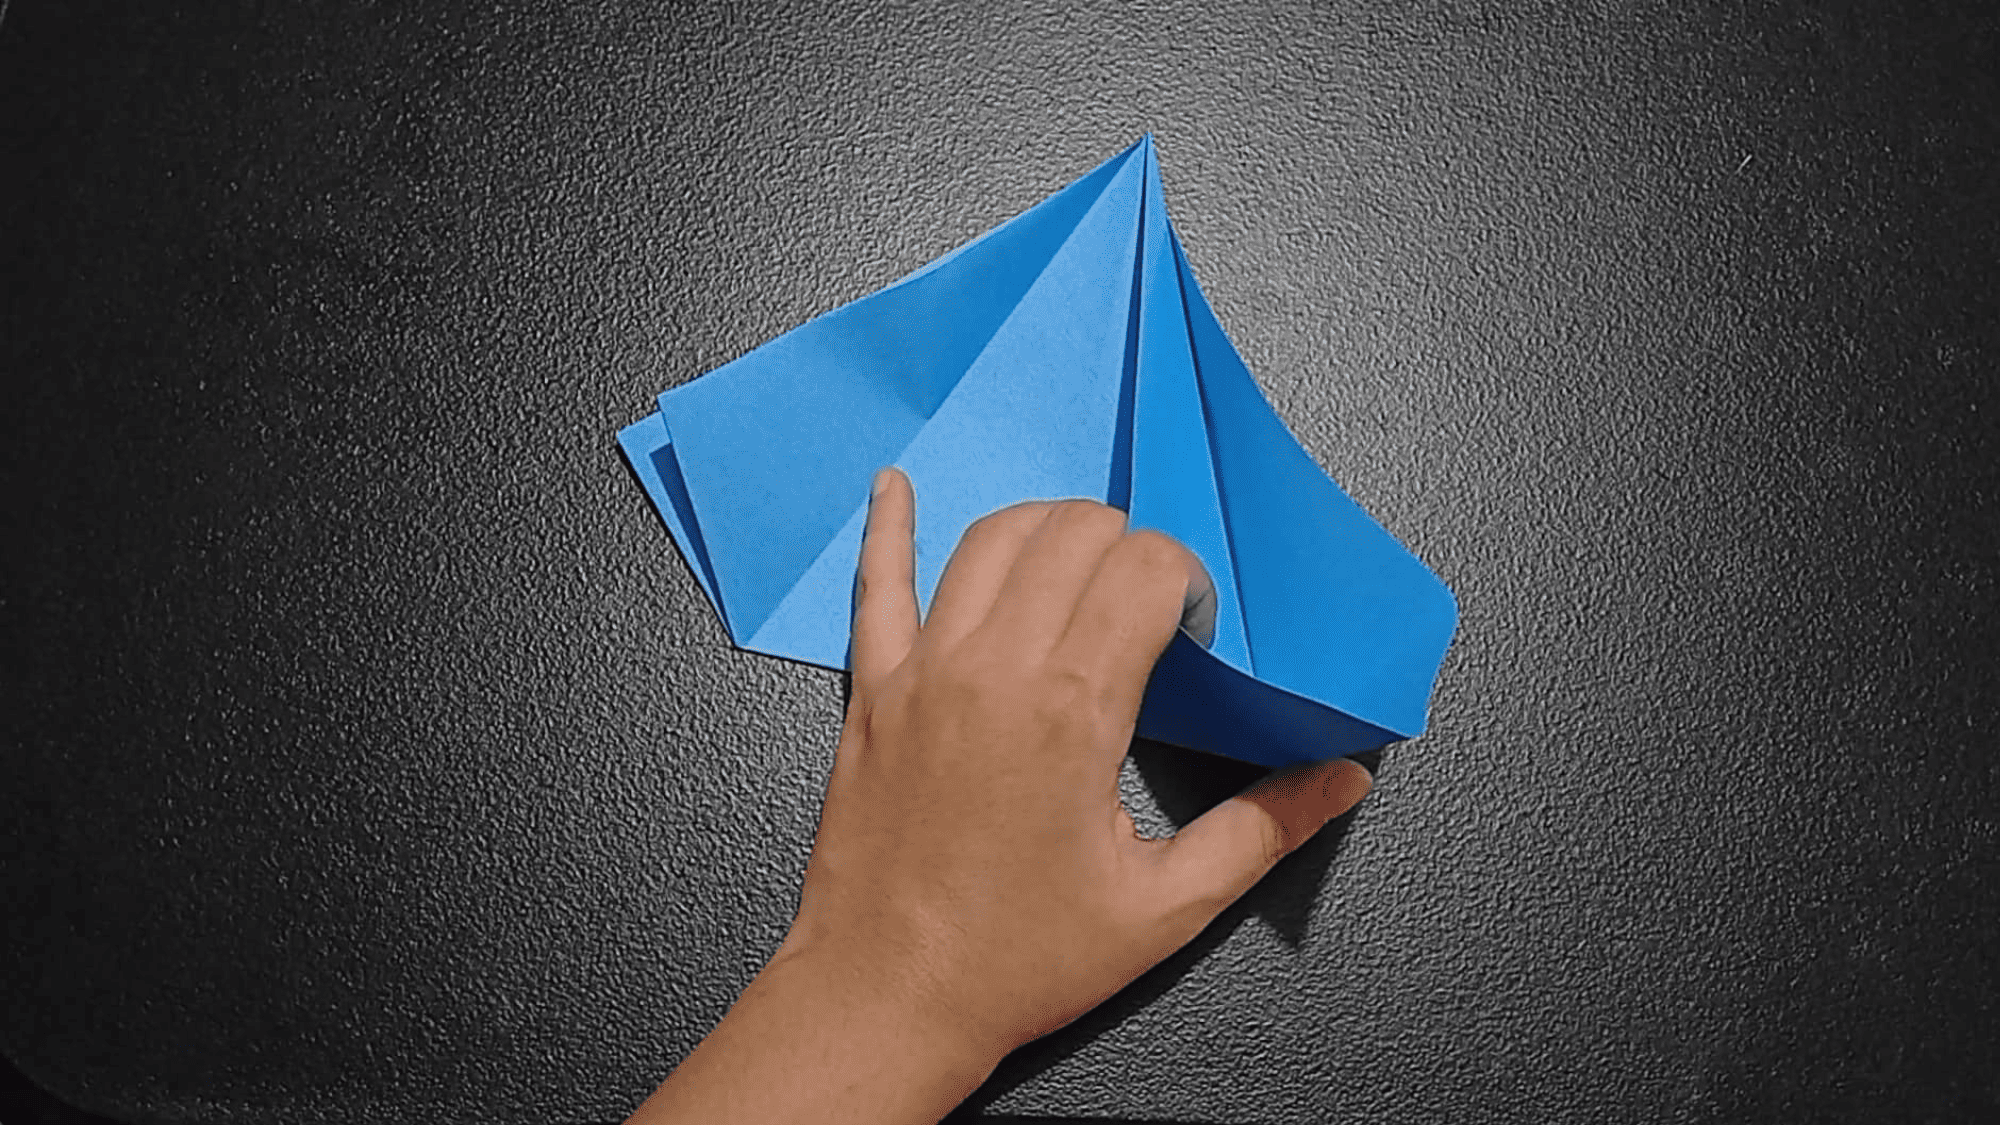    |
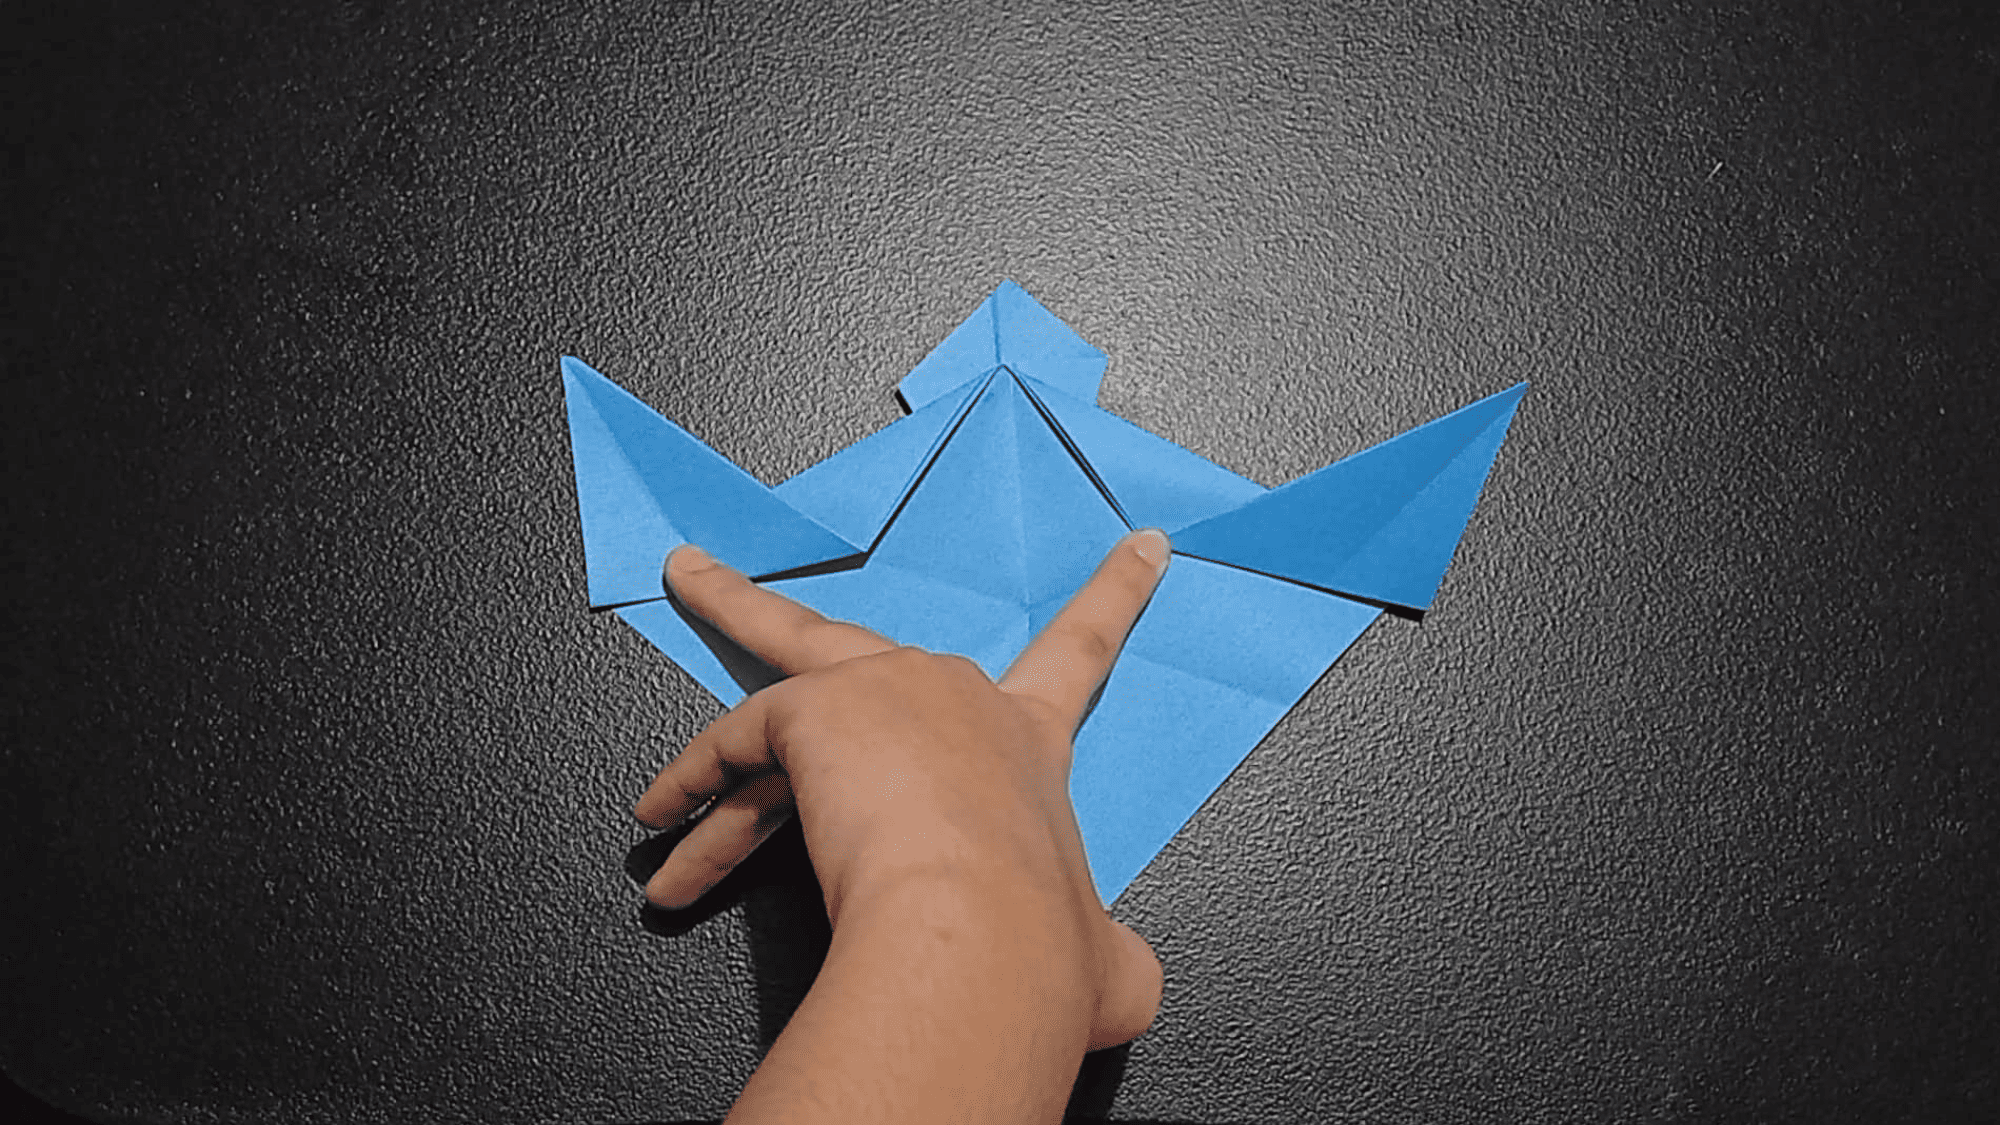
Step 16: Turn the paper over. Pocket the left and right corners. |
 |
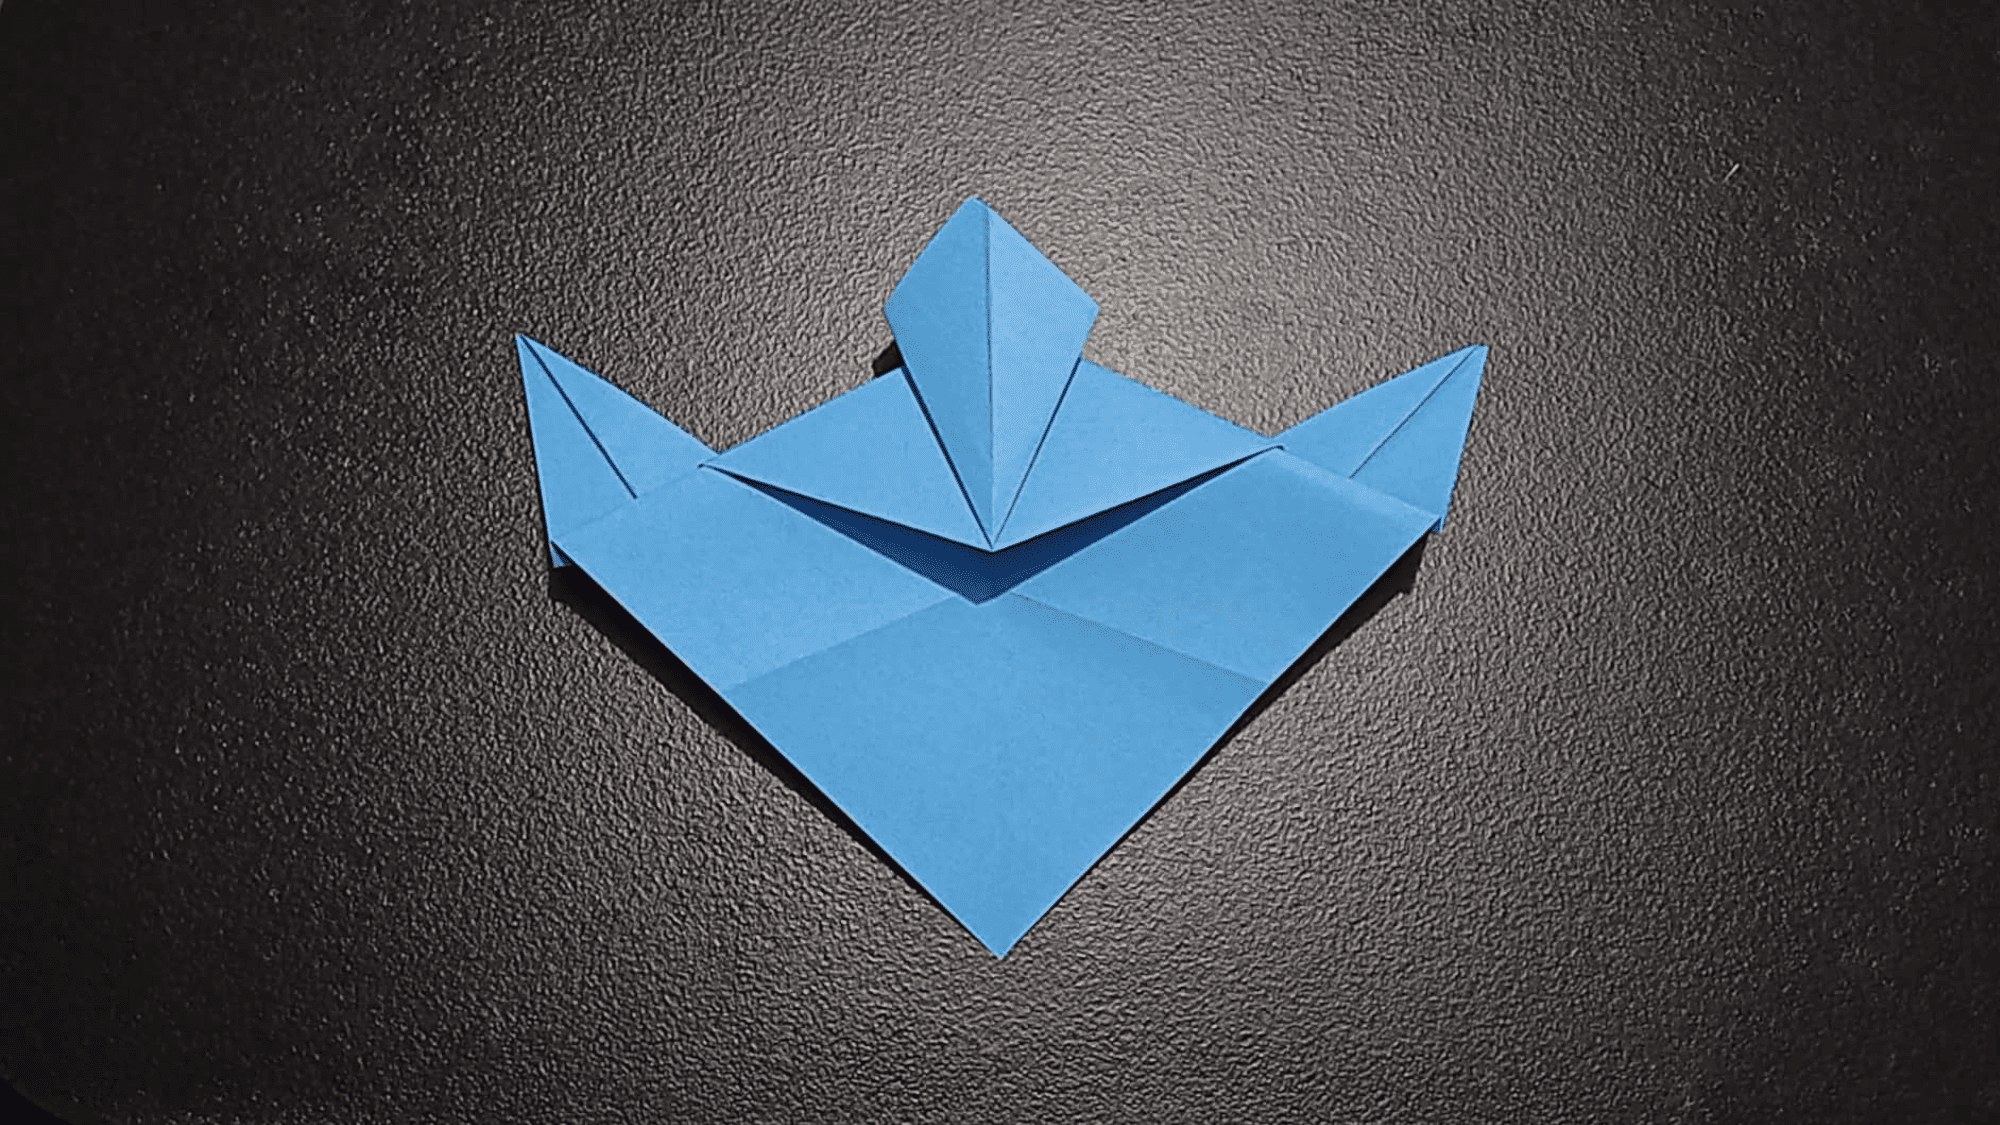
Step 17: Get the other piece and insert it to the center because it will serve as the angel’s body and you’re all done! |