Origami Balloon Instructions

Category:
Origami balloon final
Difficulty: Intermediate
Follow the simple step-by-step instructions with pictures to learn how to make an easy origami balloon.

Feel like blowing up a balloon but don’t have any on you? You checked your pocket, asked your neighbors, and even crashed a party uninvited and can’t seem to find any.

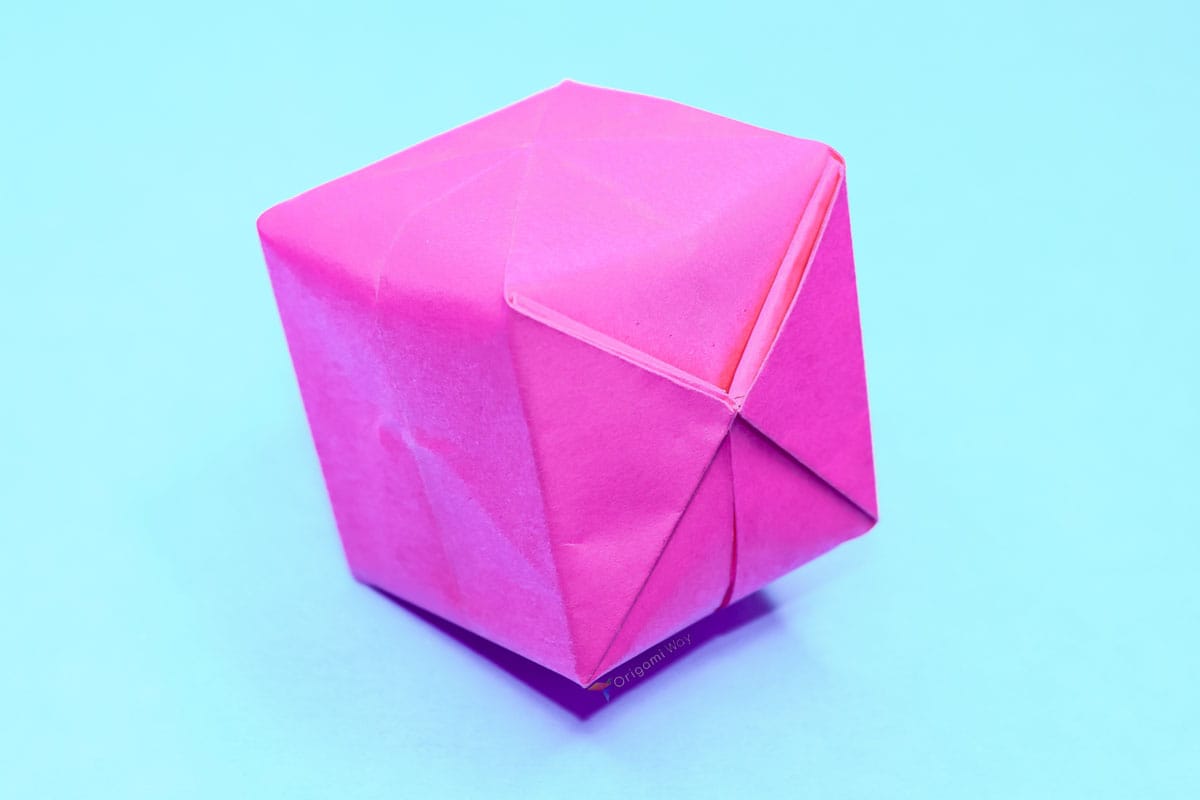
All the balloons at the party were already blown, but you need to blow a balloon right now! I can help you make an origami balloon out of paper…right now! You will need these tools: A piece of paper, and your mouth. Keep your saliva inside please.

Step 1
Balloon origami step 01
1
Start with a square piece of origami paper. I am using an 7×7 inches origami paper.

If you only have regular paper, follow these instructions on how to make a square origami paper.

Step 2
Balloon origami step 02
2
Fold the paper in half by bringing the lower left corner to the upper right corner.

Step 3
Balloon origami step 03
3
Unfold.

Step 4
Balloon origami step 04
4
Fold the lower right corner to the upper left corner.

Step 5
Balloon origami step 05
5
Unfold.

Step 6
Balloon origami step 06
6
Fold the bottom edge to meet the top edge.

Step 7
Balloon origami step 07
7
Open the right side as shown.

Step 8
Balloon origami step 08
8
Fold the right edge to meet the left edge.

Step 9
Balloon origami step 09
9
Flatten down.

Step 10
Balloon origami step 10
10
Turn the model over.

Step 11
Balloon origami step 11
11
Lift the right flap to make it stand up vertically.

Step 12
Balloon origami step 12
12
Then open along the creases and squash down.

Step 13
Balloon origami step 13
13
You should now have a triangle.

Step 14
Balloon origami step 14
14
Fold the right corner of the triangle to the top corner.

Step 15
Balloon origami step 15
15
Fold the left corner of the triangle to the top corner.

Step 16
Balloon origami step 16
16
Turn the model over.

Step 17
Balloon origami step 17
17
Fold the left and right corners of the triangle to the top corner.

Step 18
Origami balloon step 18
18
Fold the top layer of the “diamond’s” left corner to the center.

Step 19
Balloon origami step 19
19
Repeat on the right side.

Step 20
Balloon origami step 20
20
Turn the model over.

Step 21
Balloon origami step 21
21
Repeat the step 18 and 19 again on this side.

Step 22
Balloon origami step 22
22
Take the loose tip at the top and fold it to the side. You should now have a small triangle sticking out of the side.

Step 23
Balloon origami step 23
23
Fold the left corner of the small triangle over to its right corner. You should now have an even smaller triangle.

Step 24
Balloon origami step 24
24
Repeat the previous 2 steps on right side.

Step 25
Balloon origami step 25
25
Unfold the left flap underneath the small triangle you just made.

Step 26
Balloon origami step 26
26
Next, open the top of that flap to create a little pocket.

Step 27
Balloon origami step 27
27
Finally, tuck the small triangle into the pocket.

Step 28
Balloon origami step 28
28
Flatten down.

Step 29
Balloon origami step 29
29
Repeat steps 25 to 28 for the loose tip on the right side.

Step 30
Balloon origami step 30
30
Turn the model over.

Step 31
Balloon origami step 31
31
Repeat steps 25 to 29 so the front and back looks the same.

Step 32
Balloon origami step 32
32
Separate the layers a little to make it easier to shape. Find a little hole at the bottom. This is where we blow.

Step 33
Origami balloon final
33
Once you’re done blowing, it should look like this.

Share and Comment
We would love to see your creations! Scroll down to the comments section and share a photo of your origami.

Comments

Leave a Reply

Your email address will not be published. Required fields are marked *

Drop file here