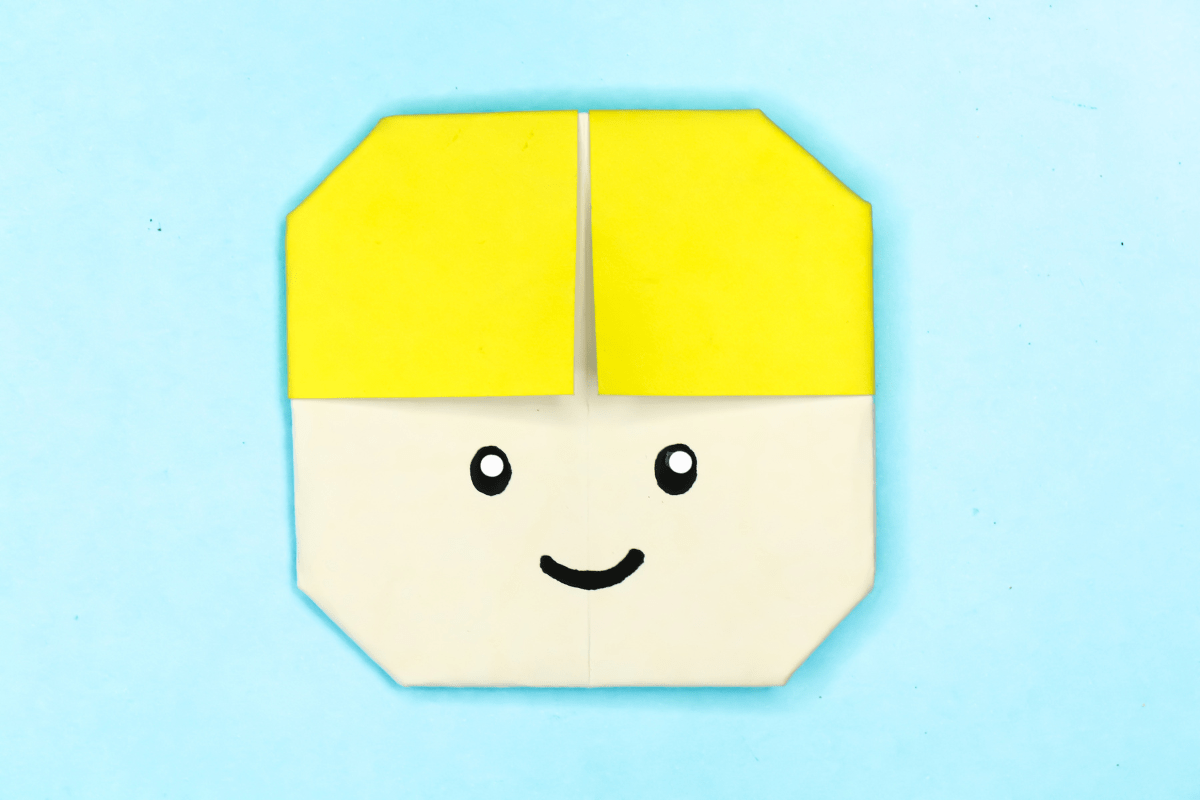
Boy oh boy! You can learn how to make an origami boy with these easy step-by-step instructions. Maybe you can make him come alive just like Pinocchio! Only problem is, his head will be flat. And he doesn’t have a body. Hmmm… Maybe it’s best to just leave him as paper.
How to Make an Origami Boy
Category: Miscellaneous Origami
Difficulty: Easy
Follow the simple step-by-step instructions with pictures to learn how to make an easy origami head of a boy.
Step 1
1
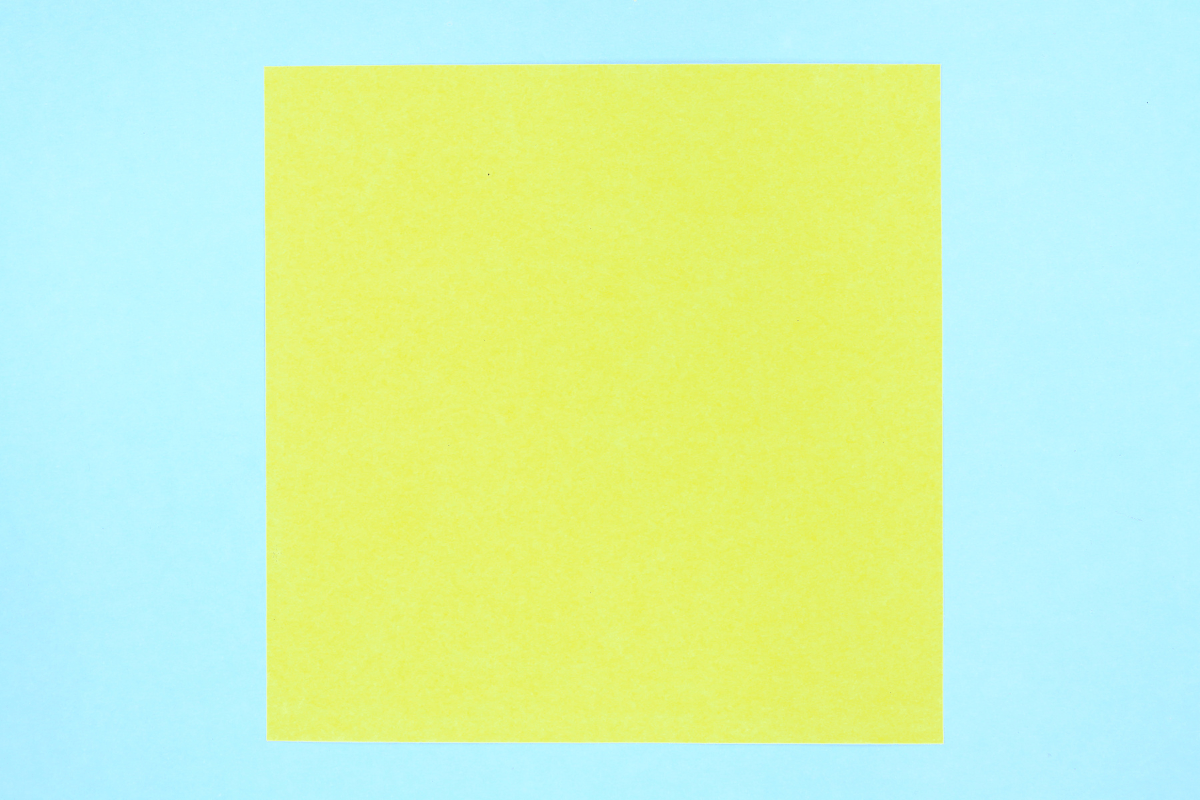
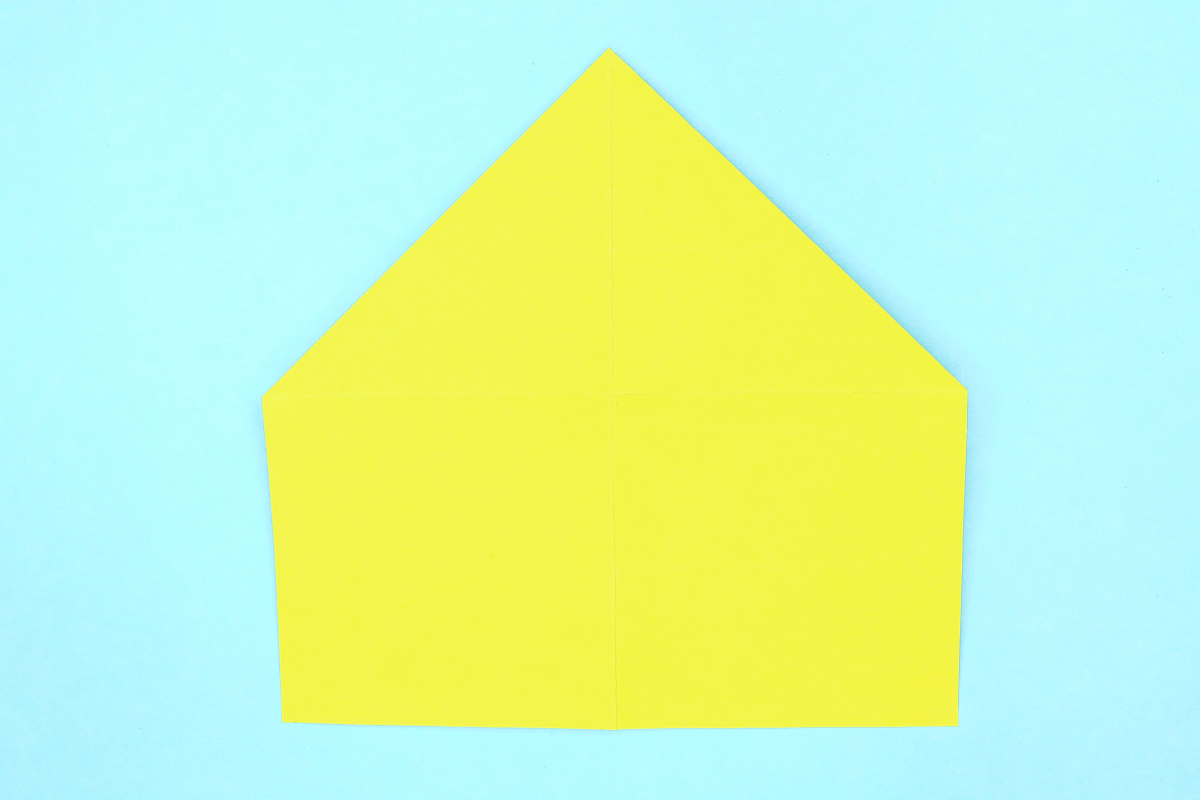
Start with a square sheet of origami paper. I am using an 7×7 inches origami paper.
If you only have regular paper, follow these instructions on how to make a square origami paper.
If you only have regular paper, follow these instructions on how to make a square origami paper.
Step 2
2
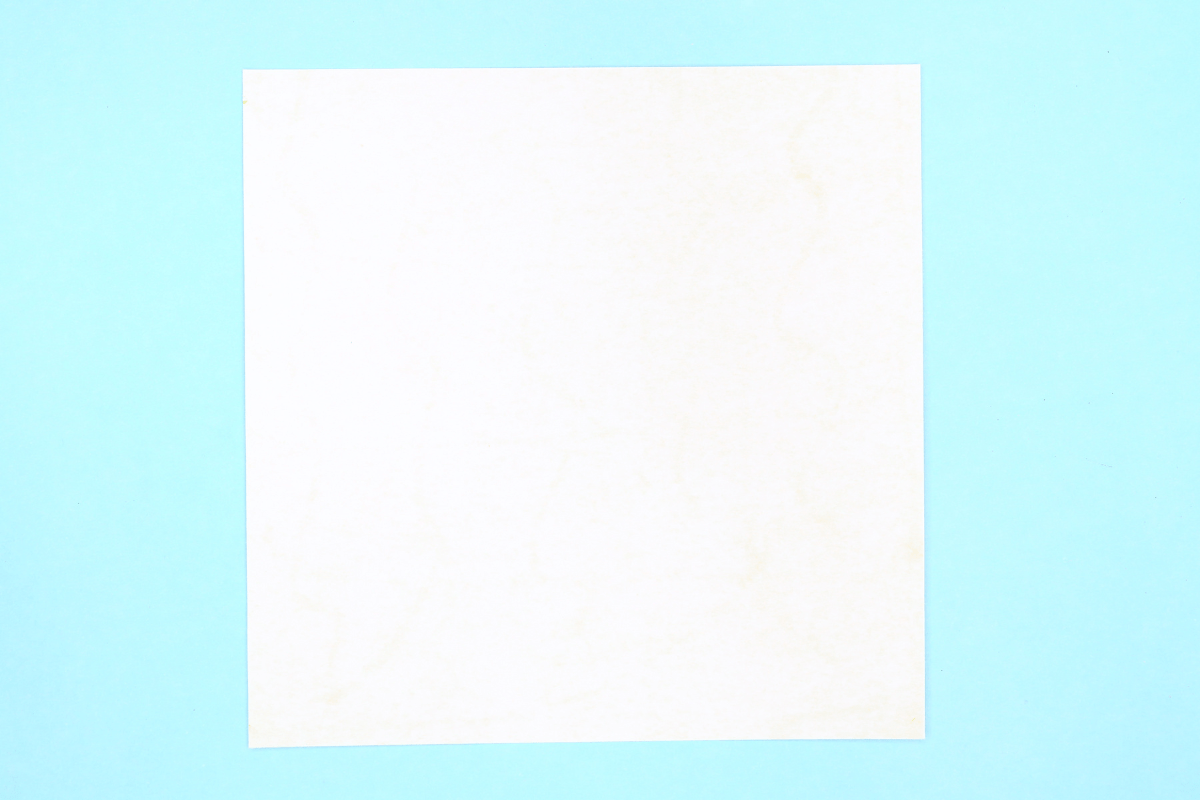
If you are using two color sided origami paper then face the lighter side upwards.
Step 3
3
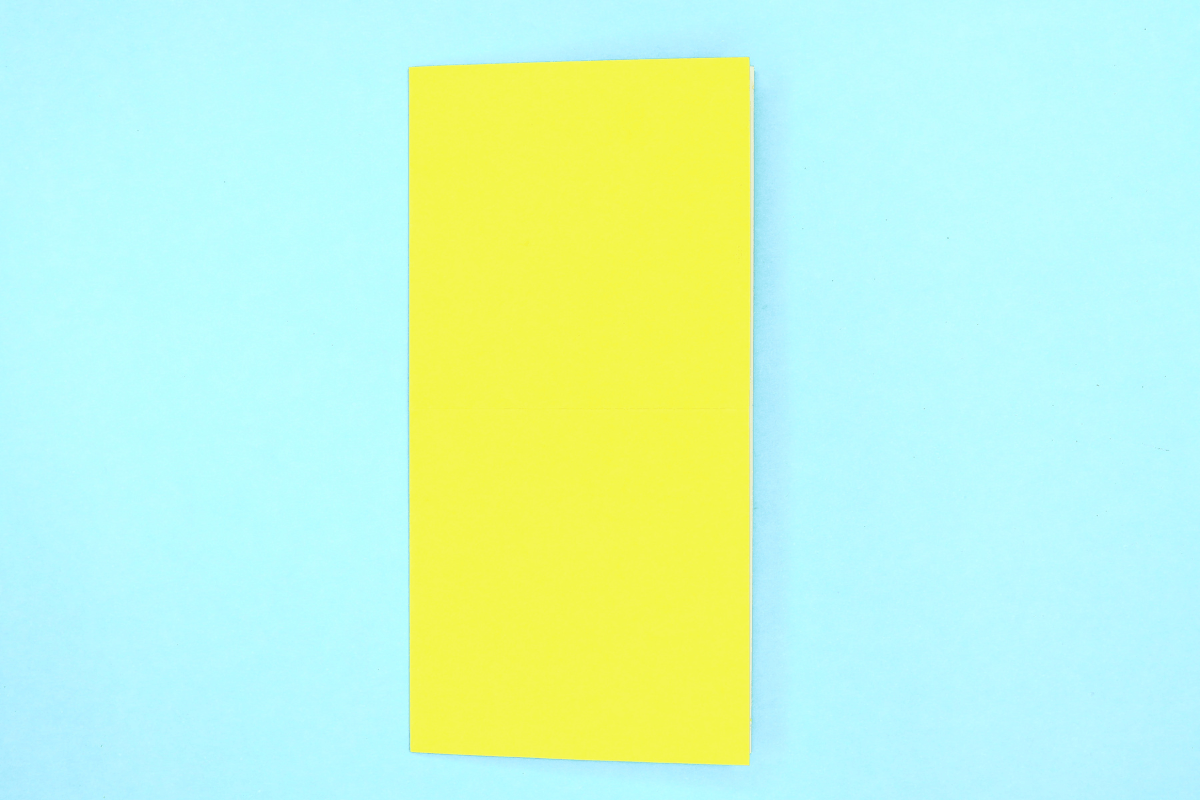
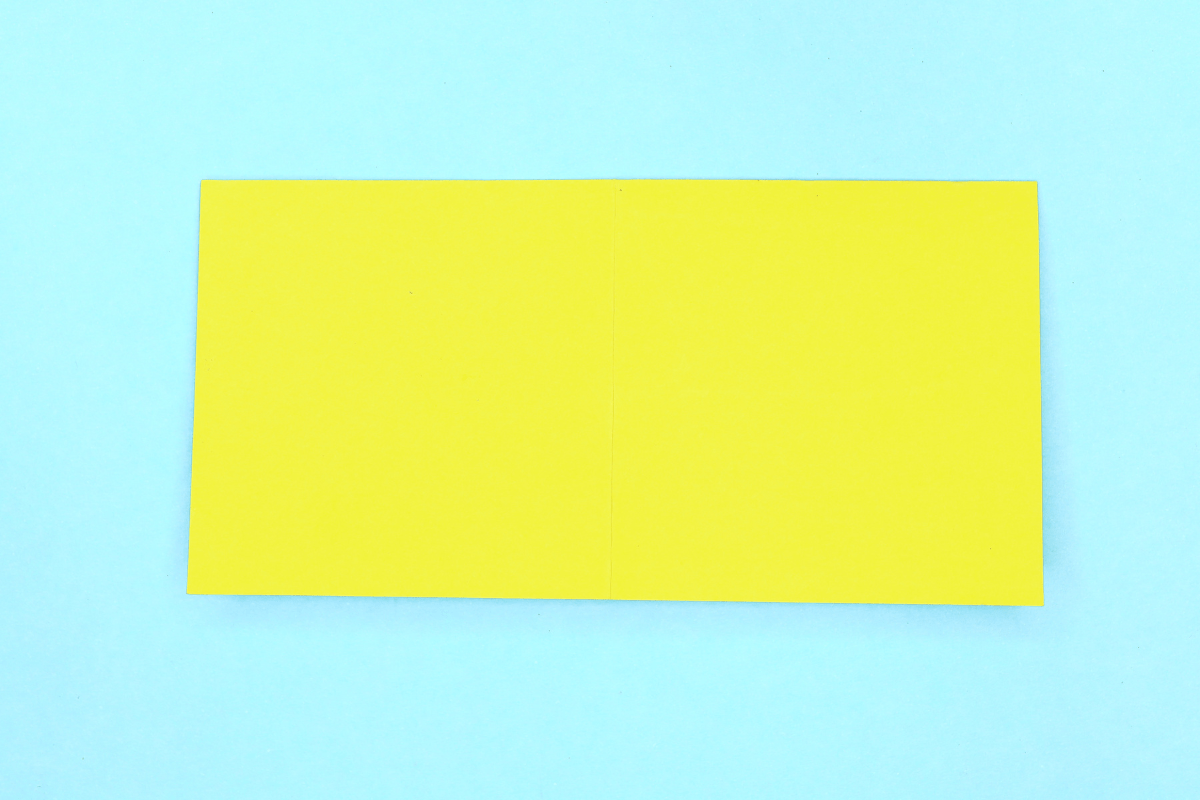
Fold the paper in half from left to right.
Step 4

4
Unfold.
Step 5
5
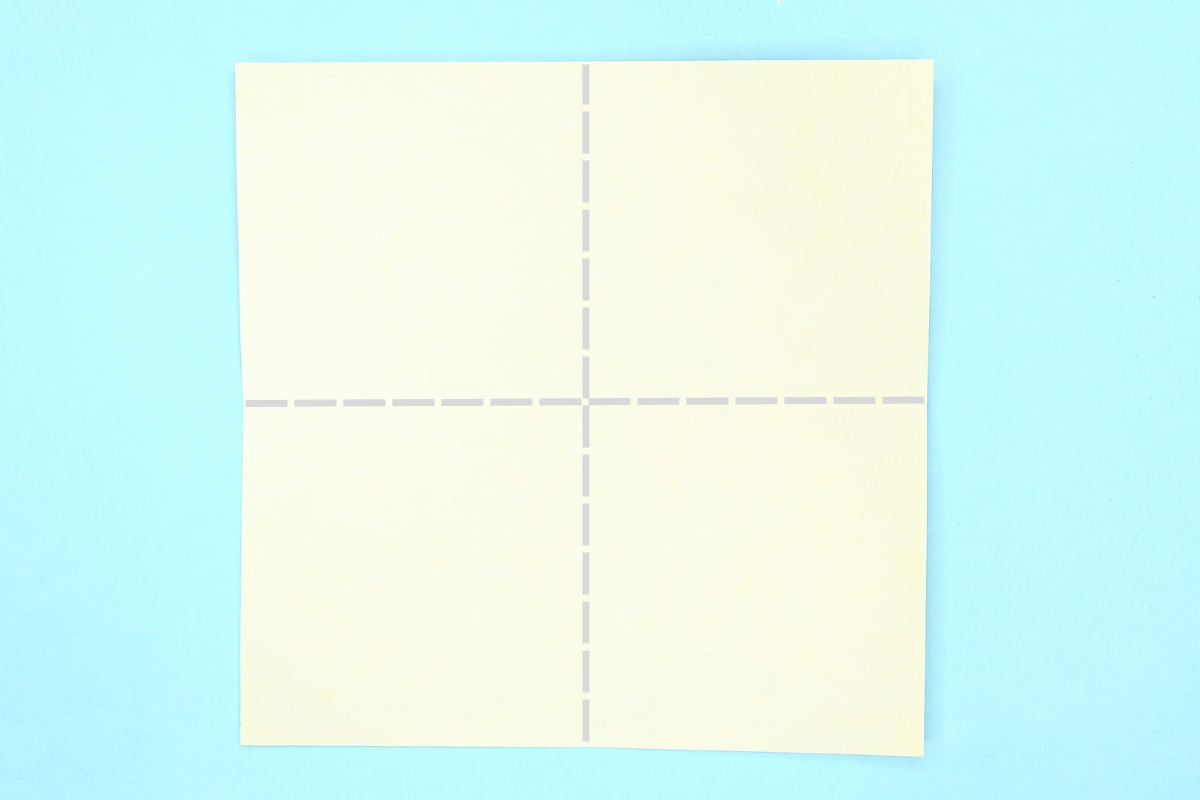
Fold the paper in half again, but from top to bottom.
Step 6
6
Again, unfold. You now have a creases where the dotted gray line goes.
Step 7
7
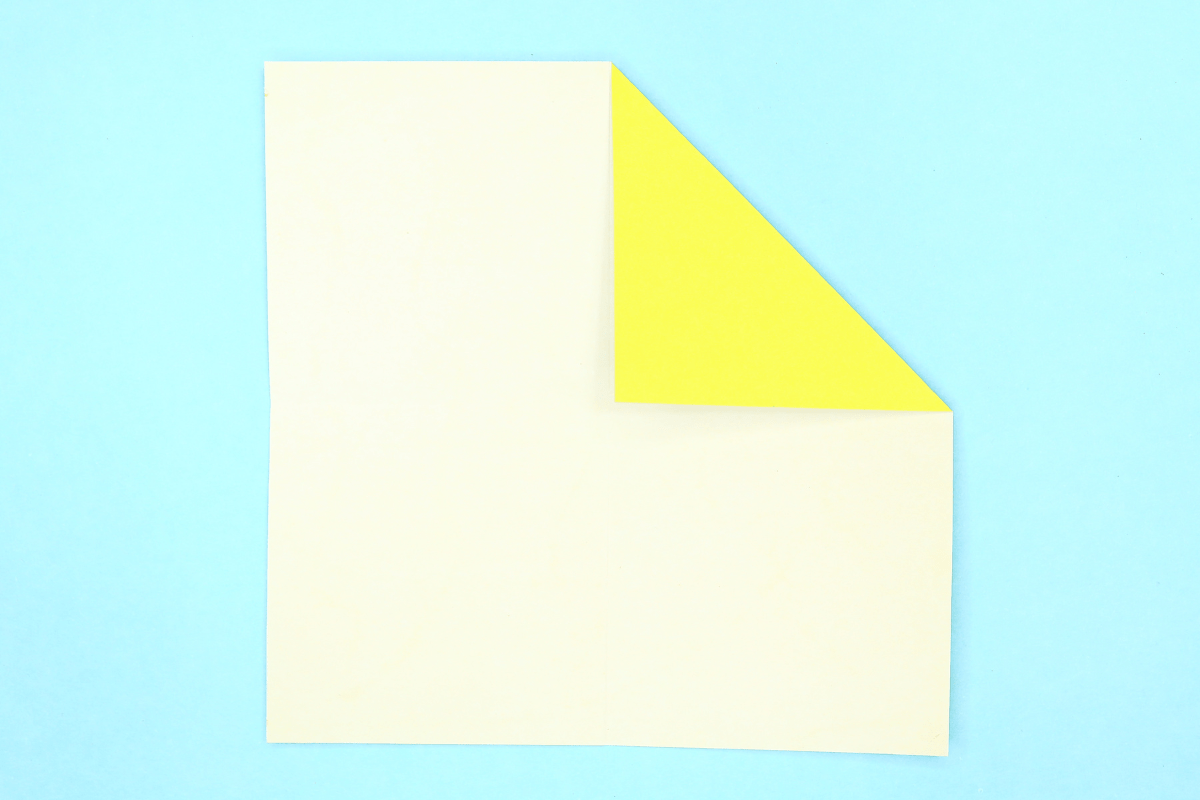
Fold the top right corner to the center.
Step 8
8
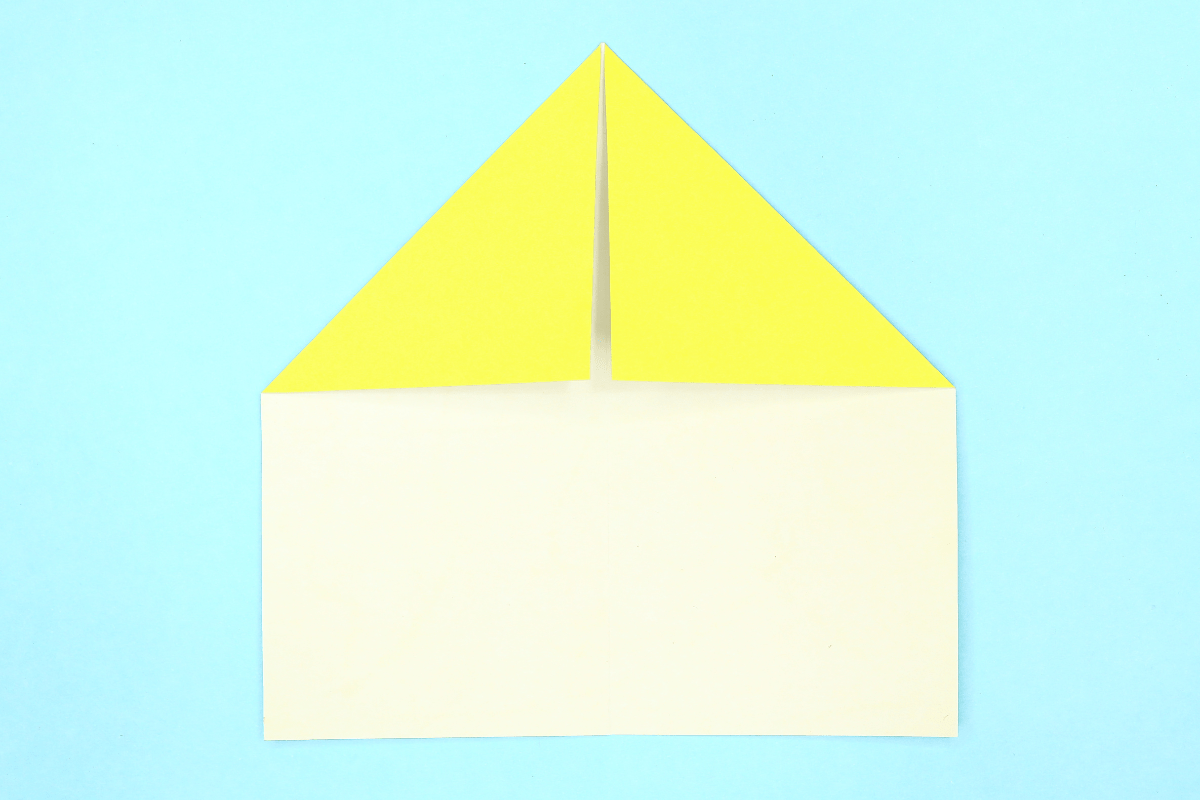
Fold the top left corner to the center.
Step 9
9
Turn the paper over.
Step 10
10
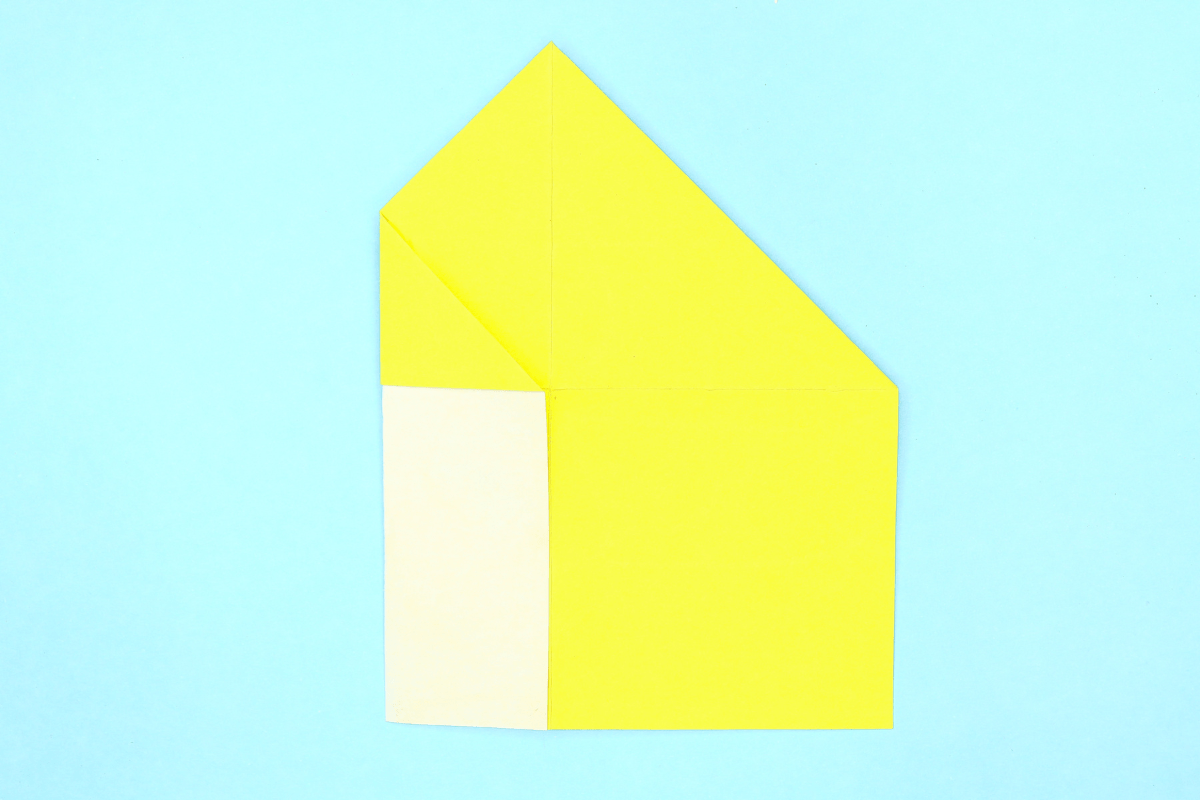
Fold the left edge to the center crease.
Step 11
11
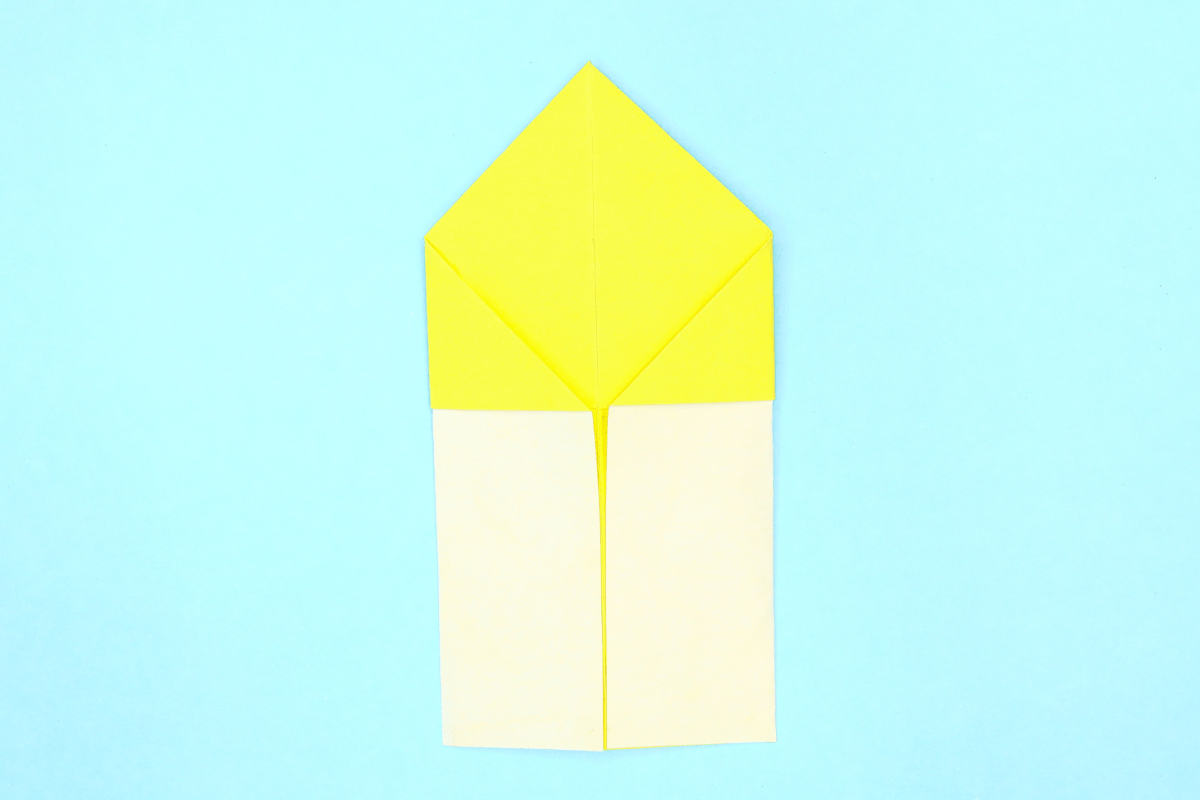
Fold the right edge to the center crease.
Step 12
12
Fold the top corner down to the center.
Step 13

13
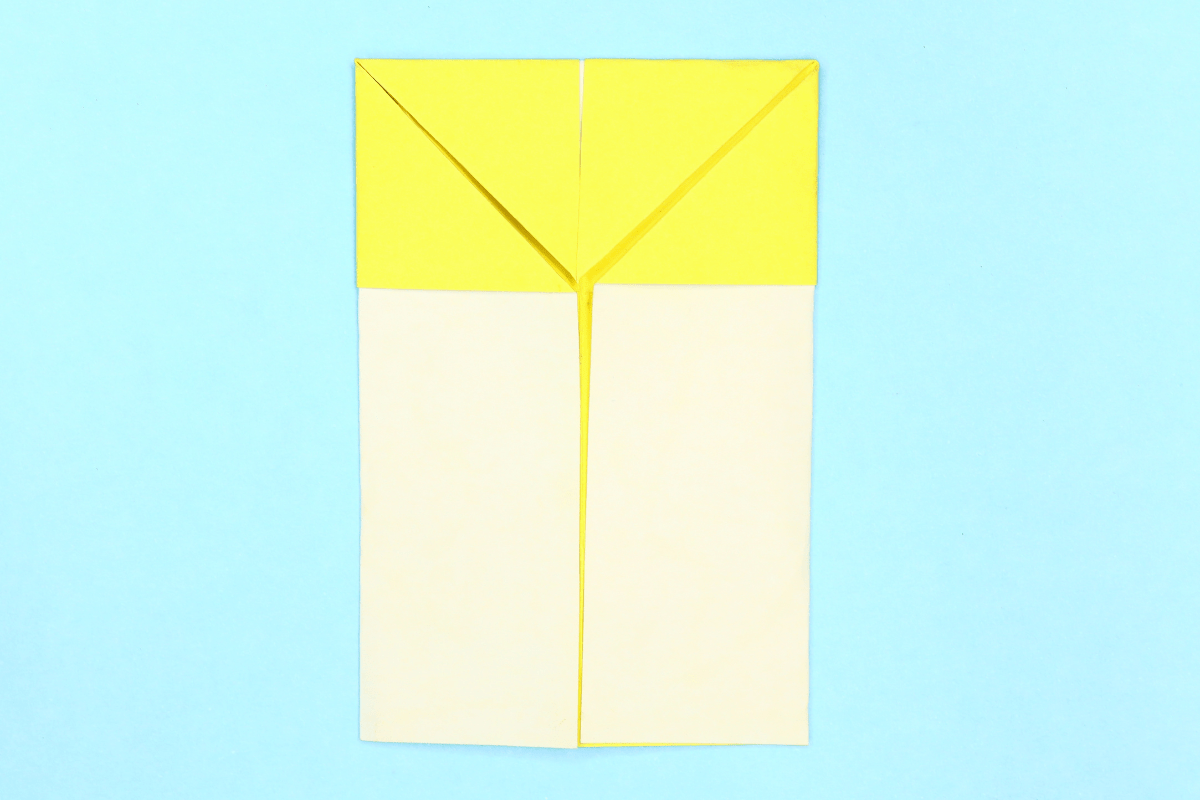
Fold the bottom edge to the center.
Step 14
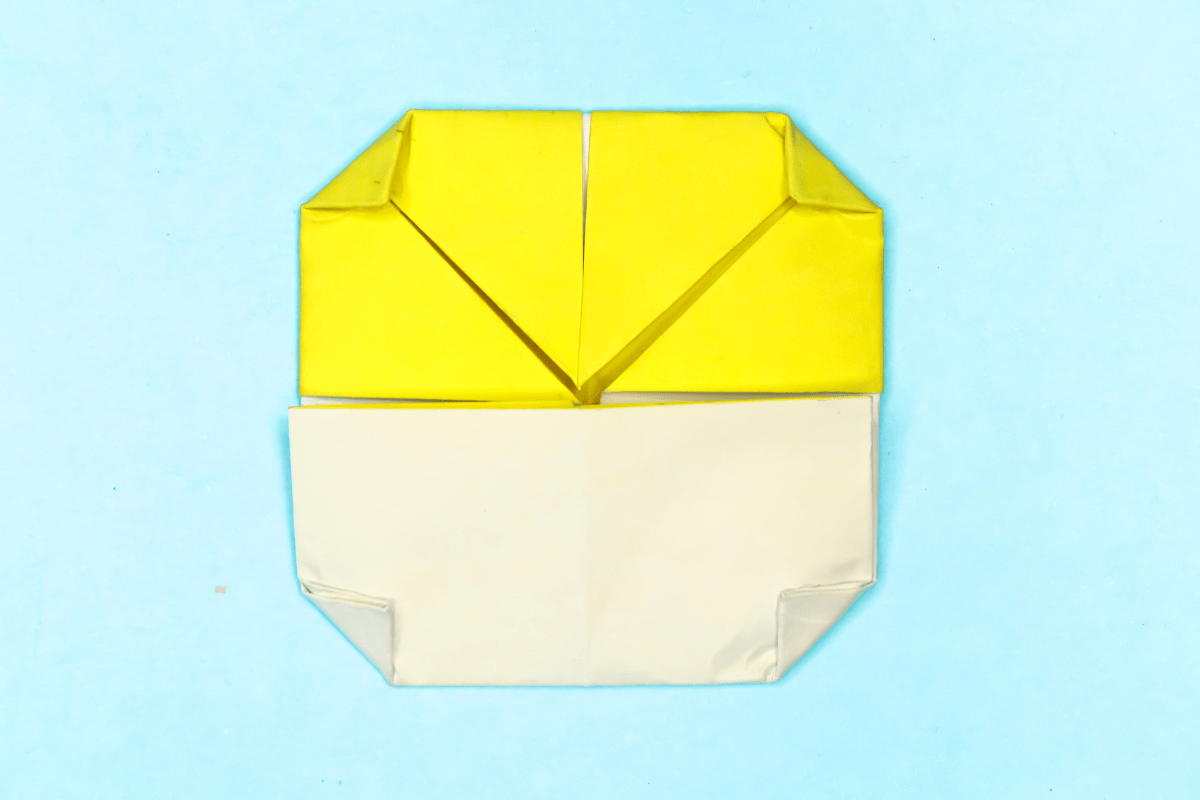
14
Fold in all four corners just a little like you see in the picture.
Step 15

15
Turn the paper over.
Step 16
16
Get a marker and draw on the face. Wasn’t that easy?
Share and Comment
We would love to see your creations! Scroll down to the comments section and share a photo of your origami.
Leave a Reply