Cute Origami Bunny Step-by-Step Instructions

Category:
Origami Rabbit final step
Difficulty: Hard
Fold an adorable Origami bunny! Follow our easy step-by-step guide to create a cute paper rabbit

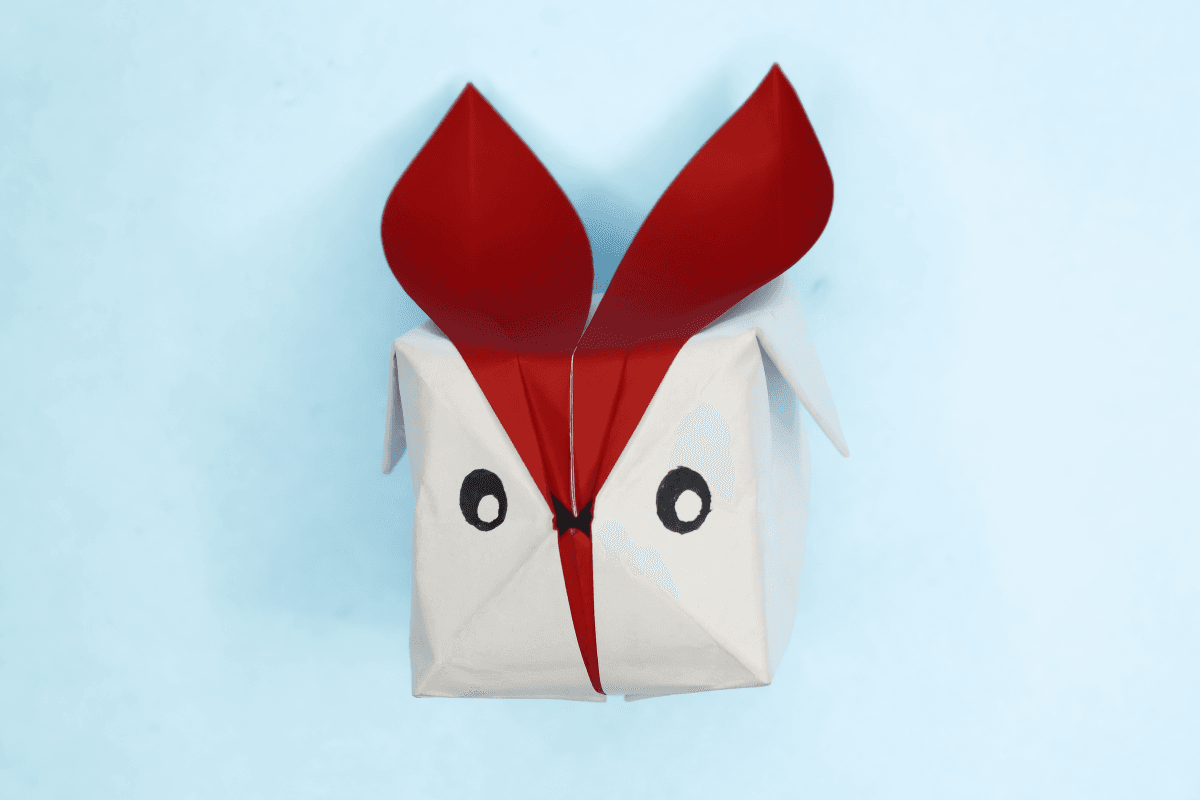
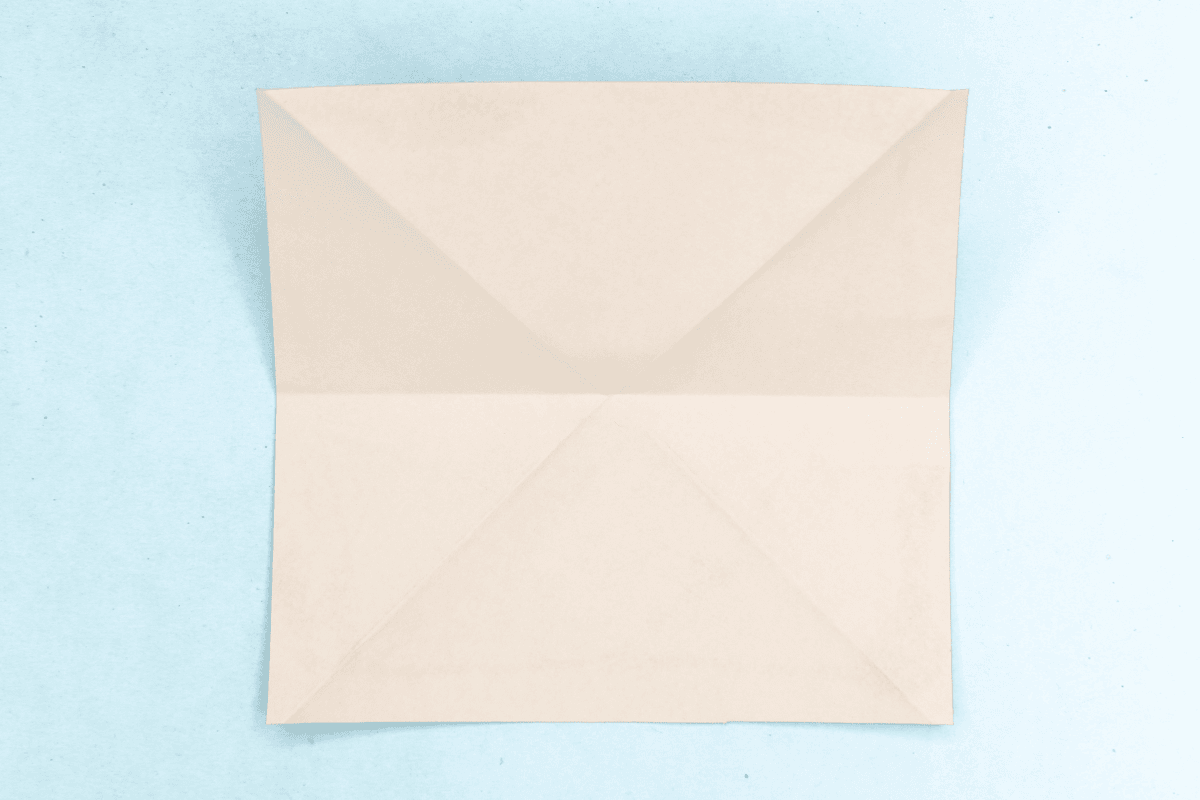
This origami bunny is super cute, thanks to its adorable ears and puffy shape. This is one you wish you could cuddle if it didn’t flatten.

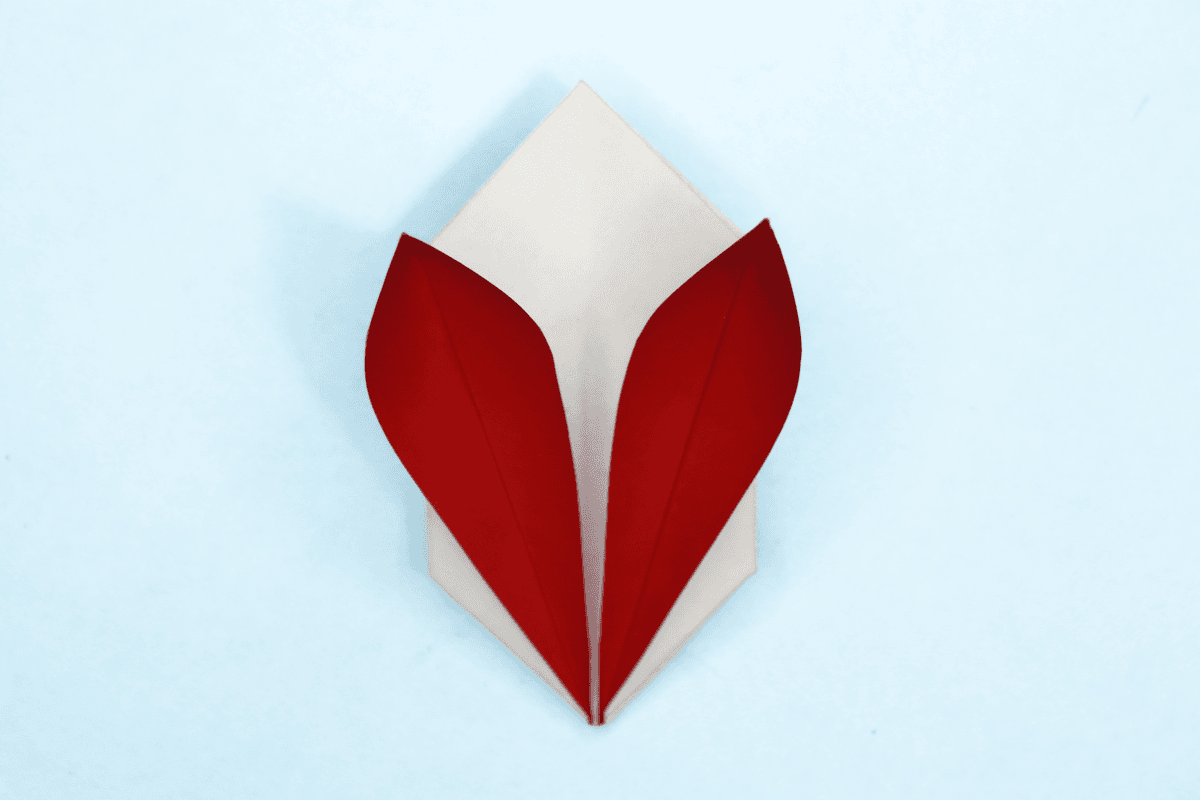
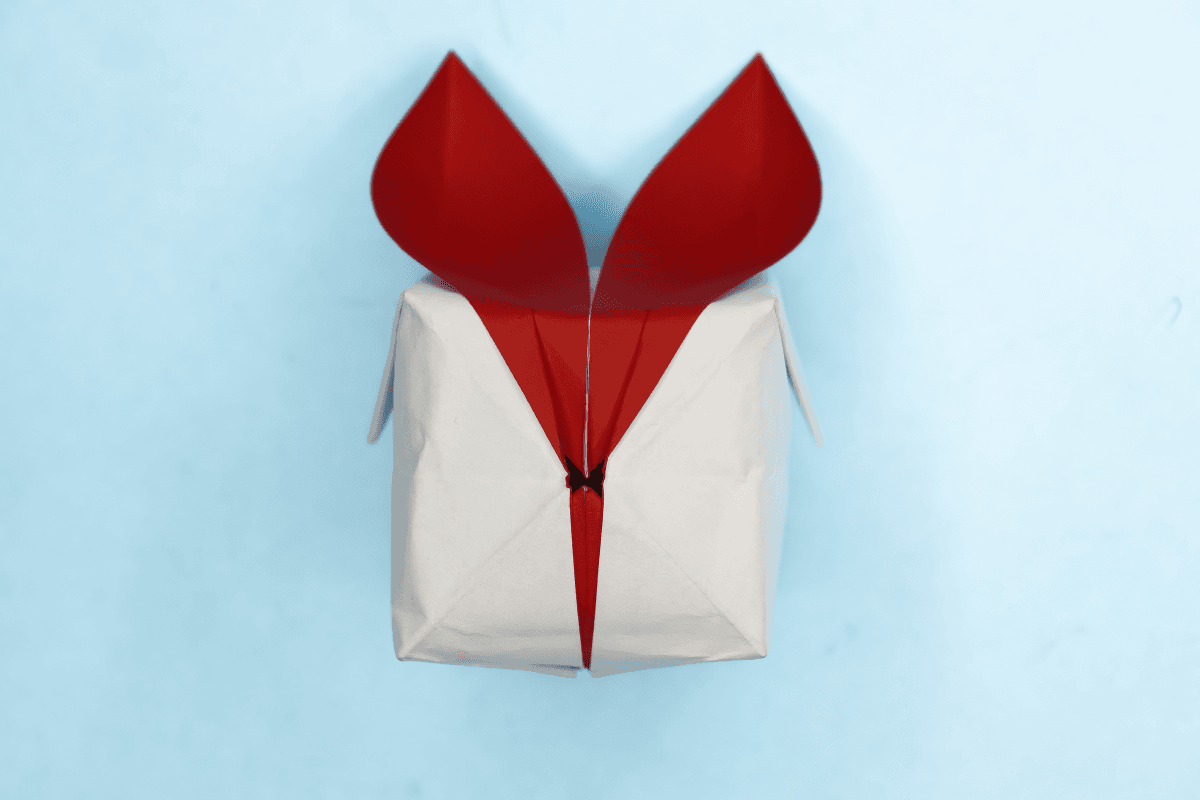
Another unique feature of this origami bunny are the contrasting colors of the ears, therefore it is best to use origami paper with different colors on each side. However, it will still look absolutely adorable and is still worth folding, even with plain paper.

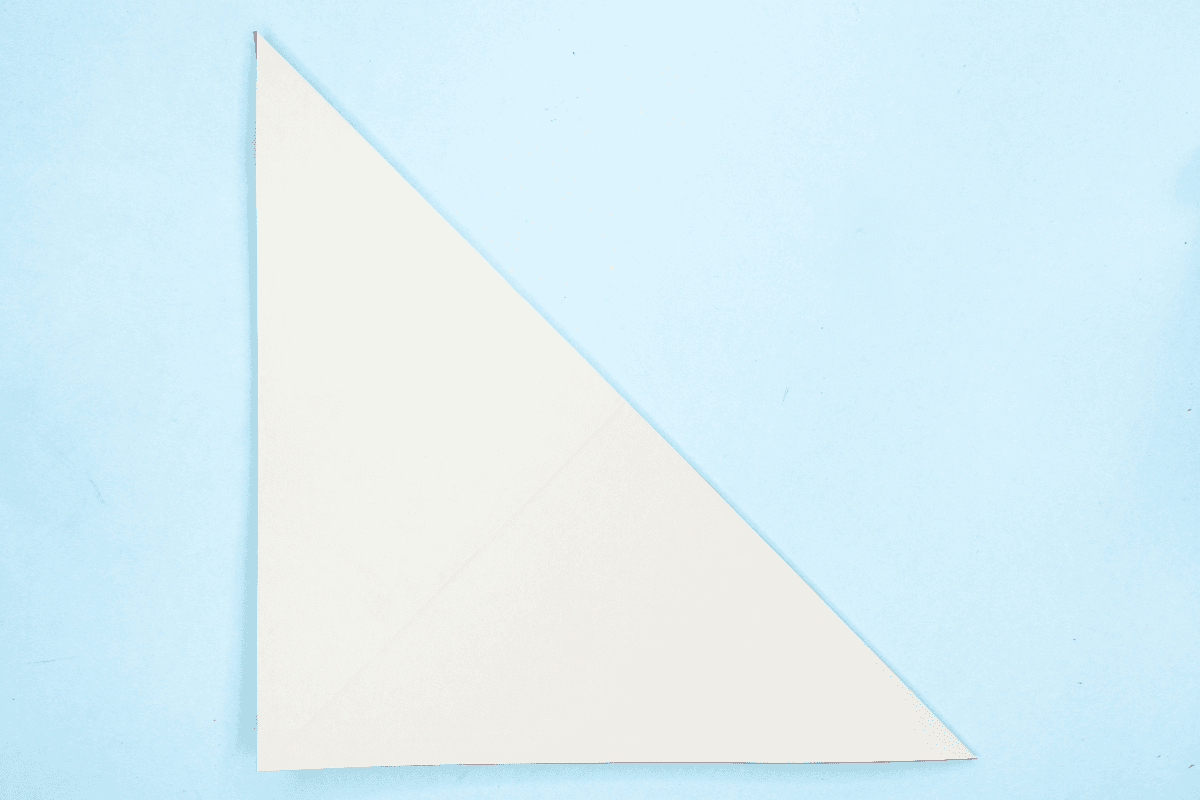
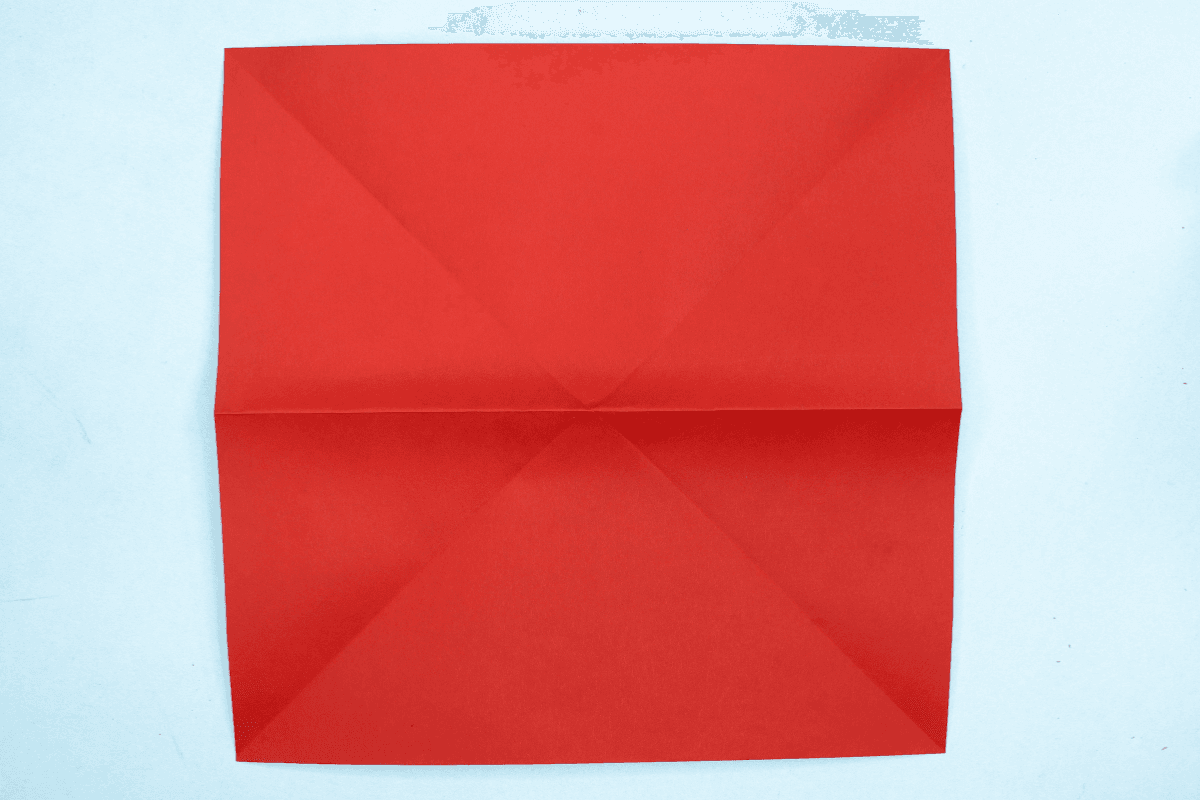
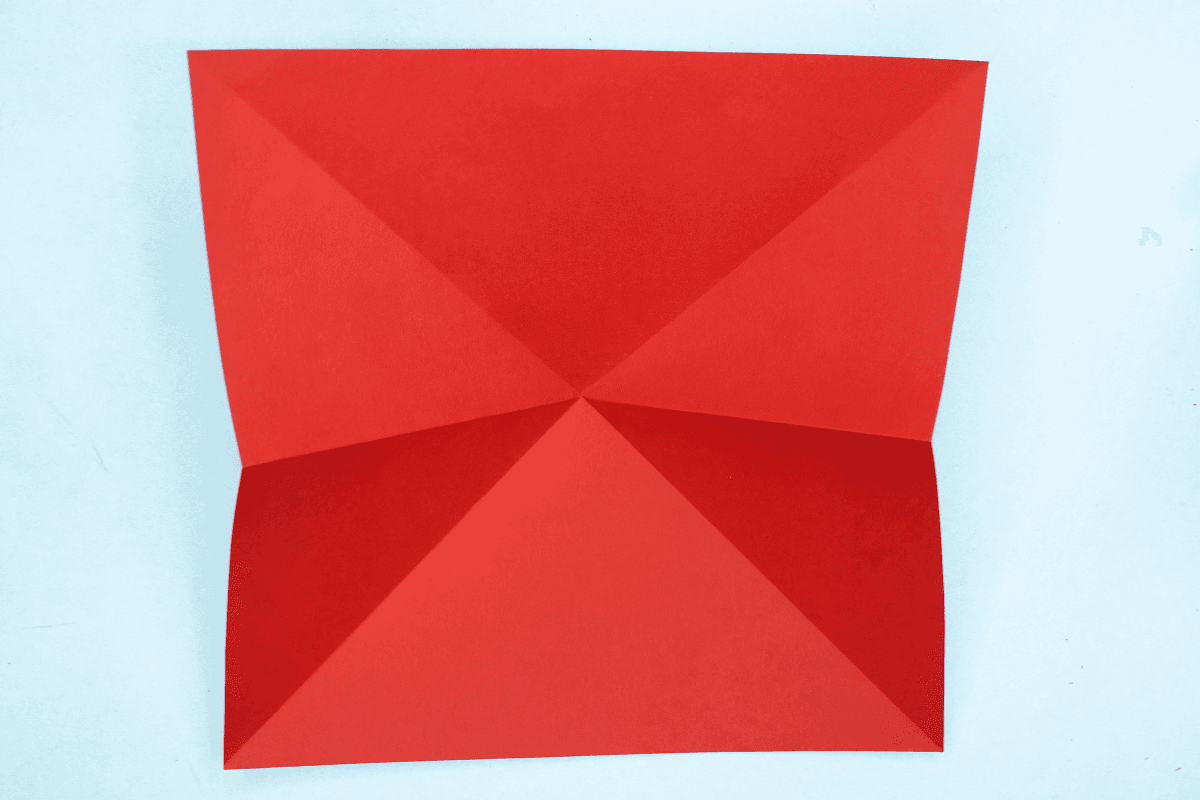
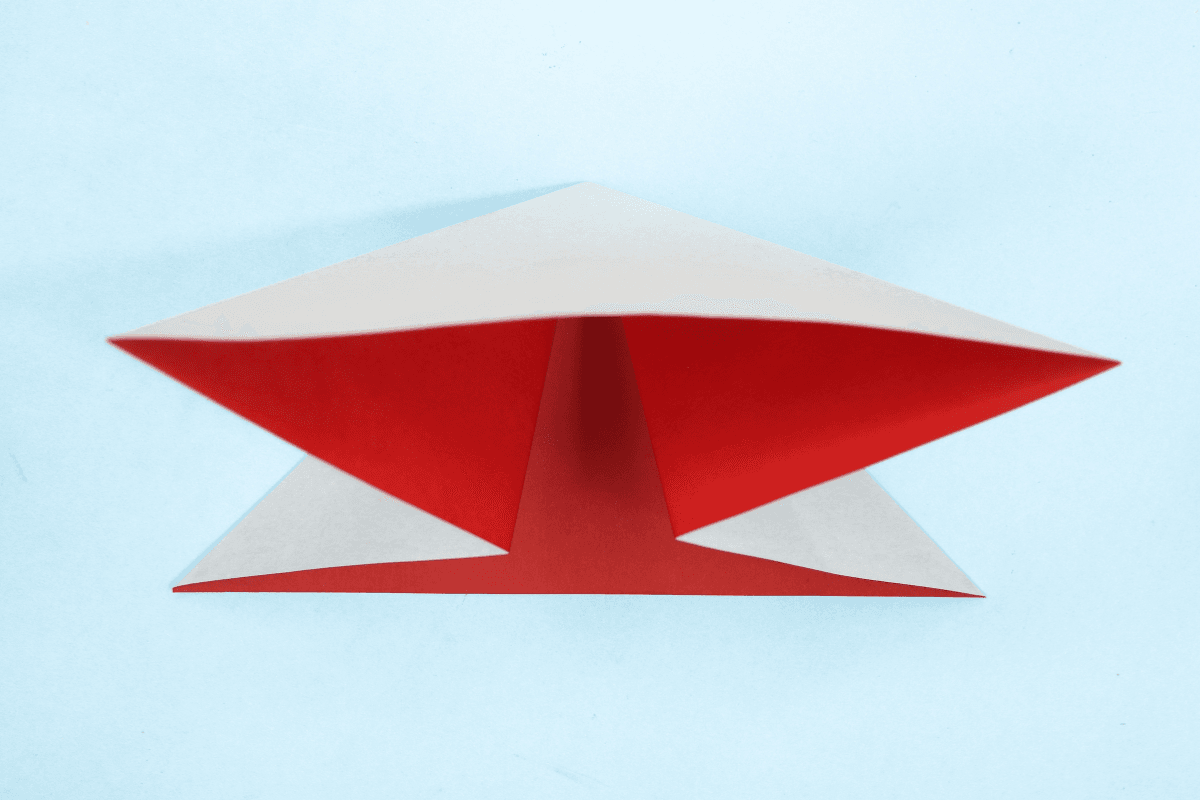
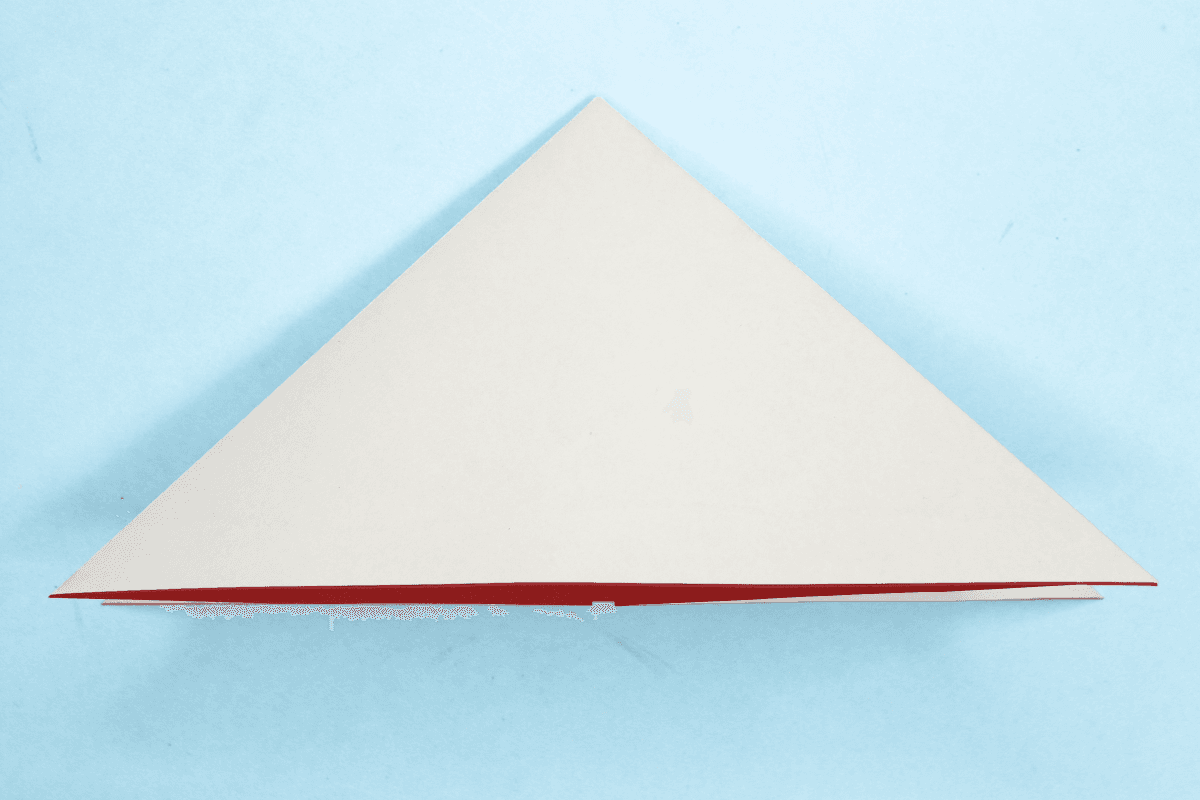
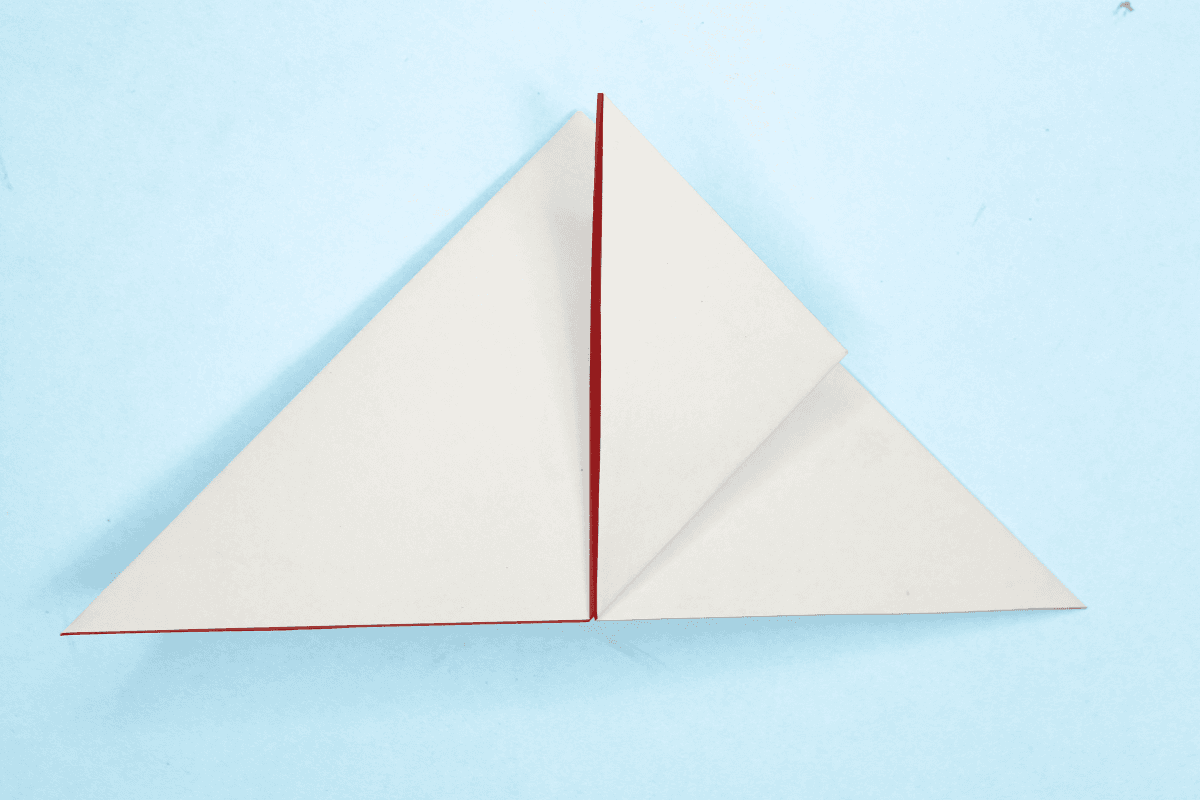
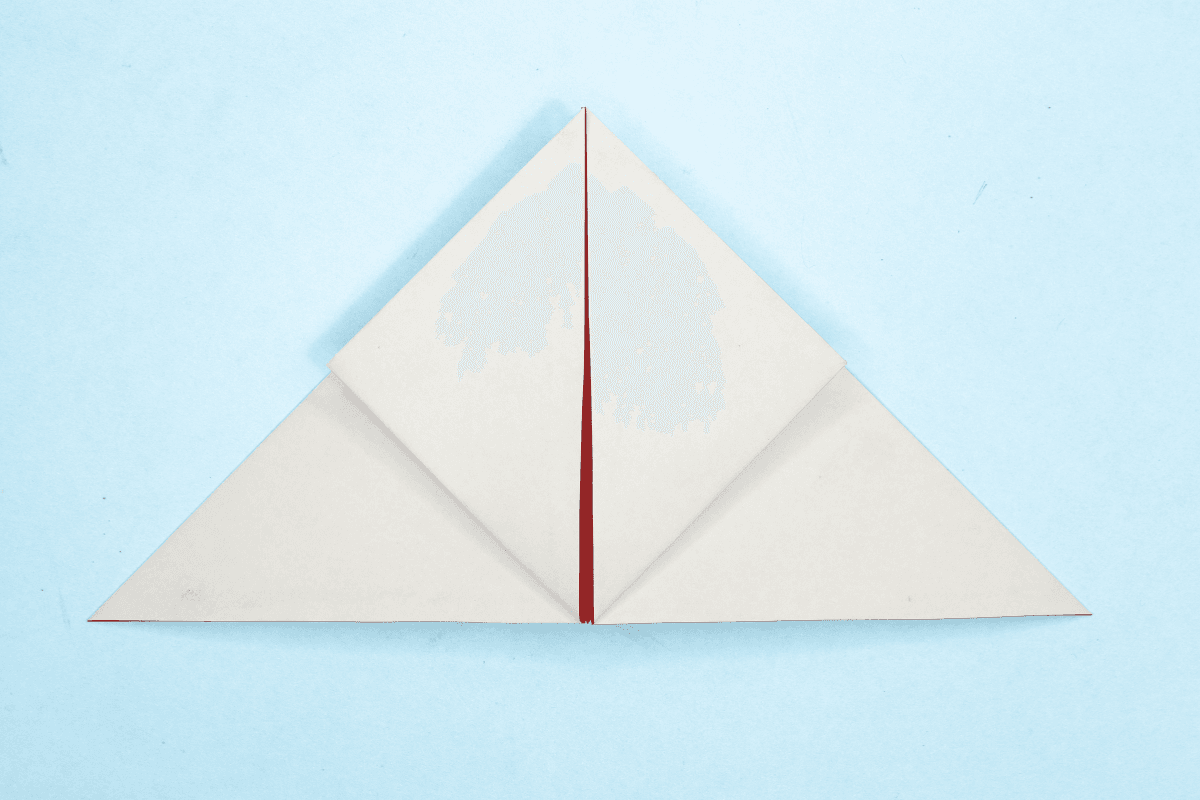
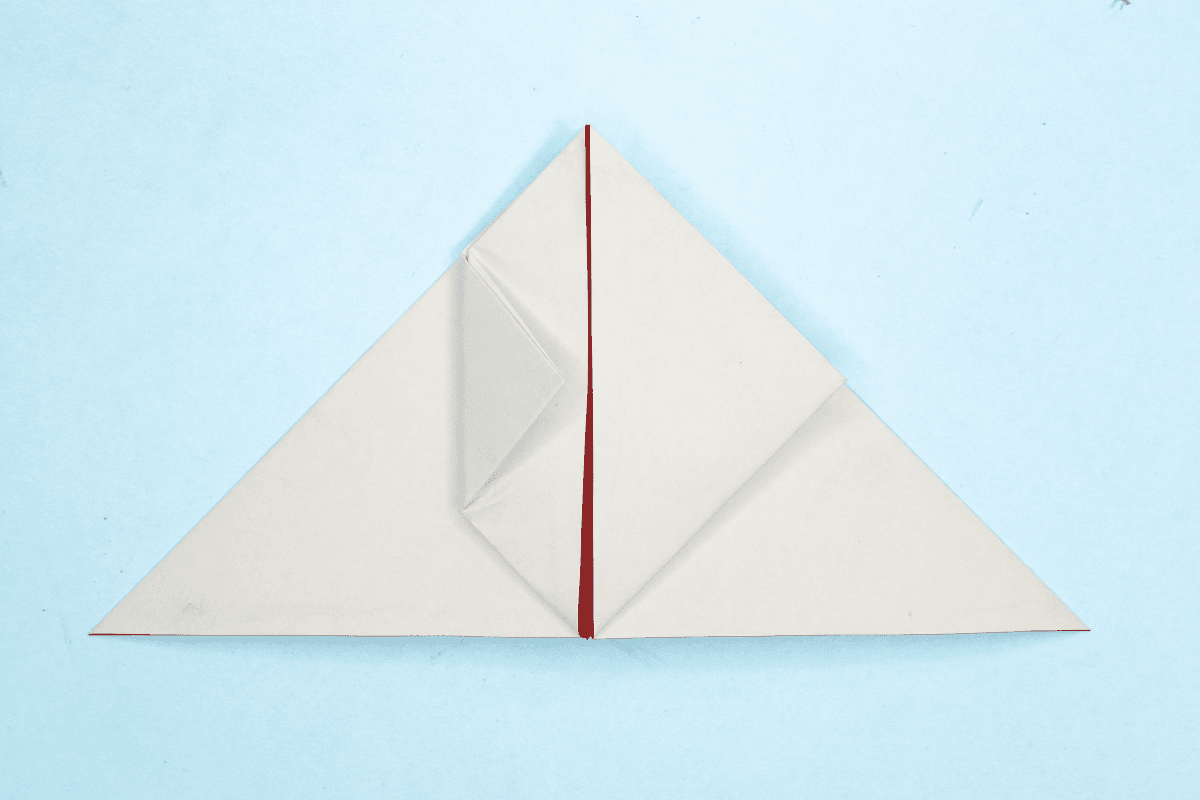
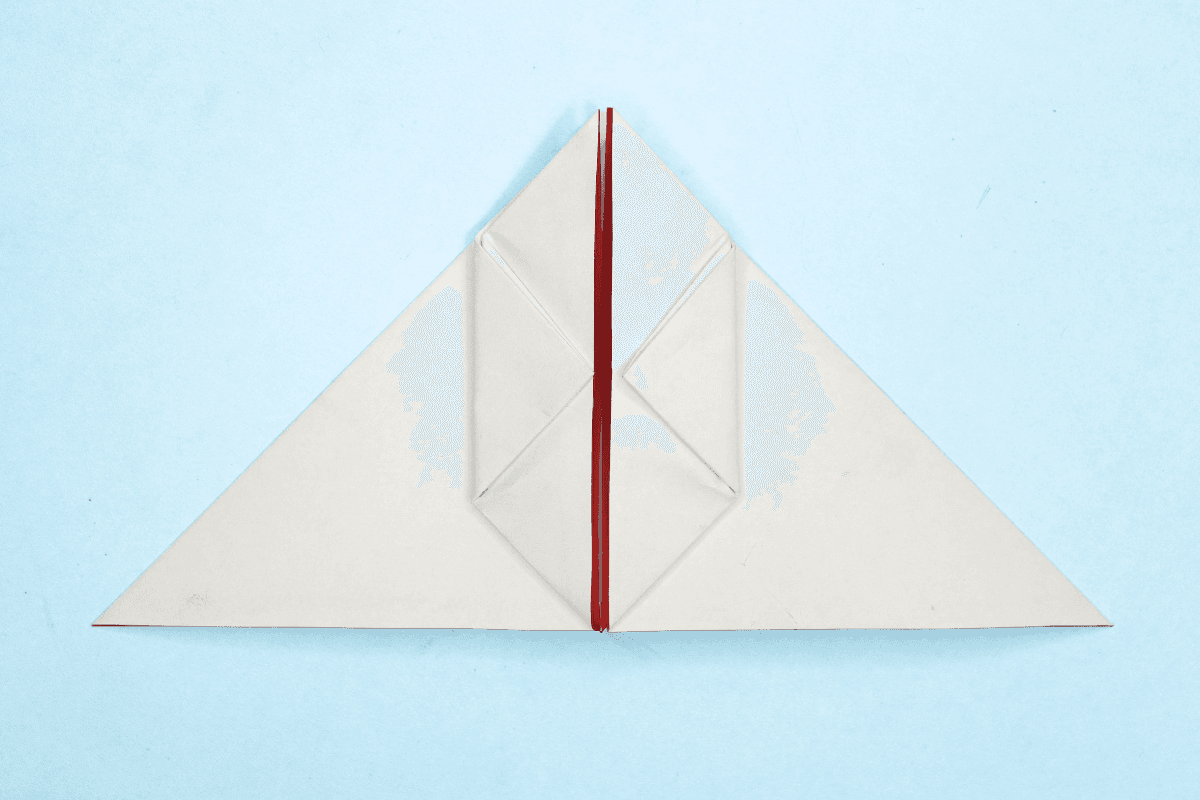
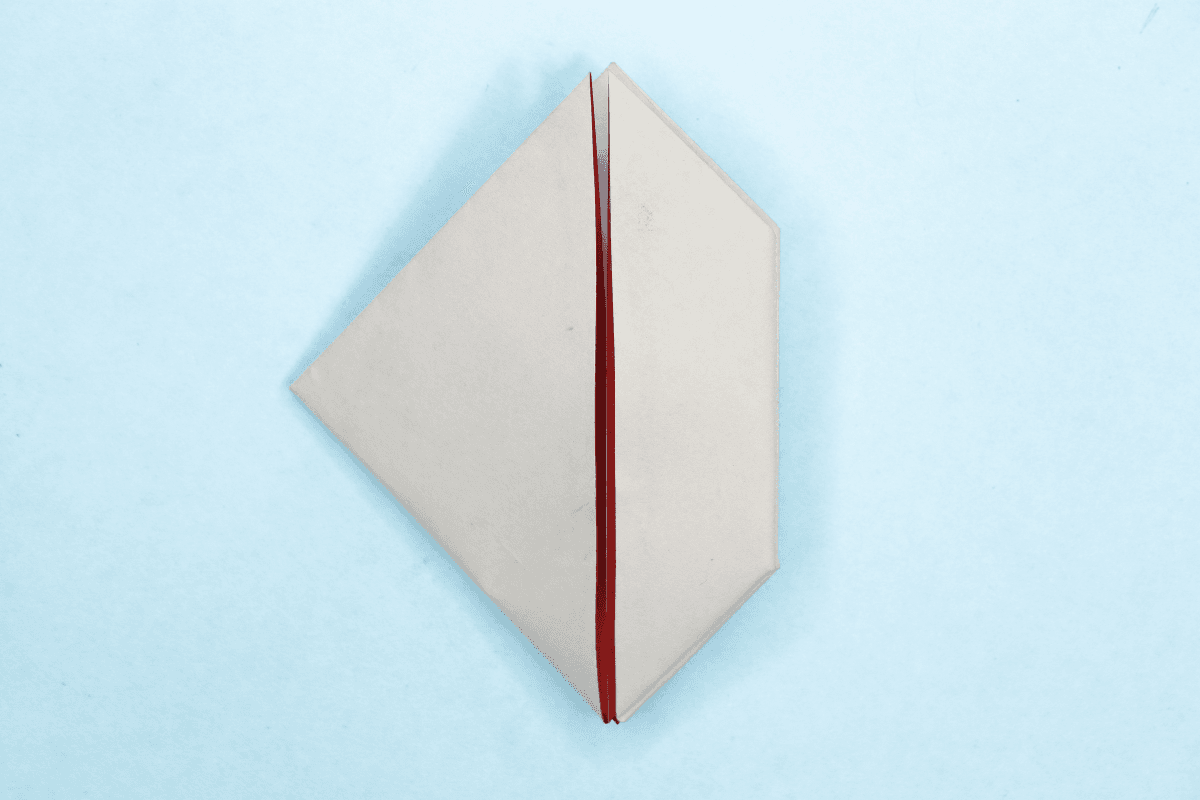
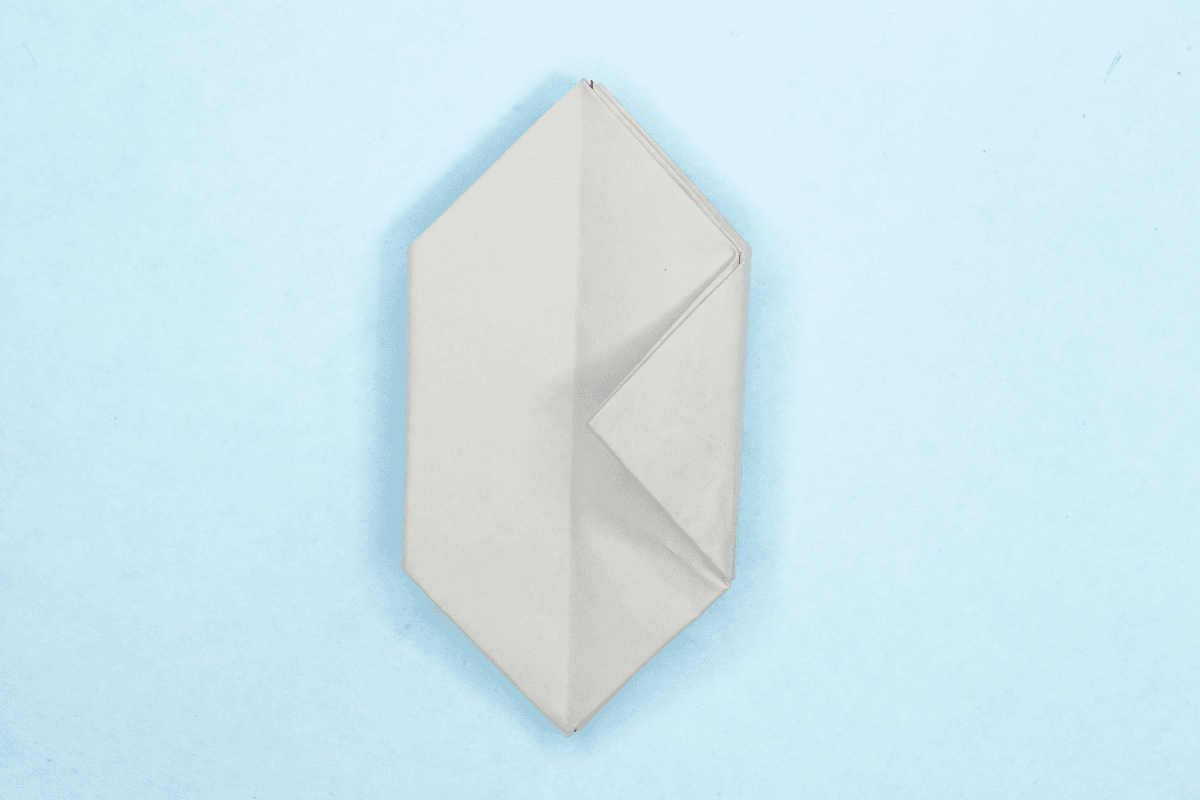
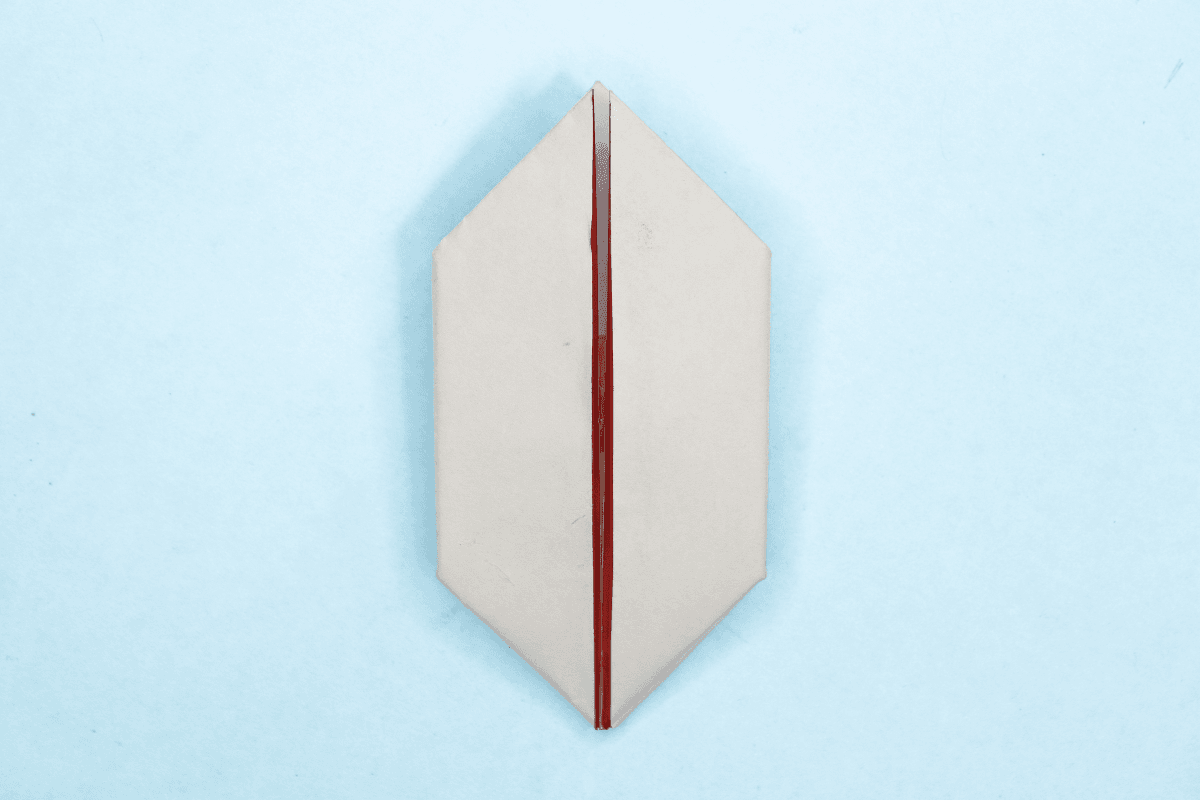
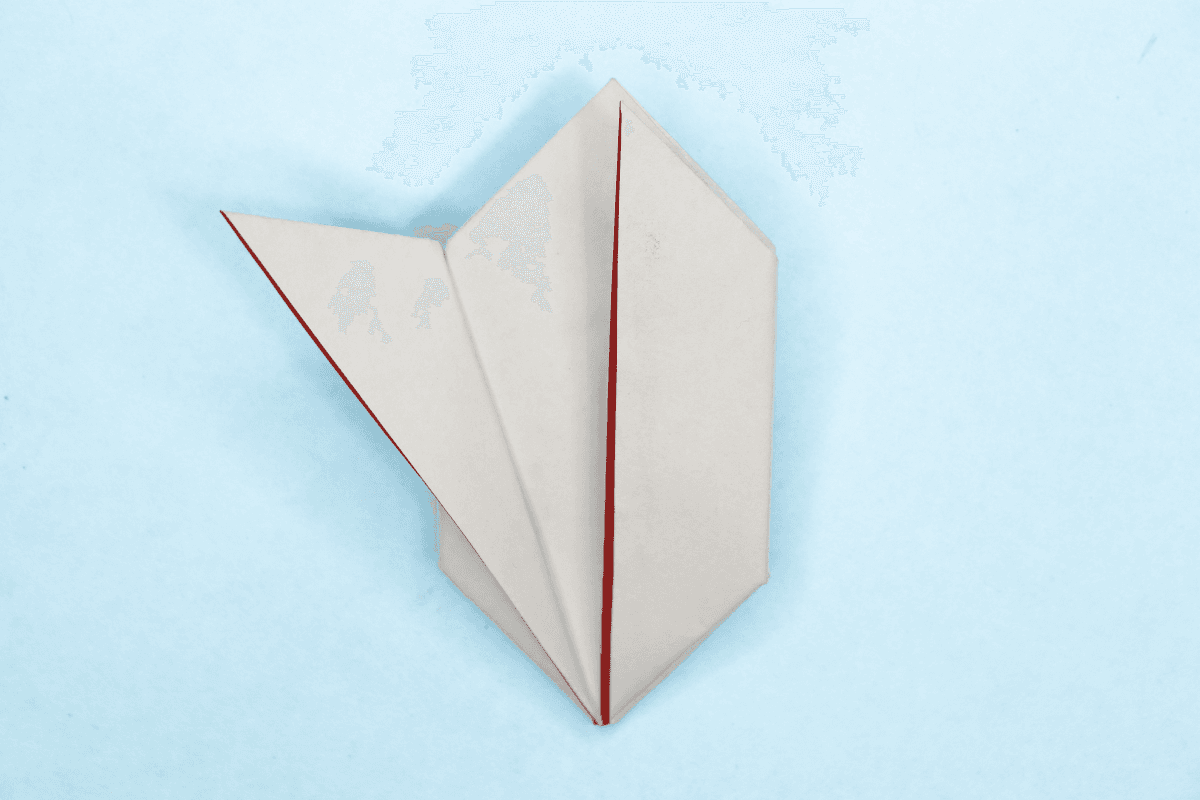
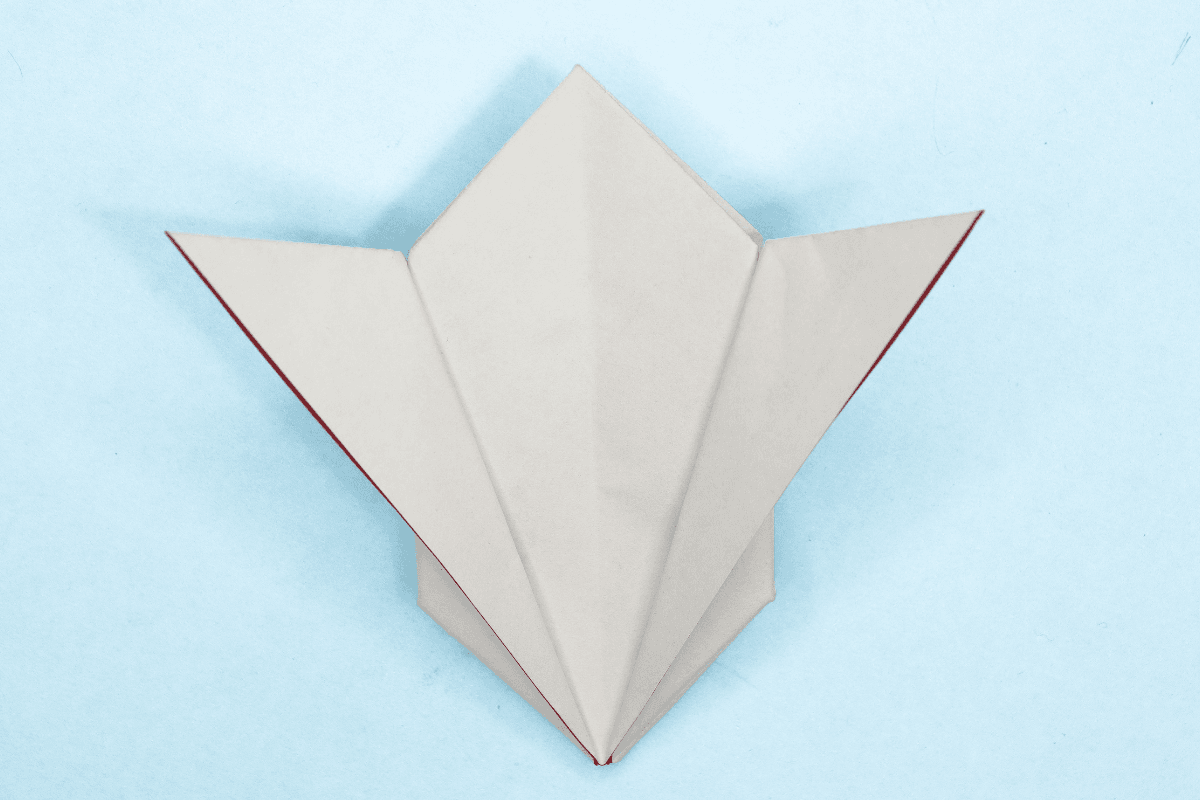
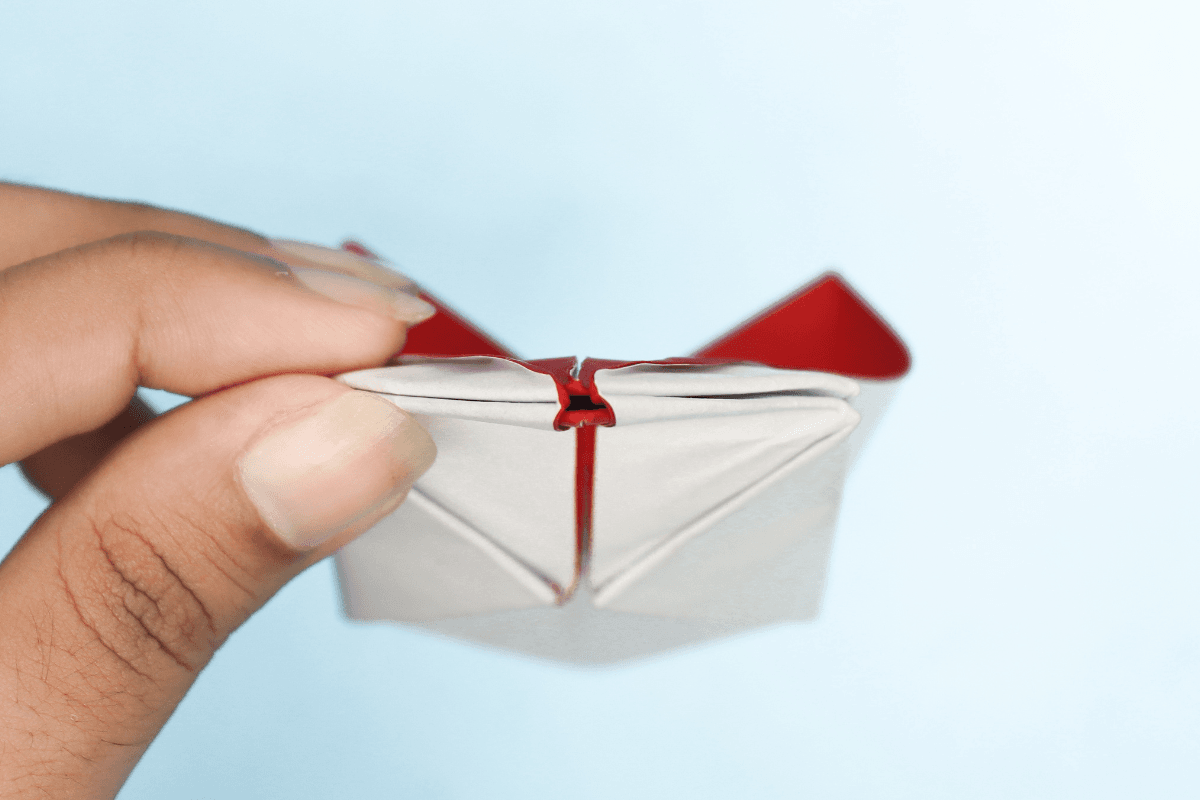
This origami can be a bit tricky to fold but the step-by-step pictures and instructions should be sufficient to guide you all the way. The final step will require the most effort since you’ll need to blow into the bunny to achieve the puffy shape. But even that shouldn’t be too difficult and there is no risk of ruining the origami (unless you soak it with spit of course).

Step 1
Origami Rabbit step 1
1
Start with a square piece of origami paper. I am using an 7×7 inches origami paper.

If you only have regular paper, follow these instructions on how to make a square origami paper.

Step 2
Origami Rabbit step 2
2
If you are using two color sided origami paper then face the darker side upwards.

Step 3
Origami Rabbit step 3
3
Fold the upper left corner to the bottom right corner.

Step 4
Origami Rabbit step 4
4
Now unfold.

Step 5
Origami Rabbit step 5
5
Fold upper right corner to the bottom left corner.

Step 6
Origami Rabbit step 6
6
Unfold.

Step 7
Origami Rabbit step 7
7
Turn the paper over.

Step 8
Origami Rabbit step 8
8
Fold the top half.

Step 9
Origami Rabbit step 9
9
Unfold.

Step 10
Origami Rabbit step 10
10
Turn the paper over.

Step 11
Origami Rabbit step 11
11
With a finger, push down on the center of the paper to pop it in.

Step 12
Origami Rabbit step 12
12
Bring the creases of the left and right sides together.

Step 13
Origami Rabbit step 13
13
You should now have a nice triangle.

Step 14
Origami Rabbit step 14
14
Fold the right corner of the upper layer to the top corner.

Step 15
Origami Rabbit step 15
15
Fold the left corner of the upper layer to the top corner.

Step 16
Origami Rabbit step 16
16
Fold the newly created left corner to the center.

Step 17
Origami Rabbit step 17
17
Now fold the right corner to the center.

Step 18
Origami Rabbit step 18
18
Fold the top tip of left flap down as shown.

Step 19
Origami Rabbit step 19
19
Fold the left triangle diagonally down to the side.

Step 20
Origami Rabbit step 20
20
Open the left flap like a pocket.

Step 21
Origami Rabbit step 21
21
Now tuck the triangle in as shown.

Step 22
Origami Rabbit step 22
22
Then place the flap back to its original position.

Step 23
Origami Rabbit step 23
23
Repeat on the right side. Tuck the right triangle into the right flap.

Step 24
Origami Rabbit step 24
24
Turn the model over.

Step 25
Origami Rabbit step 25
25
Fold the right corner to the top corner.

Step 26
Origami Rabbit step 26
26
Fold the left corner to the top corner.

Step 27
Origami Rabbit step 27
27
Fold the right flap backwards to the center.

Step 28
Origami Rabbit step 28
28
Fold the left flap to the center as shown.

Step 29
Origami Rabbit step 29
29
Unfold.

Step 30
Origami Rabbit step 30
30
Fold the left flap to the right.

Step 31
Origami Rabbit step 31
31
Fold the corner of that flap to the center.

Step 32
Origami Rabbit step 32
32
Fold the flap back to the left side.

Step 33
Origami Rabbit step 33
33
Take left flap from the center and fold to the side diagonally as shown.

Step 34
Origami Rabbit step 34
34
Take right flap from the center and fold to the side diagonally as shown.

Step 35
Origami Rabbit step 35
35
Open the flaps to create bunny ears.

Step 36
Origami Rabbit step 36
36
With the ears open, fold the lower portion back.

Step 37
Origami Rabbit step 37
37
Unfold the lower portion.

Step 38
Origami Rabbit step 38
38
At the bottom of the figure is a little hole where you’ll have to blow into.

Step 39
Origami Rabbit step 39
39
Awesome isn’t it? Now you have a cute little bunny.

Step 40
Origami Rabbit final step
40
Draw eyes on it to make it look even cuter!

Share and Comment
We would love to see your creations! Scroll down to the comments section and share a photo of your origami.

Comments

Leave a Reply

Your email address will not be published. Required fields are marked *

Drop file here