Vroom vroom! This origami car won’t go too far with the triangle tires, but it’s easy and fun to make. Follow the few simple steps and you’ll learn how to make an origami car in no time.
How to Make an Easy Origami Car
Difficulty: Easy
Learn how to fold an easy origami car. It’s very easy to make one and only takes a minute with these step-by-step instructions.
Step 1

1
Start with a square sheet of origami paper. I am using an 7×7 inched origami paper.
If you only have regular paper, follow these instructions on how to make a square origami paper.
If you only have regular paper, follow these instructions on how to make a square origami paper.
Step 2

2
Fold the paper in half, top to bottom.
Step 3

3
Unfold.
Step 4

4
Now fold the paper in half again, left to right.
Step 5

5
Unfold.
Step 6

6
Fold the bottom edge to the center crease.
Step 7

7
Diagonally fold down the right side of the bottom flap. This forms the wheels.
Step 8
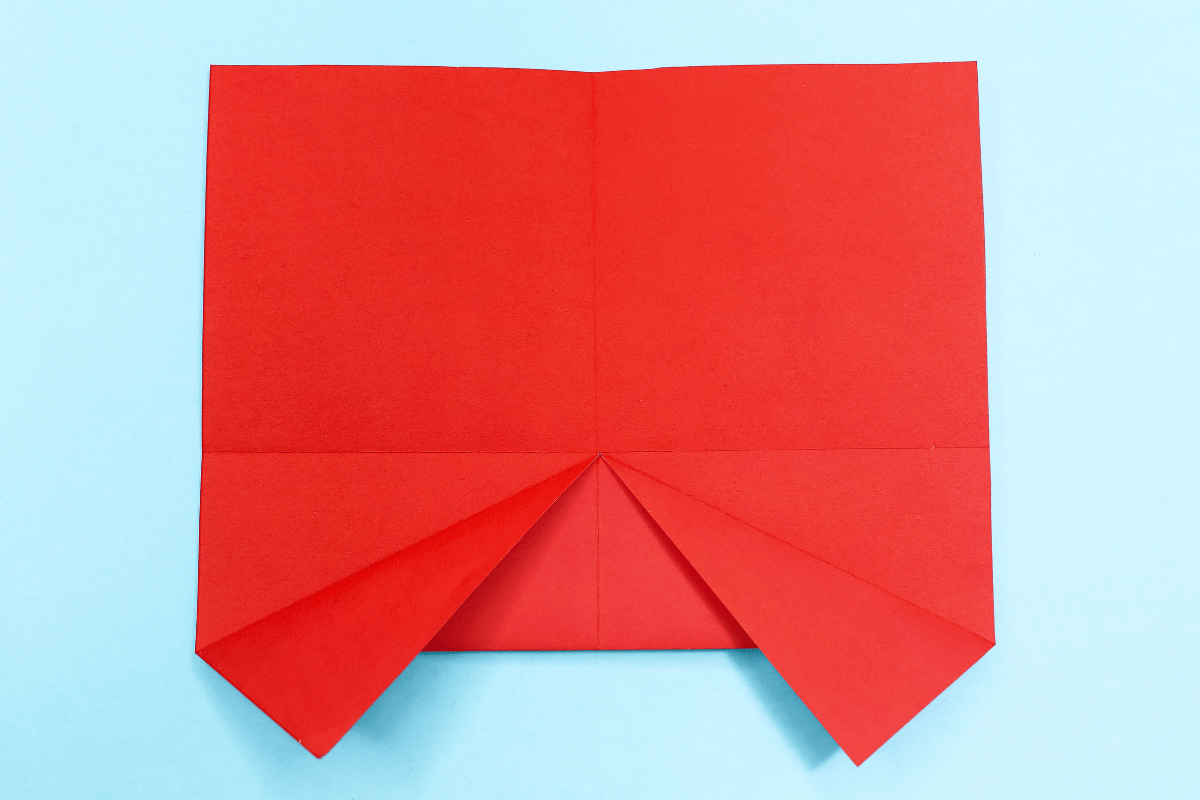
8
Repeat the previous step on left side.
Step 9
9
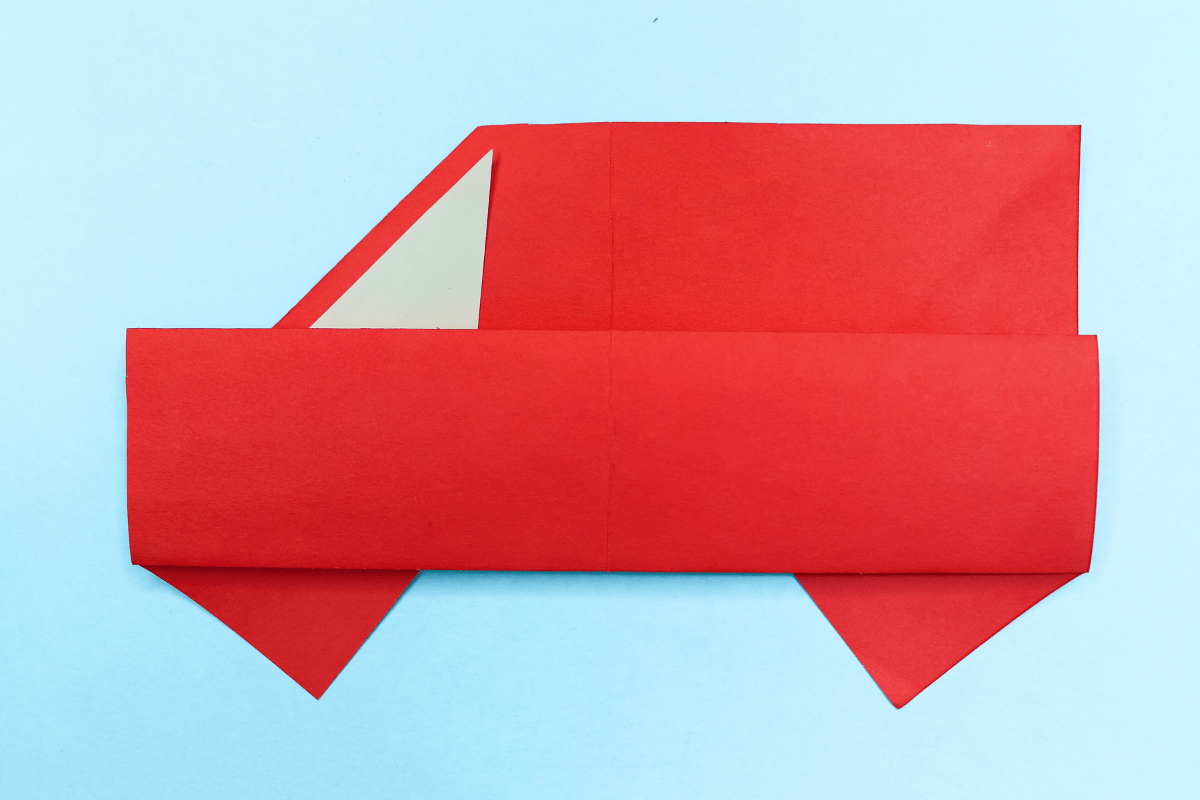
Fold down the top part at the horizontal crease, covering the wheels entirely.
Step 10

10
Now fold about 3/4 of it back up.
Step 11

11
Fold down the top right corner like the picture.
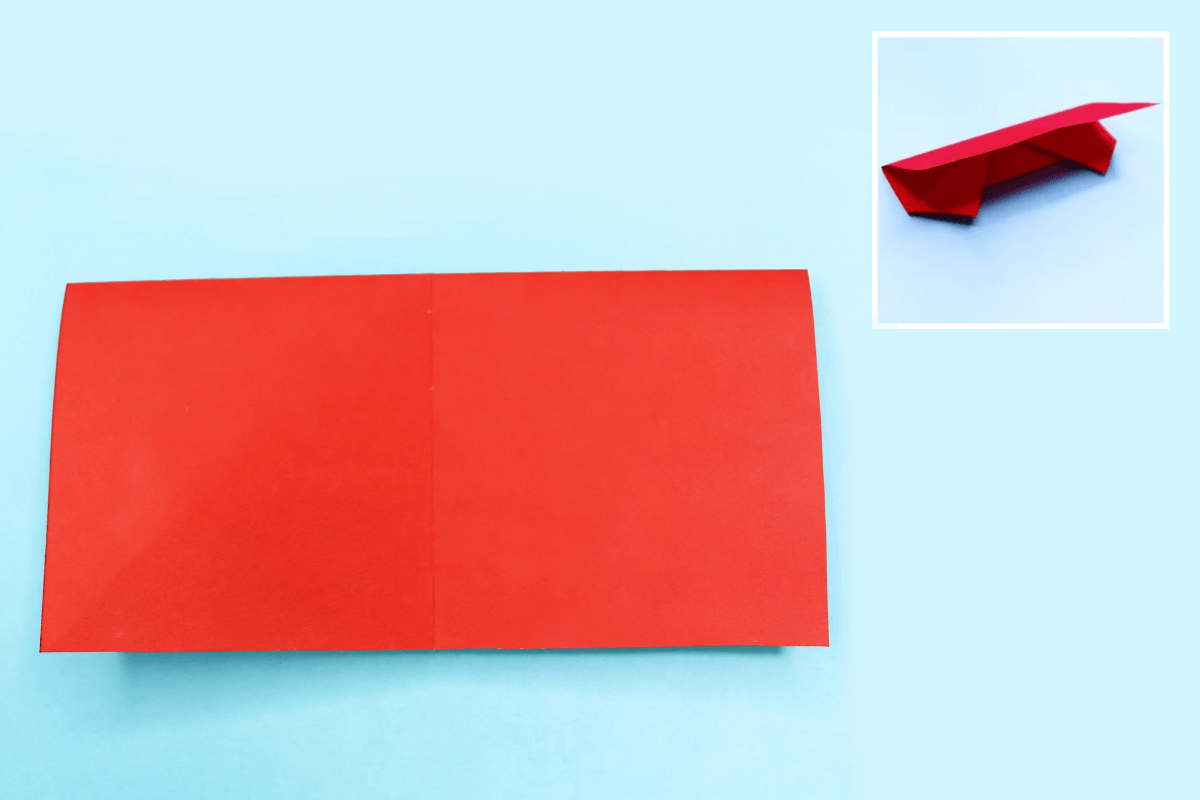
Step 12

12
Turn the figure over and now you know how to make an origami car!
Step 13
13
Finally draw on the windows and doors and you can design your own dream car!
Share and Comment
We would love to see your creations! Scroll down to the comments section and share a photo of your origami.
Comments
One response to “How to Make an Easy Origami Car”

So awesome 👍😎
Leave a Reply