Origami Dog Instructions

Category:
Origami Dog final step
Difficulty: Hard
Learn how to fold a complex Origami dog with our detailed, step-by-step instructions.

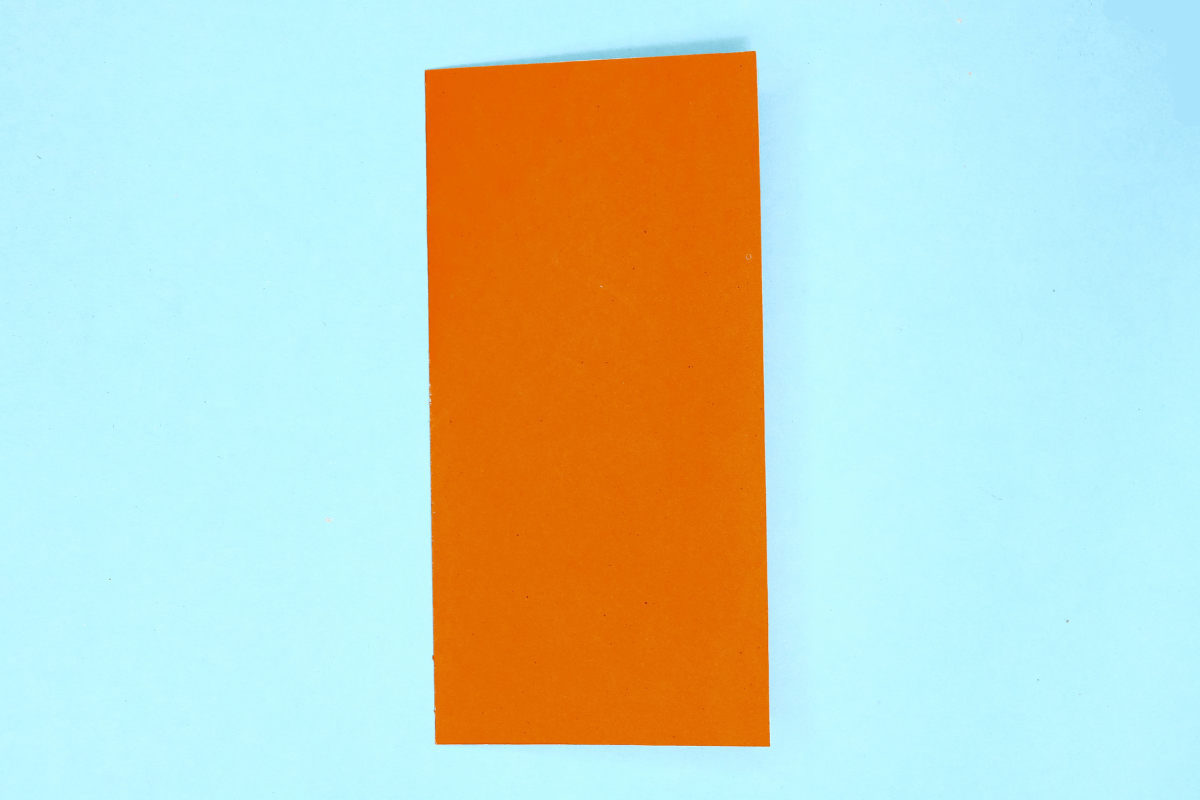
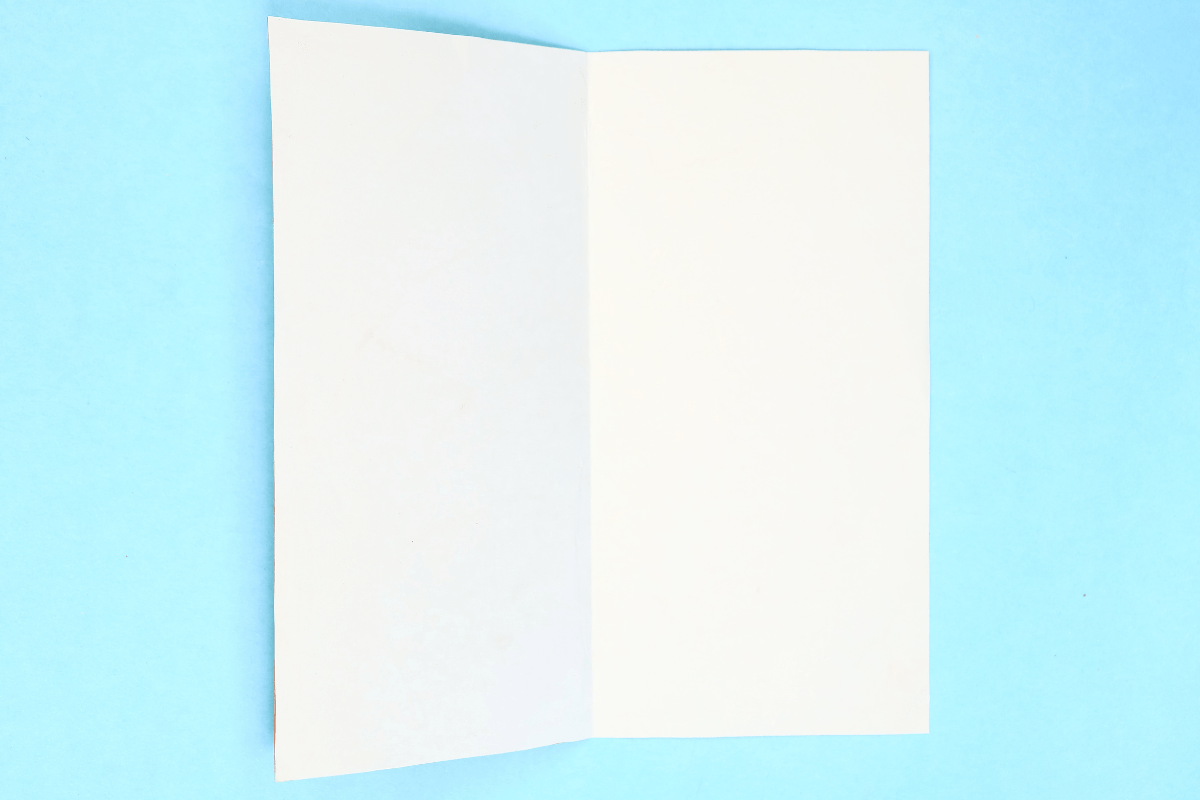
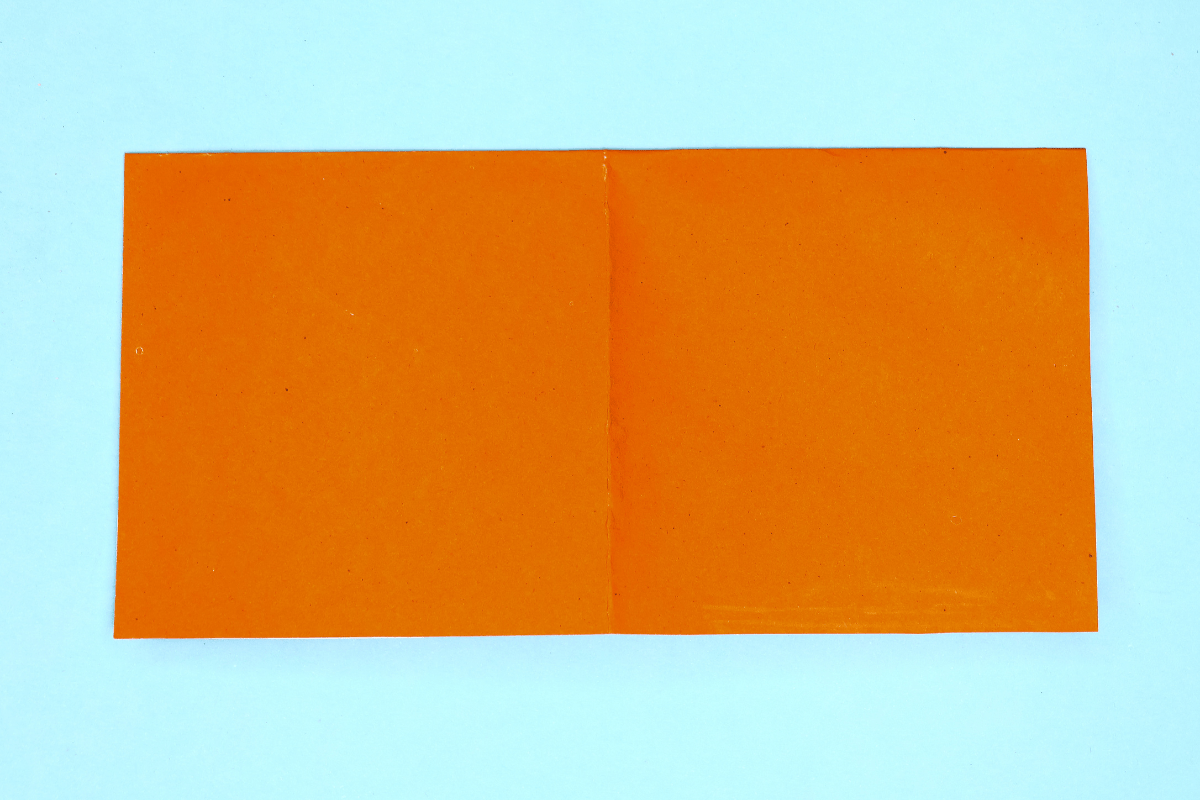
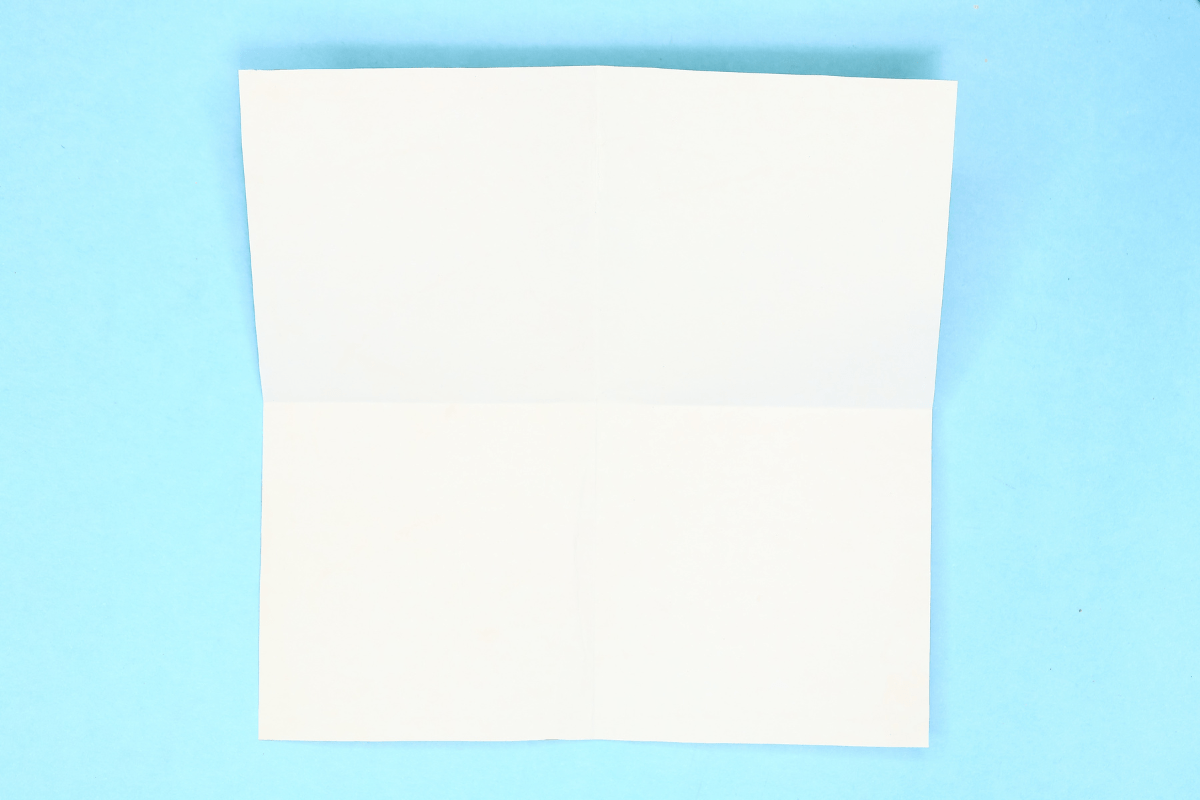
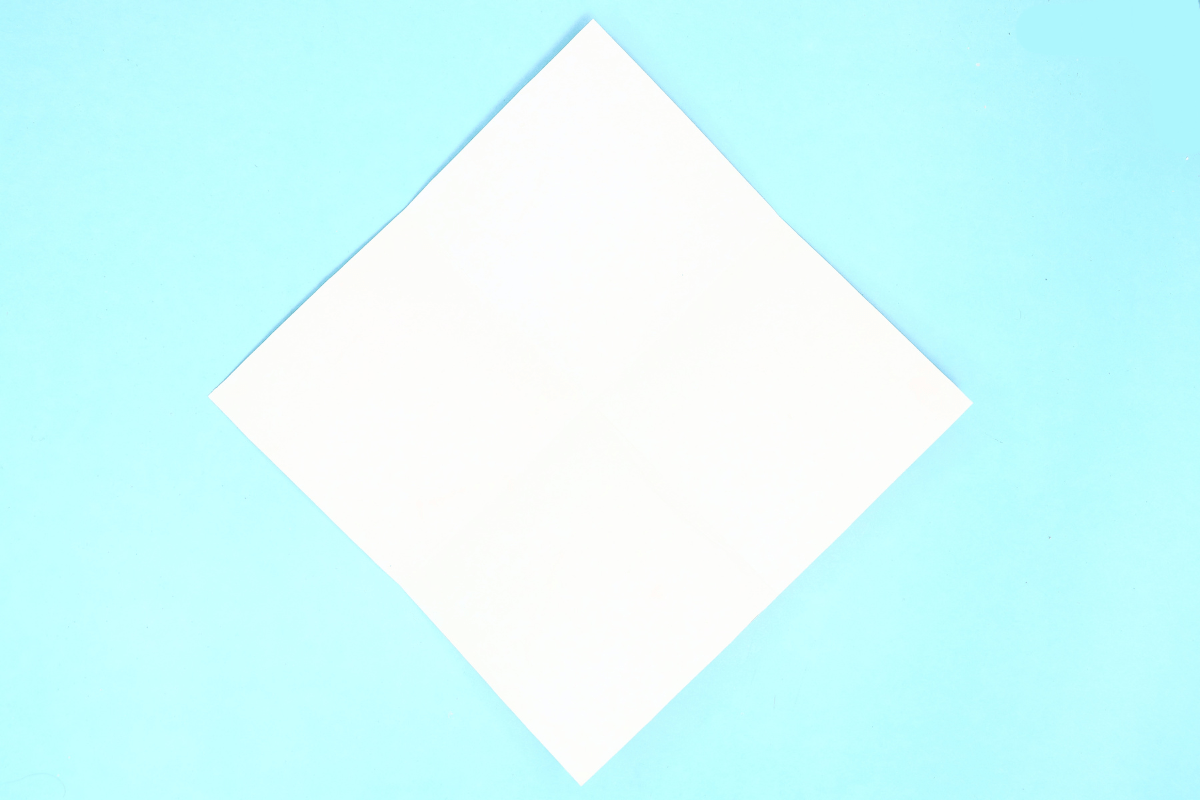
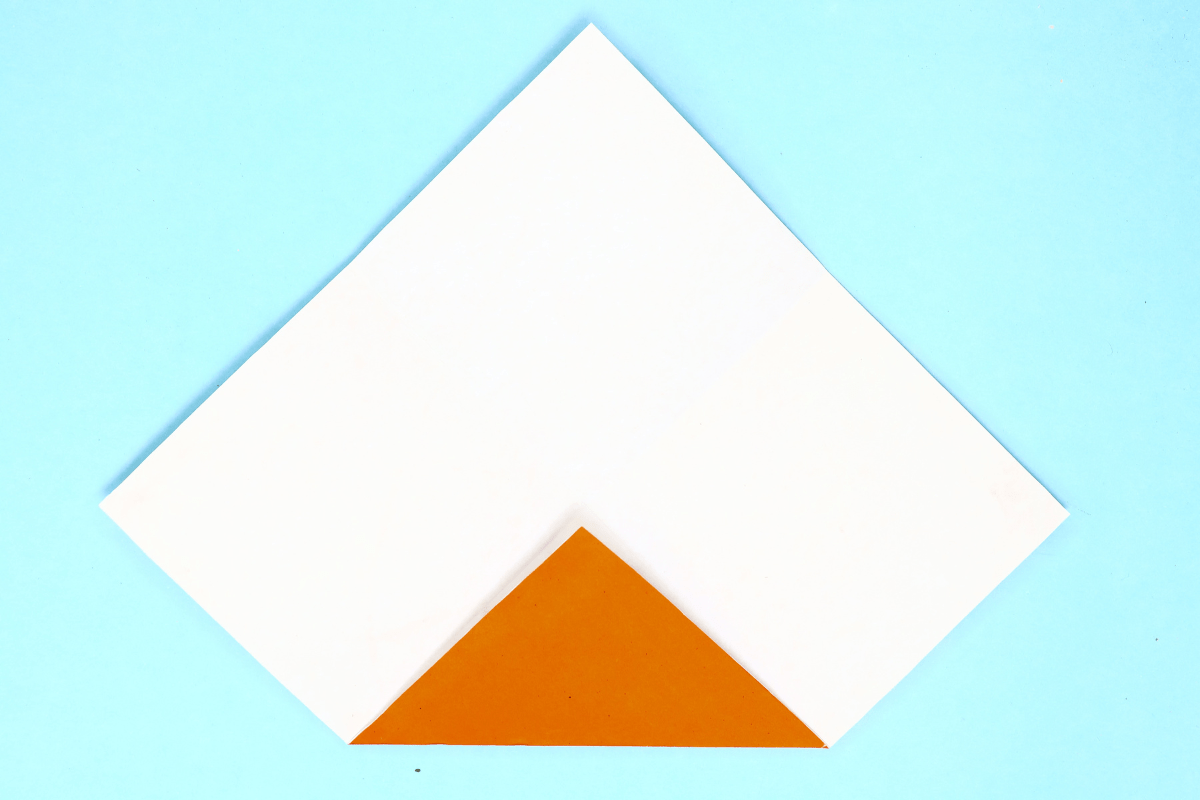
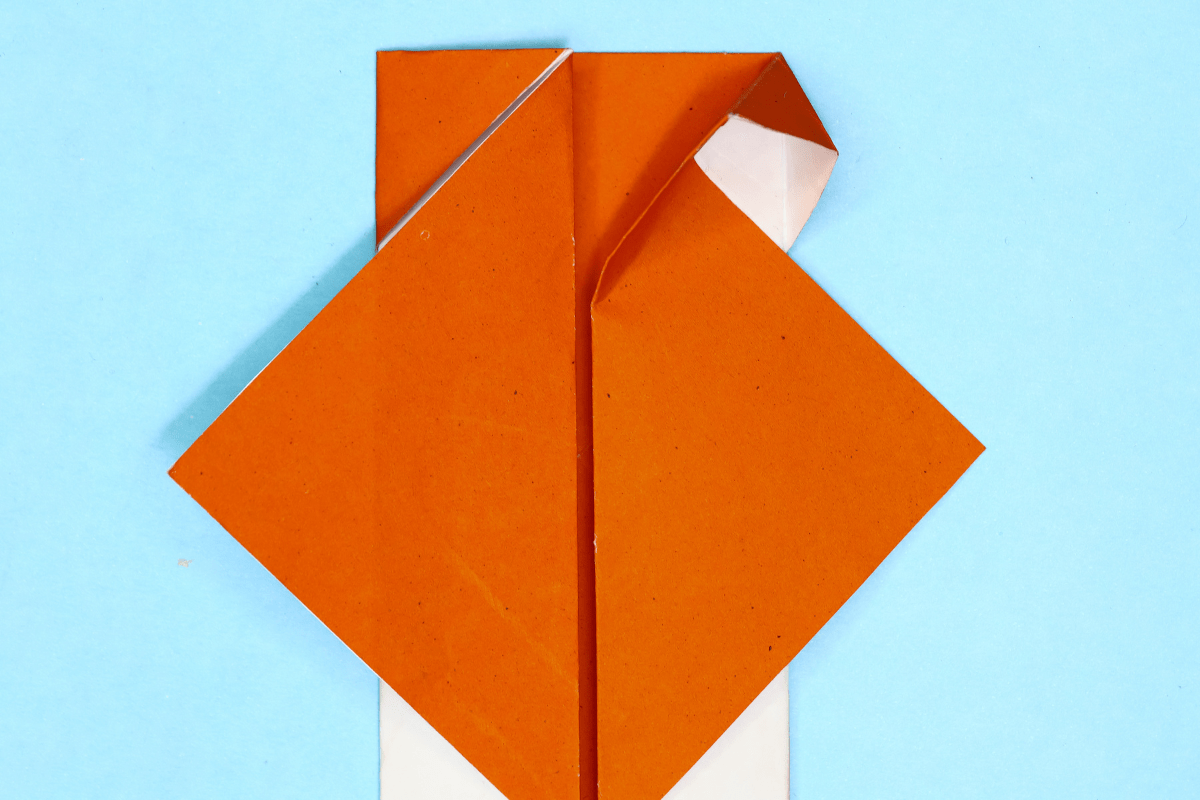
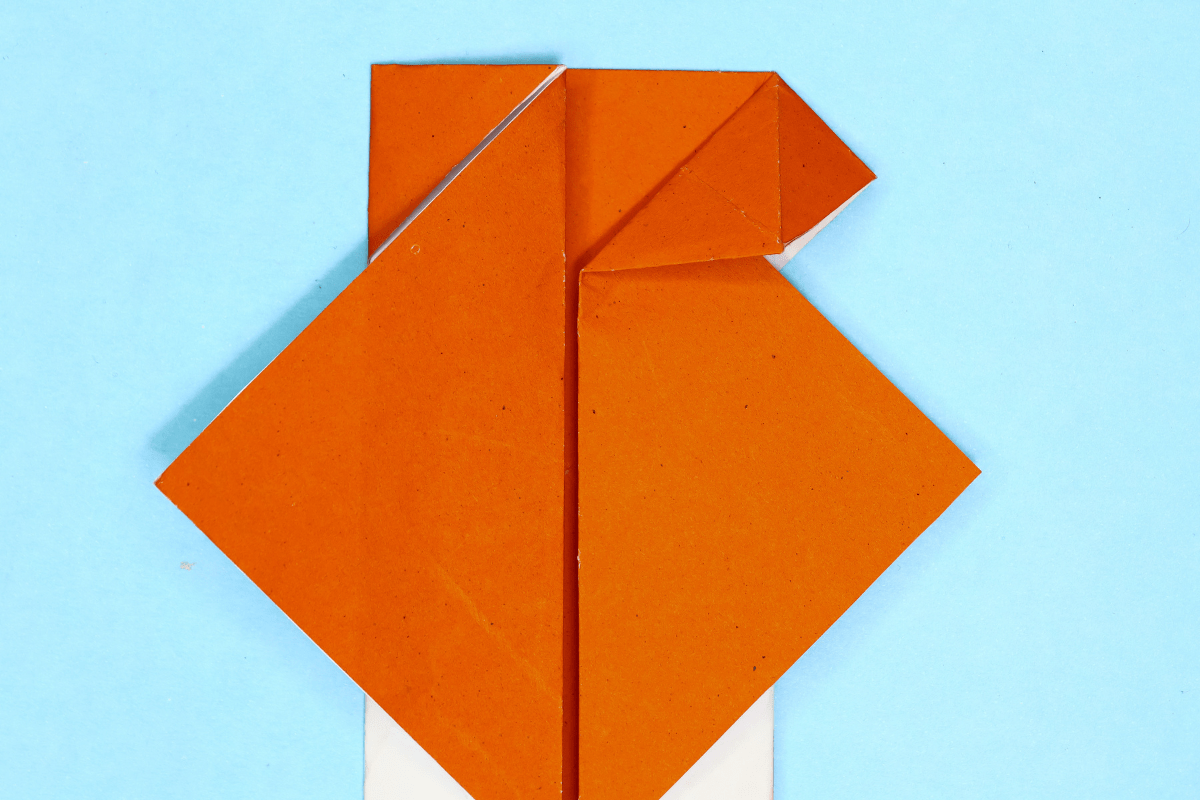
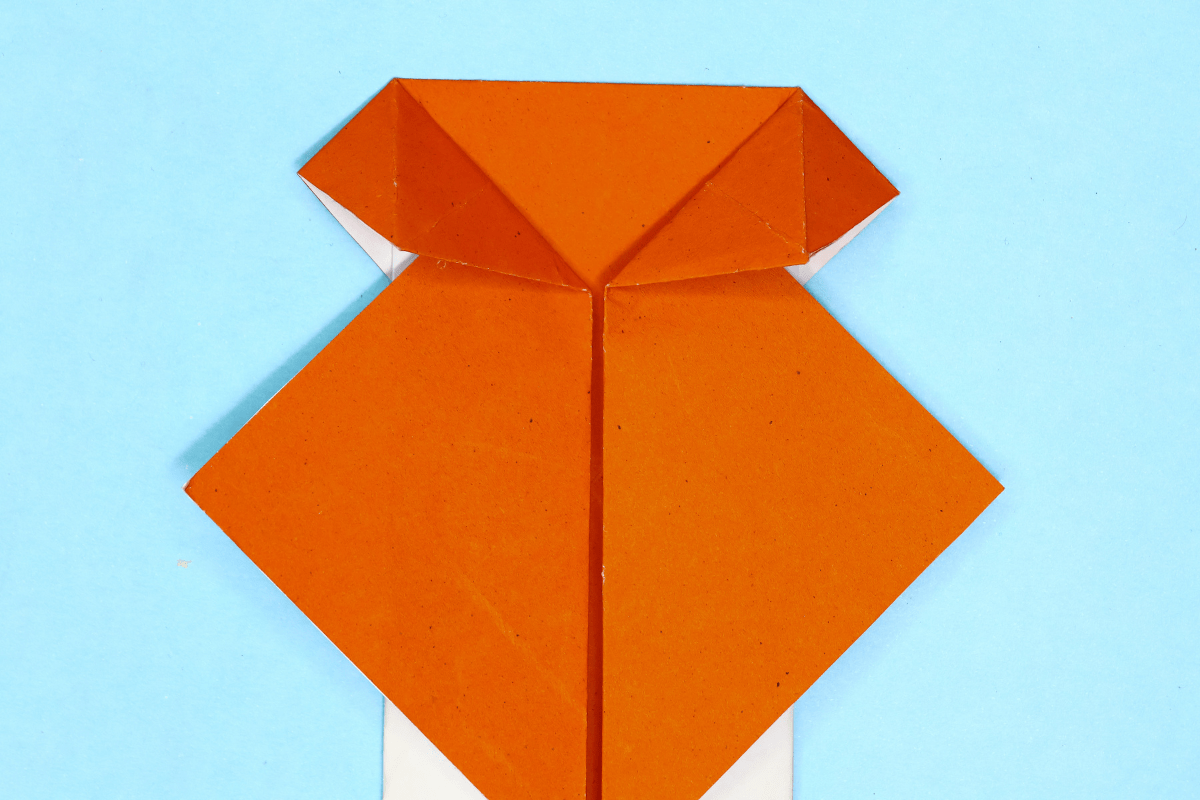
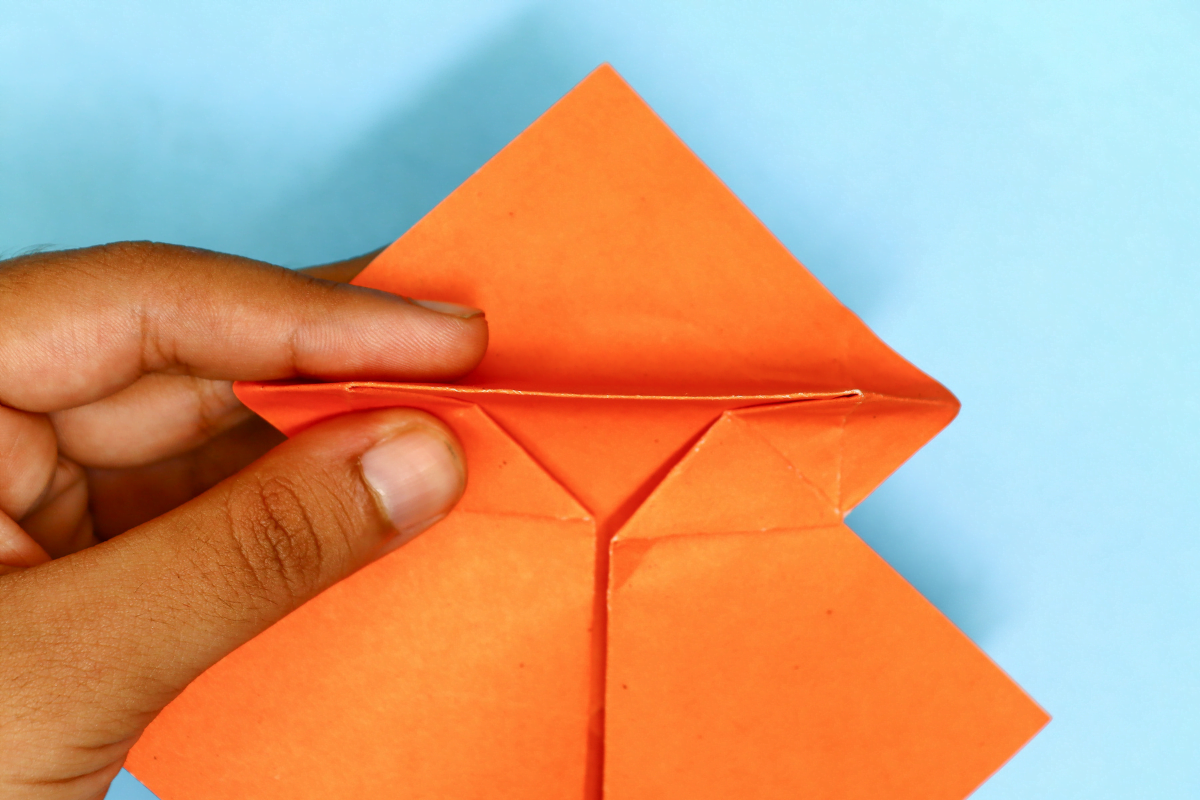
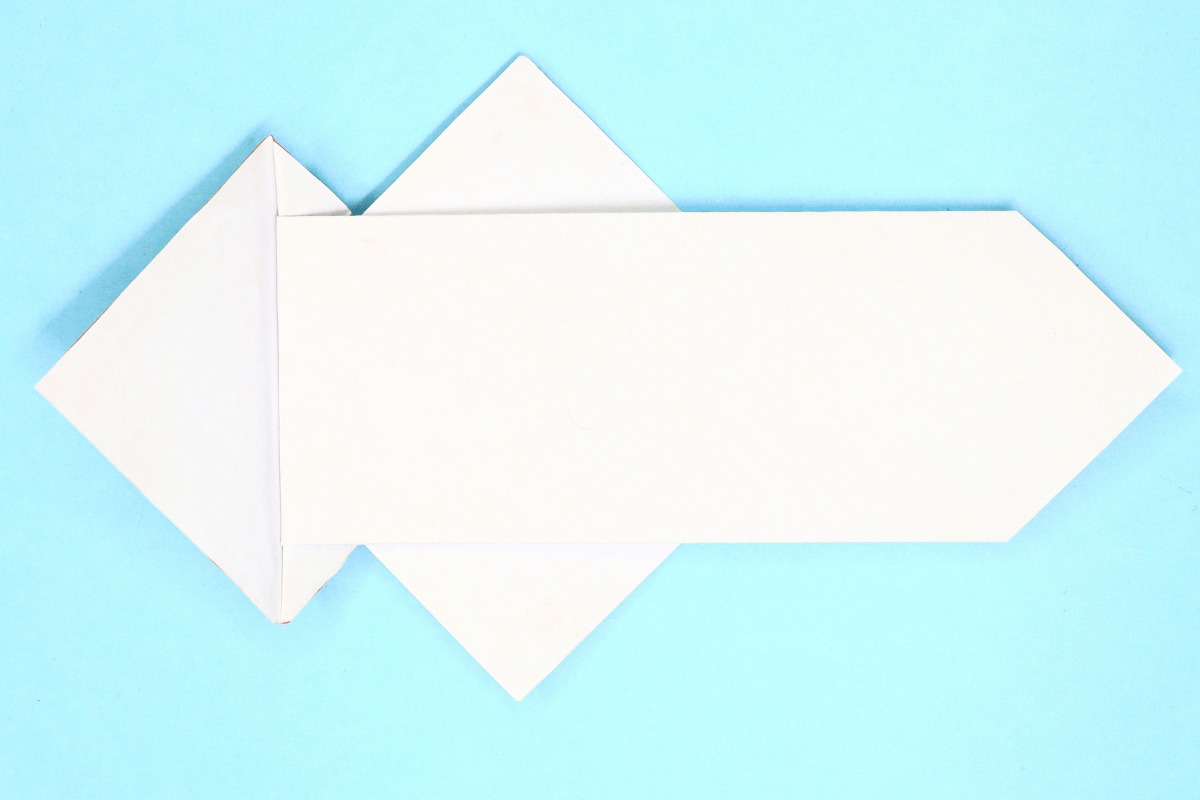
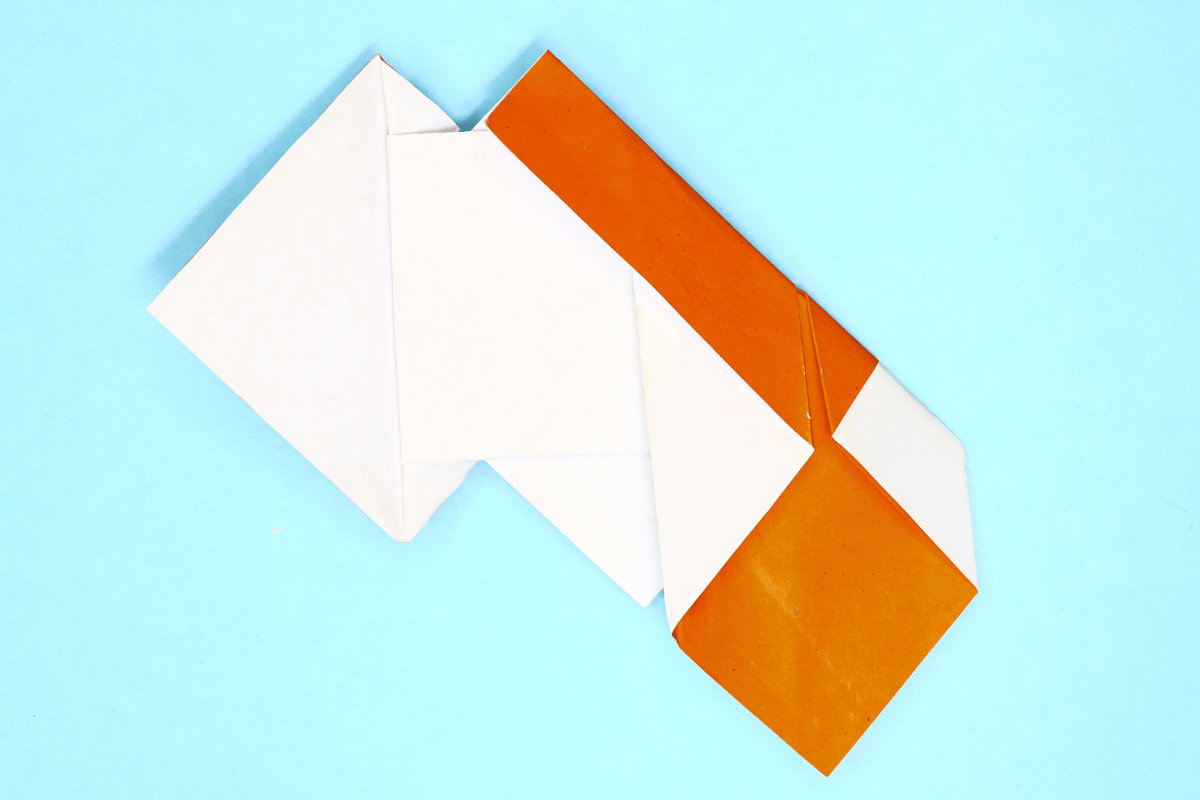
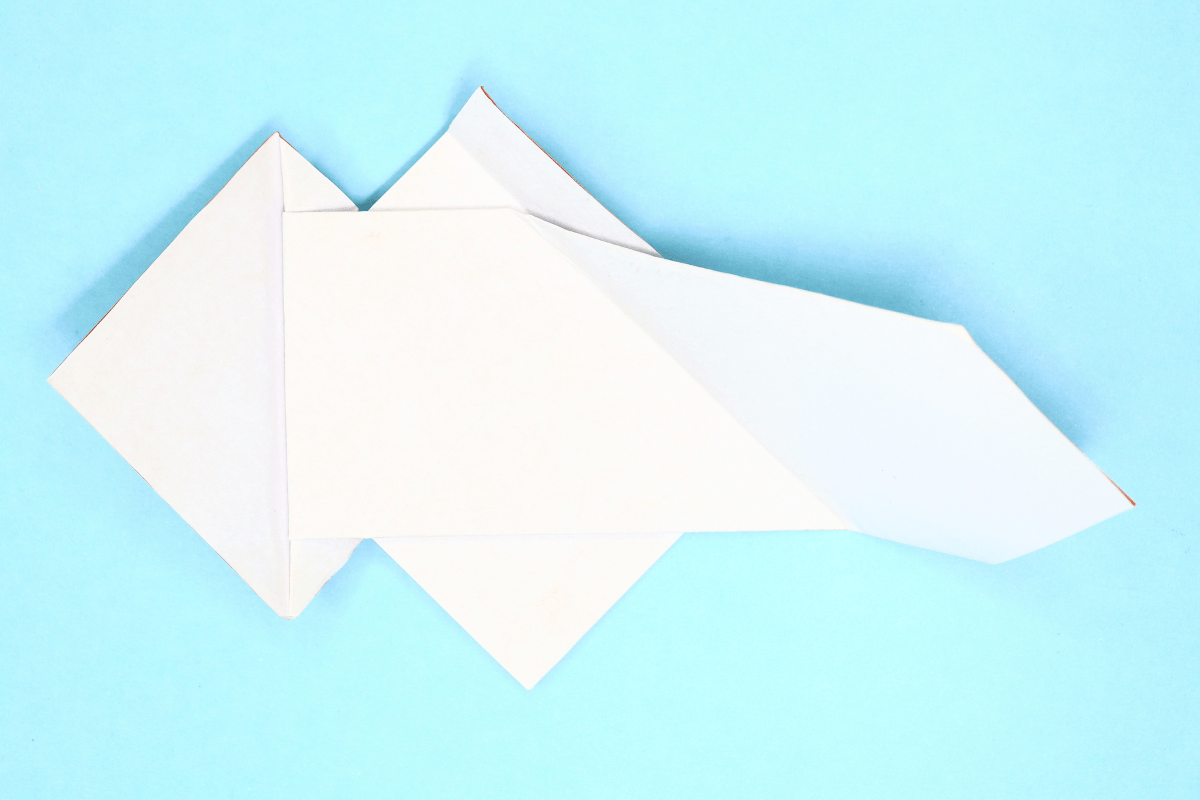
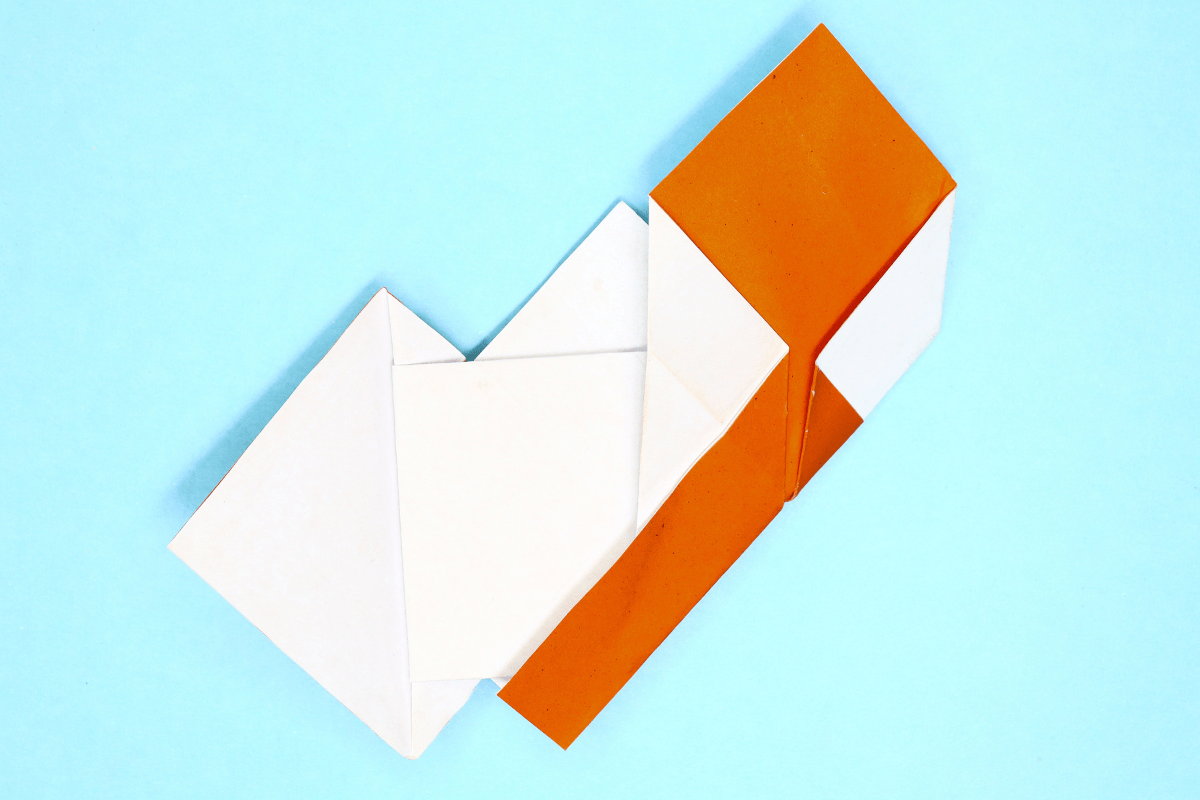
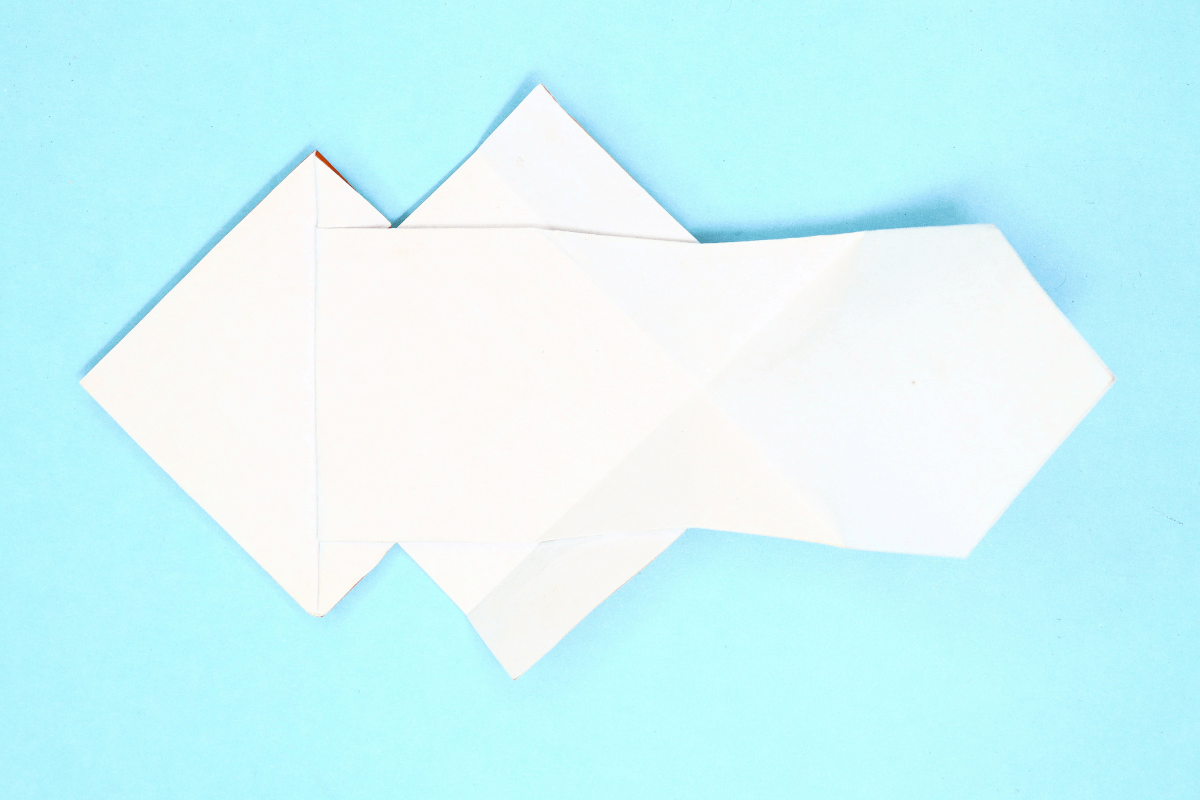
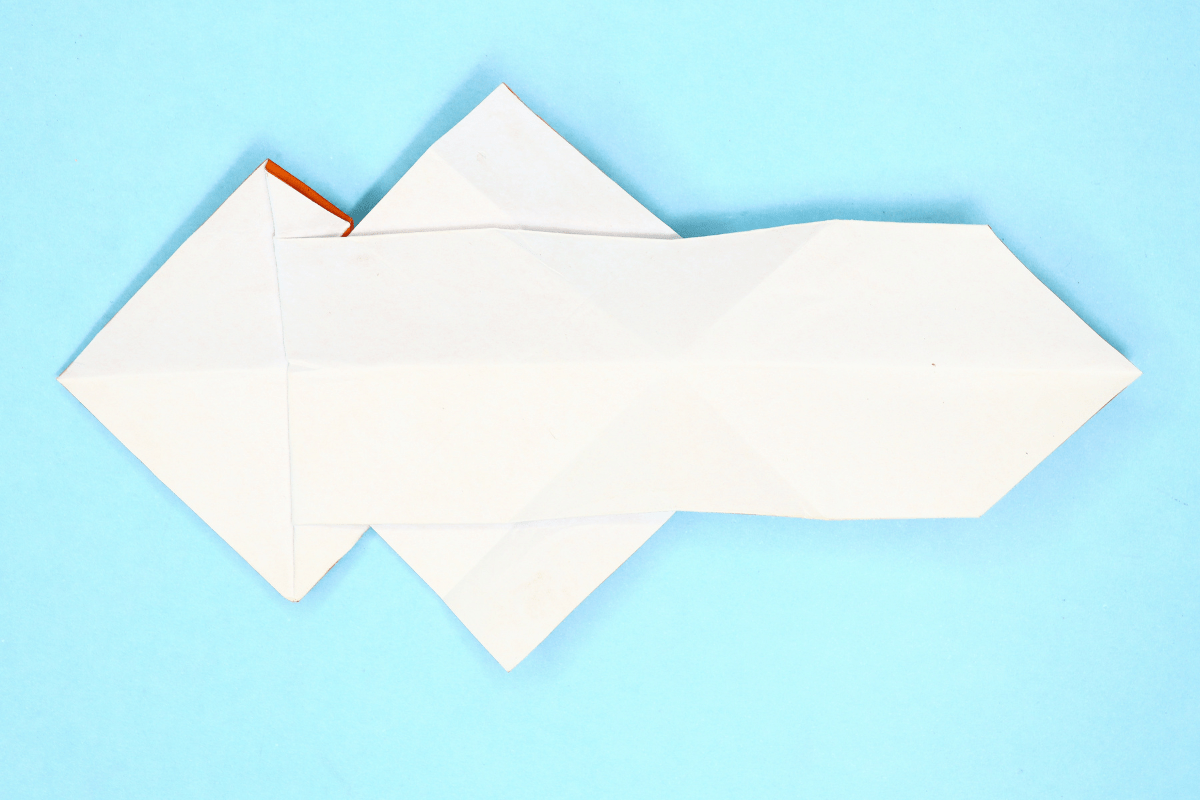
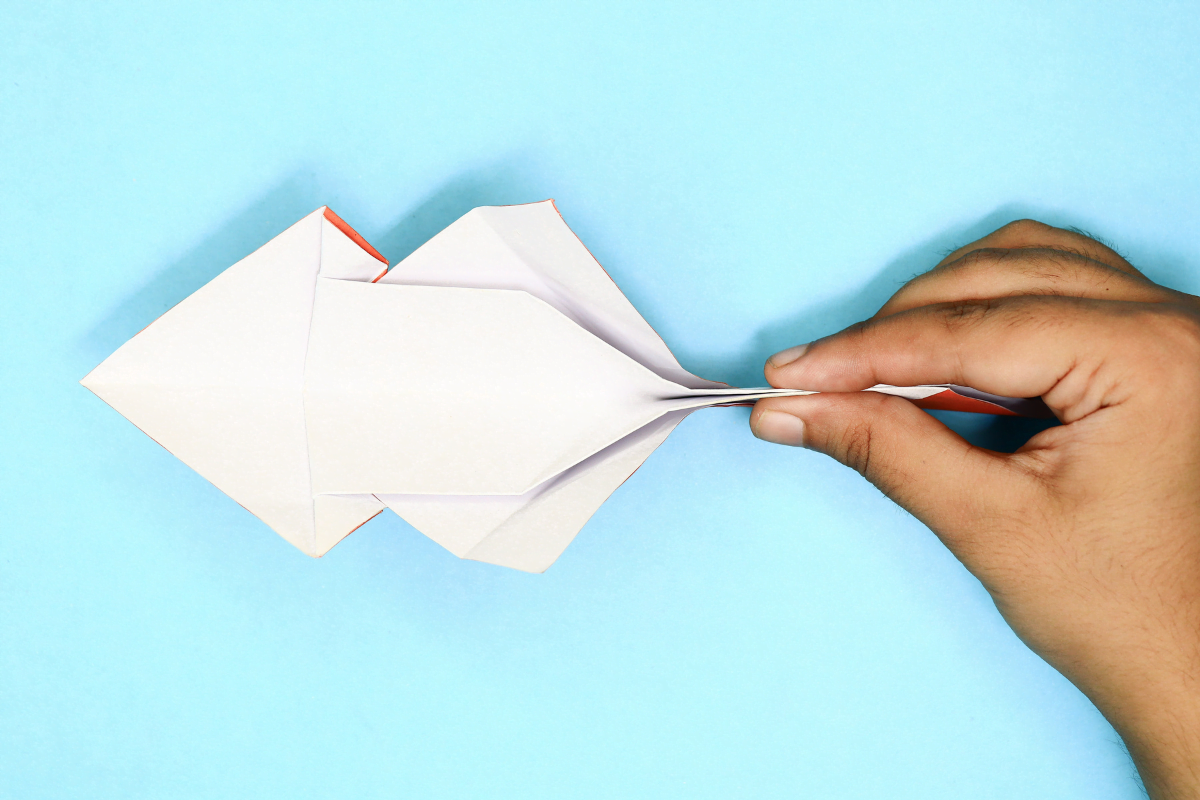
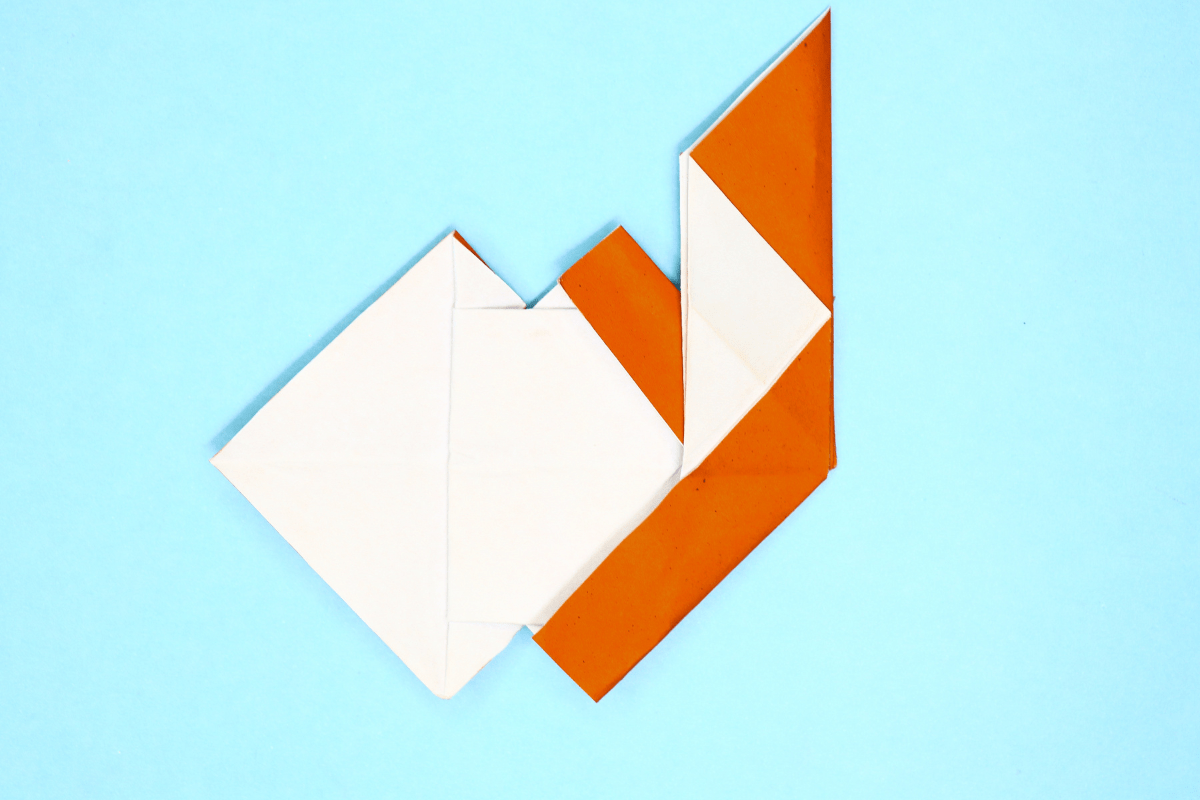
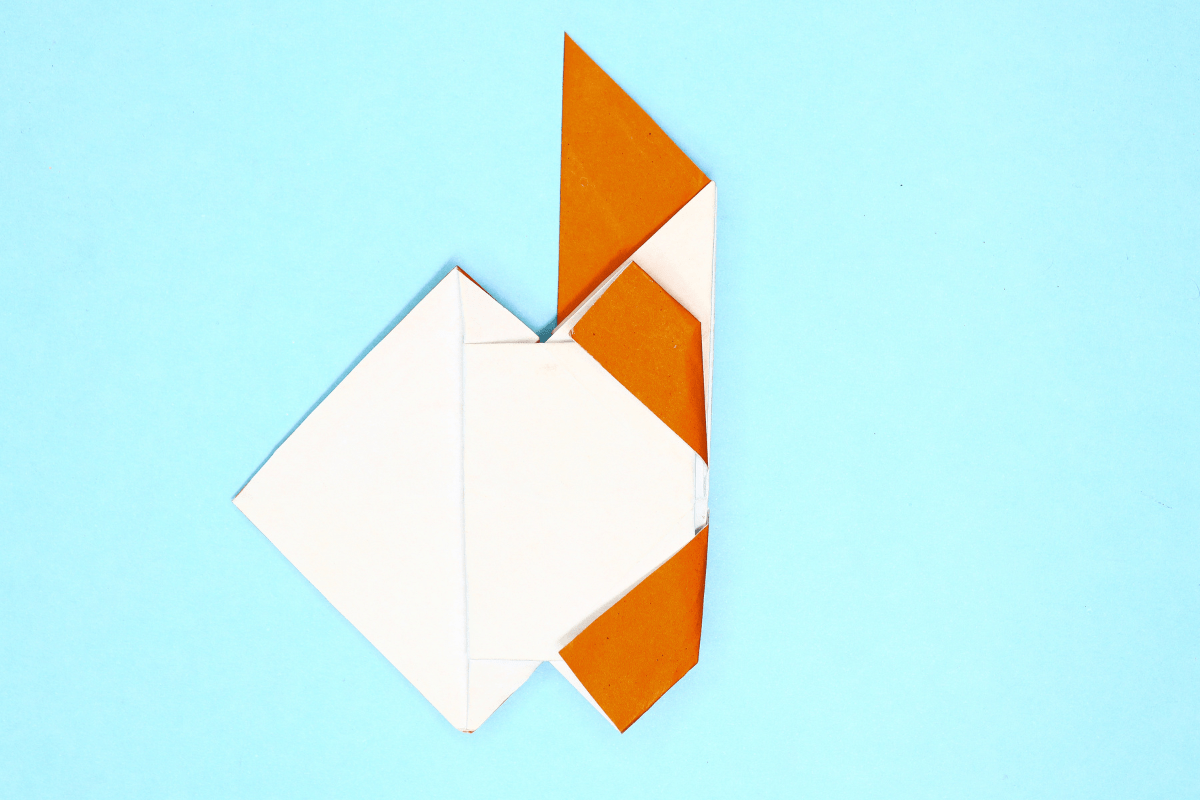
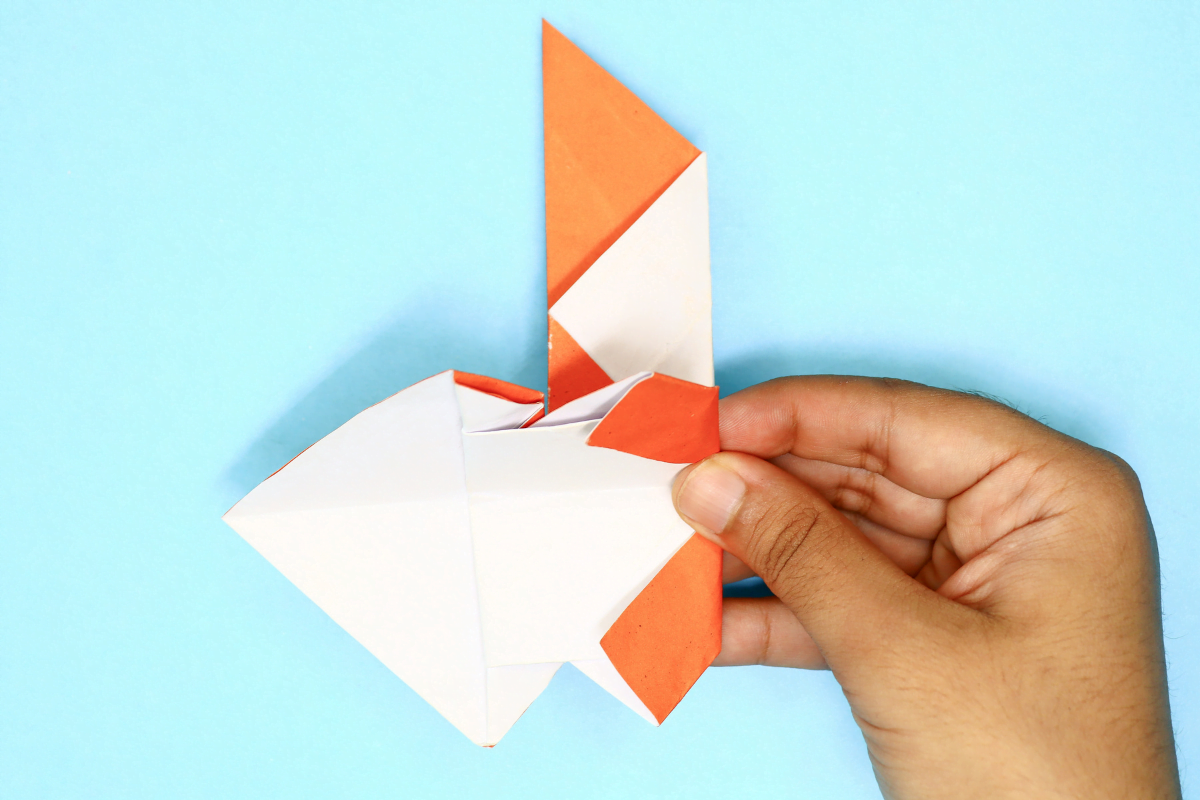
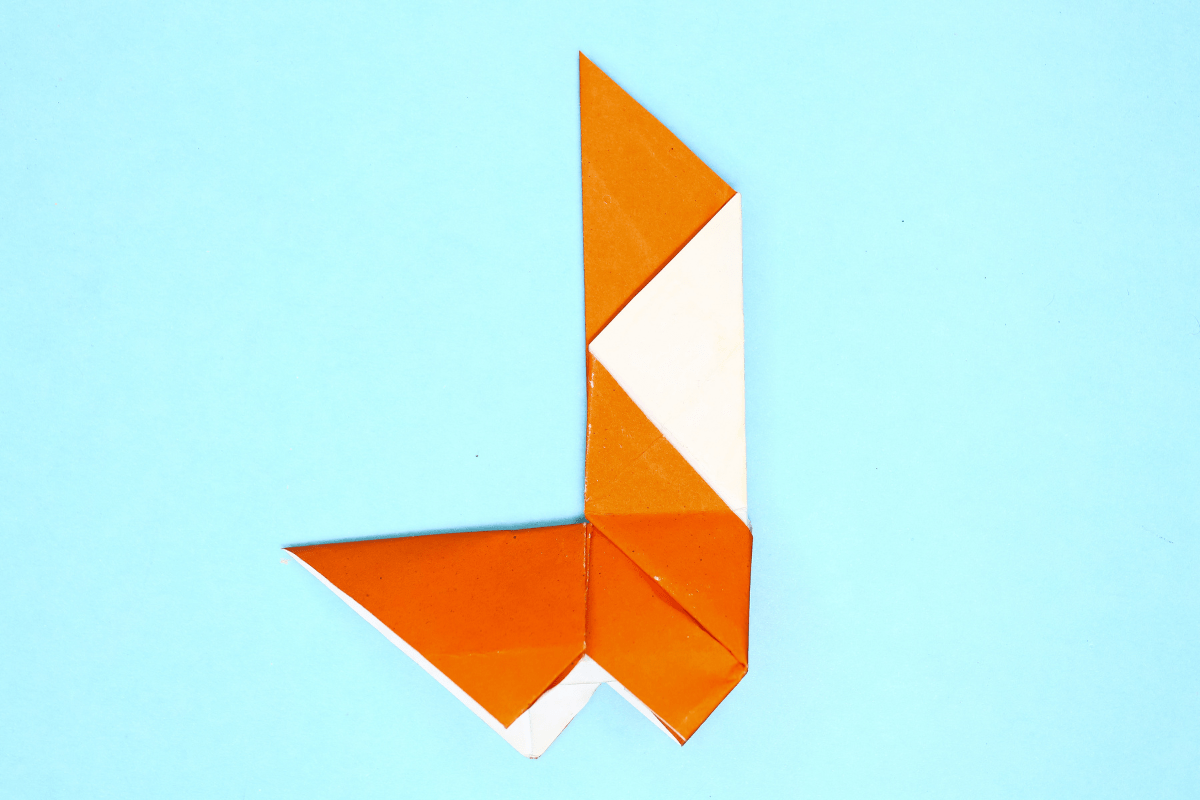
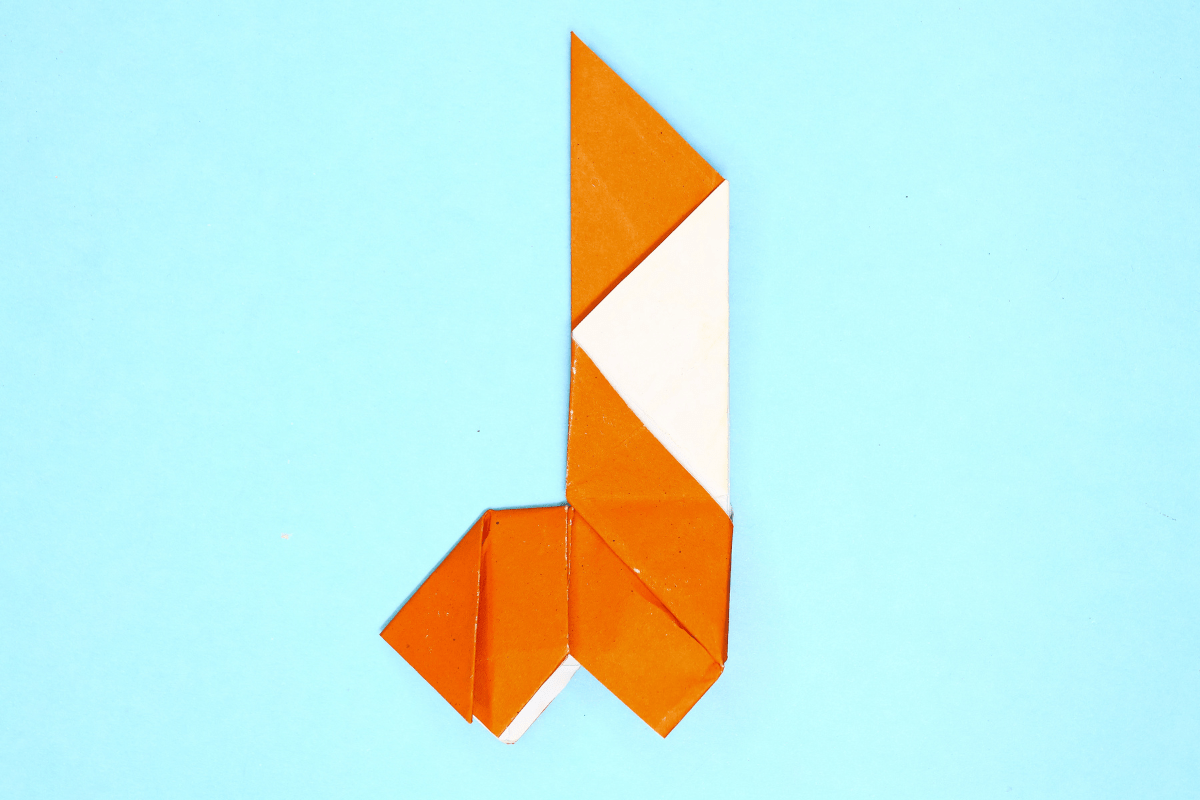
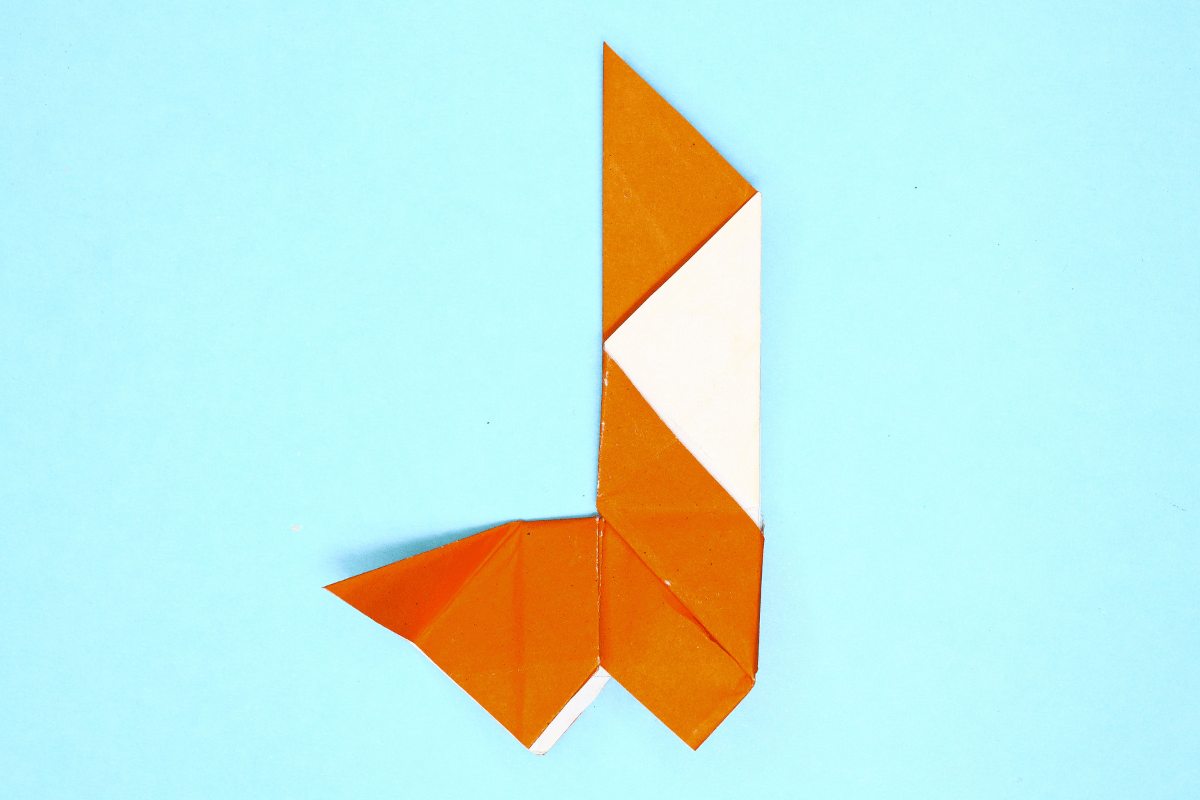
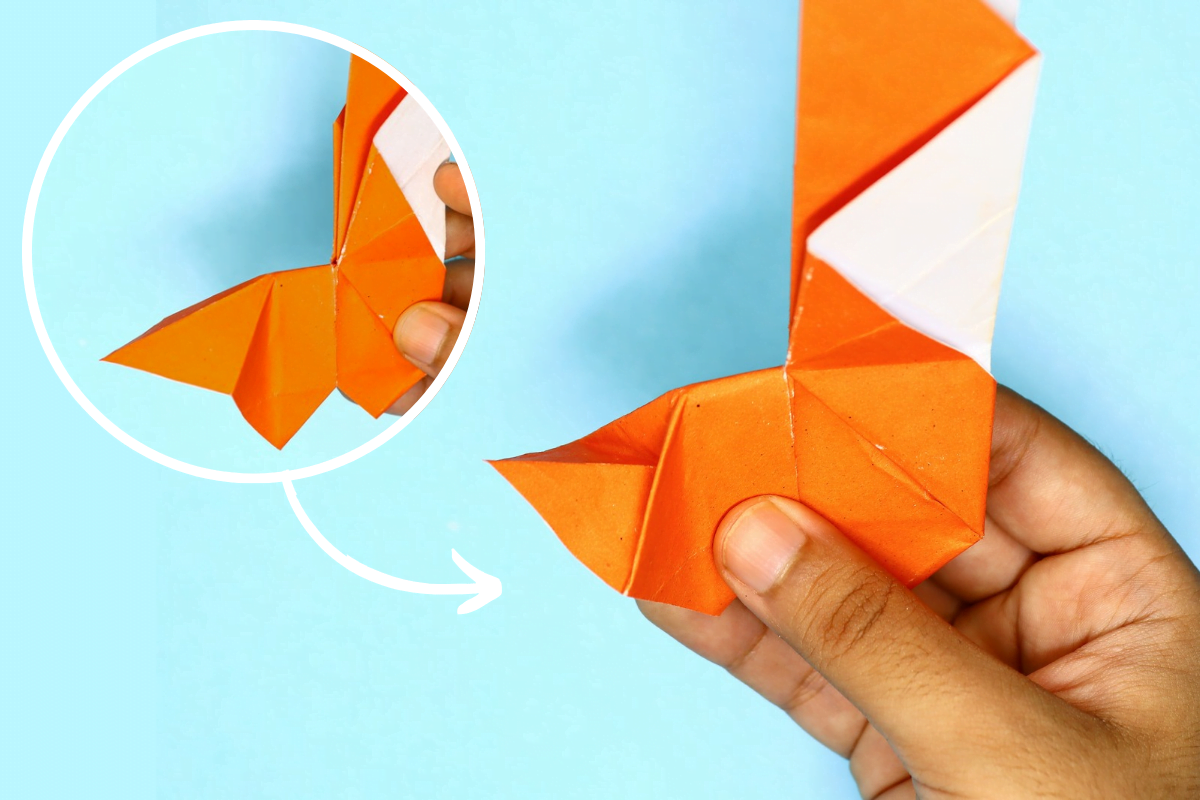
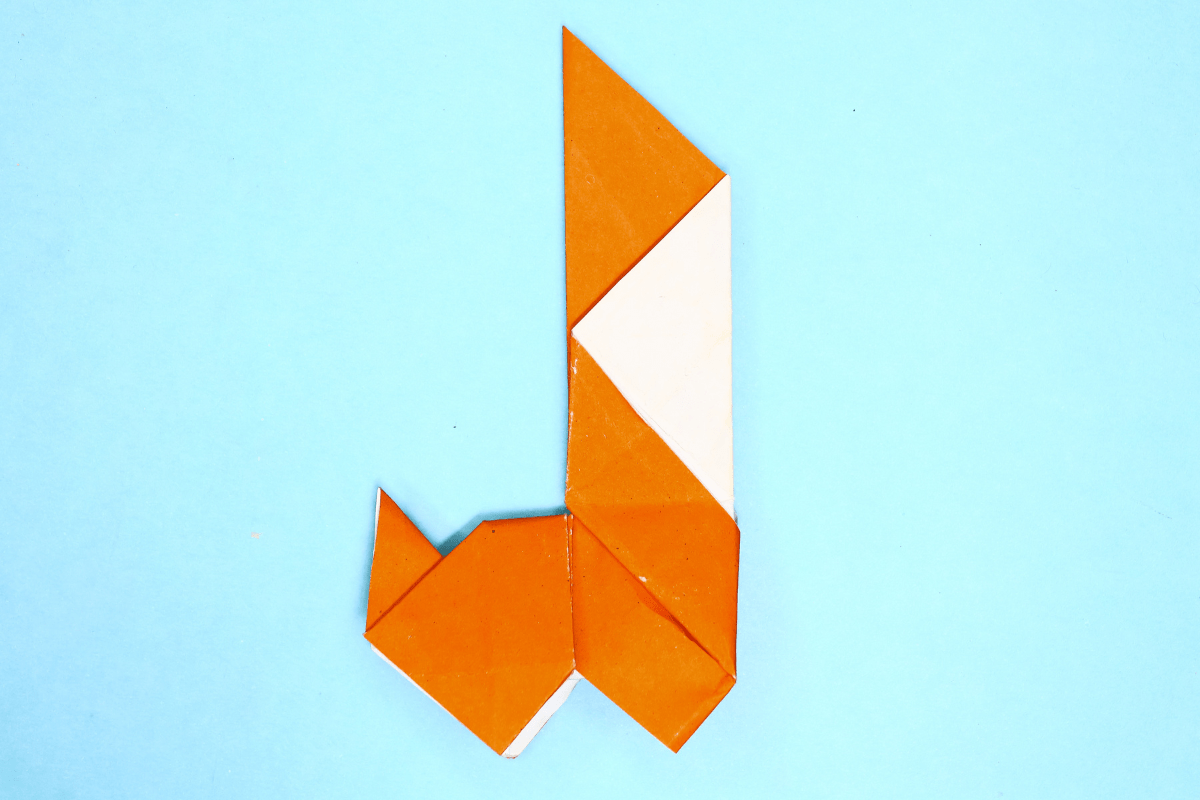
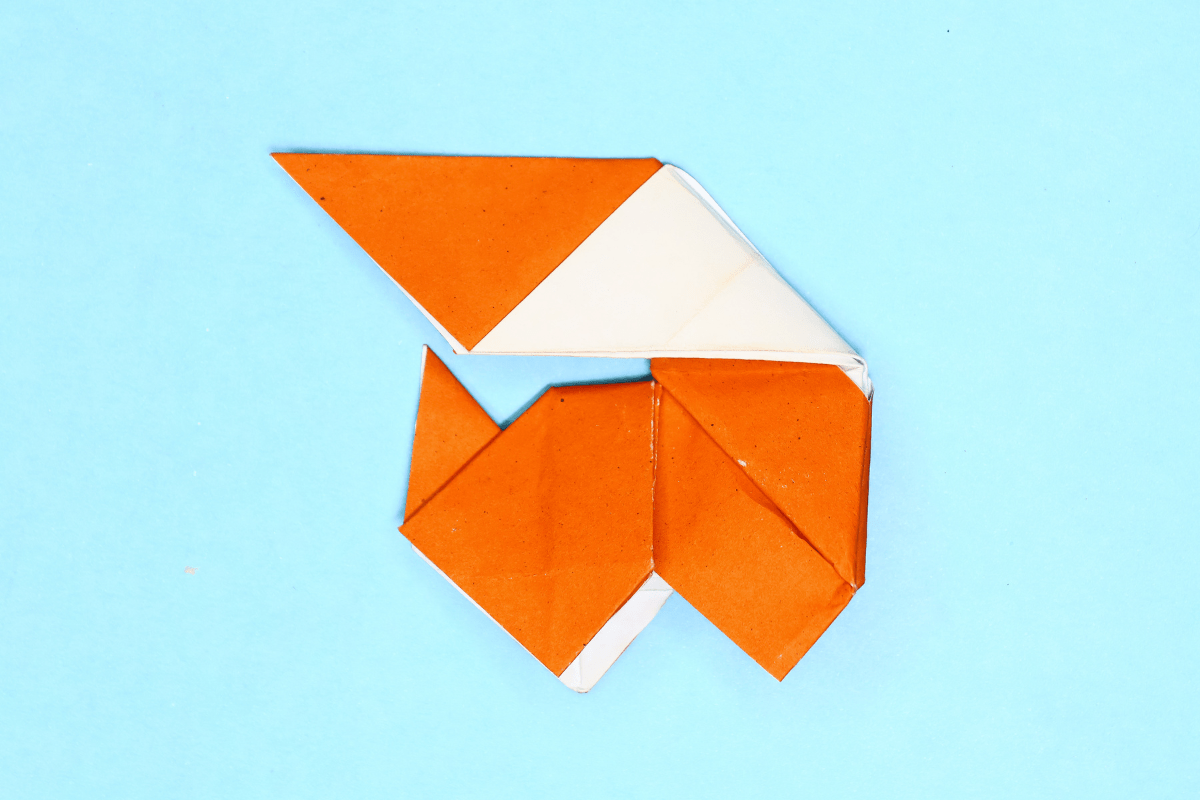
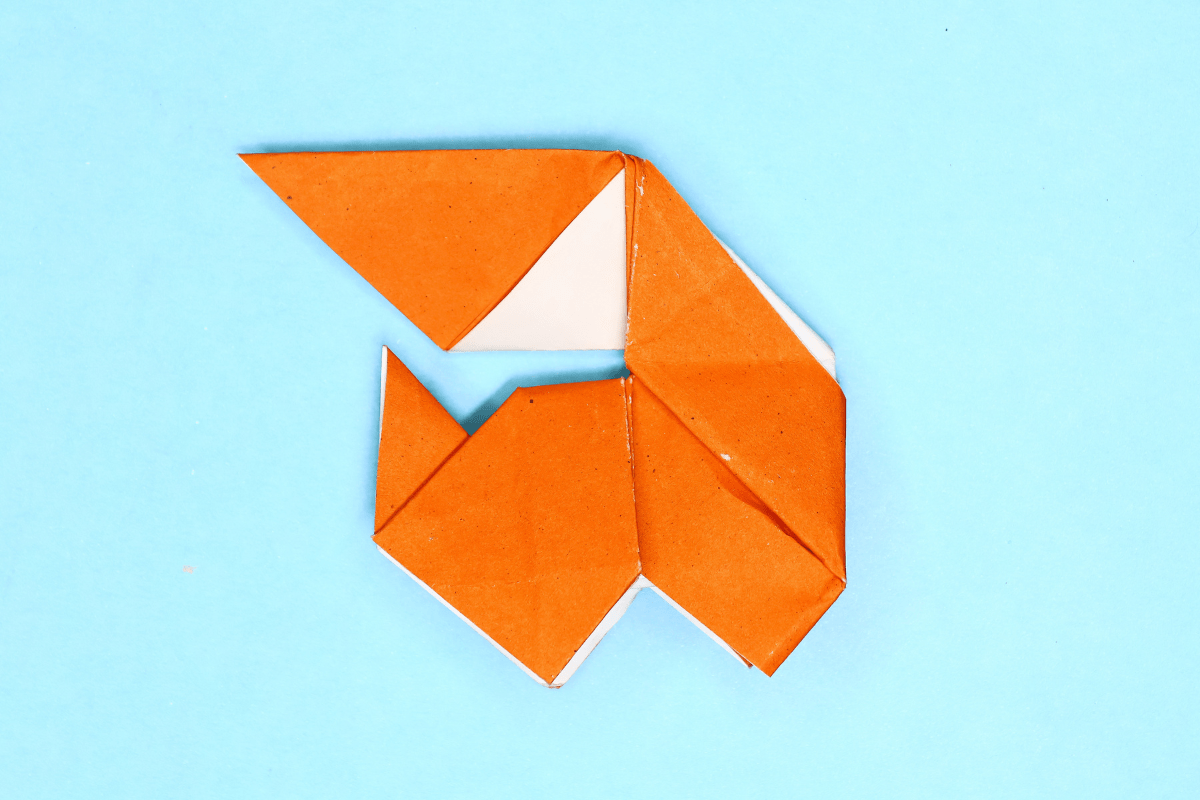
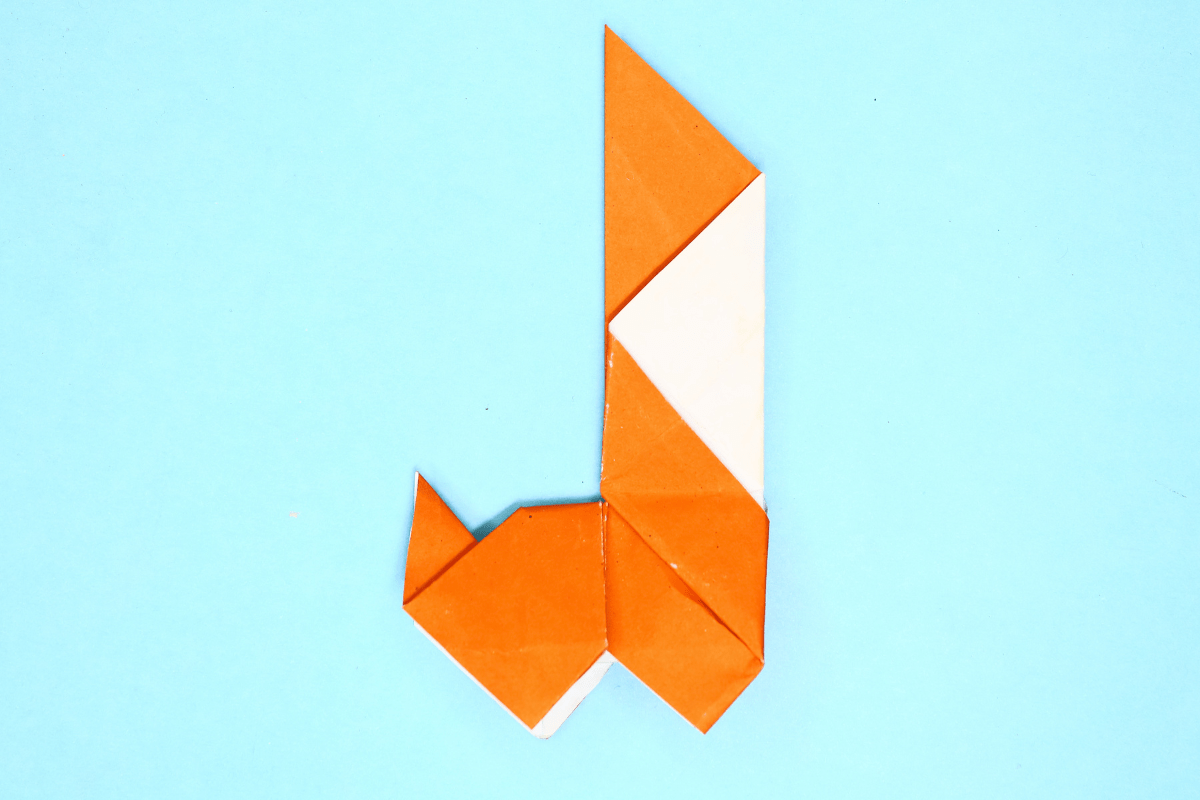
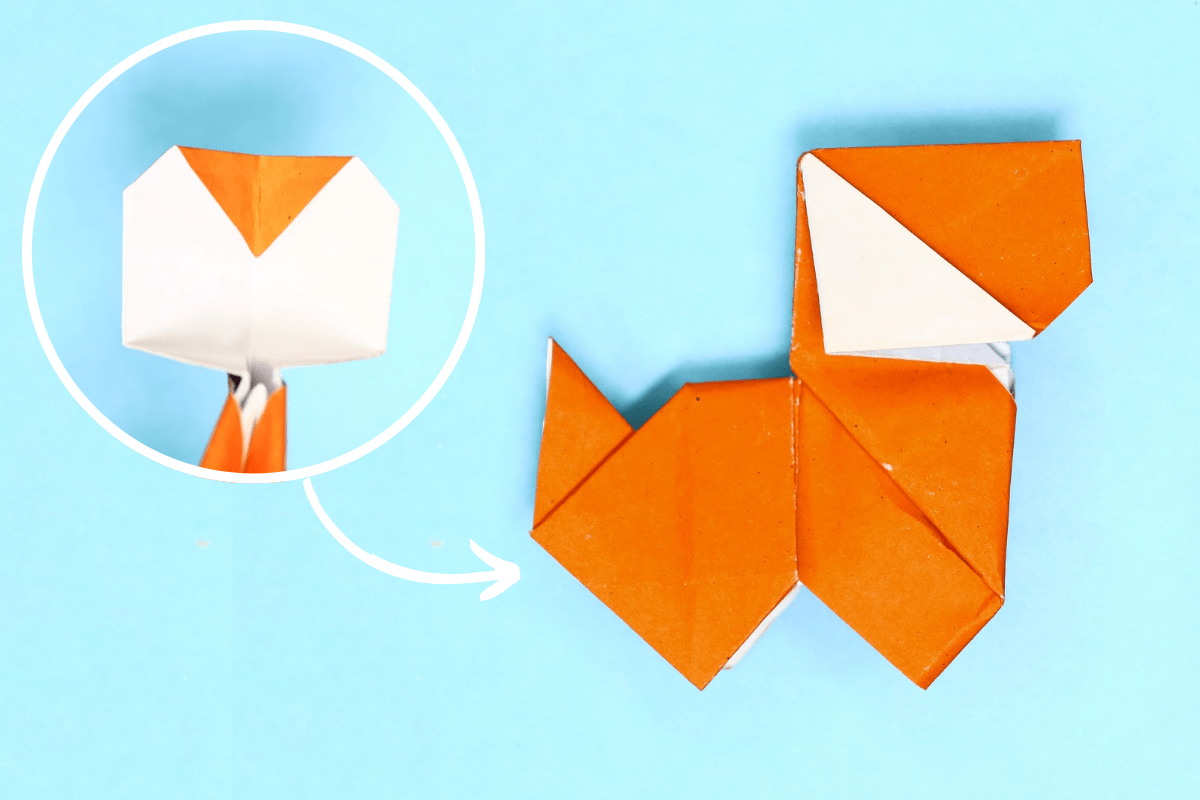
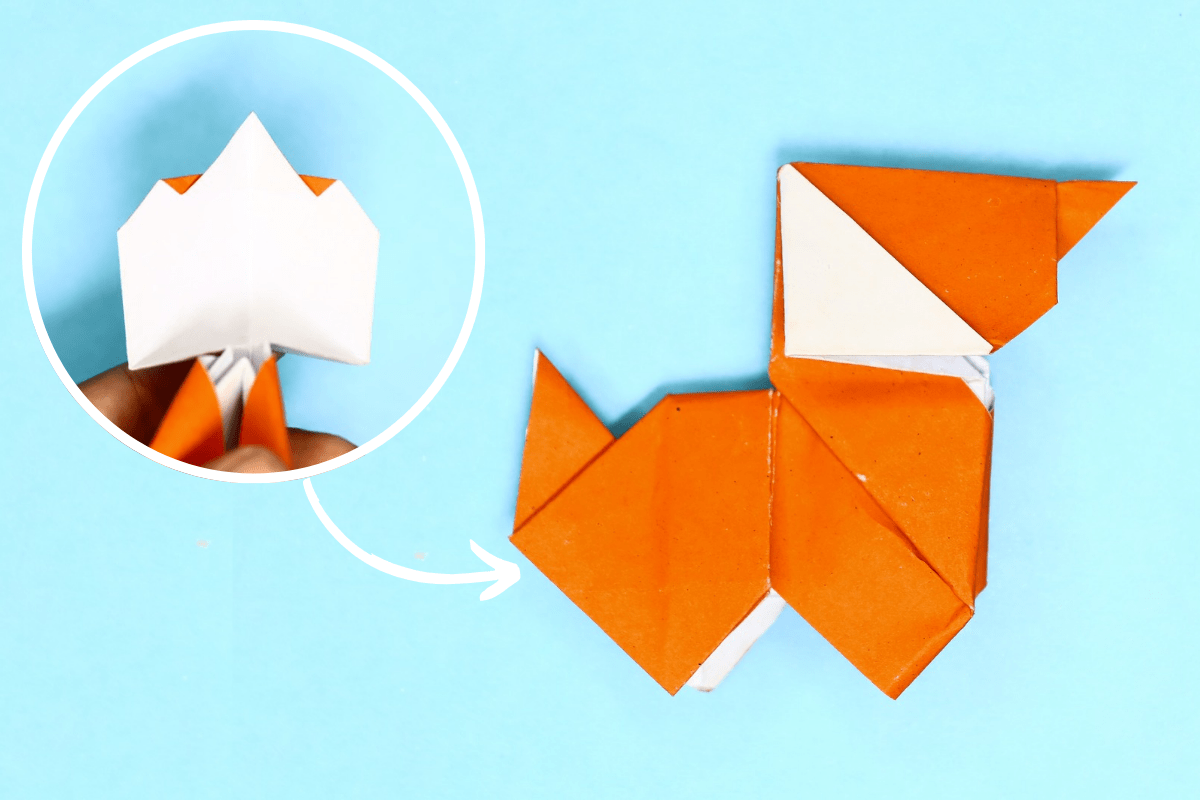
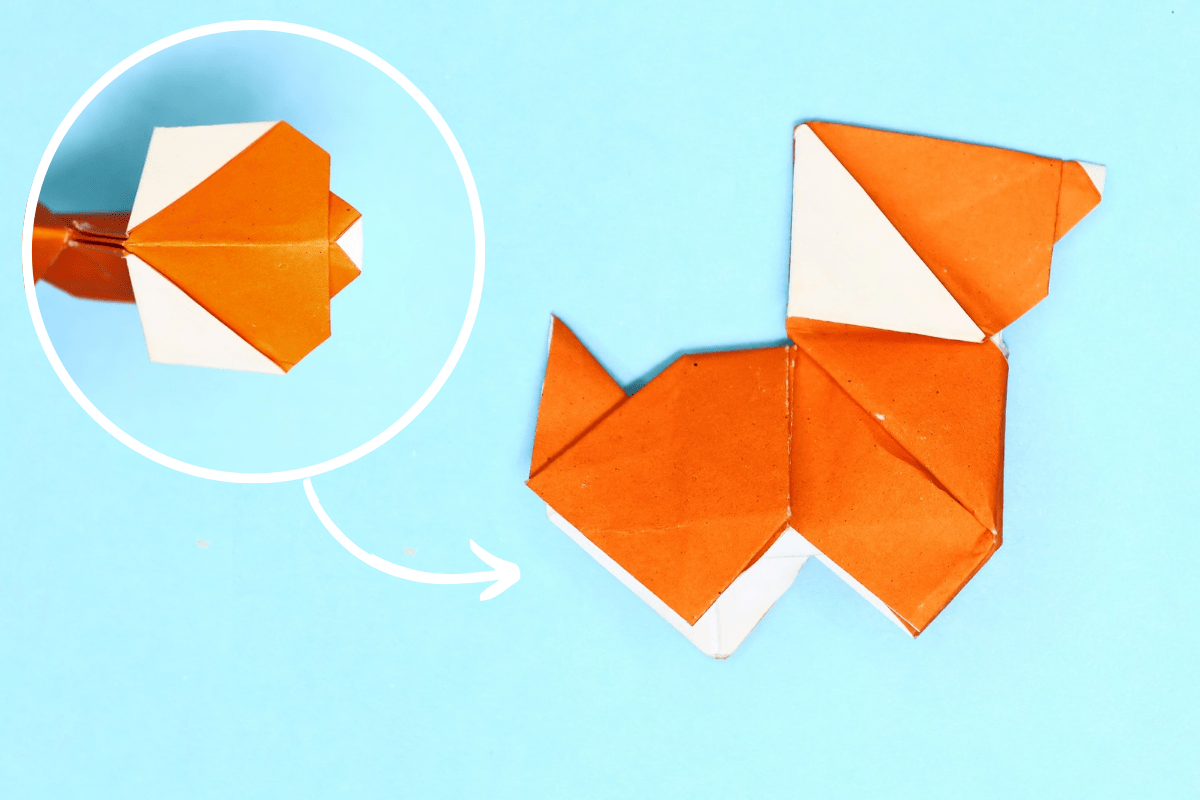
This is a very cute origami dog that’s pretty hard to make but not impossible. There are a couple of tricky folds, but I’ve provided some very good instructions and pictures to guide you.

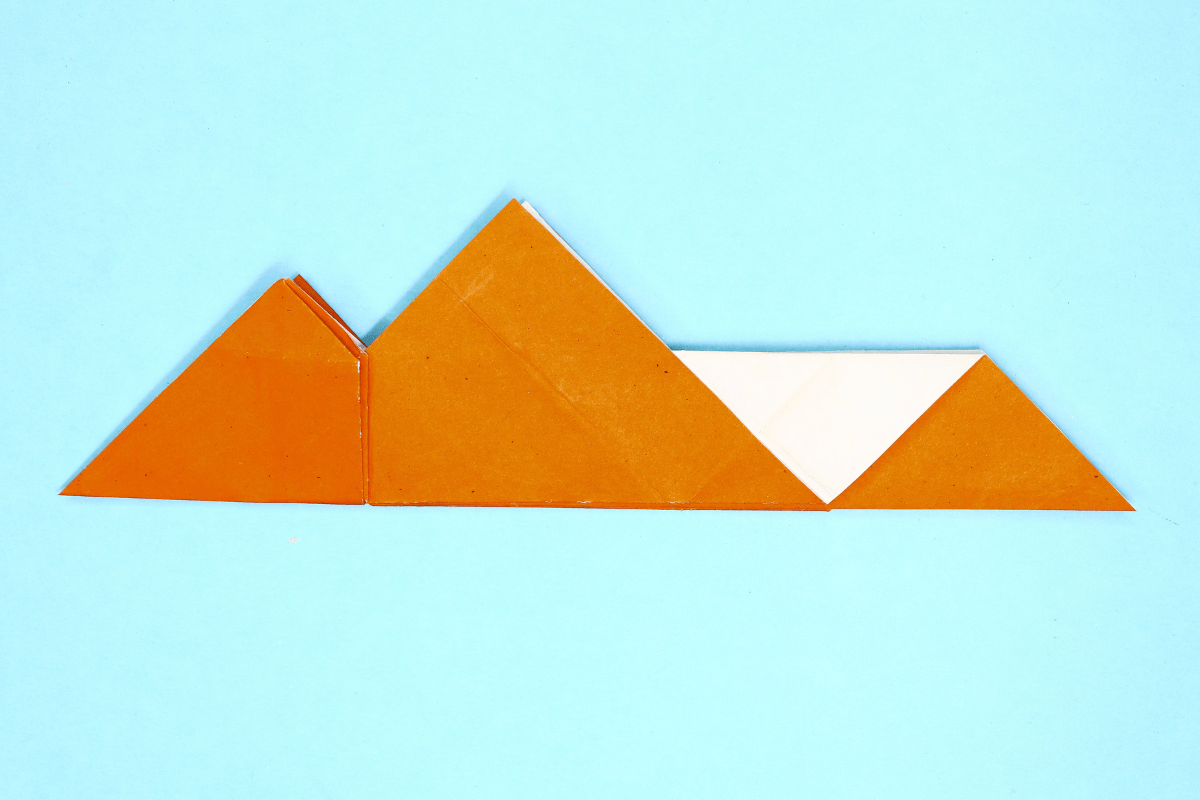
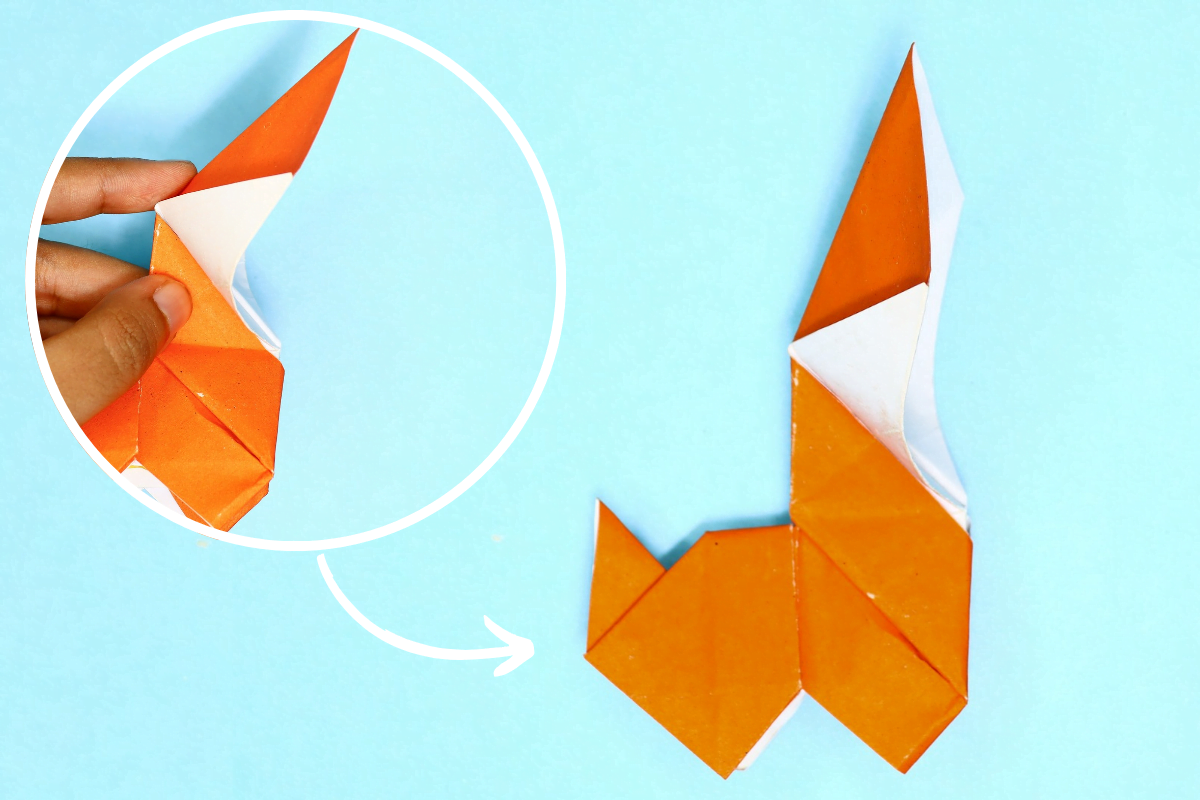
I recommend using two sided origami paper with different colors on each side, that way the ears and nose will be of a different color. That just makes the origami dog cuter and cooler.

Step 1
Origami Dog step 01
1
Start with a square piece of origami paper. I am using an 7×7 inches origami paper.

If you only have regular paper, follow these instructions on how to make a square origami paper.

Step 2
Origami Dog step 02
2
If you are using two color sided origami paper then face the lighter side upward.

Step 3
Origami Dog step 03
3
Fold the paper in half by folding the left edge over to the right.

Step 4
Origami Dog step 04
4
Unfold.

Step 5
Origami Dog step 05
5
Fold the paper in half again, but this time folding the top edge to the bottom.

Step 6
Origami Dog step 06
6
Unfold.

Step 7
Origami Dog step 07
7
Tilt the paper.

Step 8
Origami Dog step 08
8
Fold the bottom corner to the center.

Step 9
Origami Dog step 09
9
Fold the left and right corner to the center.

Step 10
Origami Dog step 10
10
Turn the model over.

Step 11
Origami Dog step 11
11
Fold the left edge to the center. Let the flap in the back come out.

Step 12
Origami Dog step 12
12
Fold the right edge to the center. Let the flap in the back come out.

Step 13
Origami Dog step 13
13
Open the upper right corner.

Step 14
Origami Dog step 14
14
Squash to the right (like you see in this picture and the next picture).

Step 15
Origami Dog step 16
15
After completely squashing the traingle down, it should look like this.

Step 16
Origami Dog step 17
16
Repeat the last three steps on left side too.

Step 17
Origami Dog step 18
17
Lift up the flap in the back.

Step 18
Origami Dog step 19
18
Now fold the top in half.

Step 19
Origami Dog step 20
19
Turn the paper over and tilt it 90° counter clockwise.

Step 20
Origami Dog step 21
20
Beginning at the left side of the top triangle, fold the left side in half diagonally. Don’t fold pass the crease below it.

Step 21
Origami Dog step 22
21
Unfold.

Step 22
Origami Dog step 23
22
Repeat the step 20 for bottom part.

Step 23
Origami Dog step 24
23
Unfold.

Step 24
Origami Dog step 25
24
Fold the entire figure in half from bottom corner to top corner.

Step 25
Origami Dog step 26
25
Unfold.

Step 26
Origami Dog step 27
26
Pinch the right side of the figure in half.

Step 27
Origami Dog step 28
27
Now lift that part up that you pitched and bend the flap upwards.

Step 28
Origami Dog step 29
28
Take the whole flap and bend it back.

Step 29
Origami Dog step 30
29
Hold the flap and you’ll see the visible crease in the center of triangle.

Step 30
Origami Dog step 31
30
Fold down the top triangle flap by using the mid crease as a guide.

Step 31
Origami Dog step 32
31
Let’s work on the tail. Fold down the tail like in the picture.

Step 32
Origami Dog step 33
32
Unfold.

Step 33
Origami Dog step 34
33
Now do an inside reverse fold to make the tail. Basically open the rear a little.

Step 34
Origami Dog step 35
34
Bend the tail flap down at the crease. Curve the tip up.

Step 35
Origami Dog step 36
35
Close the rear, creasing the tail.

Step 36
Origami Dog step 37
36
Fold the top flap to the left.

Step 37
Origami Dog step 38
37
unfold, and fold it behind. This is so we can get a good crease.

Step 38
Origami Dog step 39
38
Bring the top flap to the original position.

Step 39
Origami Dog step 40
39
Open the top flap at the crease and bend down the top.

Step 40
Origami Dog step 41
40
Bend the top down and crease the sides of the flap to form the head.

Step 41
Origami Dog step 42
41
Open the head and bend parts of the triangle in.

Step 42
Origami Dog step 43
42
Bend another part out, then close.

Step 43
Origami Dog step 44
43
Make the nose with an outside reverse fold. Open the muzzle and curl the corner up, then close.

Step 44
Origami Dog final step
44
Woof! You’re done!

Share and Comment
We would love to see your creations! Scroll down to the comments section and share a photo of your origami.

Comments

Leave a Reply

Your email address will not be published. Required fields are marked *

Drop file here