Cute Origami Dog Box Instructions

Dog Box final step
Difficulty: Intermediate
Fold a cute and functional Origami dog box! Our step-by-step guide helps you create a charming paper box with a playful pup design!

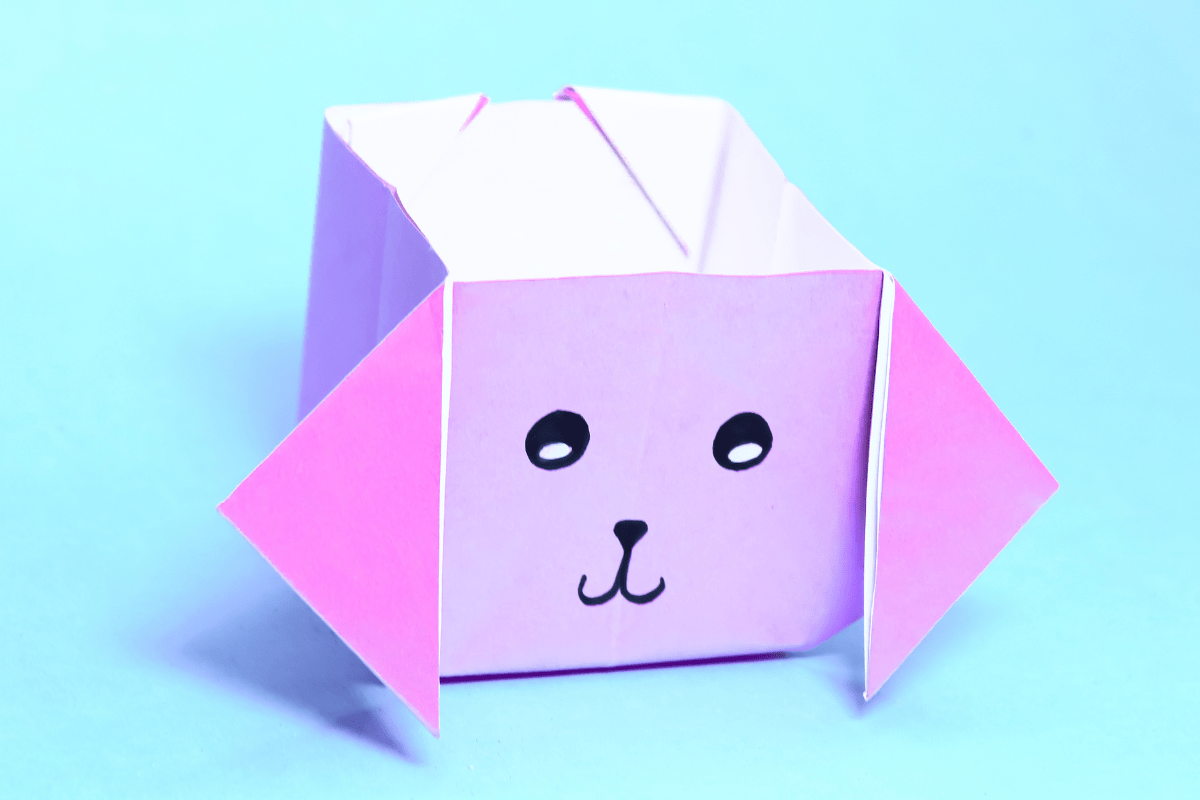
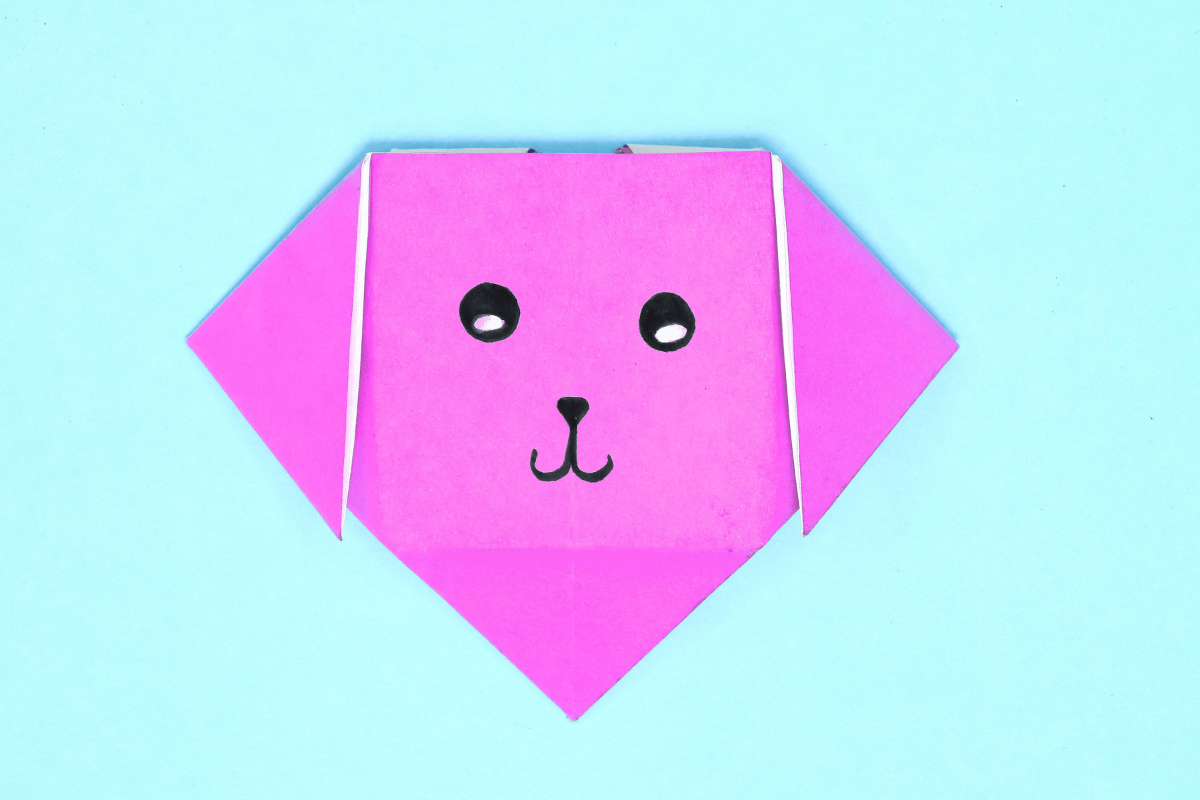
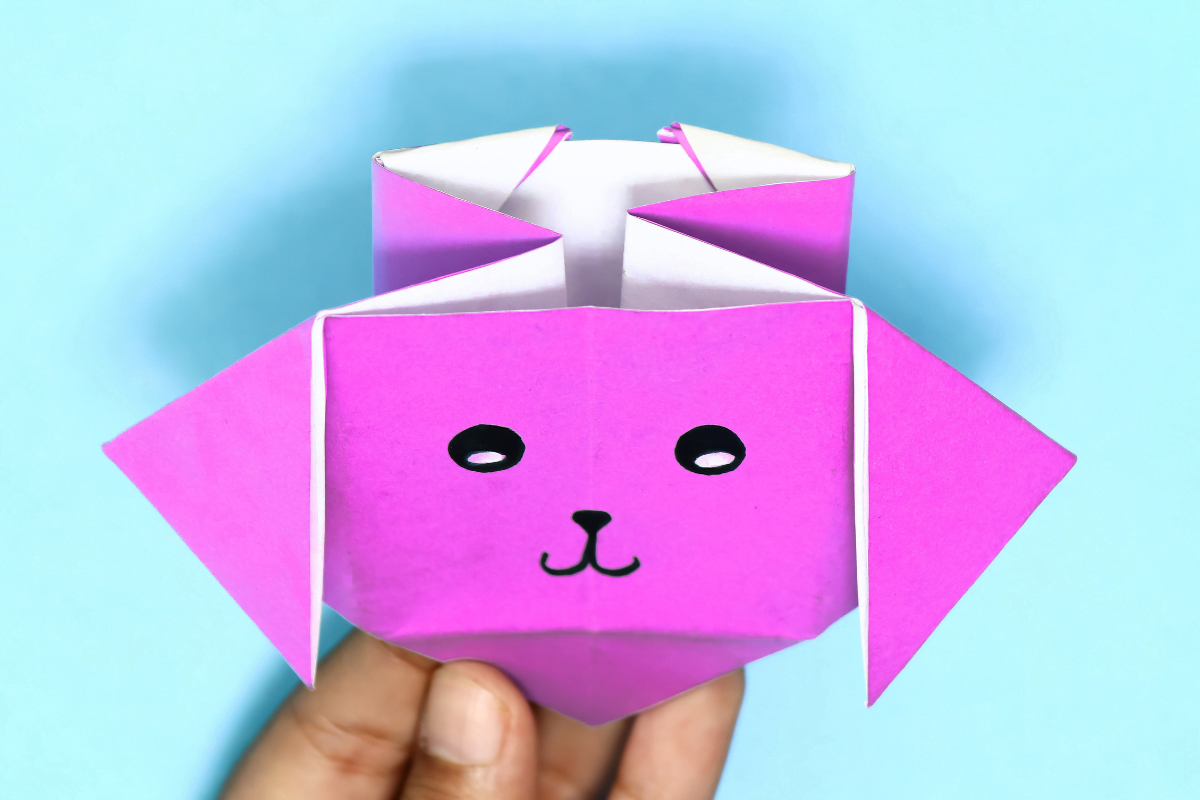
Don’t feel like making a plain square box and you also happen to love dogs? Well I’ve got the perfect solution for your situation. I’m going to teach you how to make an origami dog box! Woohoo! You’re welcome.

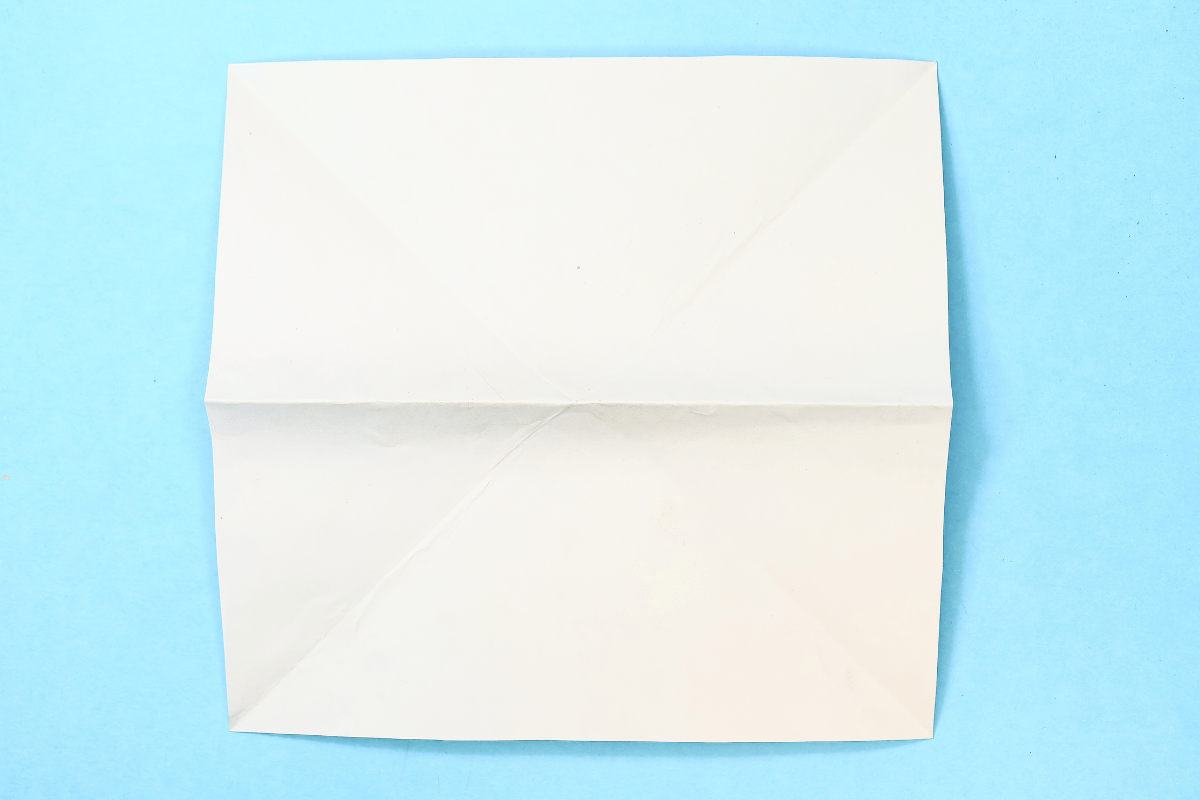
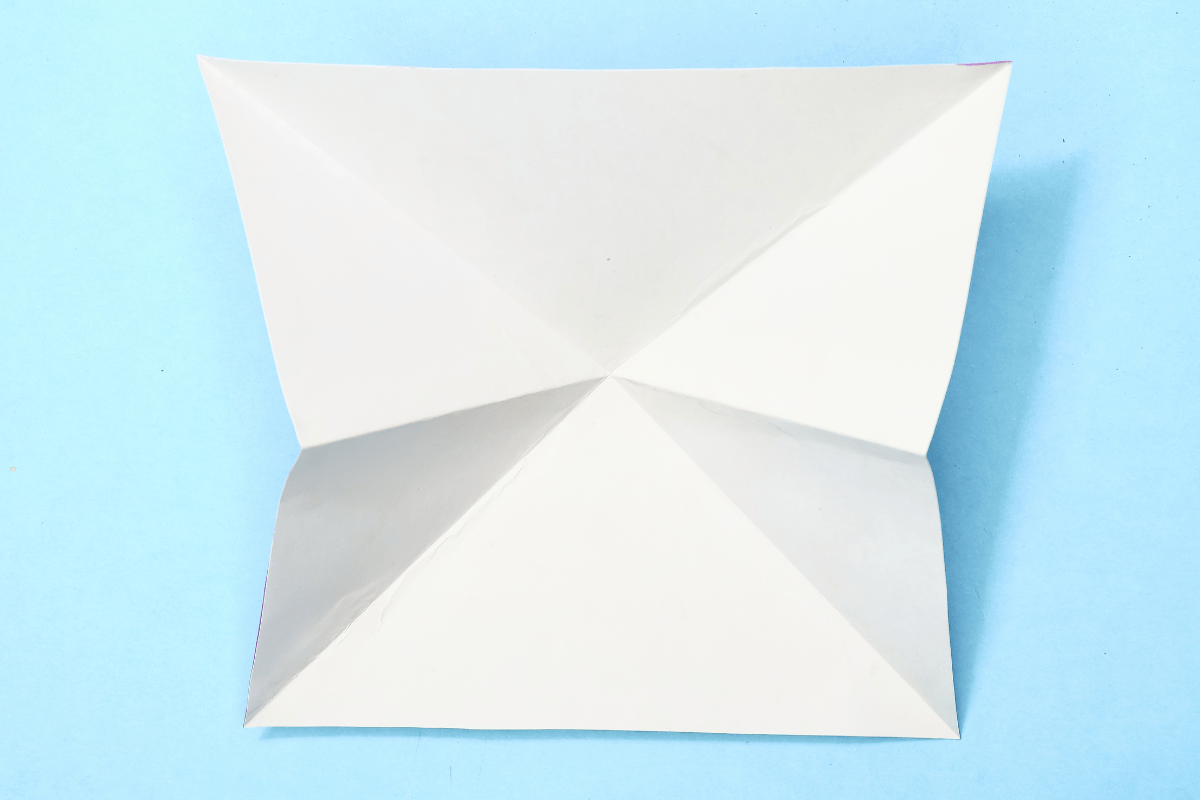
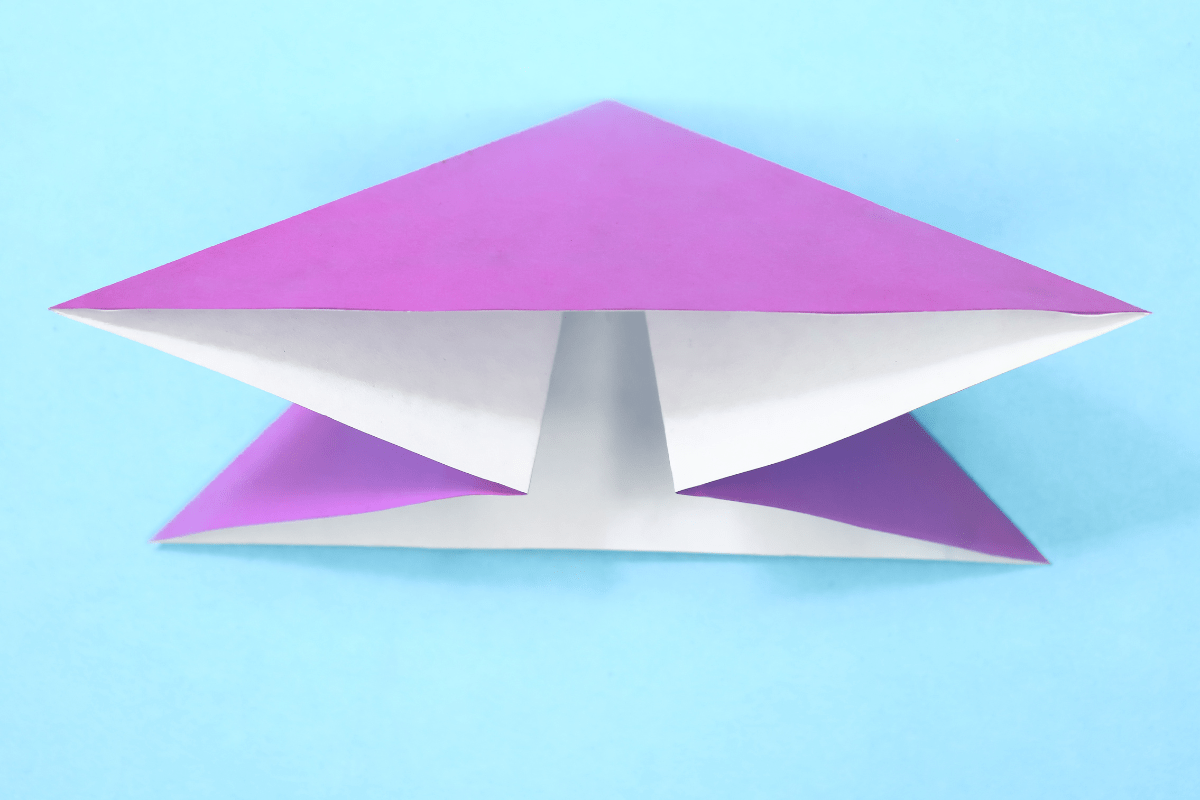
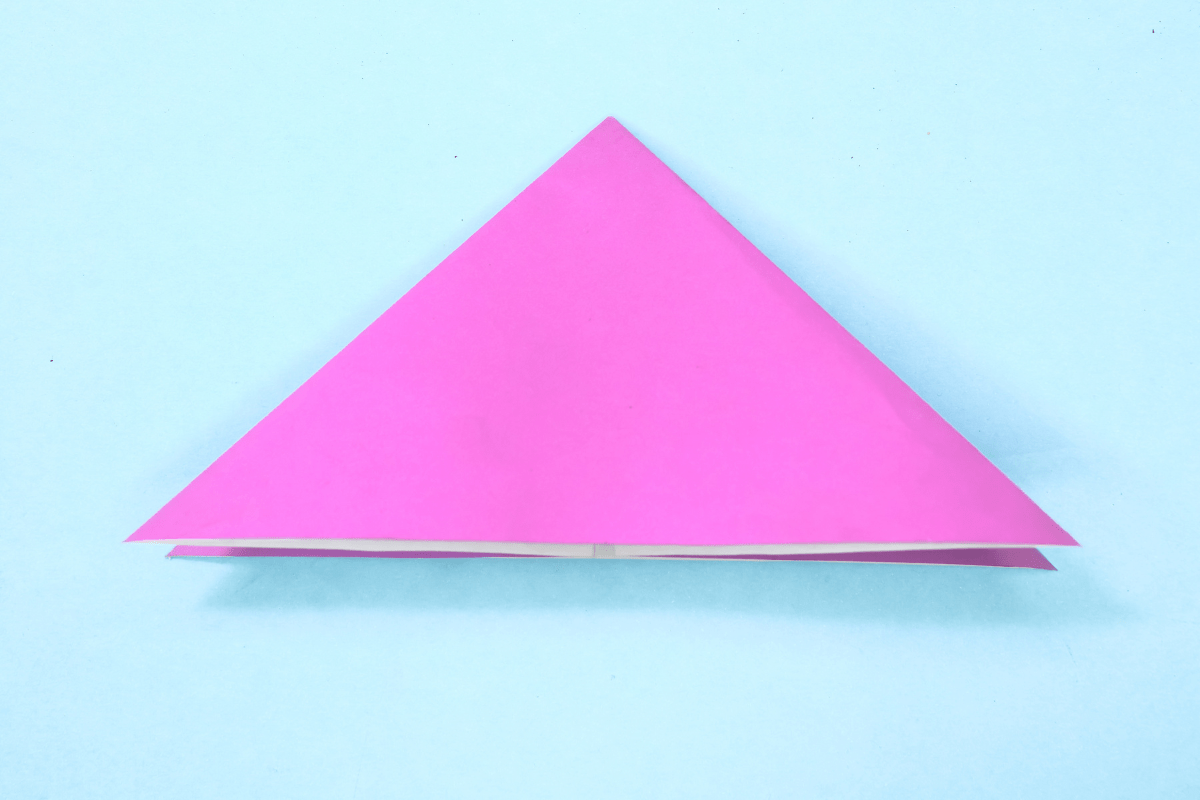
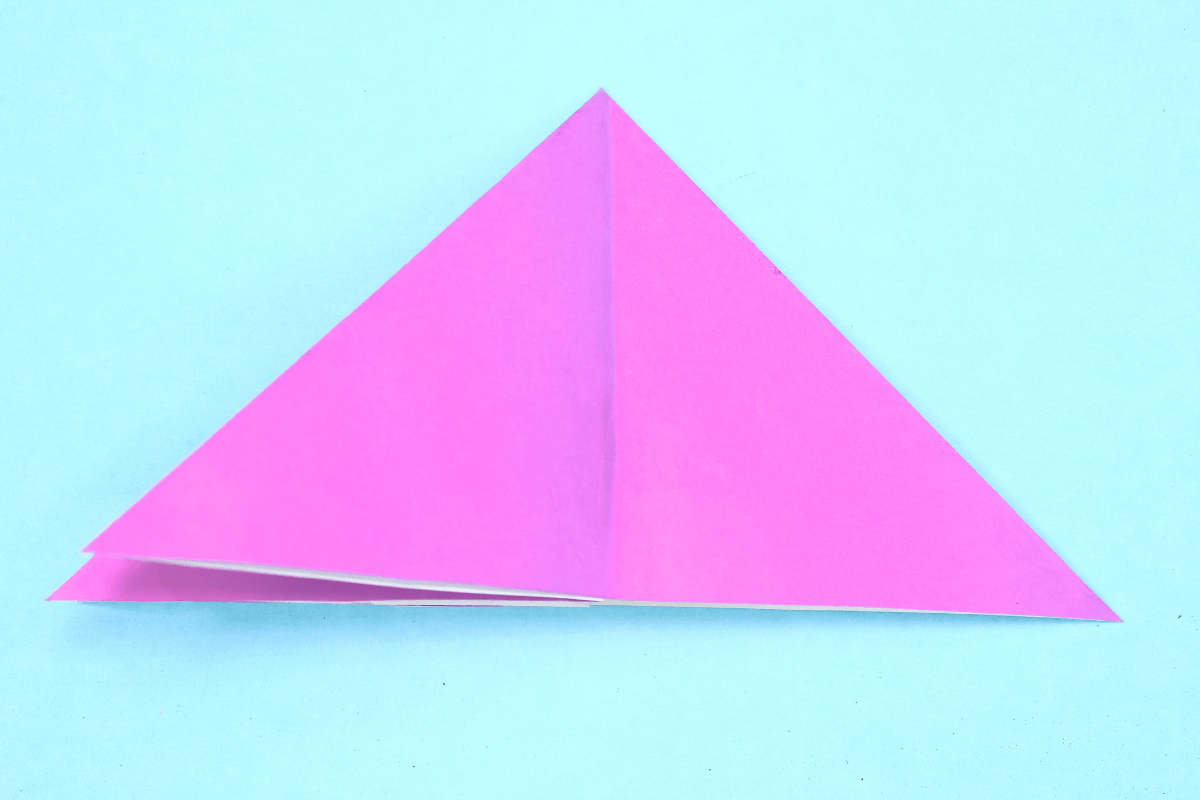
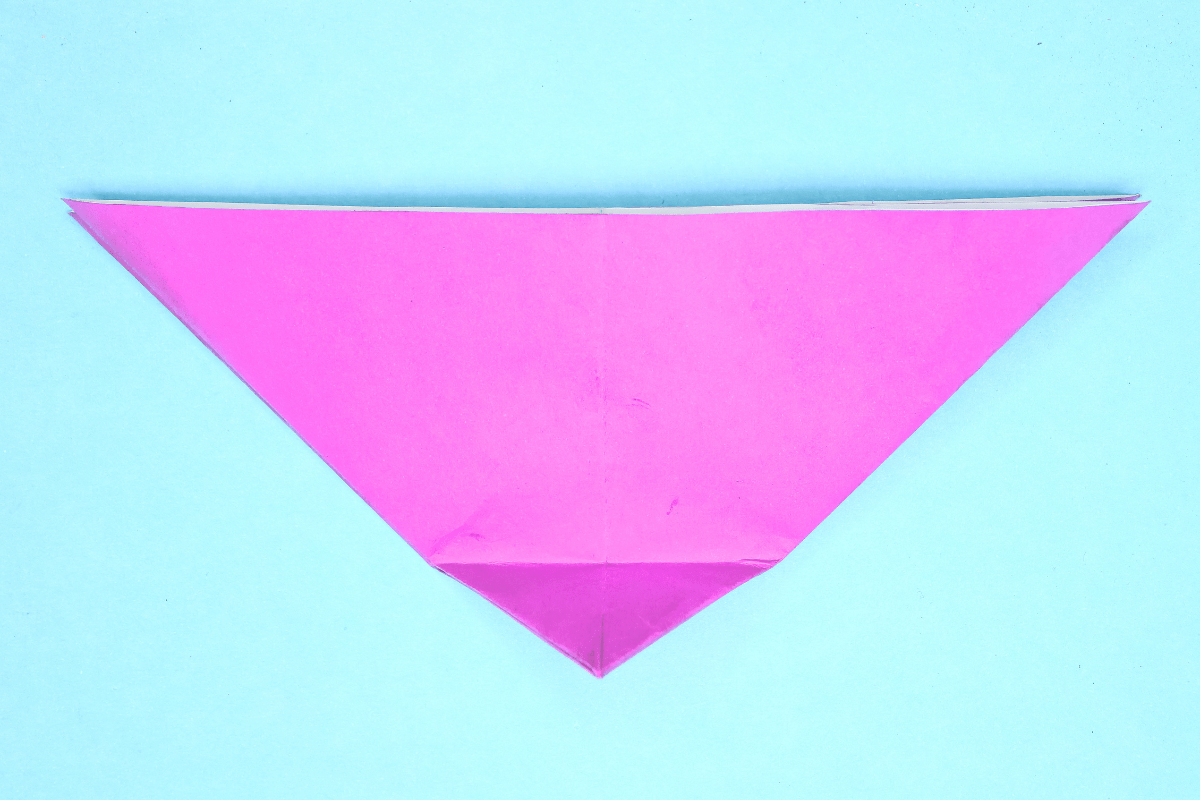
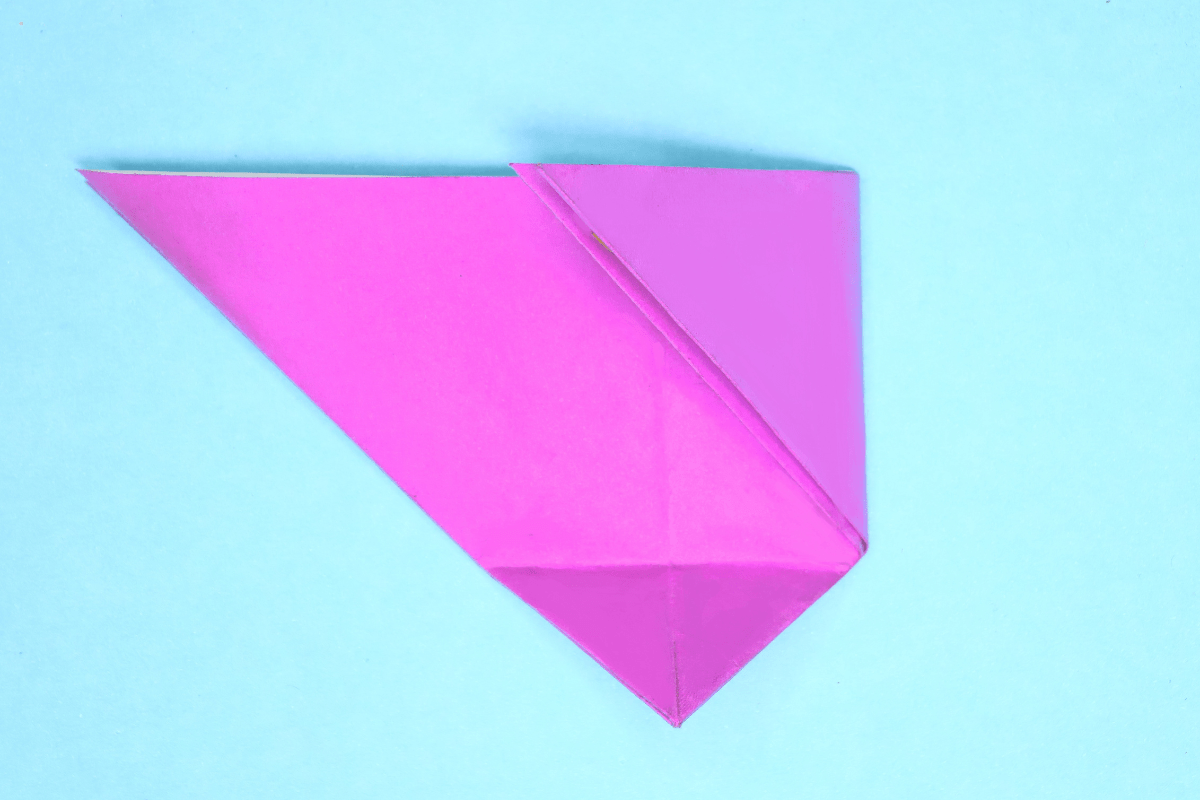
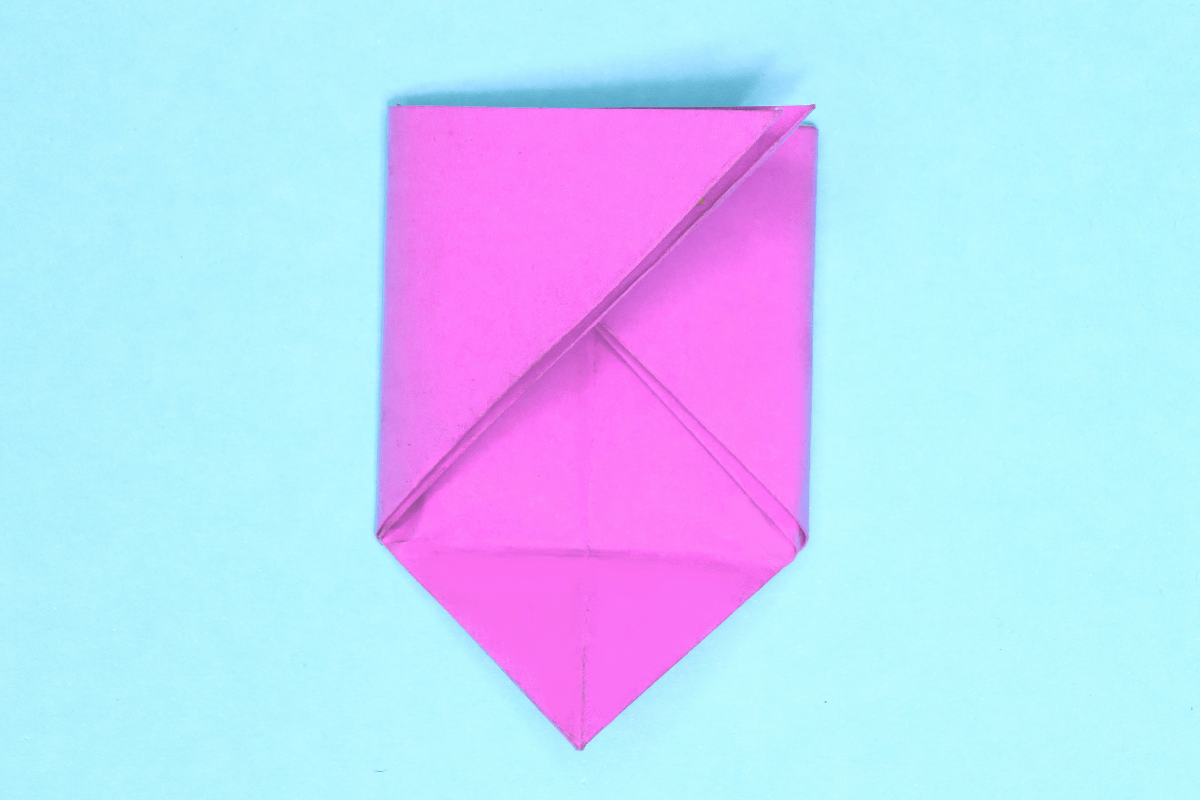
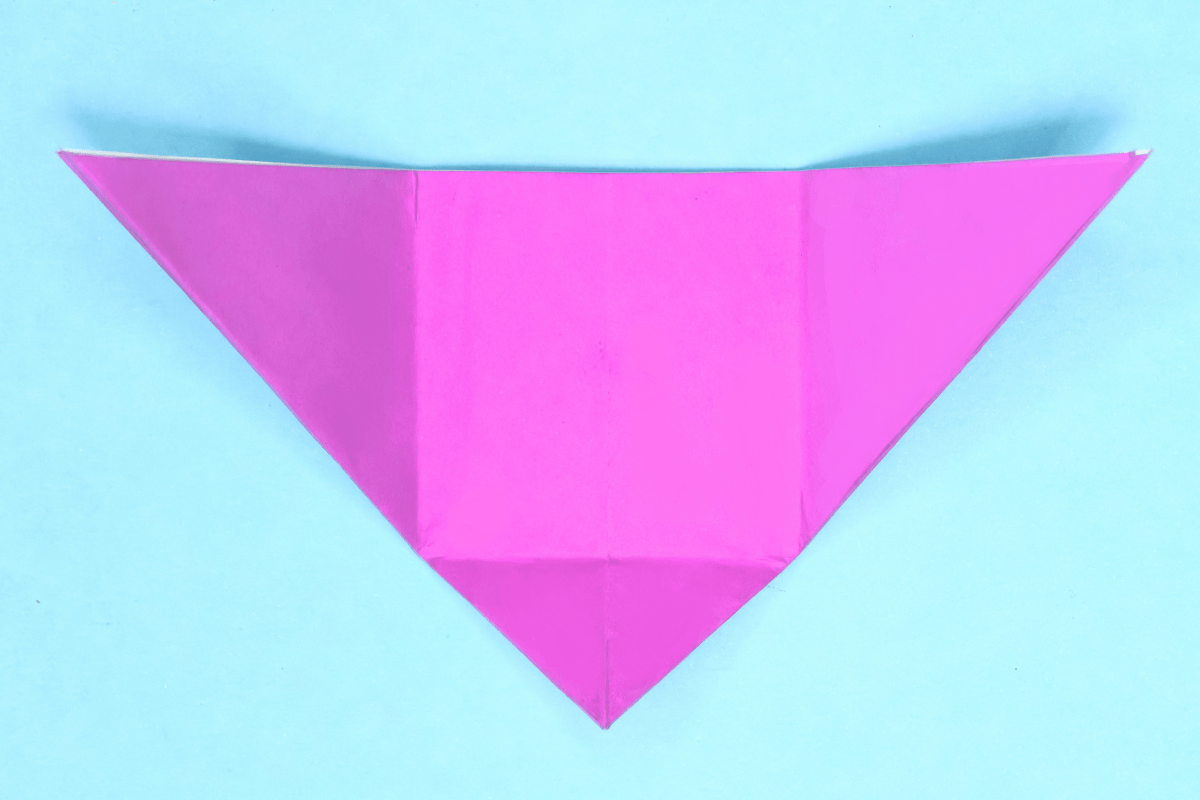
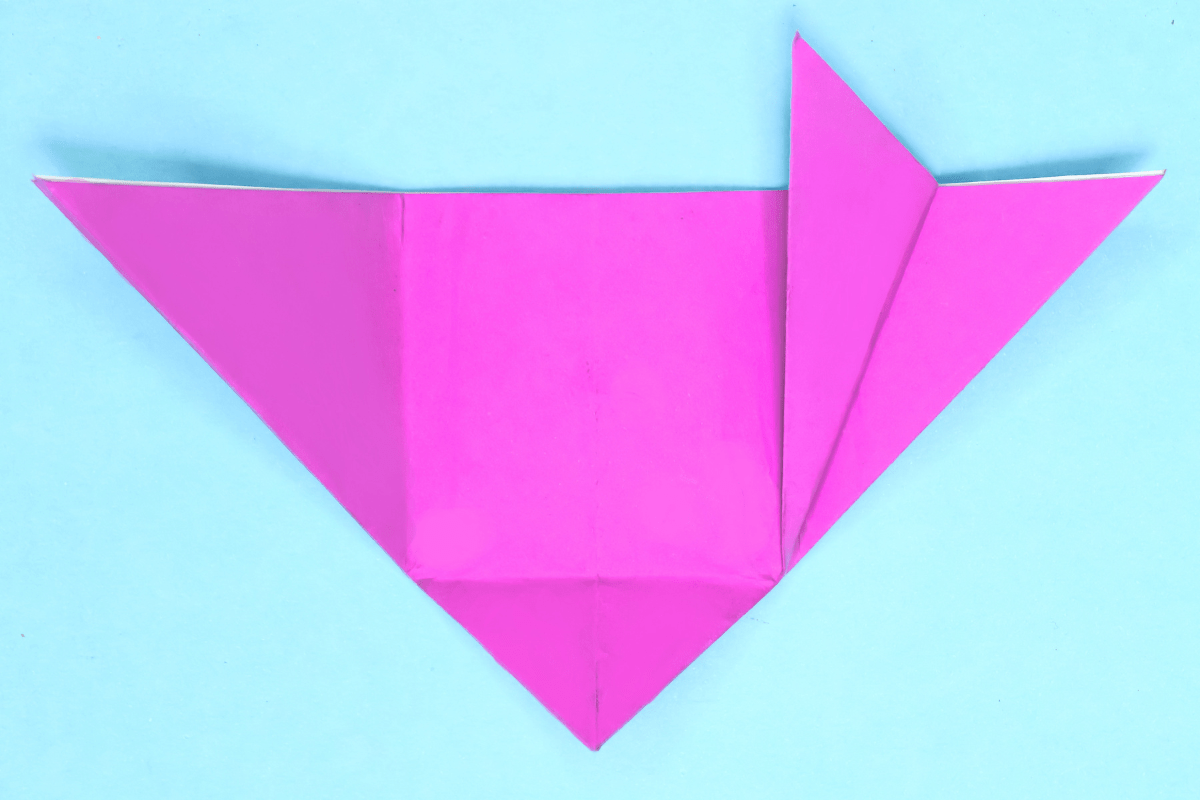
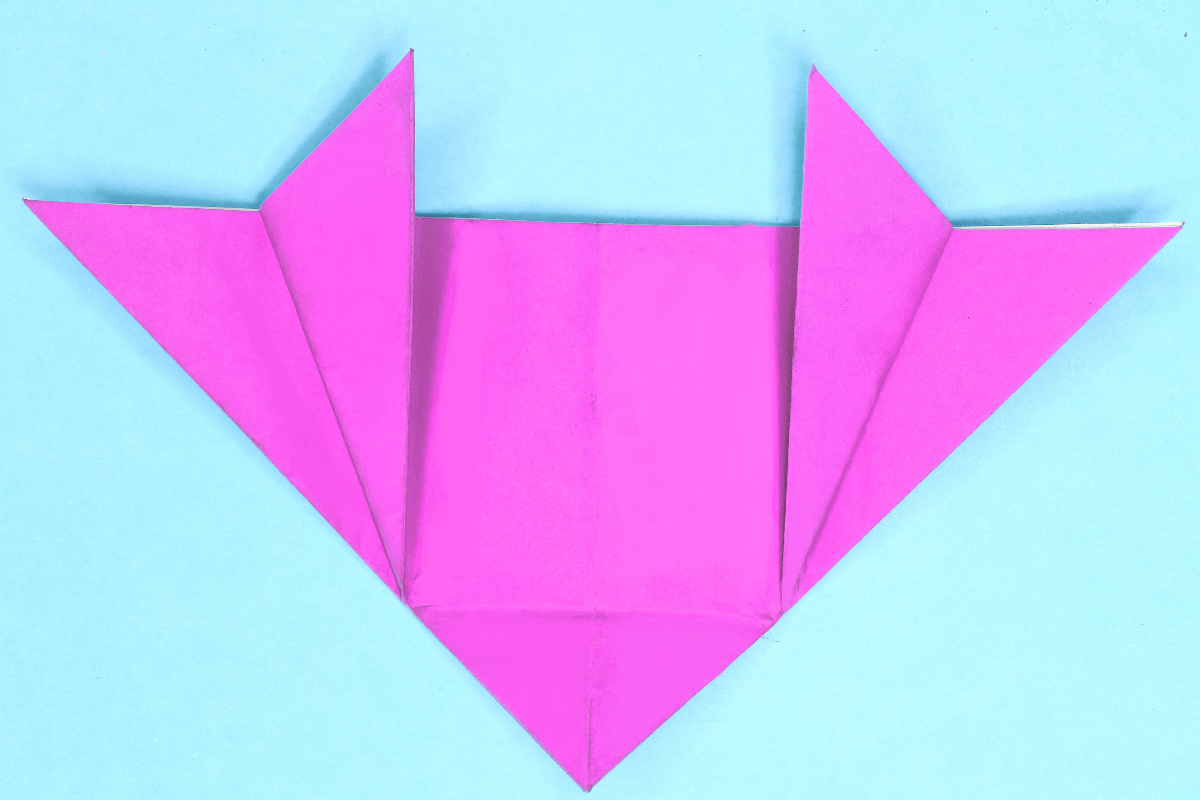
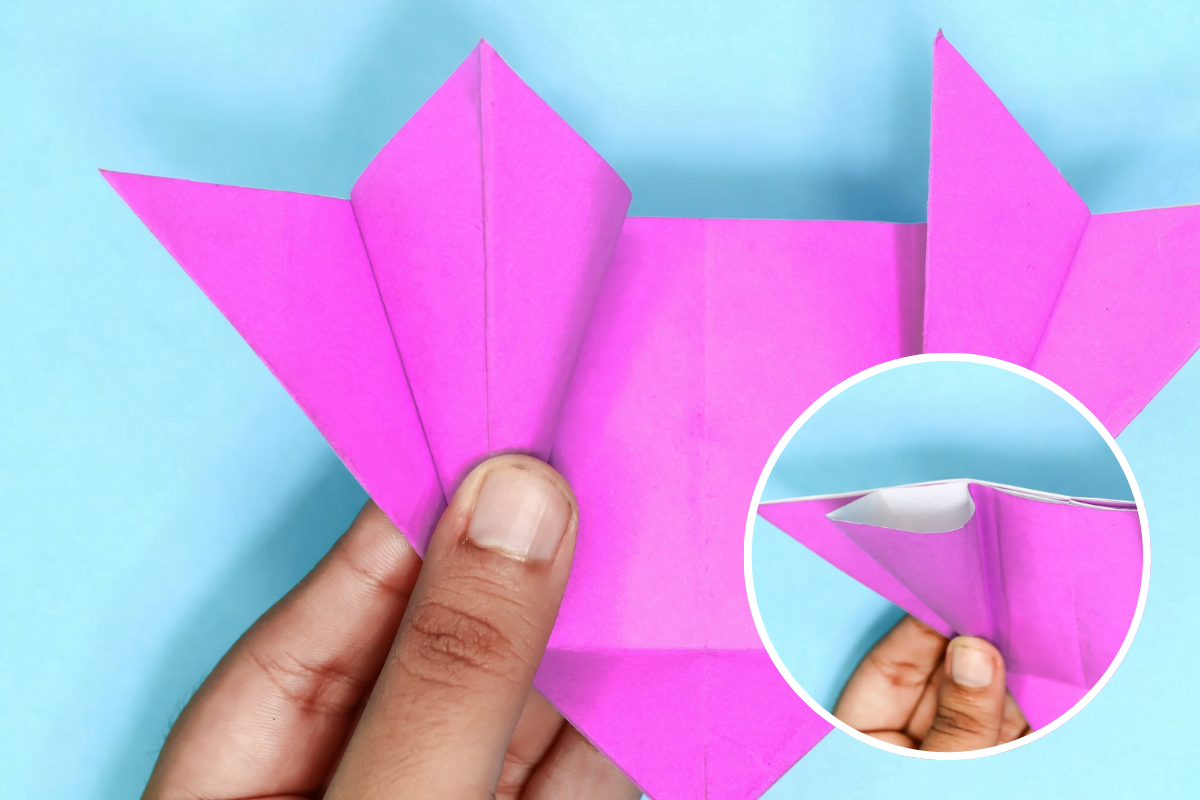
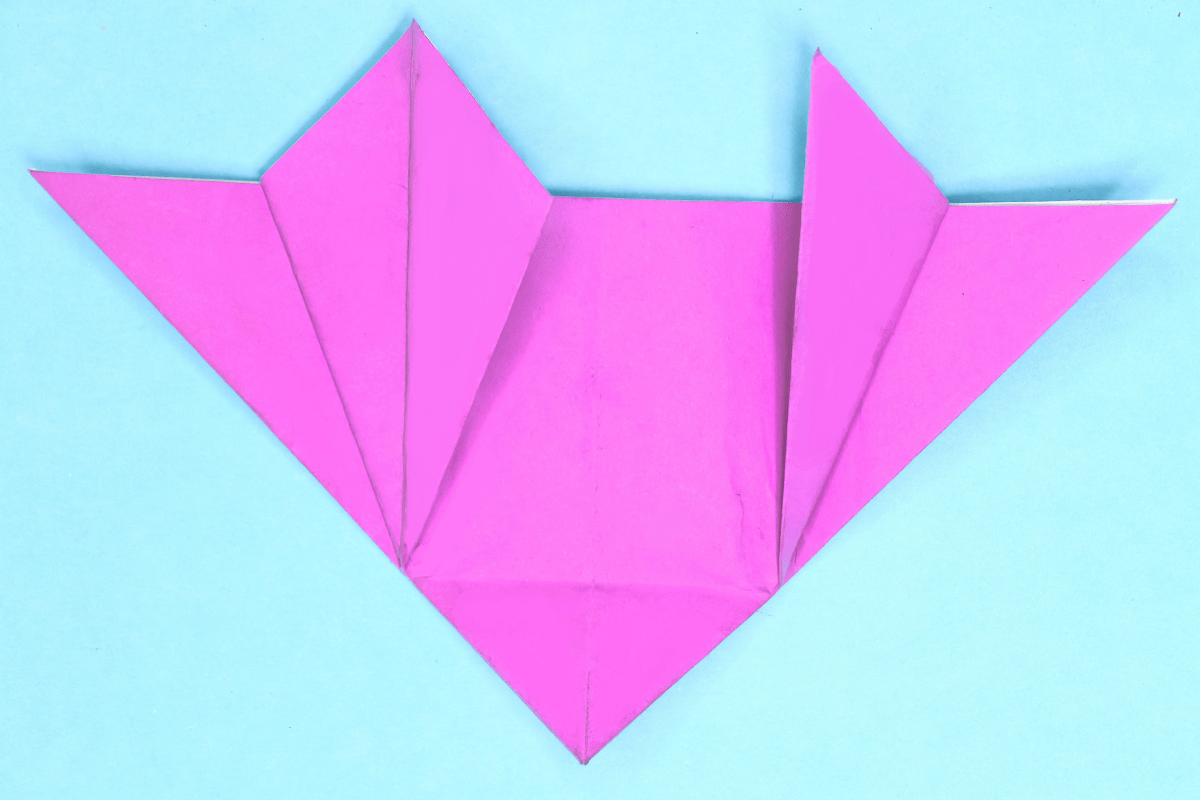
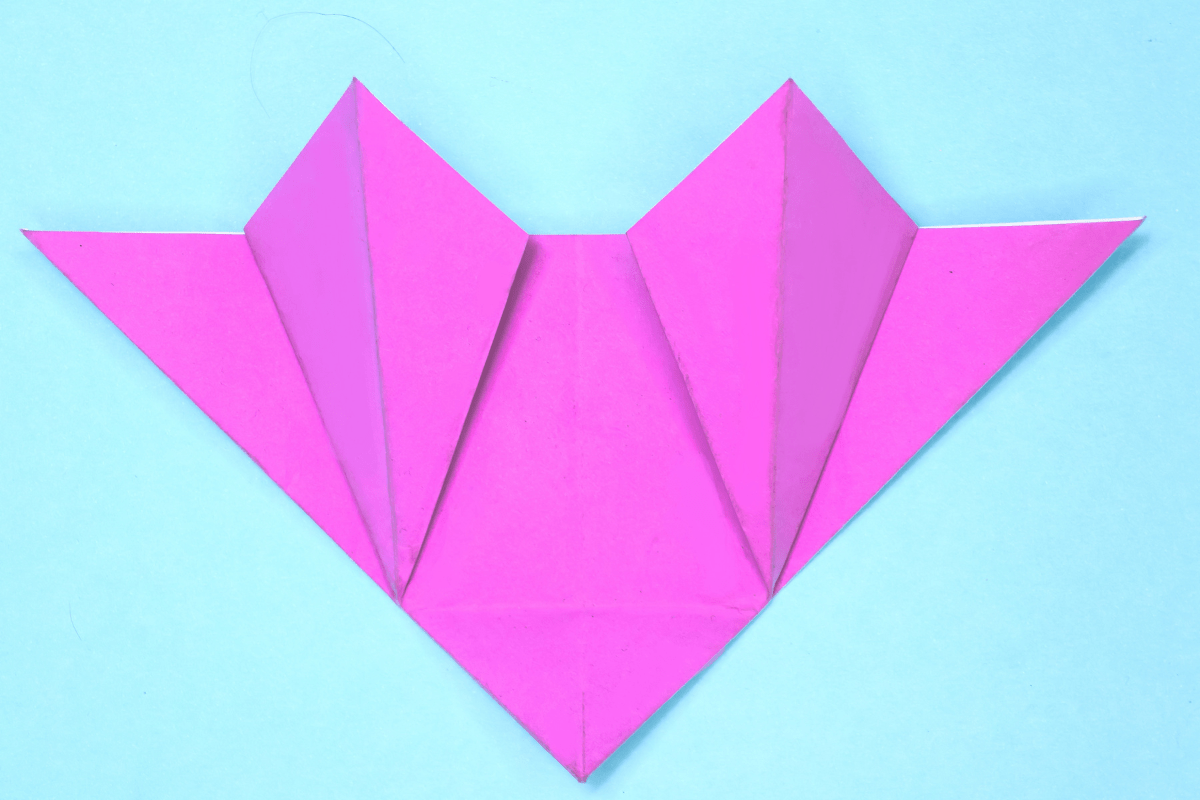
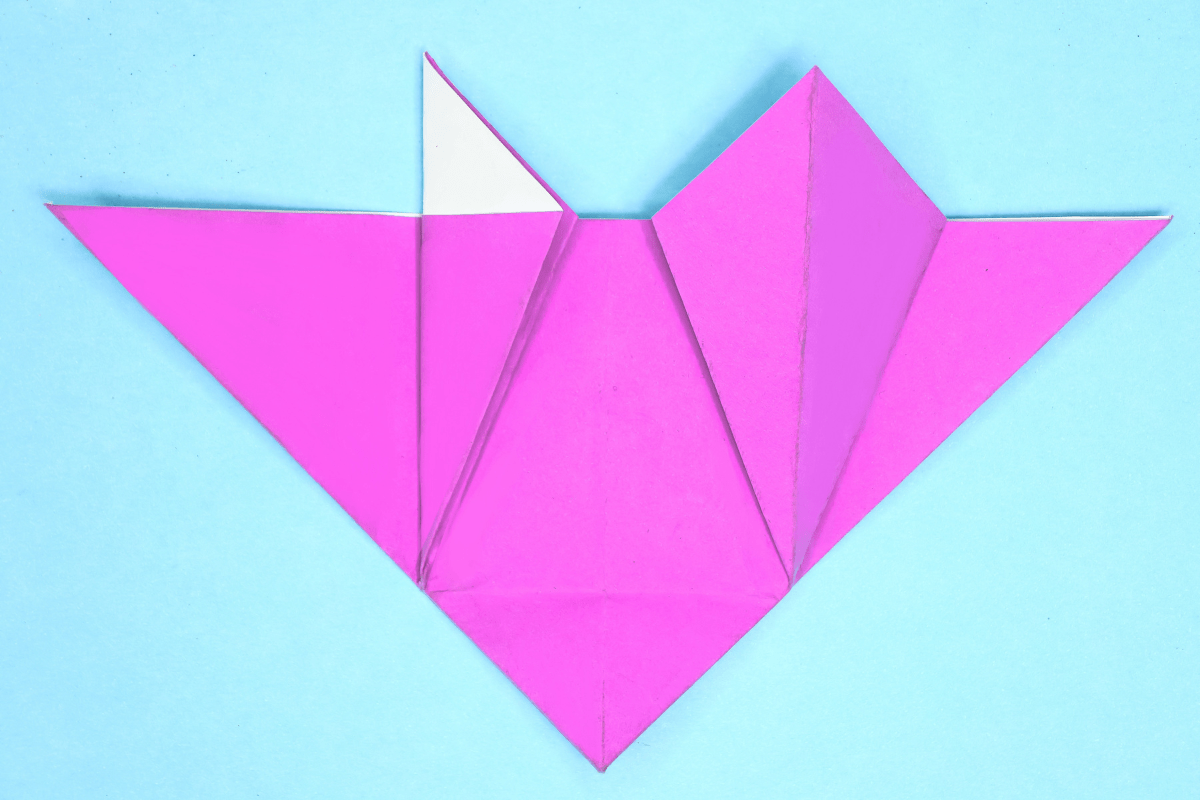
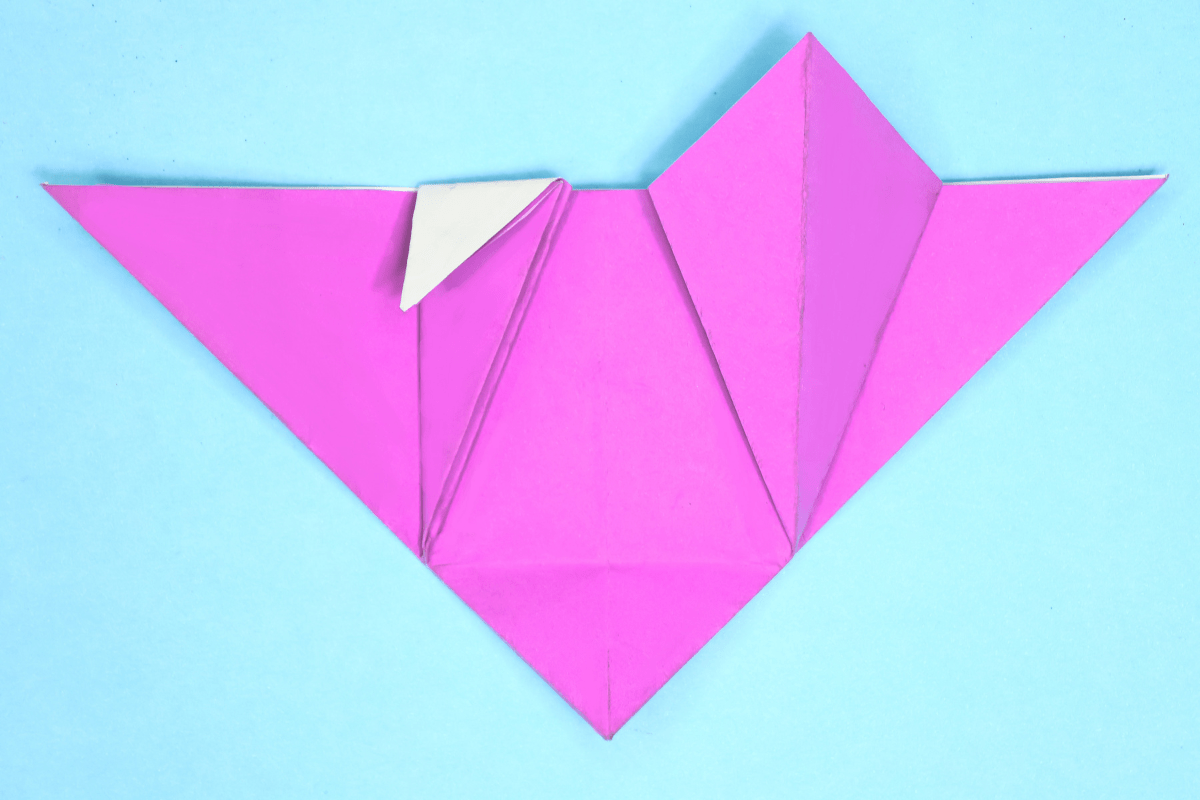
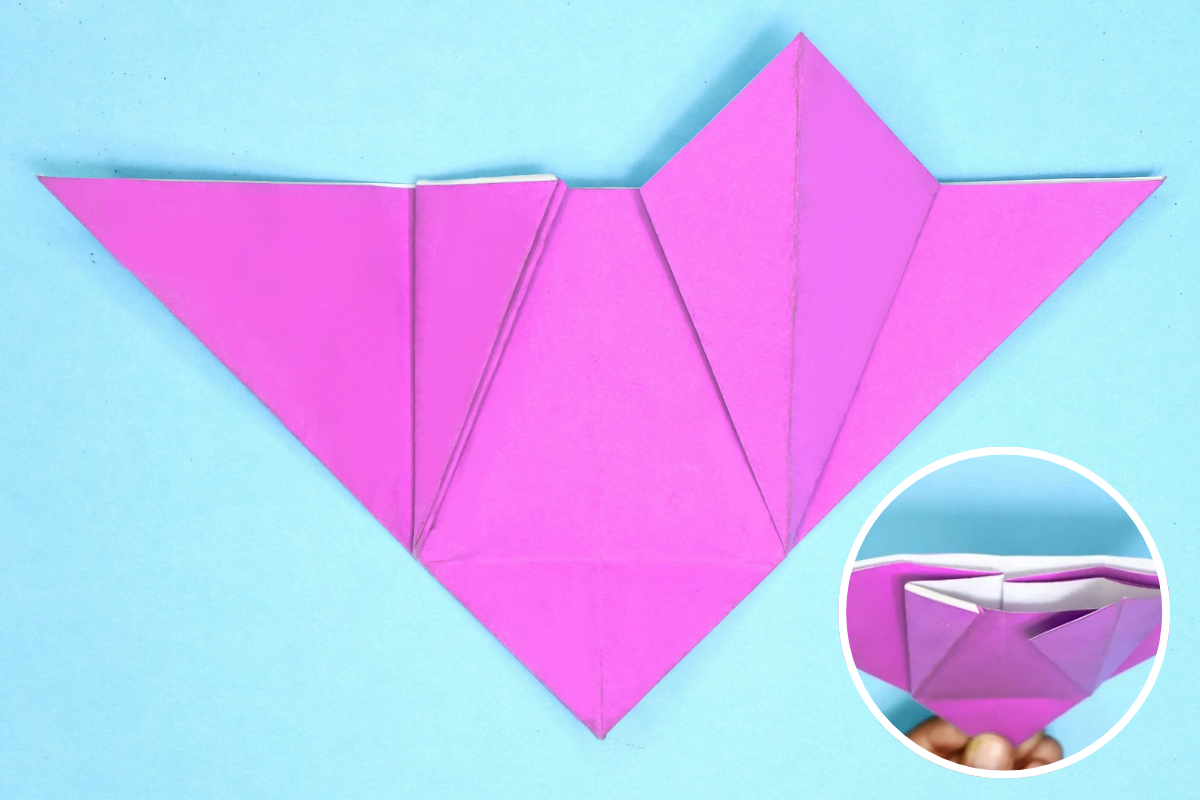
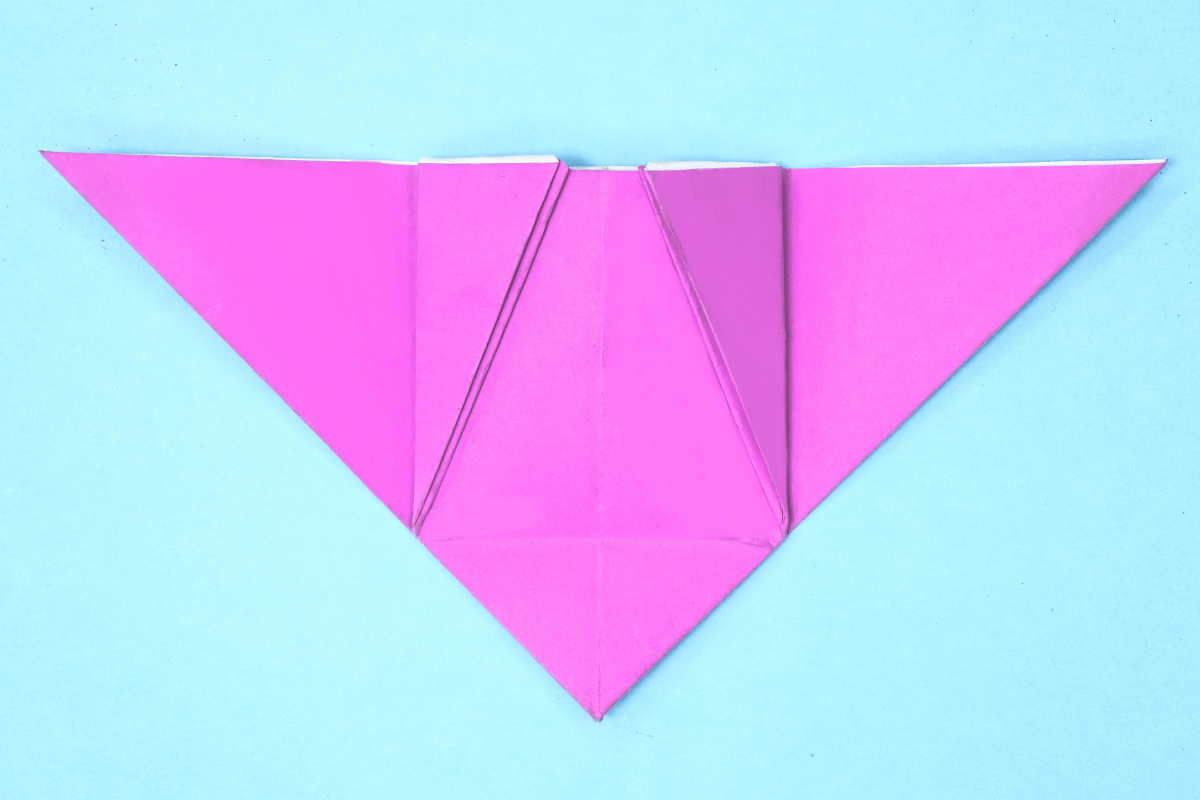
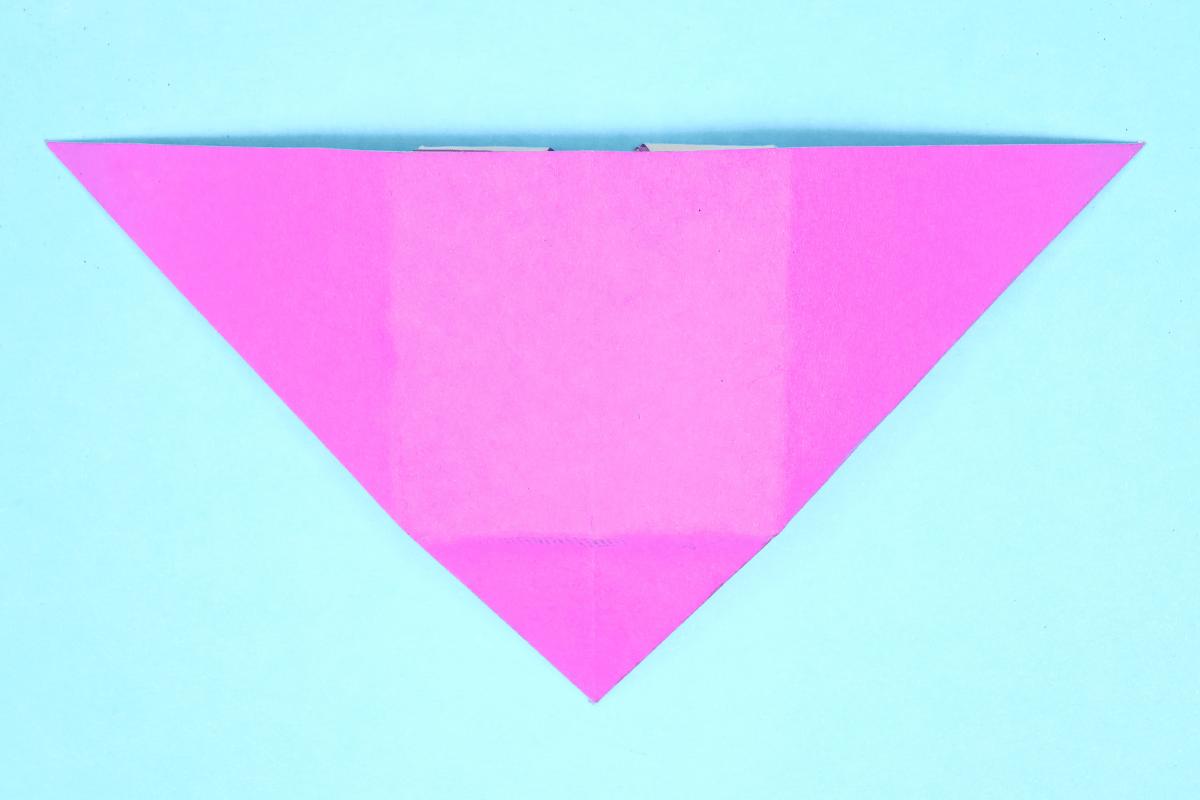
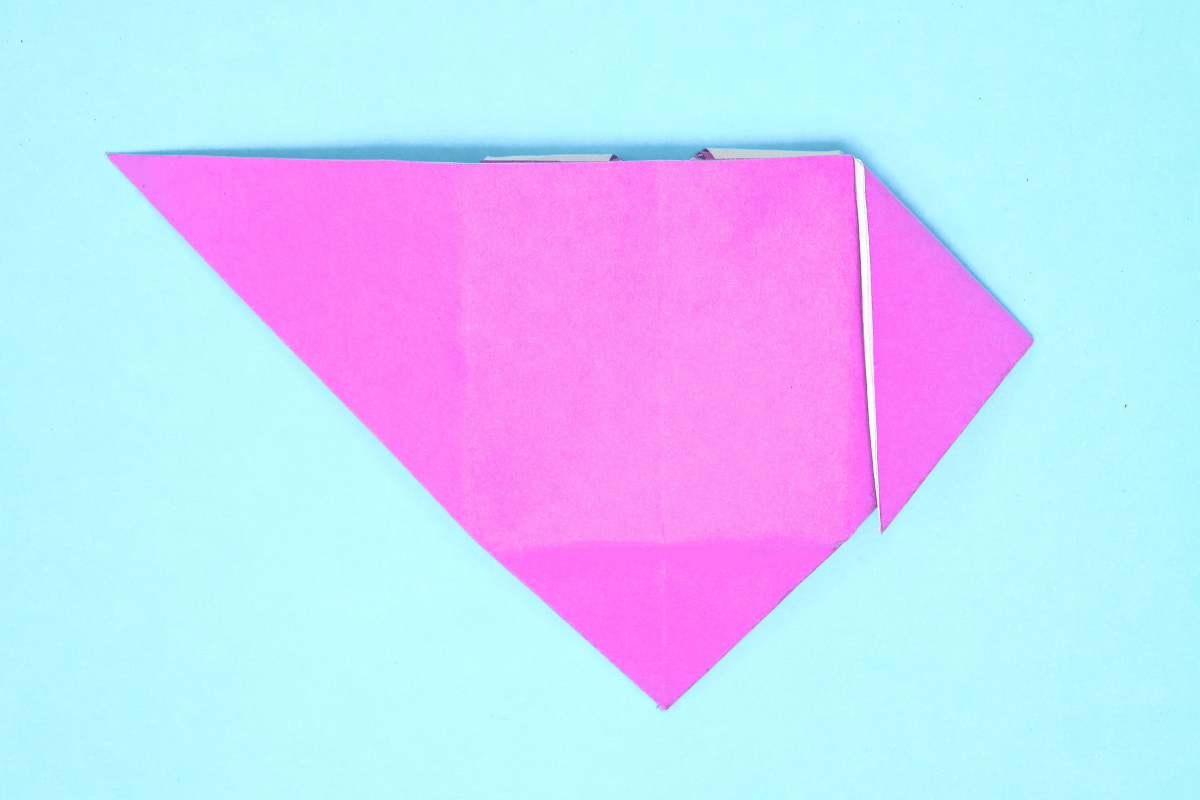
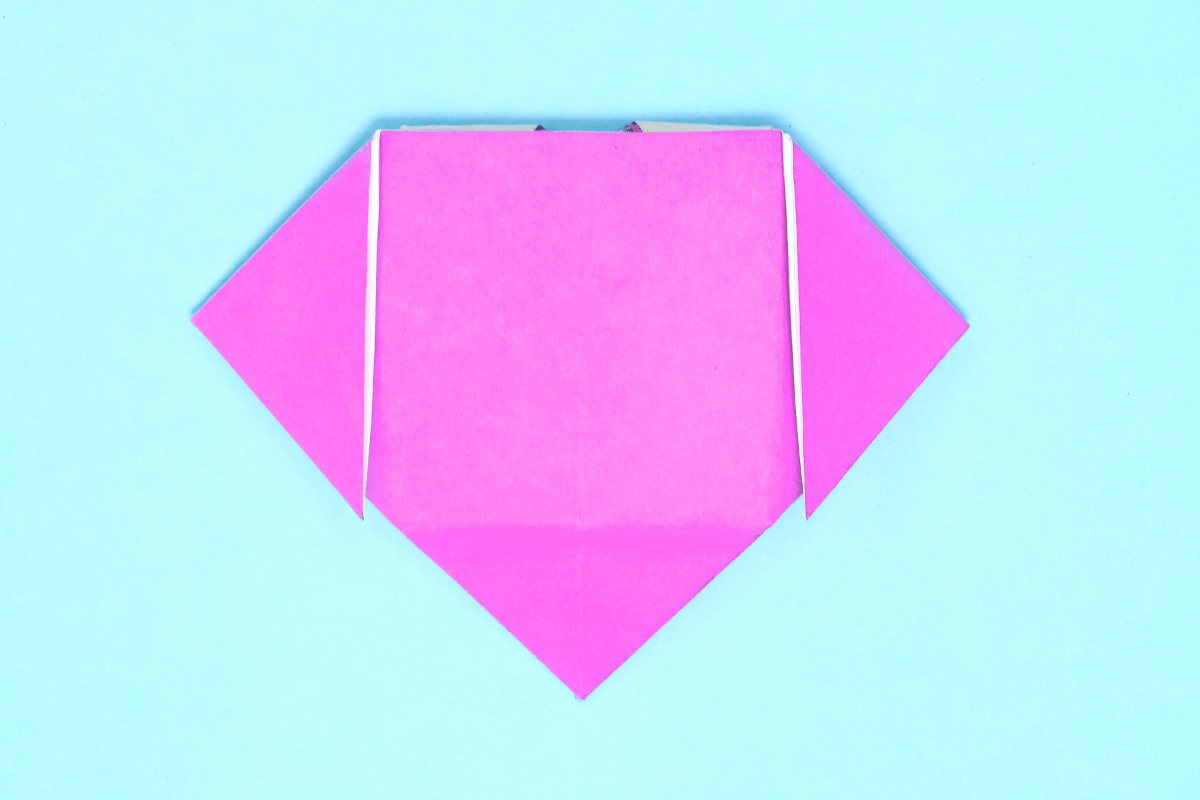
The dog box is reasonably easy to fold. There’s just a couple of “huh?” steps, but the pictures should do a wonderful job of helping because I made them. You will need to draw on the dog’s face so be prepared to display your artistic talents.

Step 1
Dog Box step 01
1
Start with a square piece of origami paper. I am using an 7×7 inches origami paper.

If you only have regular paper, follow these instructions on how to make a square origami paper.

Step 2
Dog Box step 02
2
If you are using two colorsided origami paper then face the lighter side upwards.

Step 3
Dog Box step 03
3
Fold the upper left corner to the lower right corner.

Step 4
Dog Box step 04
4
Unfold.

Step 5
Dog Box step 05
5
Now fold the upper right corner to the lower left corner.

Step 6
Dog Box step 06
6
Unfold.

Step 7
Dog Box step 07
7
Fold the top half backwards (where the creases meet at an X).

Step 8
Dog Box step 08
8
Unfold.

Step 9
Dog Box step 09
9
With your finger, poke the center and it should pop in.

Step 10
Dog Box step 10
10
Bring the left and right creases to the center to collapse the figure into a triangle.

Step 11
Dog Box step 11
11
Flatten the fold well.

Step 12
Dog Box step 12
12
Fold the top layer of the left flap over to the right.

Step 13
Dog Box step 13
13
Flip the model over.

Step 14
Dog Box step 14
14
Again fold the top layer of the left flap over to the right.

Step 15
Dog Box step 15
15
Rotate the figure so it’s upside down.

Step 16
Dog Box step 16
16
Fold the bottom corner up into a triangle.

Step 17
Dog Box step 17
17
Unfold.

Step 18
Dog Box step 18
18
From the corner of the triangle’s crease, fold both layers of the right side over.

Step 19
Dog Box step 19
19
Repeat on the left side too.

Step 20
Dog Box step 20
20
Unfold.

Step 21
Dog Box step 21
21
Fold the top layer of right side to the vertical crease.

Step 22
Dog Box step 22
22
Repeat the same step on left side.

Step 23
Dog Box step 23
23
Open the left flap at the crease as shown.

Step 24
Dog Box step 24
24
Squash the crease down.

Step 25
Dog Box step 25
25
Repeat the same step on right side too.

Step 26
Dog Box step 26
26
Fold the left side of the “kite” shaped flap behind.

Step 27
Dog Box step 27
27
Fold the tip down.

Step 28
Dog Box step 28
28
Unfold and tuck the tip in at the top.

Step 29
Dog Box step 29
29
Repeat on the right side too.

Step 30
Dog Box step 30
30
Flip the model over.

Step 31
Dog Box step 31
31
Fold the right corner to the bottom corner of the square.

Step 32
Dog Box step 32
32
Repeat on the left side too.

Step 33
Dog Box step 33
33
Draw the face.

Step 34
Dog Box step 34
34
Carefully open the box and the bottom should begin to flatten.

Step 35
Dog Box final step
35
Now you have a cute little dog box!

Share and Comment
We would love to see your creations! Scroll down to the comments section and share a photo of your origami.

Comments

Leave a Reply

Your email address will not be published. Required fields are marked *

Drop file here