How to Make an Origami Dragon

Origami Dragon final step
Difficulty: Hard
Follow our step-by-step Origami dragon instructions to fold a majestic paper dragon with ease.

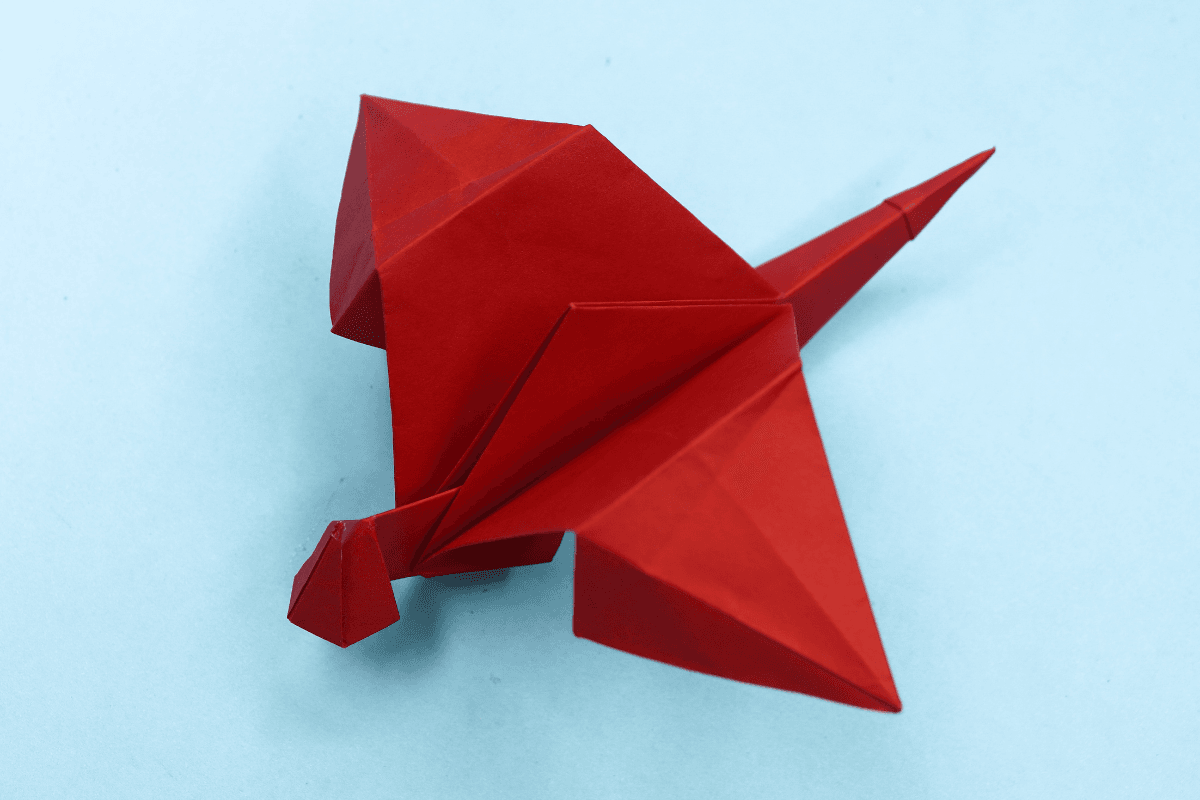
I designed this origami dragon so I may be biased , but I have to say that this is one of the coolest looking ones while being one of the easiest to fold.

Besides being entirely foldable and not too complex, it can also flap when you pull its tail! It looks awesome, it’s easy to fold, and you can play with it. You must fold it today!

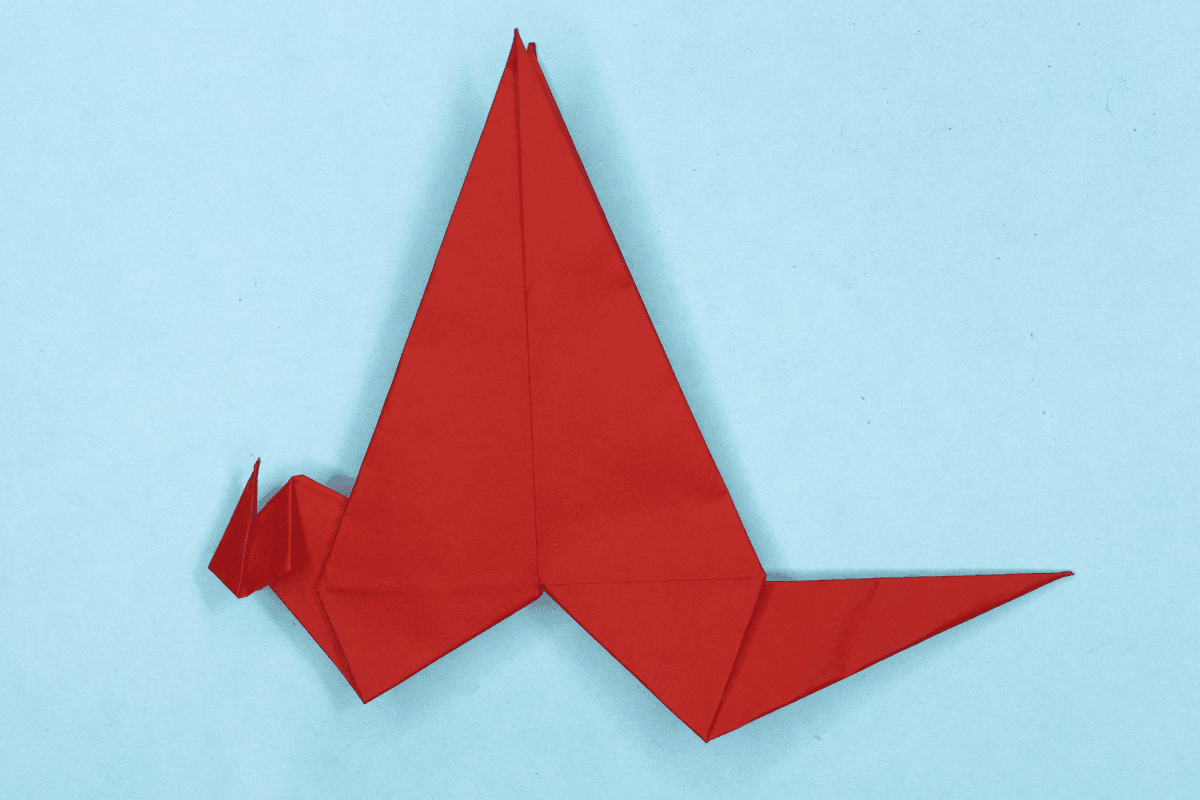
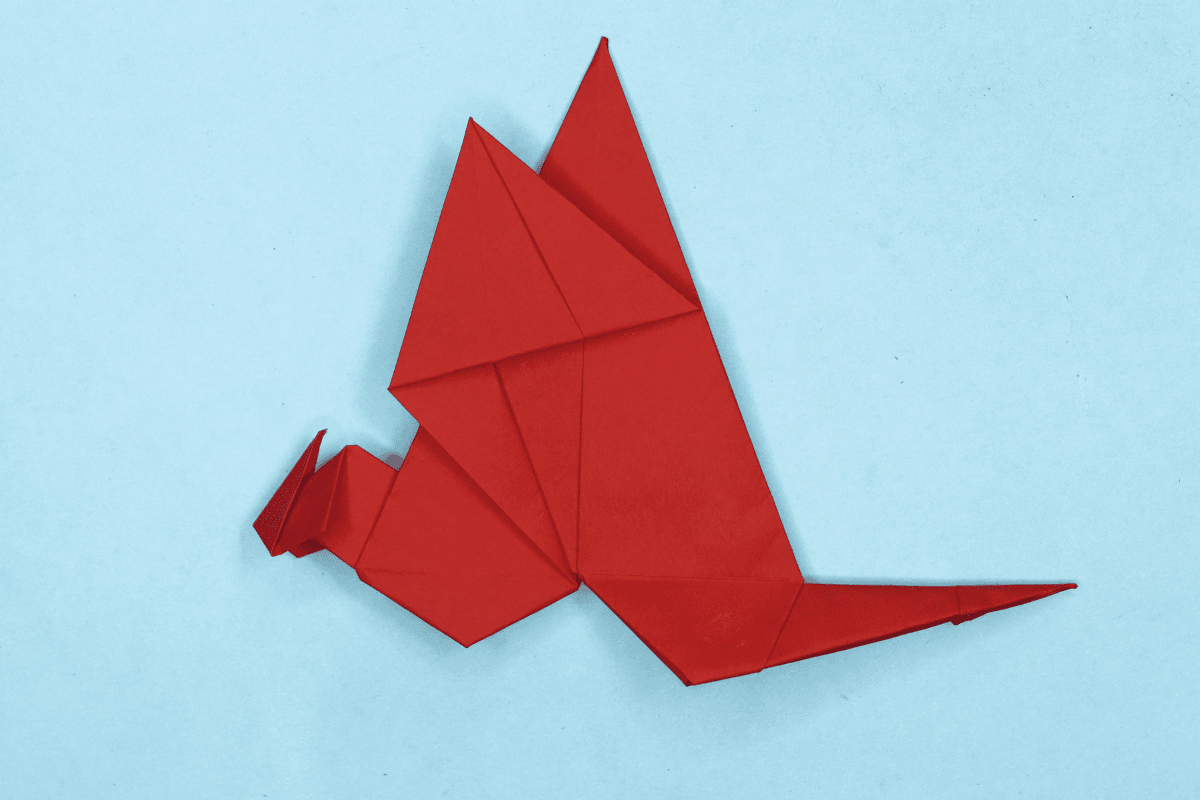
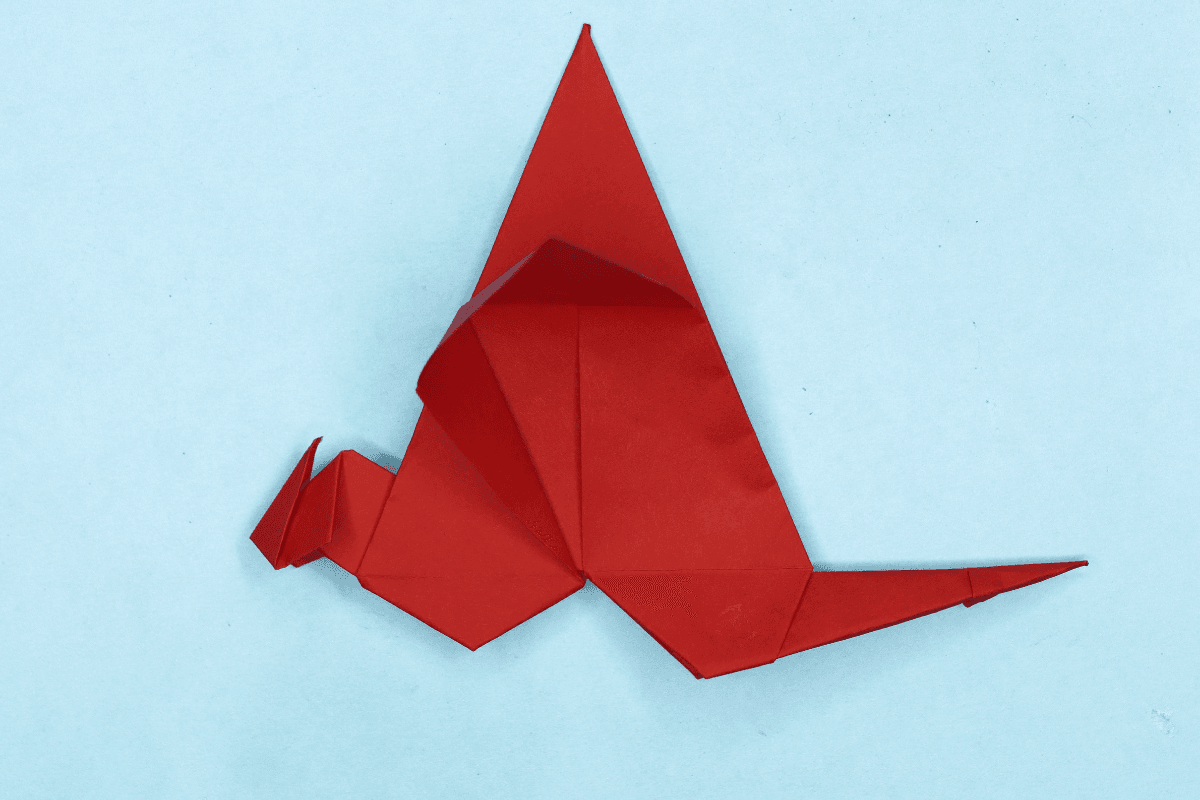
The pictures really don’t do it justice. Yes, there’s the neat little horned head and cool dragon tail, but the wings stand out above all with it’s mid flight curvature and gothic form. Fold it and see for yourself how this origami dragon can be so simple, yet so awesome.

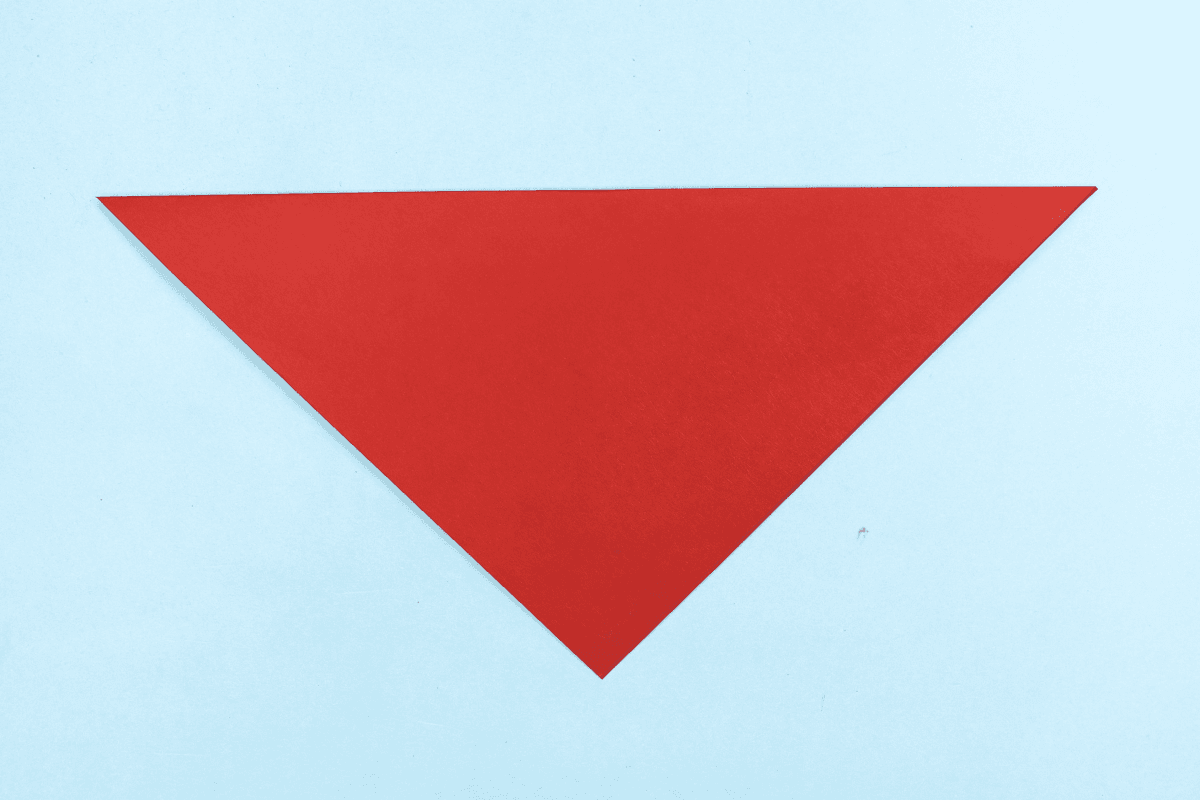
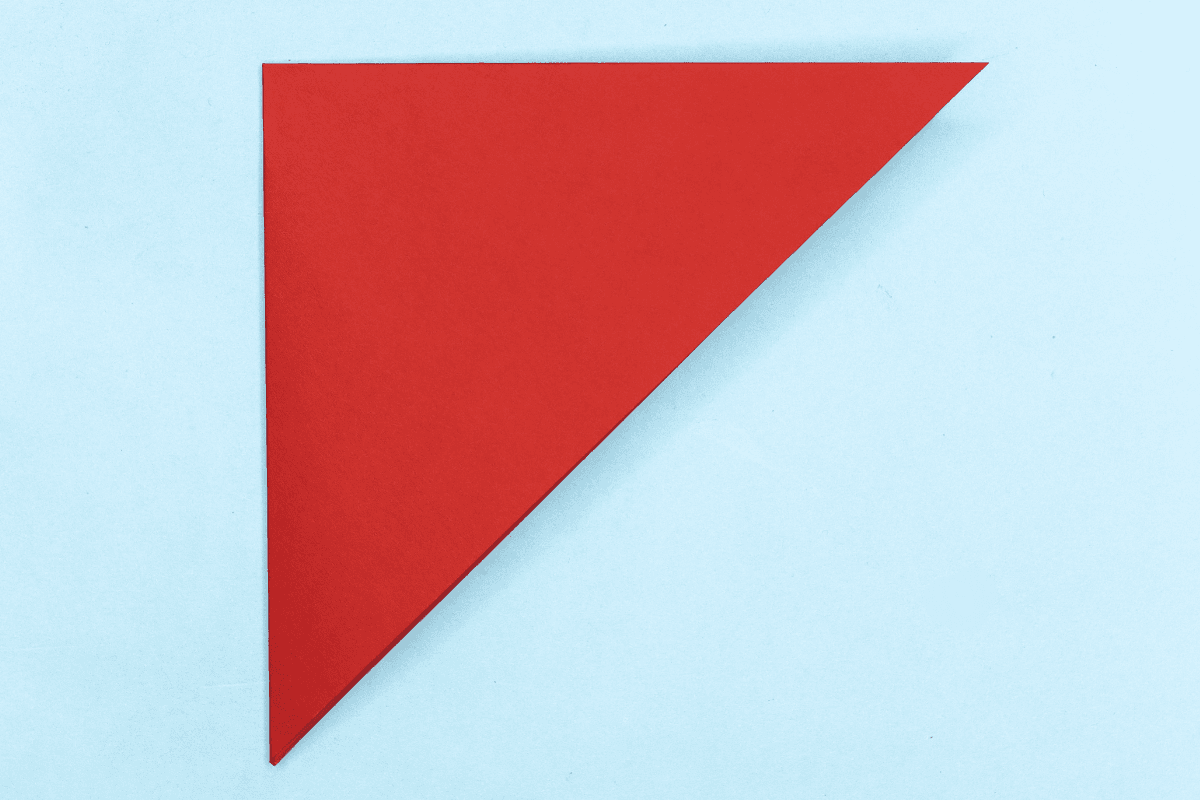
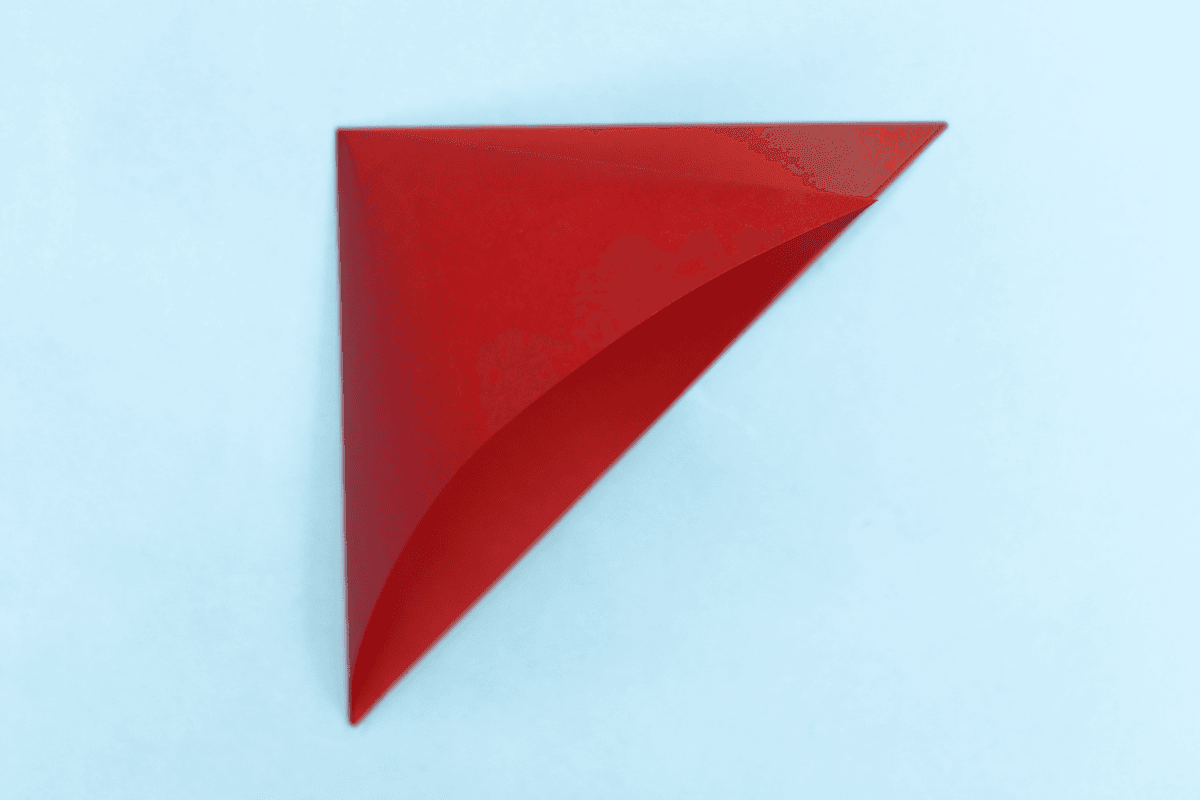
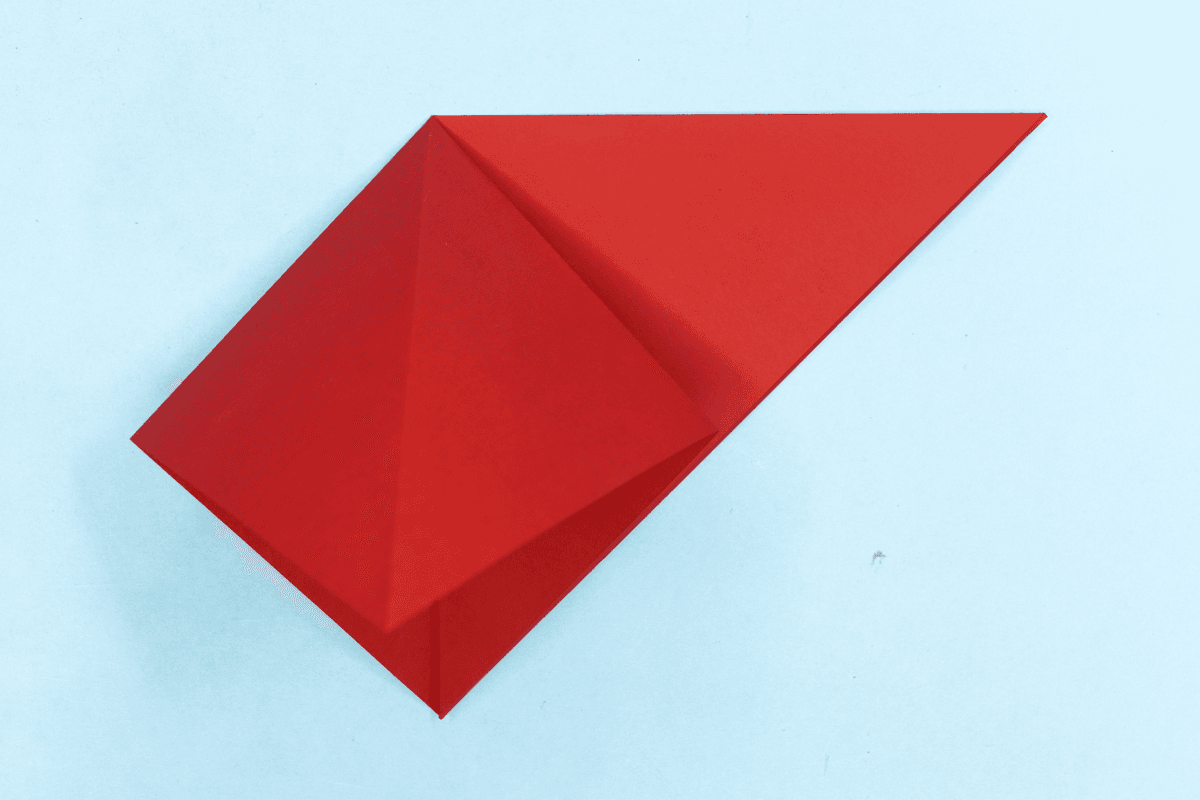
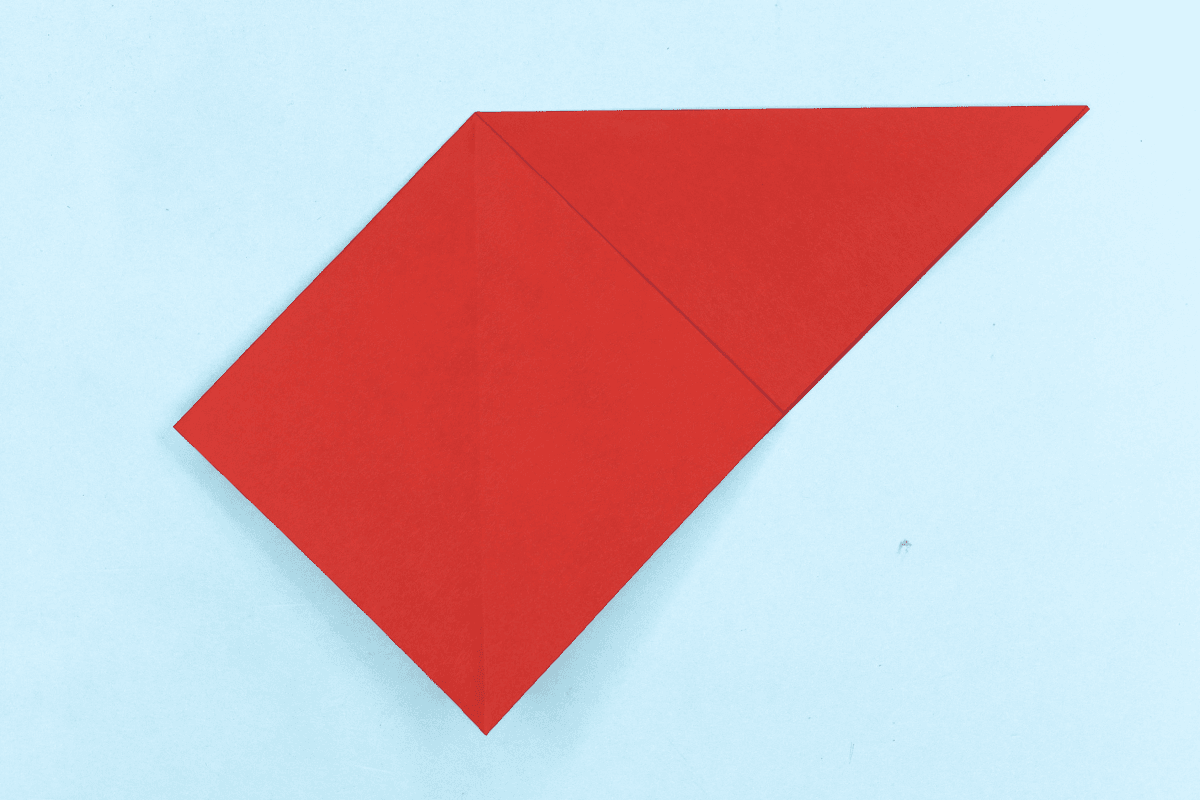
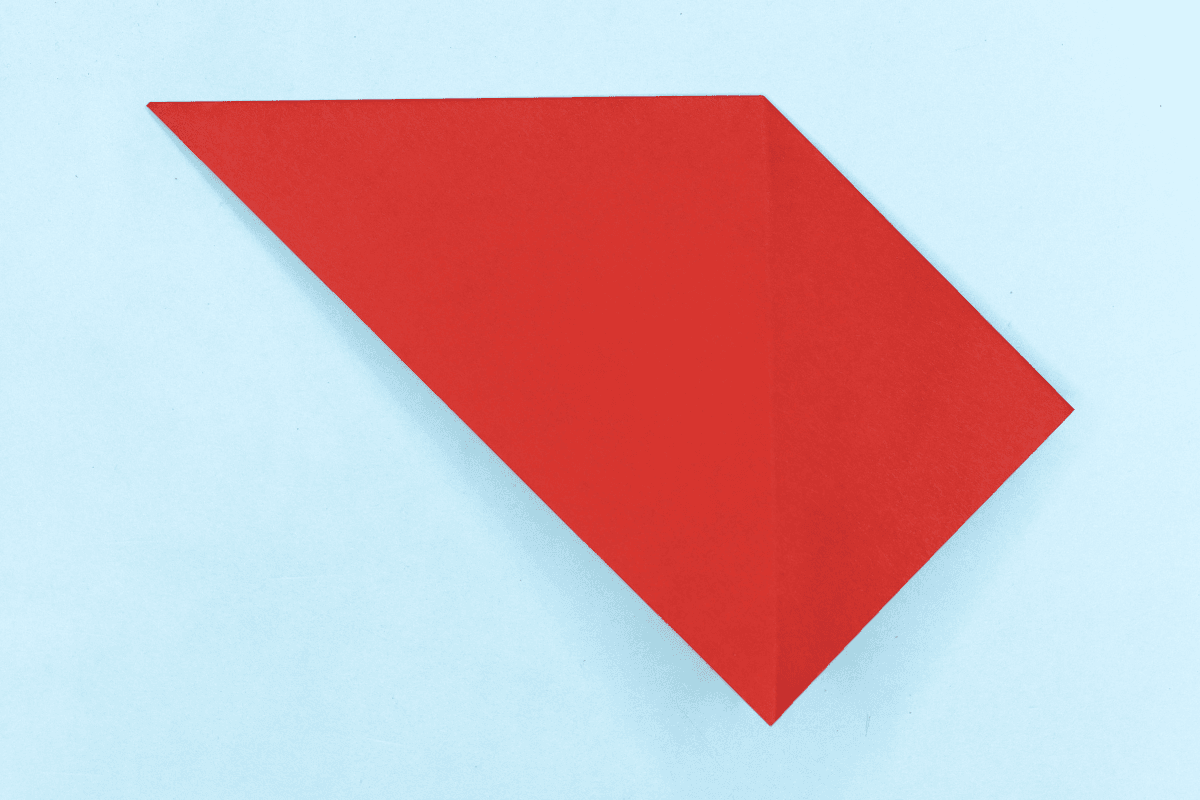
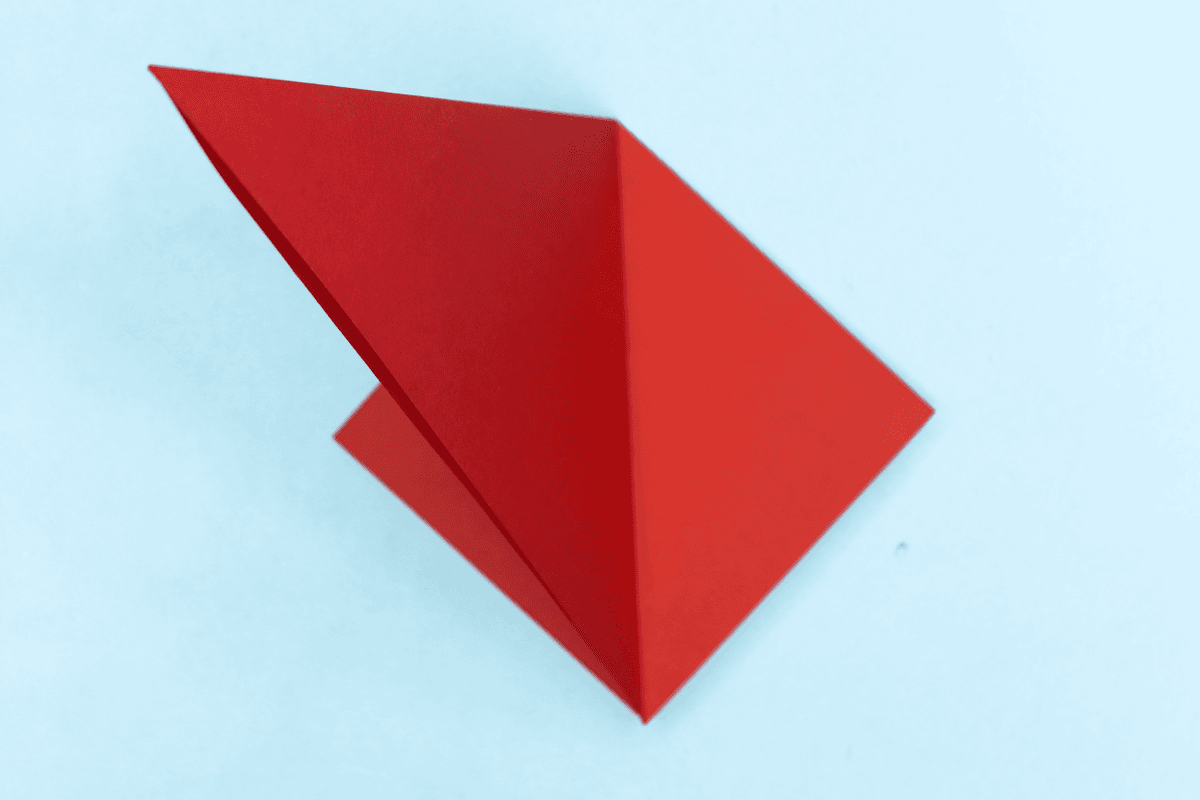
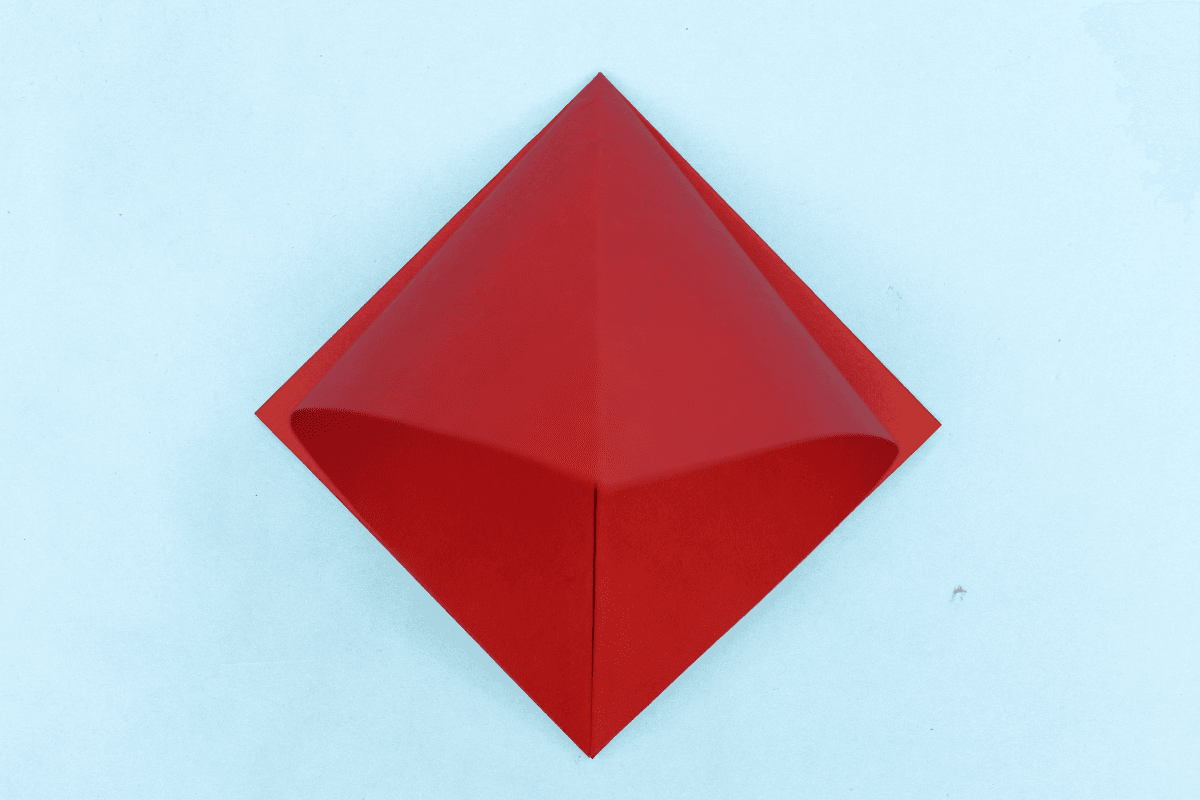
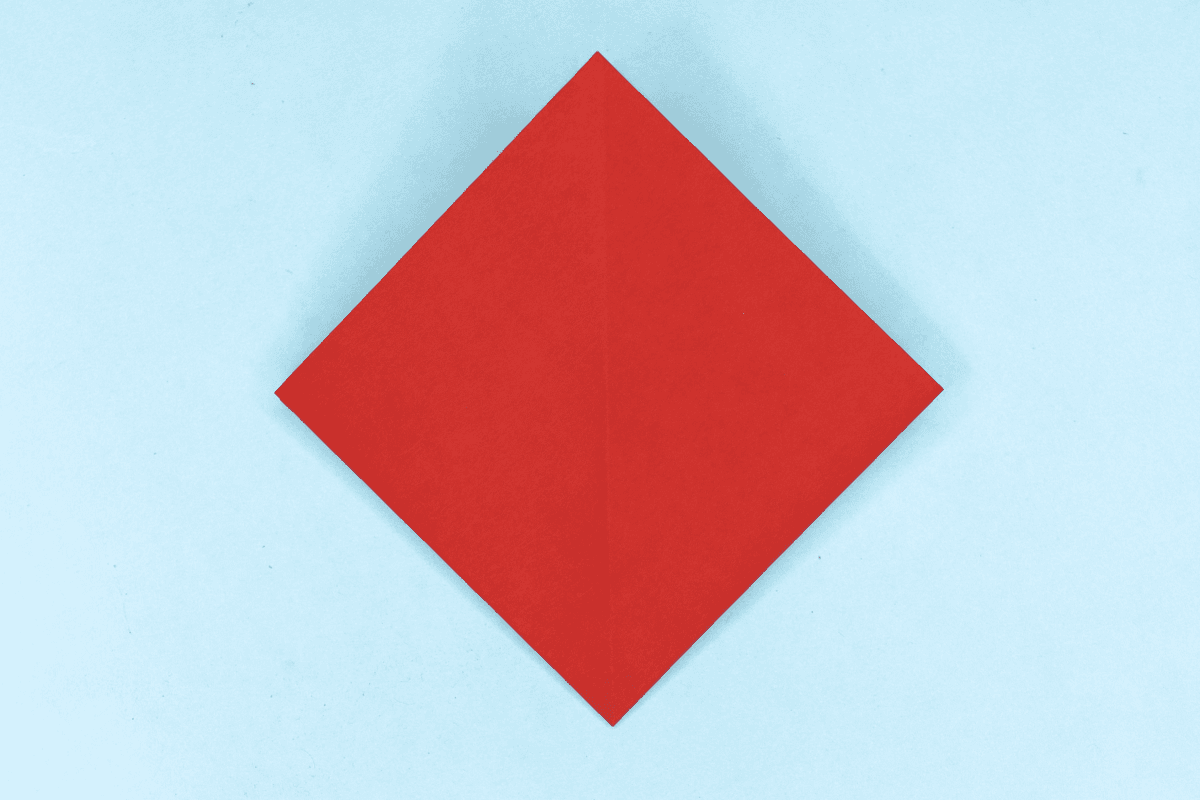
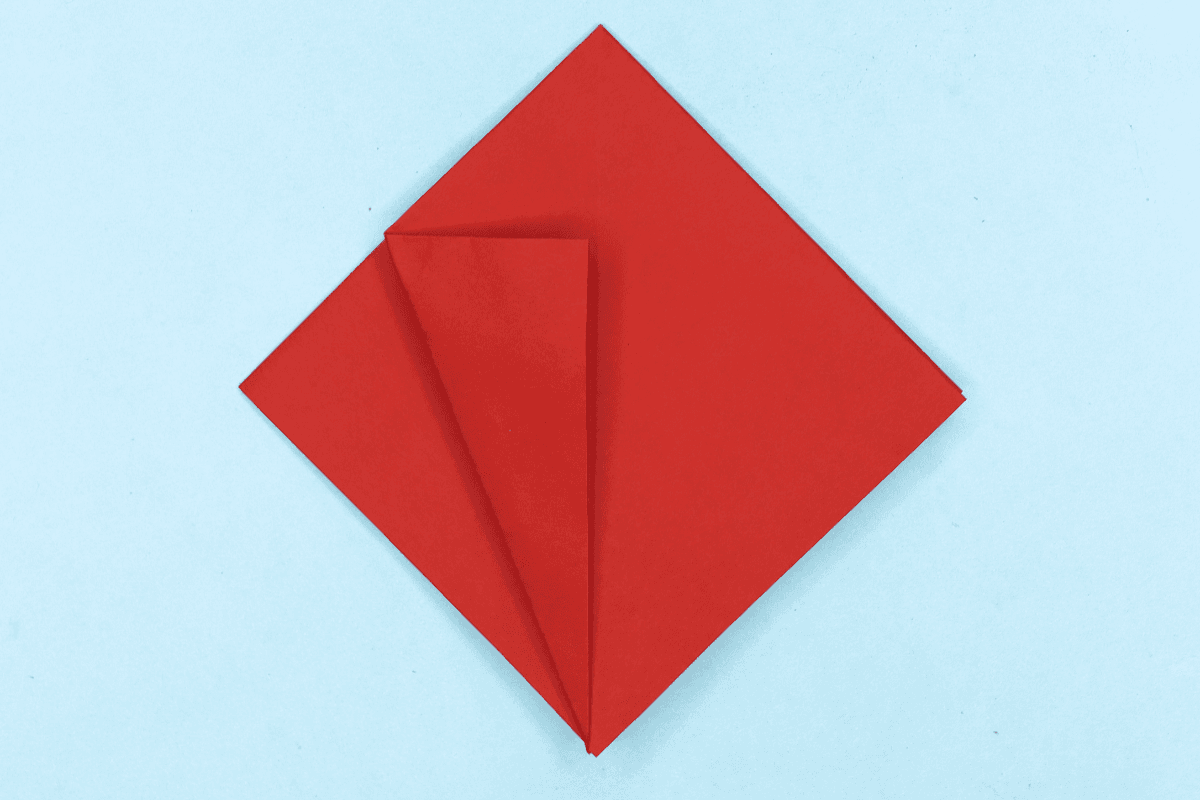
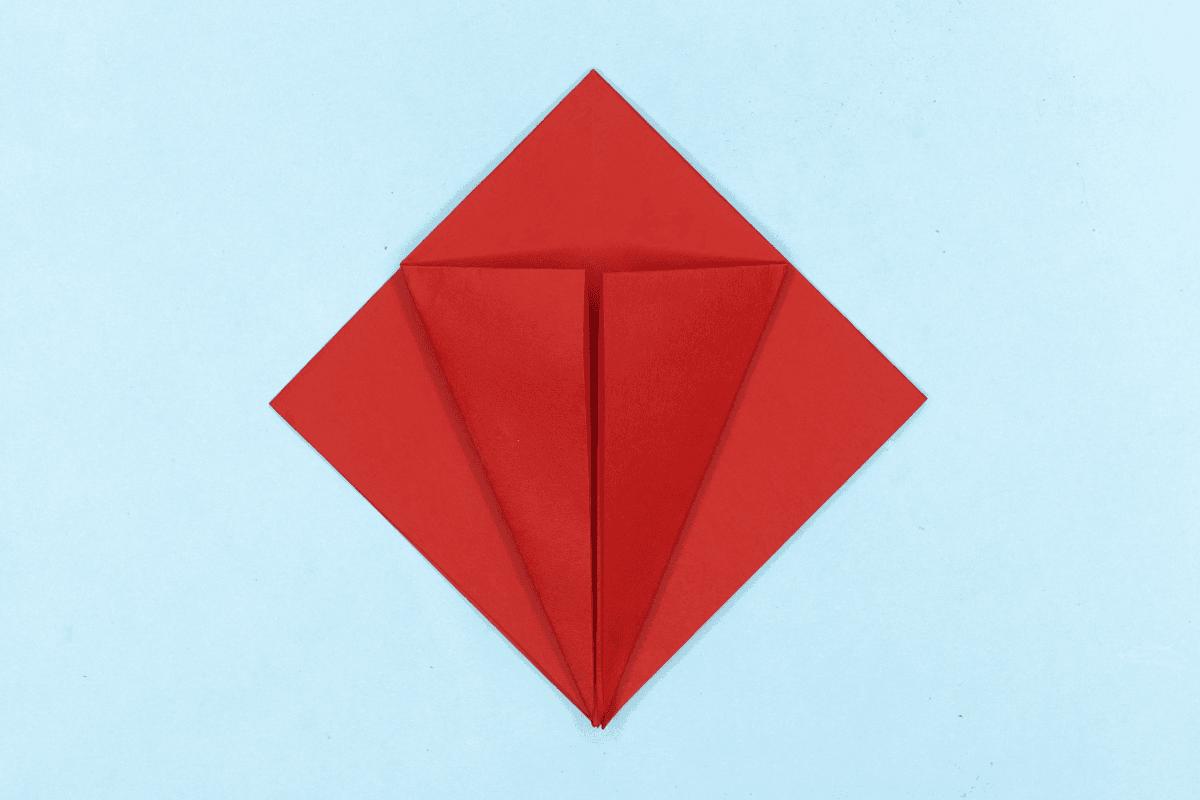
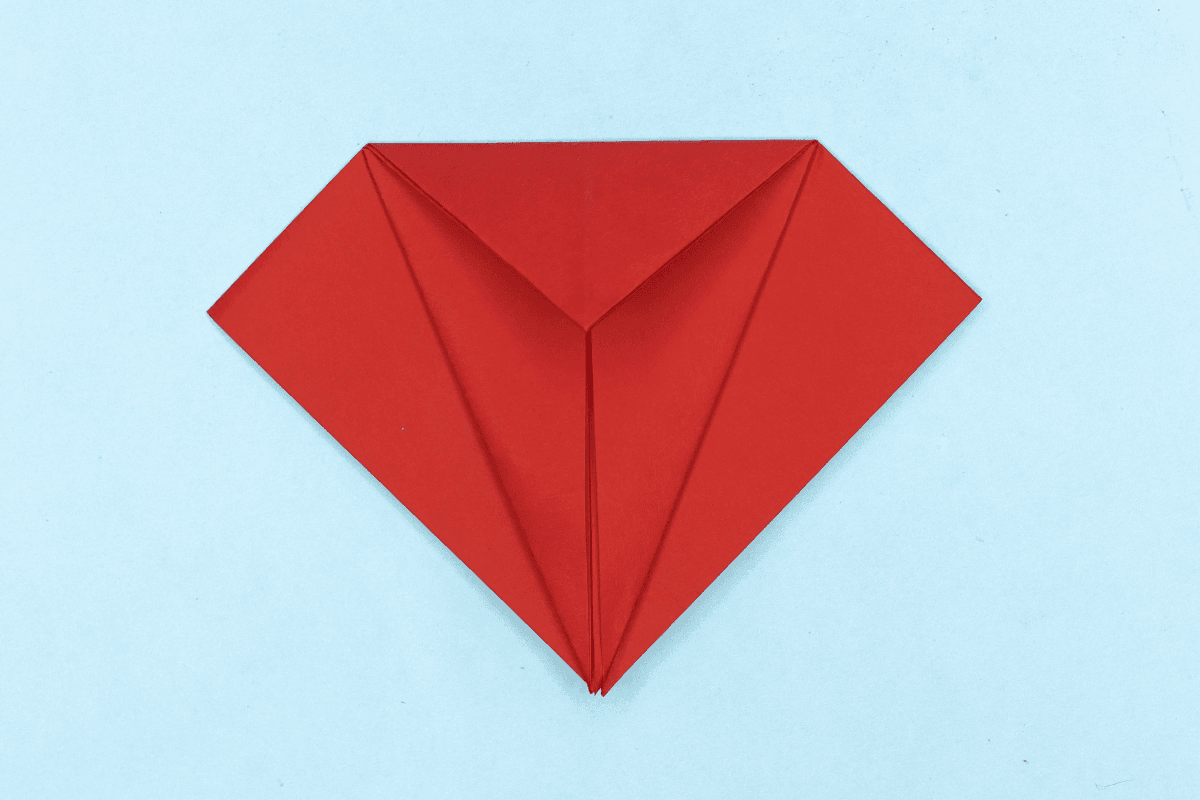
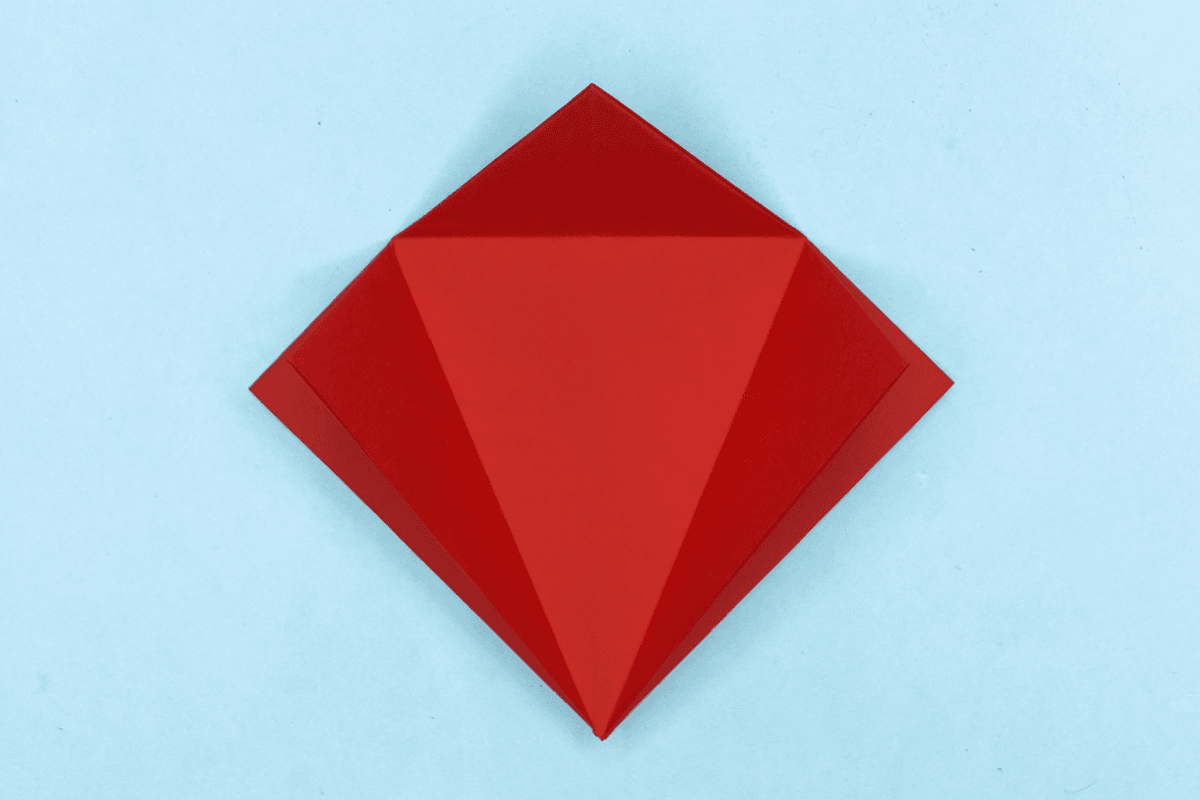
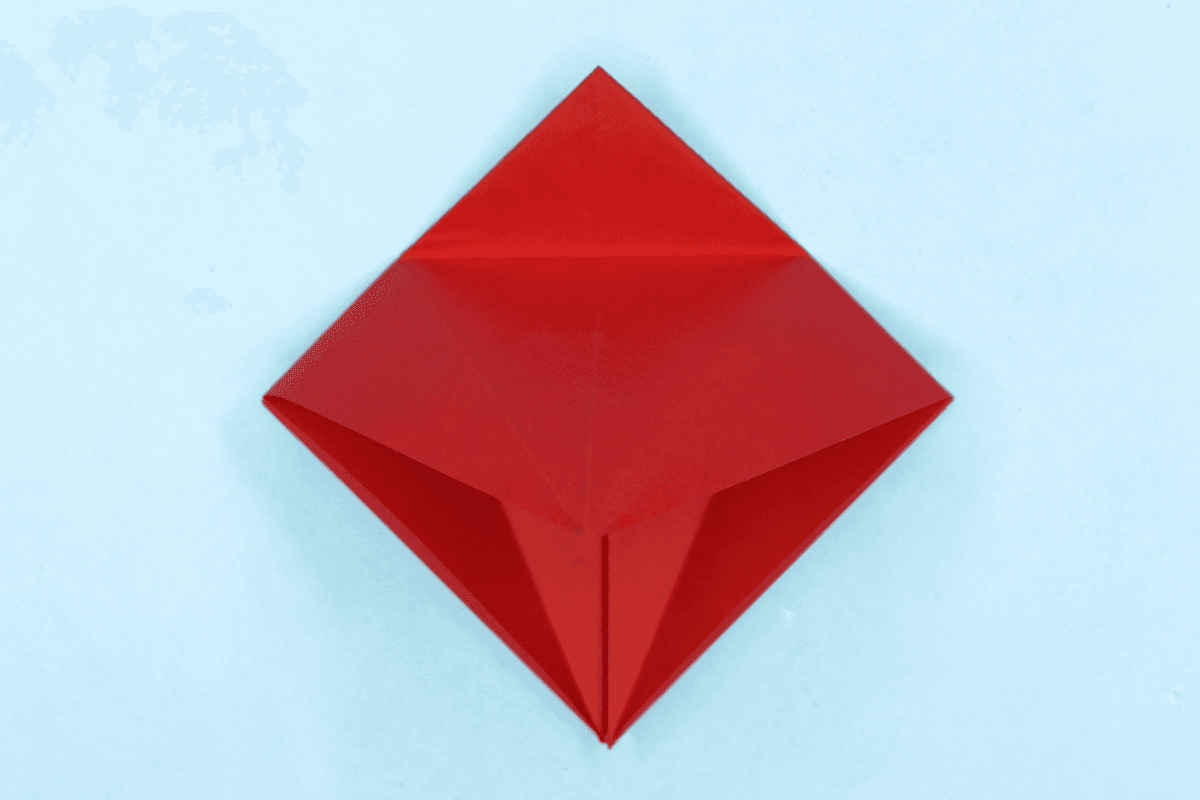
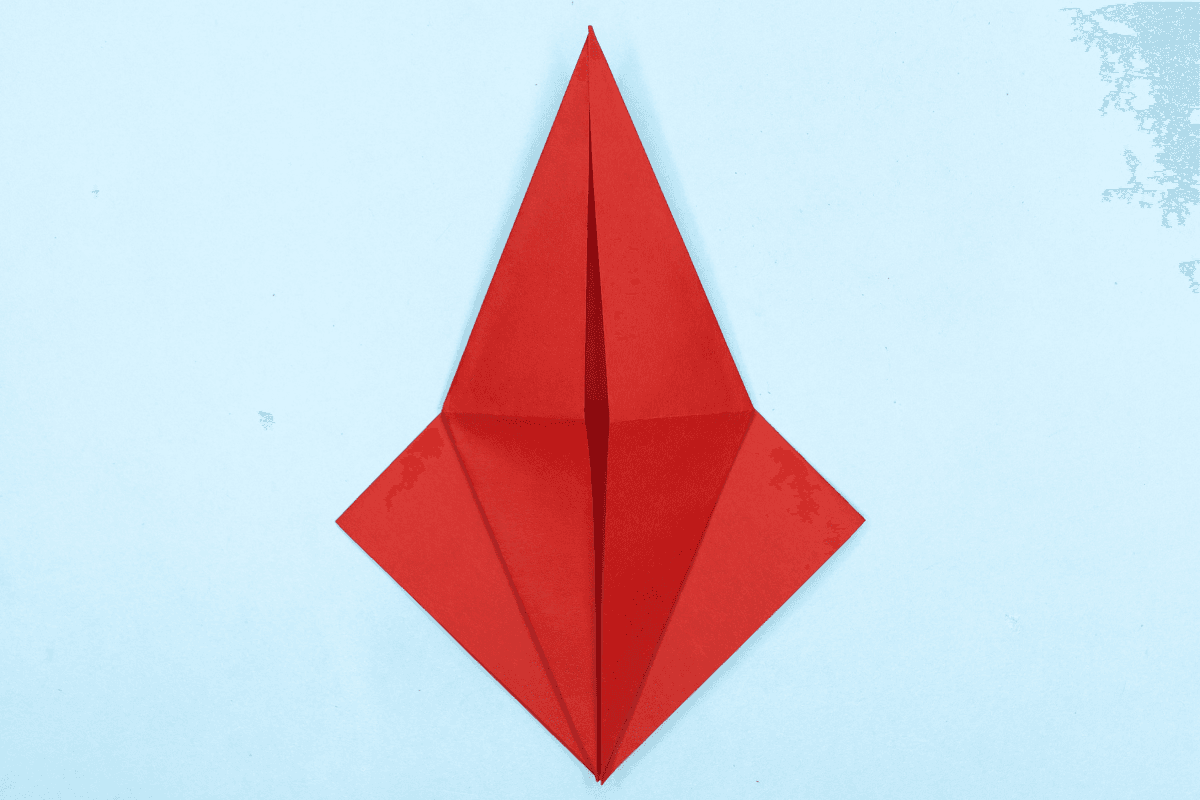
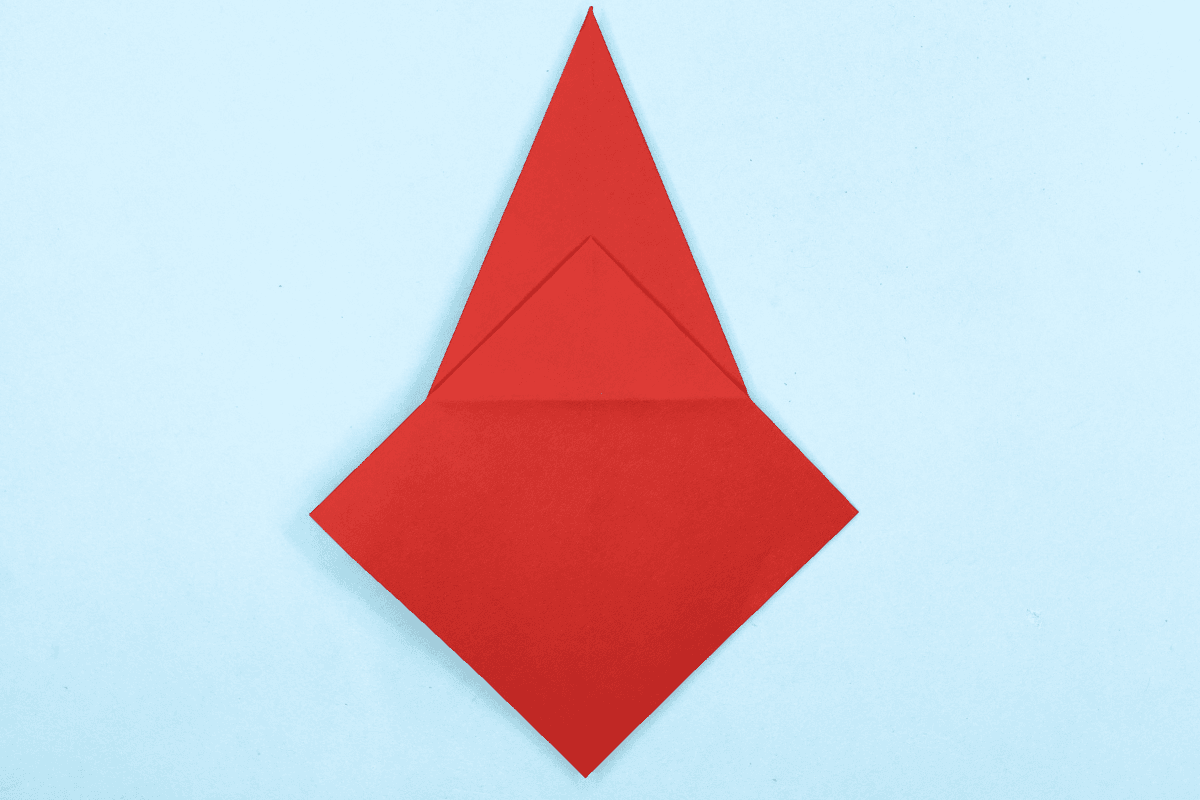
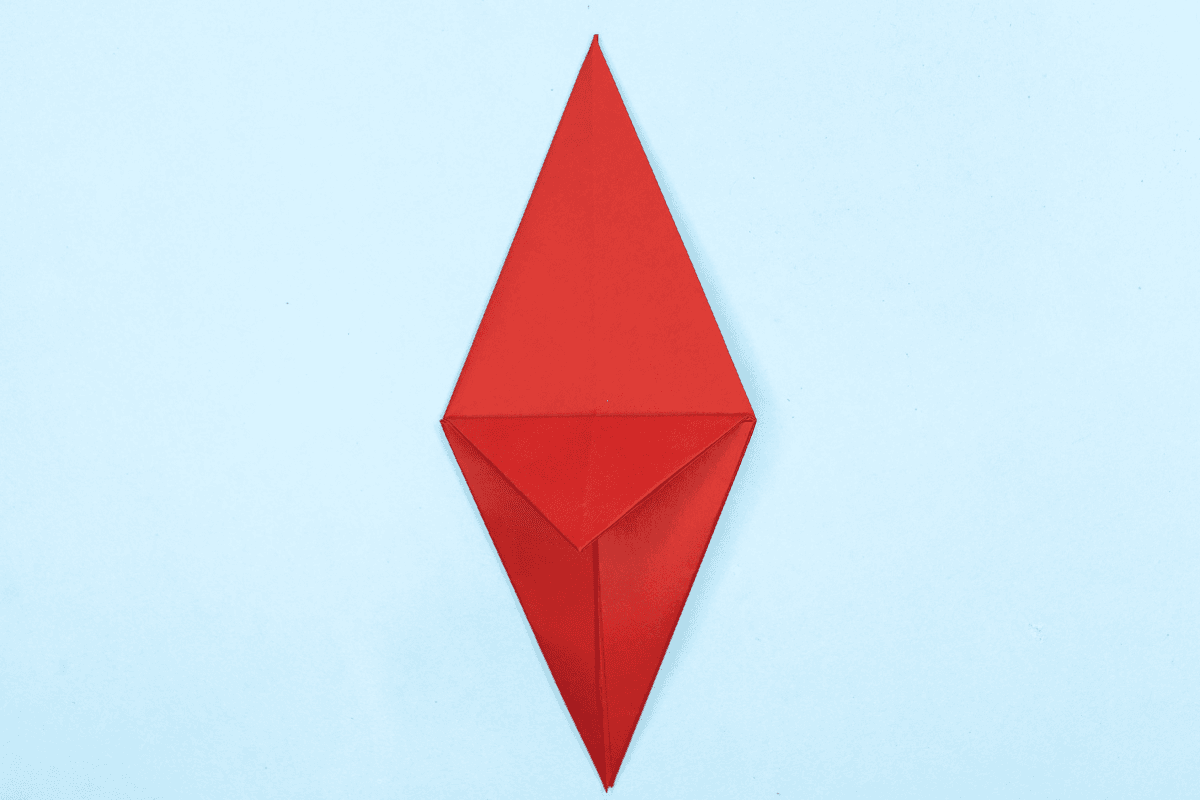
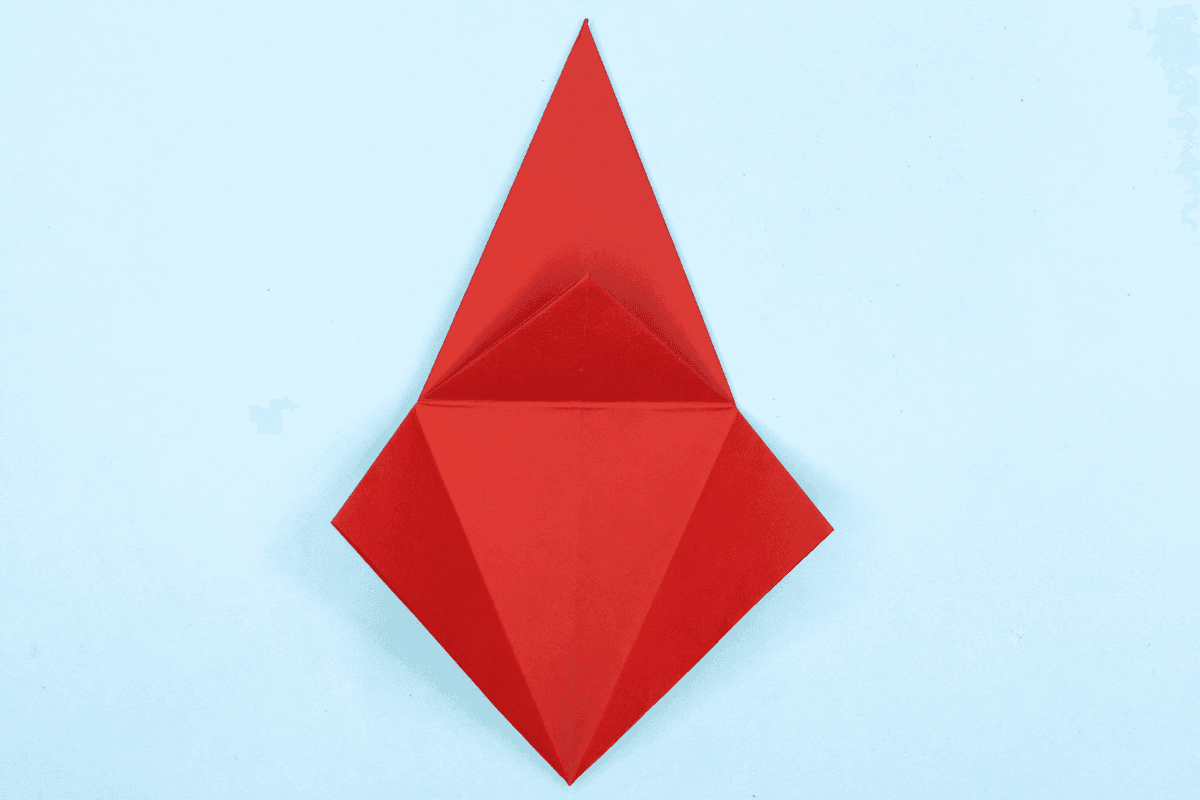
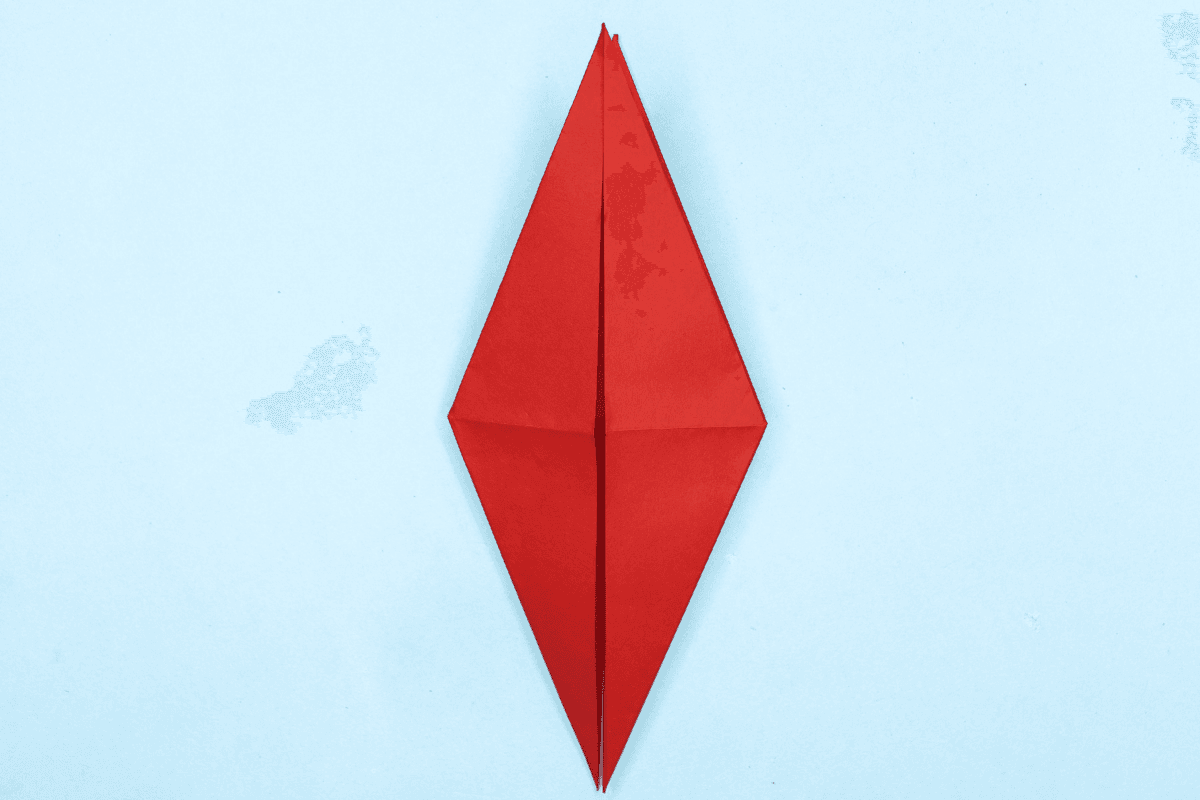
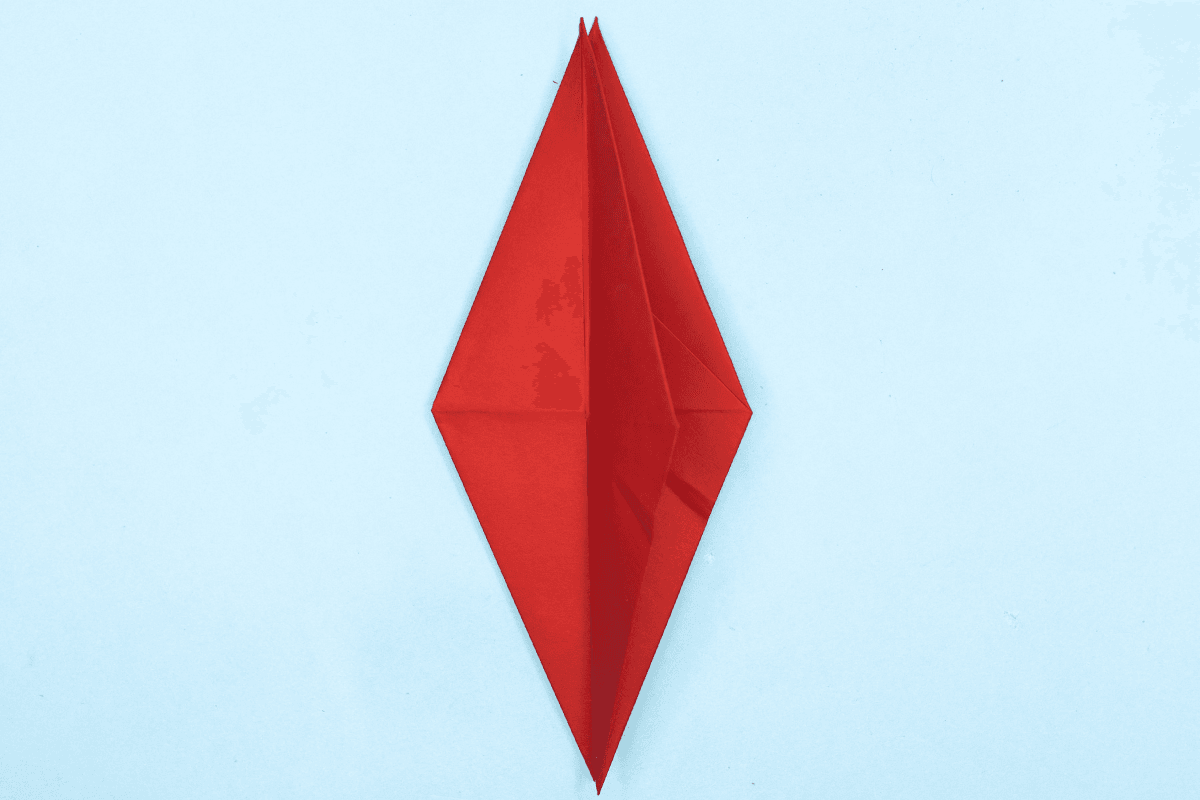
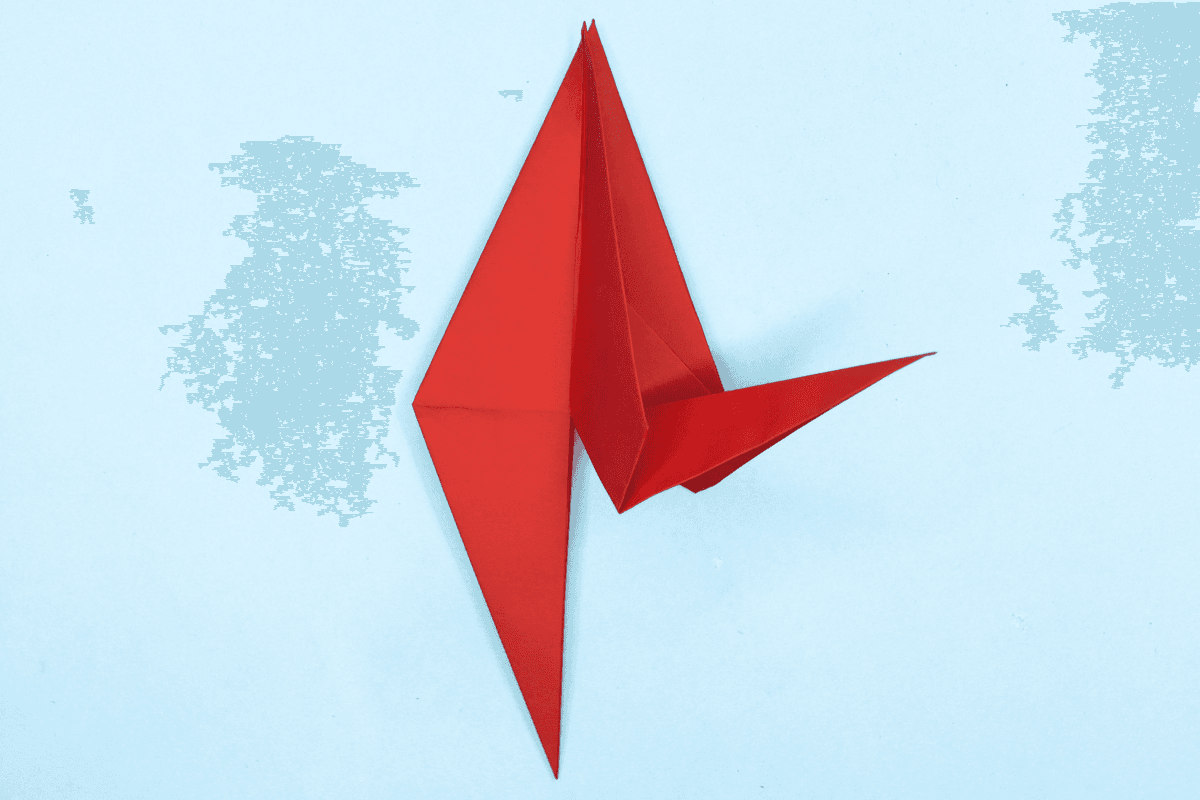
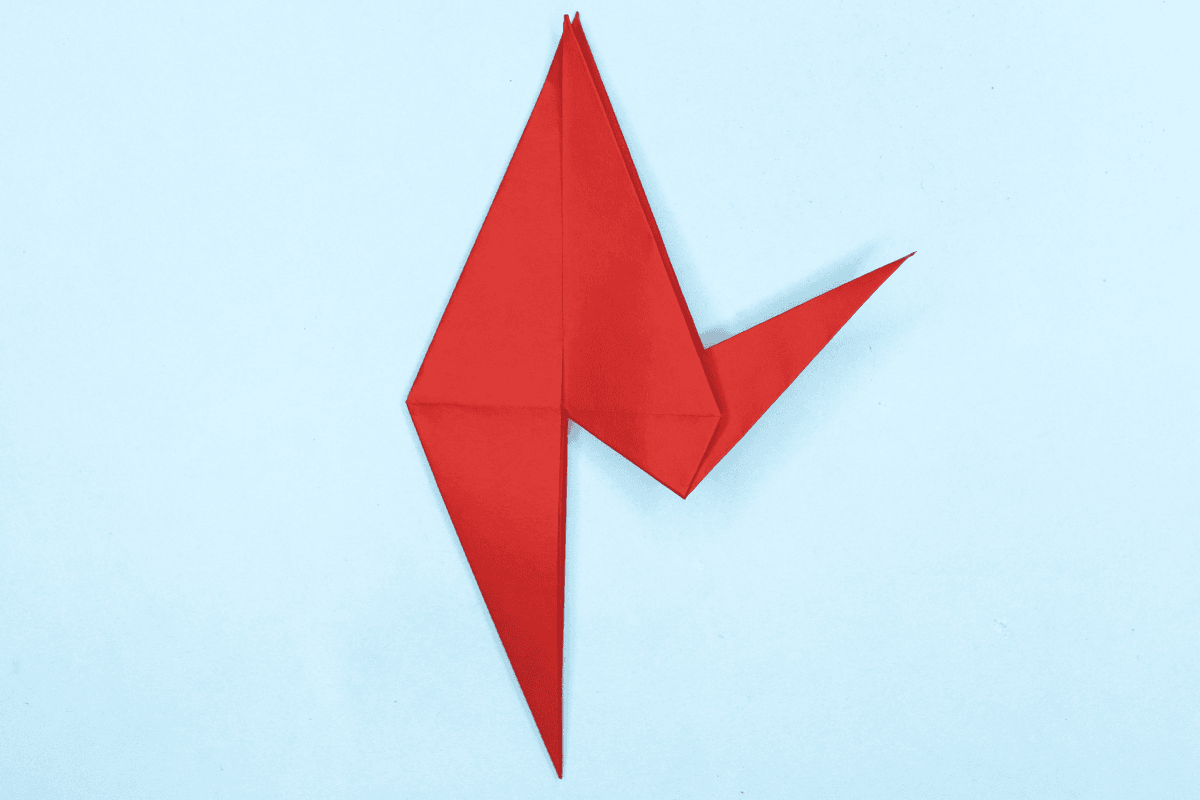
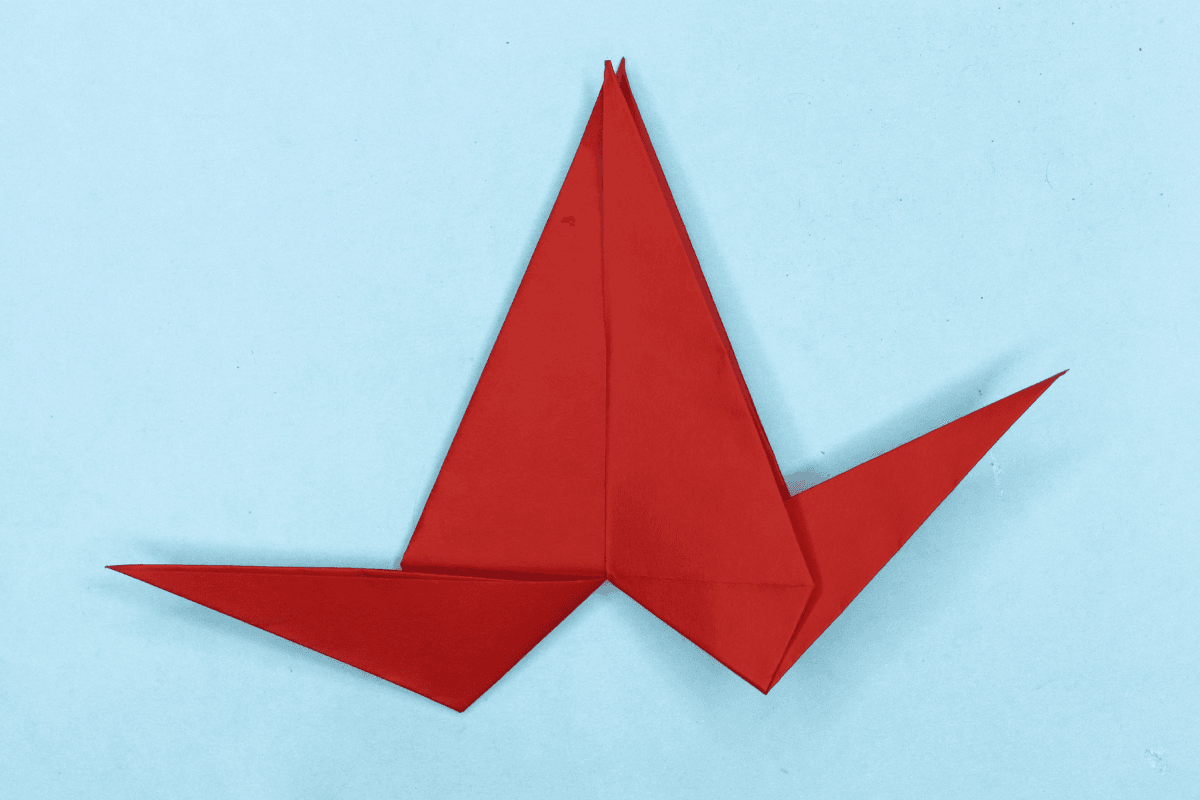
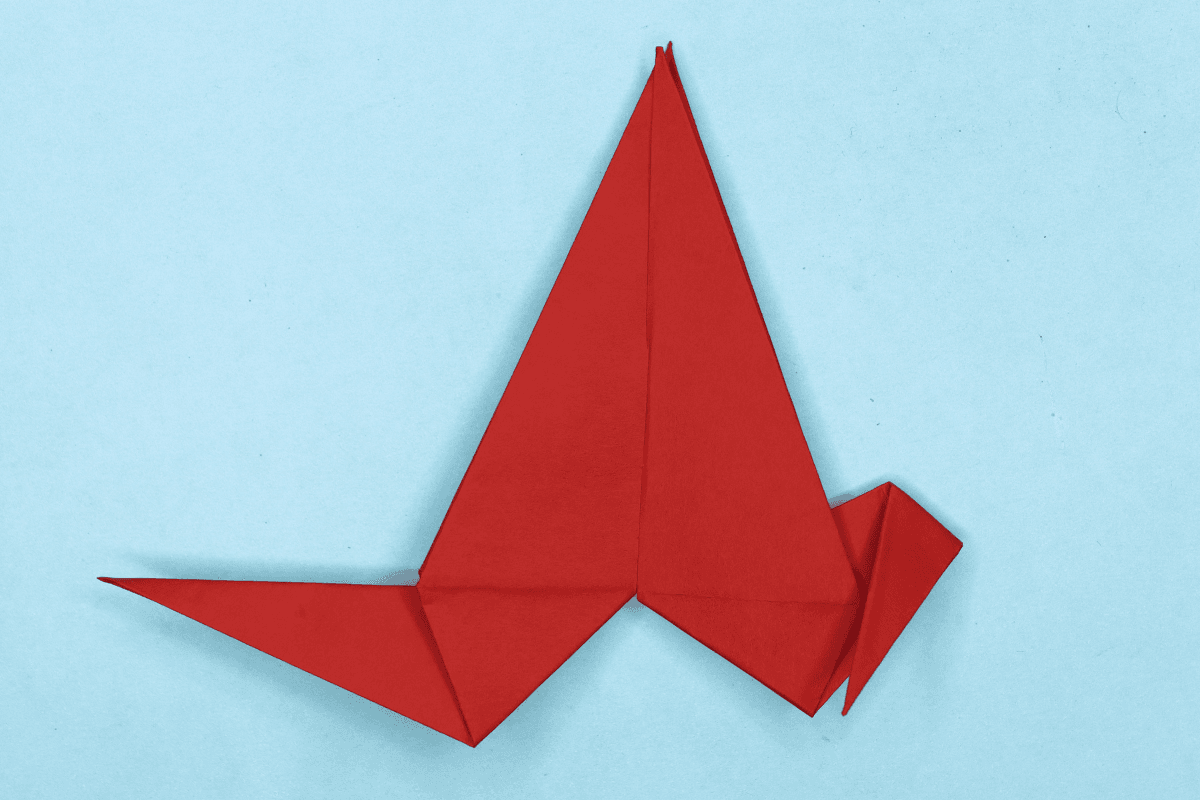
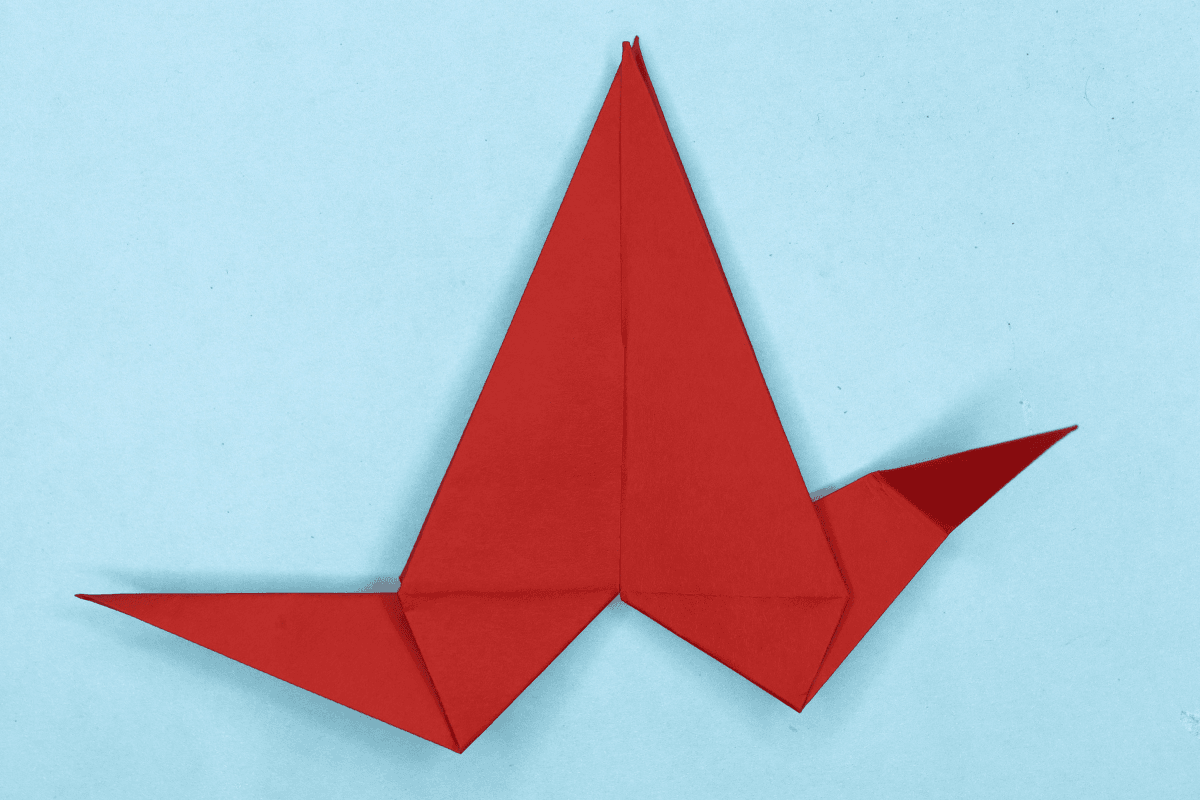
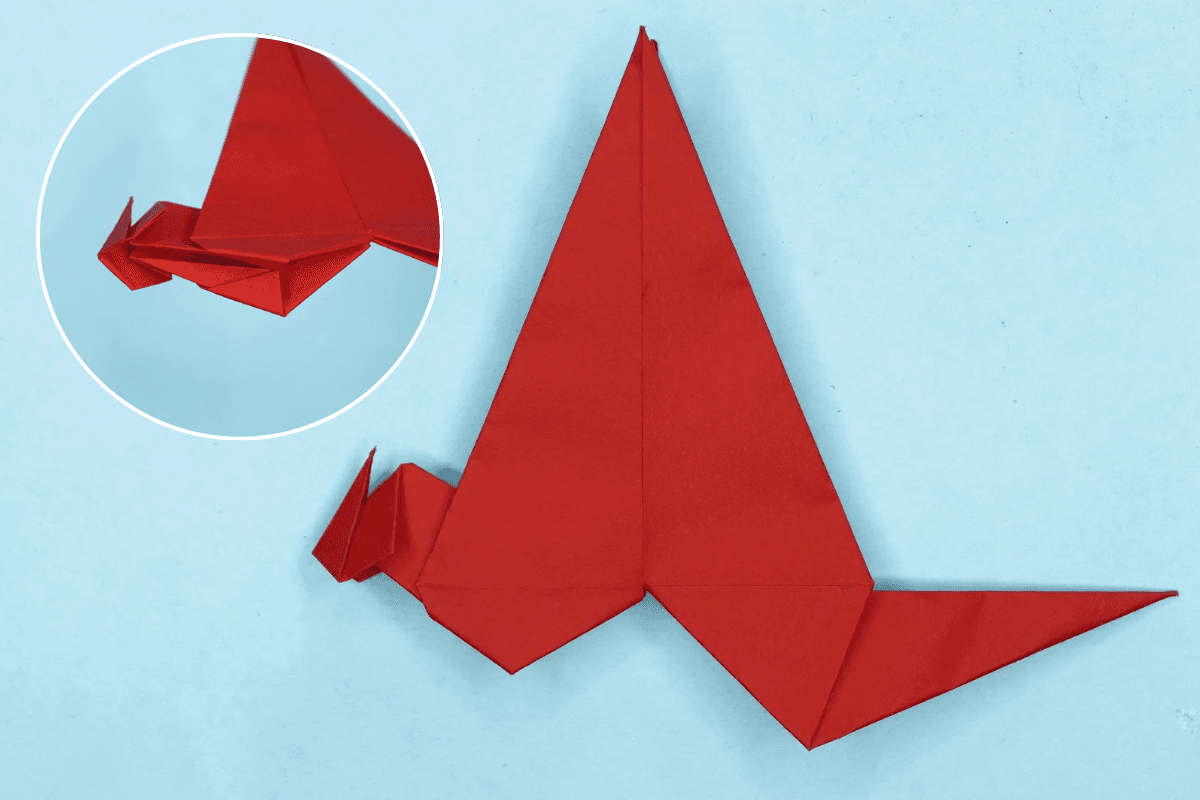
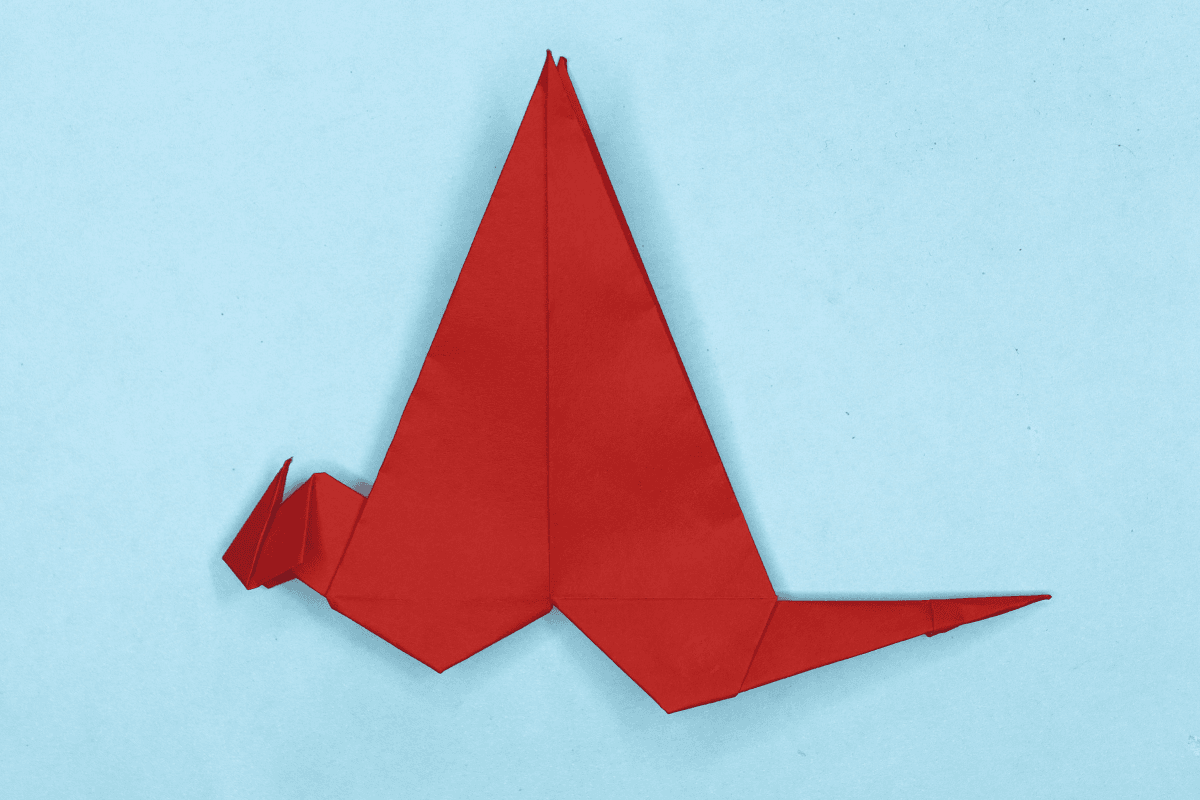
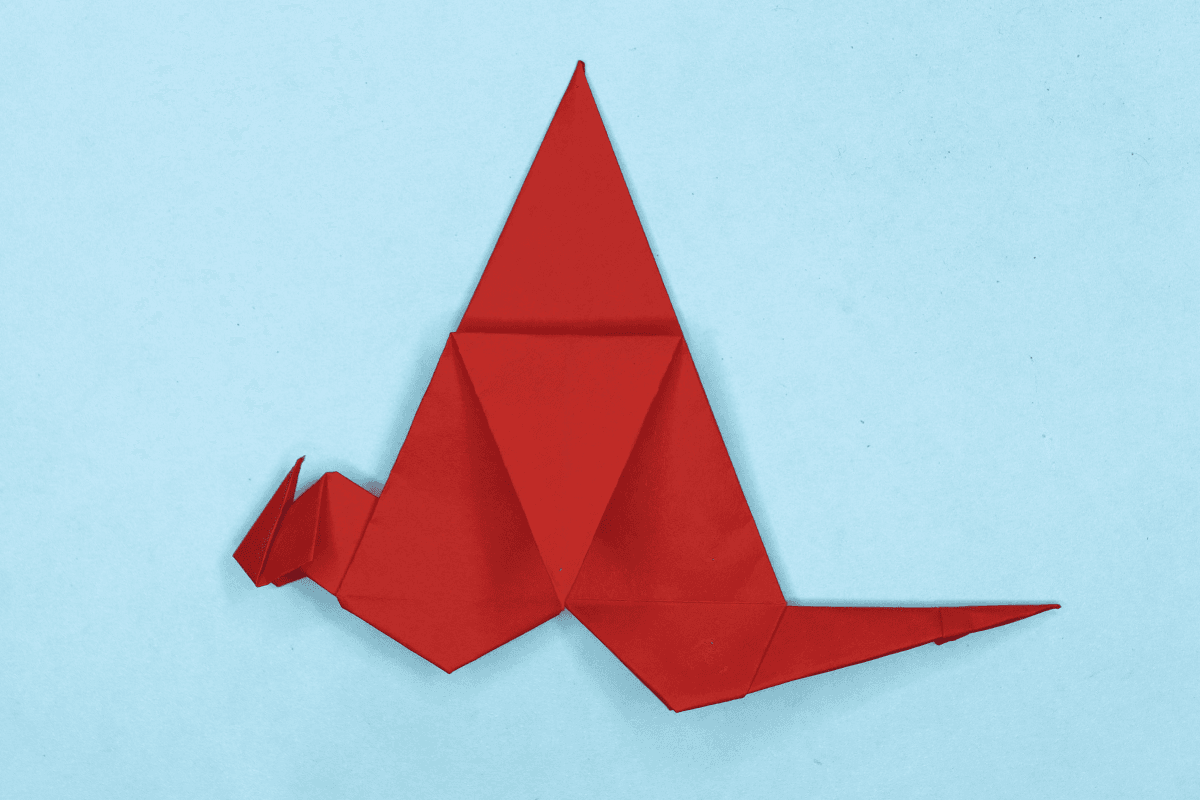
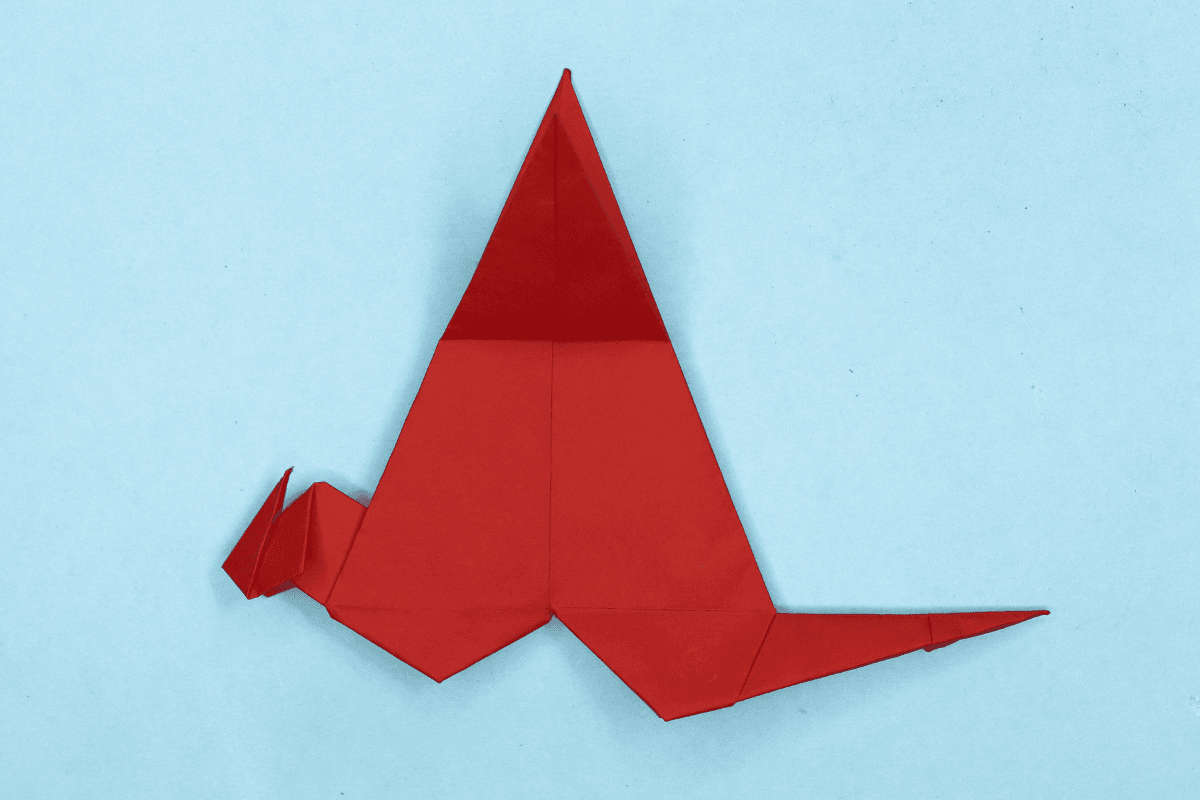
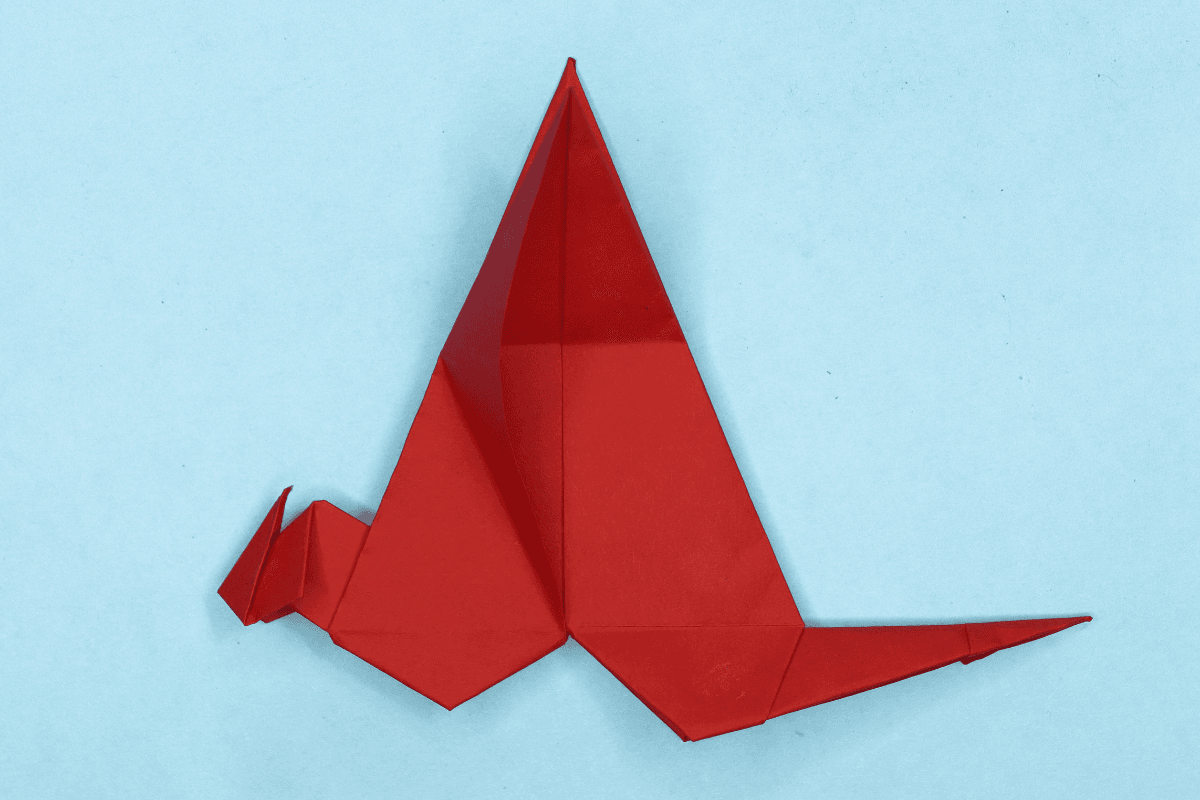
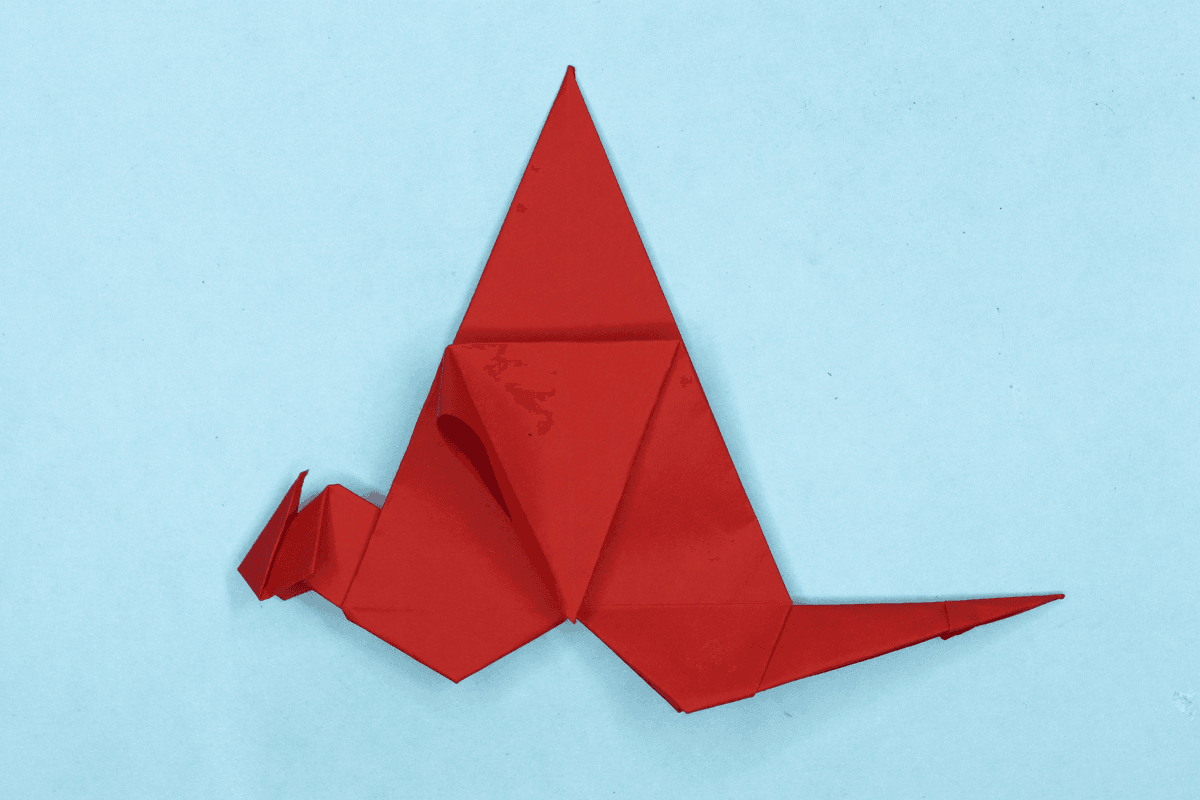
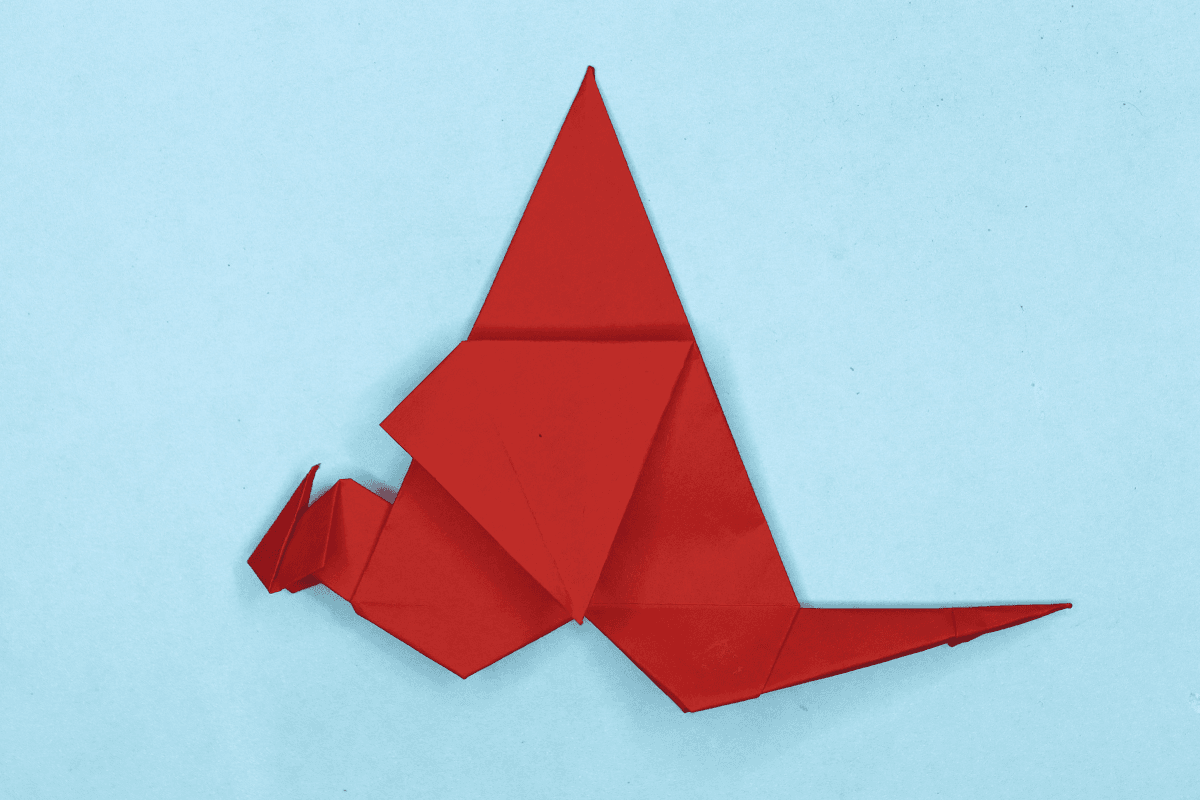
The folds are pretty simple and the pictures are pretty self-explanatory. The trickiest fold is probably the wing, but the step-by-step instructions should guide you through it because it’s really not hard at all. Read the steps and look at the images carefully and you’ll get this awesome origami dragon flapping in no time.

Step 1
Origami Dragon step 01
1
Start with a square piece of origami paper. I am using an 7×7 inches origami paper.

If you only have regular paper, follow these instructions on how to make a square origami paper.

Step 2
Origami Dragon step 02
2
Tilt the paper.

Step 3
Origami Dragon step 03
3
Fold the paper in half by folding the top corner to the bottom corner.

Step 4
Origami Dragon step 04
4
Now fold the triangle in half by taking the left corner and folding it to the right.

Step 5
Origami Dragon step 05
5
Open and spread the top flap.

Step 6
Origami Dragon step 06
6
Now crease the left and right sides so you can flatten the flap down.

Step 7
Origami Dragon step 07
7
Press the creases well and the fold will look like this.

Step 8
Origami Dragon step 08
8
Turn the model over.

Step 9
Origami Dragon step 09
9
Make the left flap stand vertically.

Step 10
Origami Dragon step 10
10
Now open the flap as shown.

Step 11
Origami Dragon step 11
11
Squash the flap down.

Step 12
Origami Dragon step 12
12
Fold the top layer of left side to the center.

Step 13
Origami Dragon step 13
13
Fold the top layer of right side to the center.

Step 14
Origami Dragon step 14
14
Now fold the top triangle down.

Step 15
Origami Dragon step 15
15
Unfold the top and both sides.

Step 16
Origami Dragon step 16
16
Do a petal fold. First by using the top layer only, lift from the bottom.

Step 17
Origami Dragon step 17
17
Now lift it all the way up. Fold in the sides along the crease.

Step 18
Origami Dragon step 18
18
Turn the model over.

Step 19
Origami Dragon step 19
19
Fold the sides to the center like before.

Step 20
Origami Dragon step 20
20
Fold the above flap down like before.

Step 21
Origami Dragon step 21
21
Unfold the top and sides.

Step 22
Origami Dragon step 22
22
Do another petal fold like step 16 and 17.

Step 23
Origami Dragon step 23
23
Let’s make the head. To do this fold the head backwards as shown.

Step 24
Origami Dragon step 24
24
Now unfold.

Step 25
Origami Dragon step 25
25
Open the head so you can perform an inside reverse fold.

Step 26
Origami Dragon step 26
26
Now flatten the inside reverse fold.

Step 27
Origami Dragon step 27
27
Inside reverse fold the bottom left flap and make it extend straight out. This is the tail.

Step 28
Origami dragon step 28
28
Unfold the tail.

Step 29
Origami Dragon step 29
29
Now perform an inside reverse fold and flatten down.

Step 30
Origami Dragon step 30
30
Now back to the head. Fold the tip down as shown.

Step 31
Origami Dragon step 31
31
Unfold.

Step 32
Origami Dragon step 32
32
Hold the “neck” with one hand, open the fold and push the jaw against the neck with your other hand.

Step 33
Origami Dragon step 33
33
Once you get it like the above picture, flatten down.

Step 34
Origami Dragon step 34
34
Fold the tip of the head back.

Step 35
Origami Dragon step 35
35
Unfold.

Step 36
Origami Dragon step 36
36
Open the head.

Step 37
Origami dragon step 37
37
Fold the tip back at the crease.

Step 38
Origami Dragon step 38
38
Flatten down.

Step 39
Origami Dragon step 39
39
All that’s left is the tail and wings!

Step 40
Origami Dragon step 40
40
The neck is too thick. Beginning at the jaw, fold in both sides of the neck as shown.

Step 41
Origami Dragon step 41
41
Open the tail.

Step 42
Origami dragon step 42
42
Fold up the tip as shown.

Step 43
Origami Dragon step 43
43
Fold most of the tail back out, leaving a small crimp.

Step 44
Origami Dragon step 44
44
Re-close the tail.

Step 45
Origami Dragon step 45
45
The tail is too thick so to make it thin open it first.

Step 46
Origami Dragon step 46
46
Beginning at the tip of the tail, fold the rest of the tail inside to conceal the “fat”.

Step 47
Origami Dragon step 47
47
Re-close the tail.

Step 48
Origami Dragon step 48
48
Fold the wing down to the corner as shown.

Step 49
Origami Dragon step 49
49
Unfold.

Step 50
Origami Dragon step 50
50
Open the left flap of the wing.

Step 51
Origami Dragon step 51
51
Then fold down the entire wing and tuck inside the loose flap.

Step 52
Origami Dragon step 52
52
Close the loose flap over the wing.

Step 53
Origami Dragon step 53
53
Open the wing and fold along the left and right corners.

Step 54
Origami Dragon step 54
54
With your thumb, push in the right side of the wing so that it pops in.

Step 55
Origami Dragon step 55
55
After popping in the right side of wing it should look like the image.

Step 56
Origami Dragon step 56
56
Now let’s move on to the second wing.

Step 57
Origami Dragon step 57
57
Repeat the step 48-55 on the other wing too.

Step 58
Origami Dragon final step
58
Open the wings. Your dragon is ready to take flight. Hold the chest of the dragon in one hand and pull the tail with the other, then watch it come to life!

Share and Comment
We would love to see your creations! Scroll down to the comments section and share a photo of your origami.

Comments

Leave a Reply

Your email address will not be published. Required fields are marked *

Drop file here