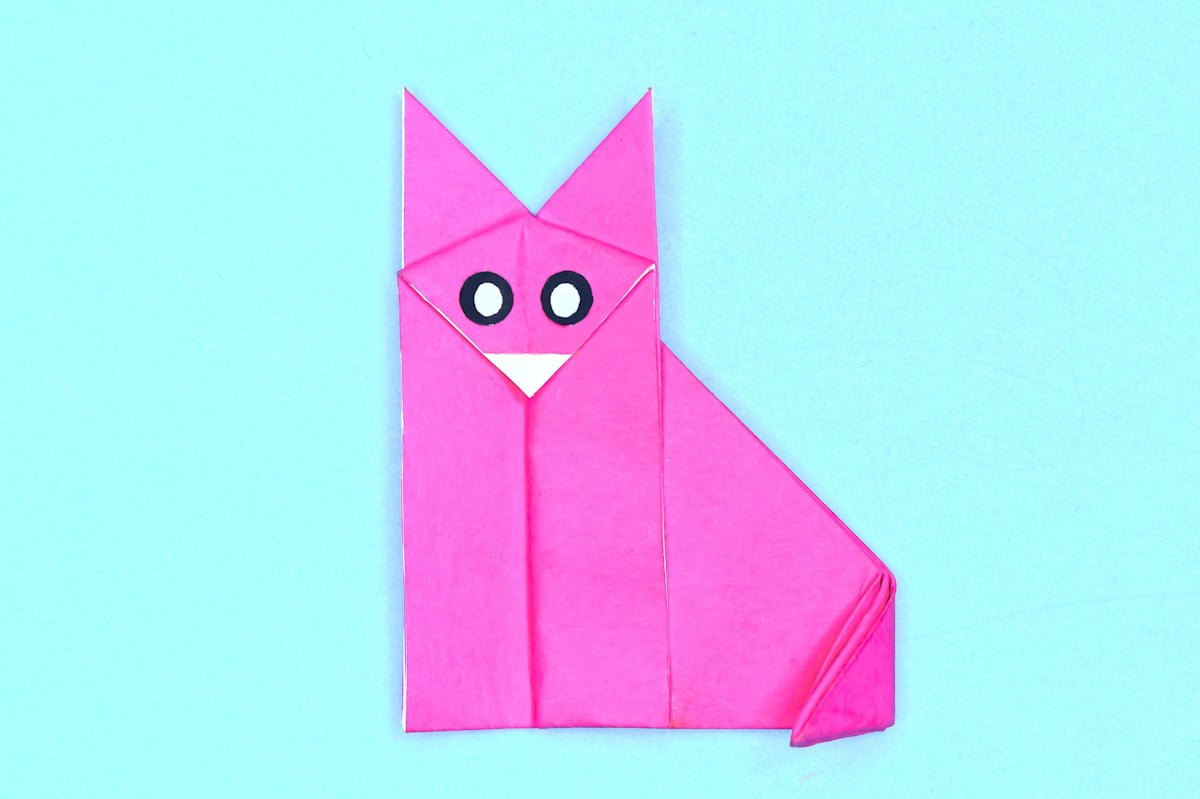
Fold a fantastic fox in just a few steps! This crafty creature is fun to make and cute to display.
Easiest Origami Fox Instructions
Difficulty: Easy
Follow the simple step-by-step instructions with pictures to learn how to make an origami fox.
Step 1

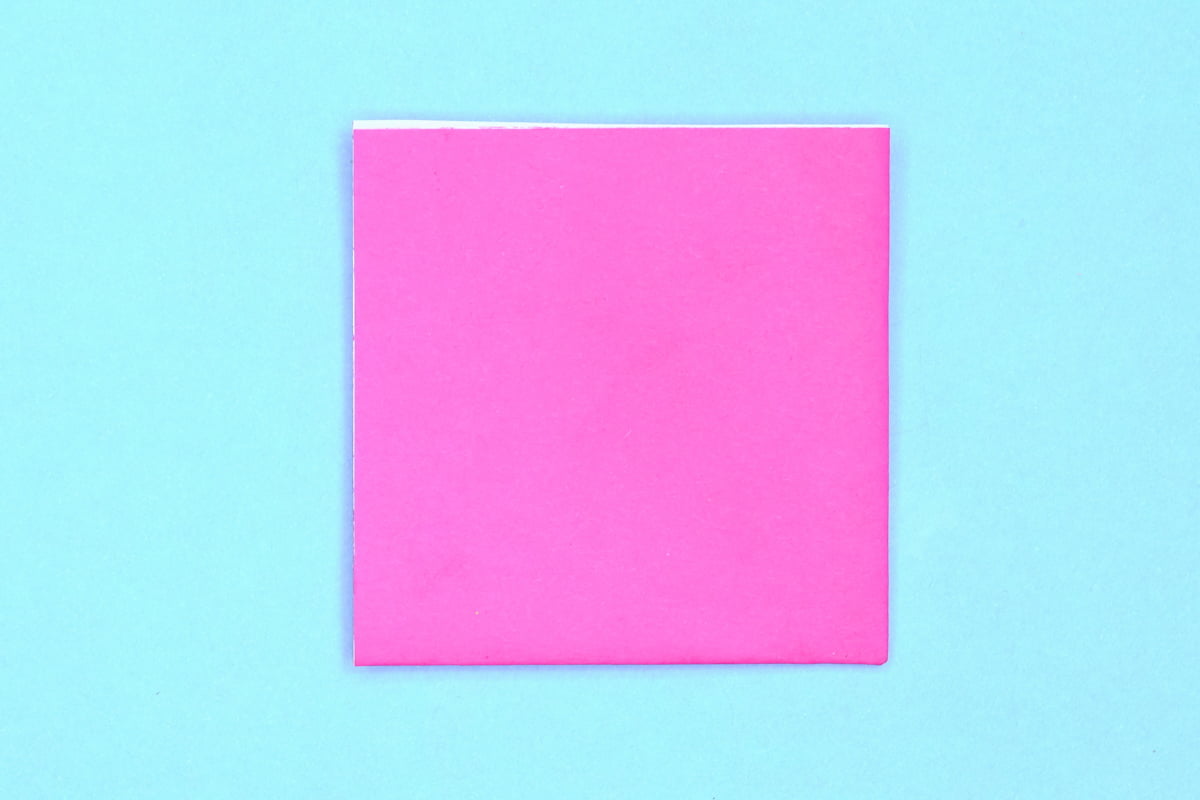
1
Begin with a square sheet of origami paper. I am using an 7×7 inches origami paper.
If you only have regular paper, follow these instructions on how to make a square origami paper.
If you only have regular paper, follow these instructions on how to make a square origami paper.
Step 2

2
Face the lighter side upwards if you are using two color sided origami paper.
Step 3

3
Fold the paper in half by folding the lower left corner to the upper right corner.
Step 4

4
Fold the left corner to the right corner.
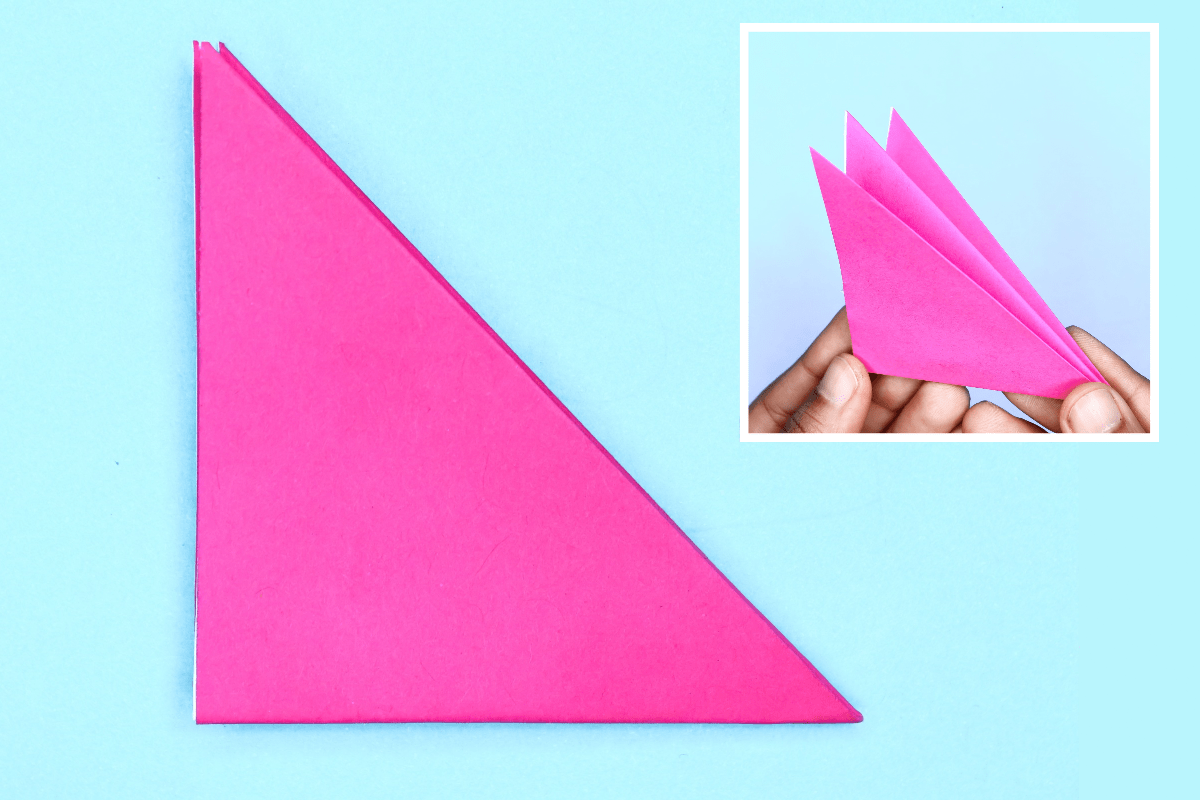
Step 5

5
Fold the bottom corner to the upper right corner.
Step 6
6
Turn the figure over horizontally.
Step 7
7
Fold the upper right corner to the lower left corner.
Step 8
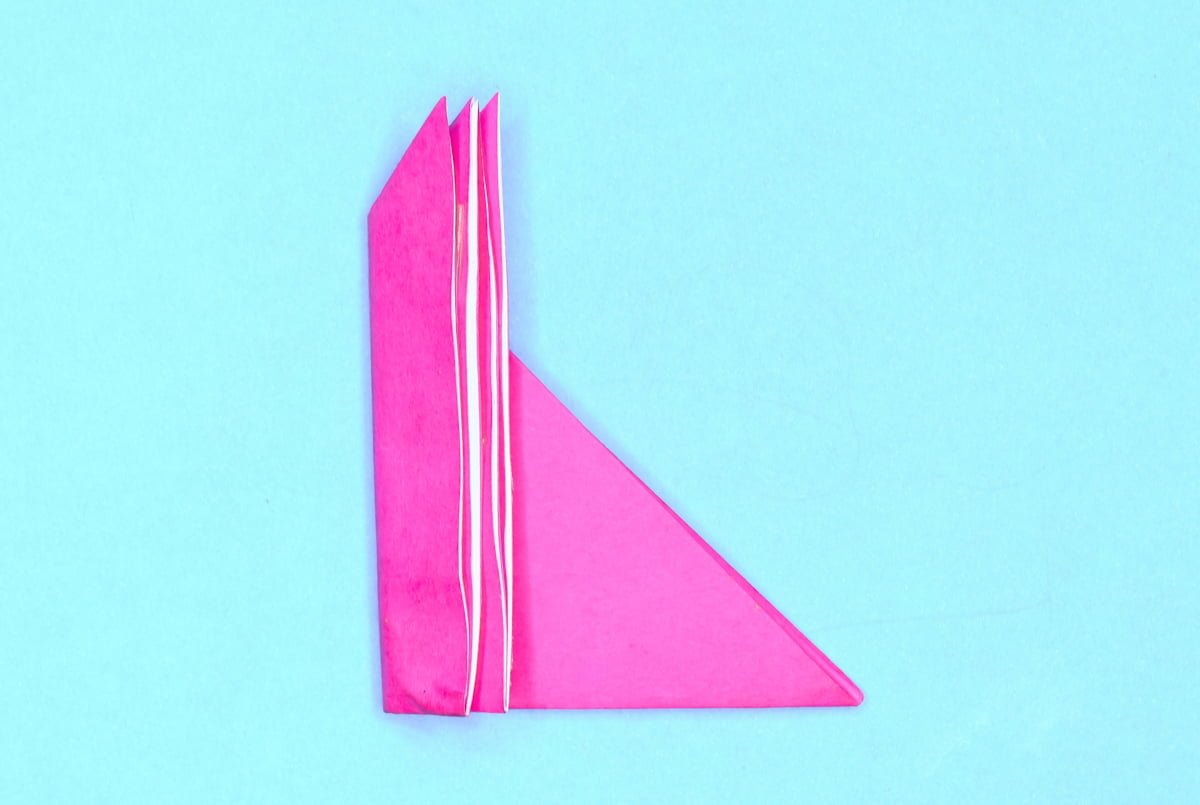
8
Fold the entire left side just a bit before the center. The farther towards the center you fold, the bigger the head will be.
Step 9

9
Unfold.
Step 10
10
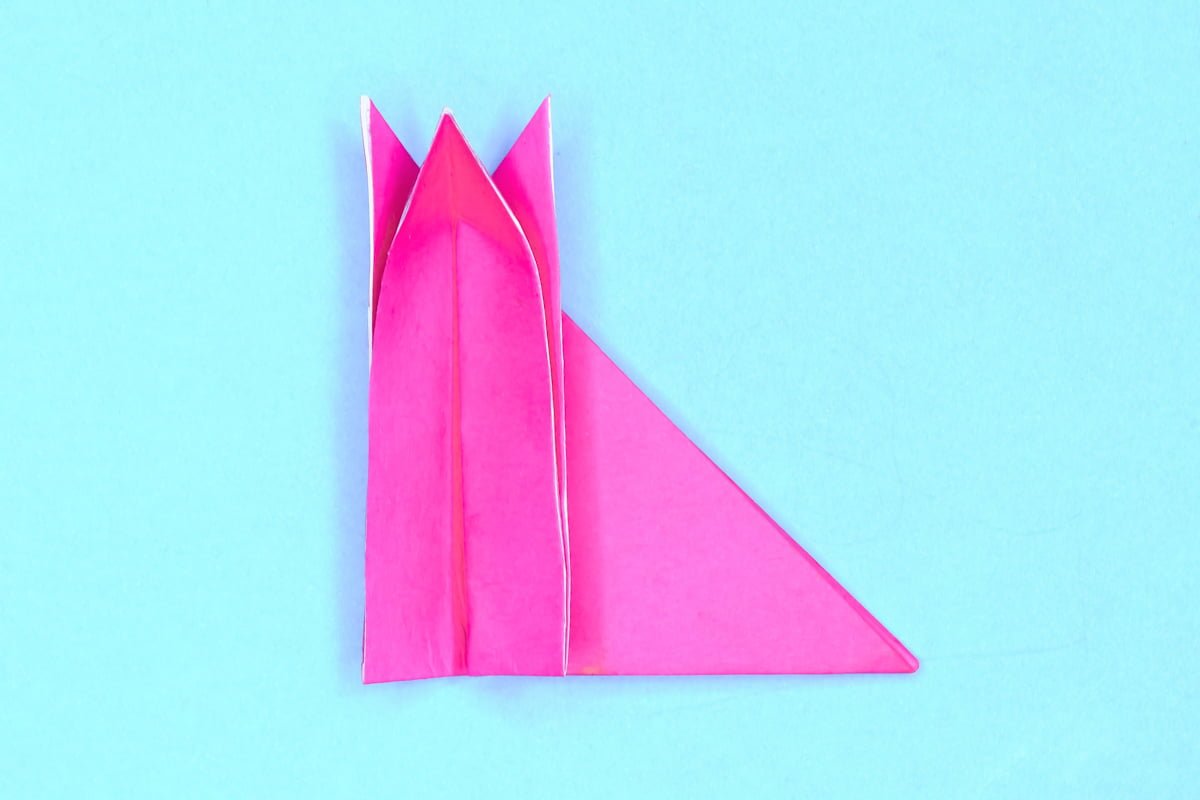
Grab the bottom corner of the outside flap and open. The fox’s head will begin to fold down by itself.
Step 11
11
Go ahead and fold the head down.
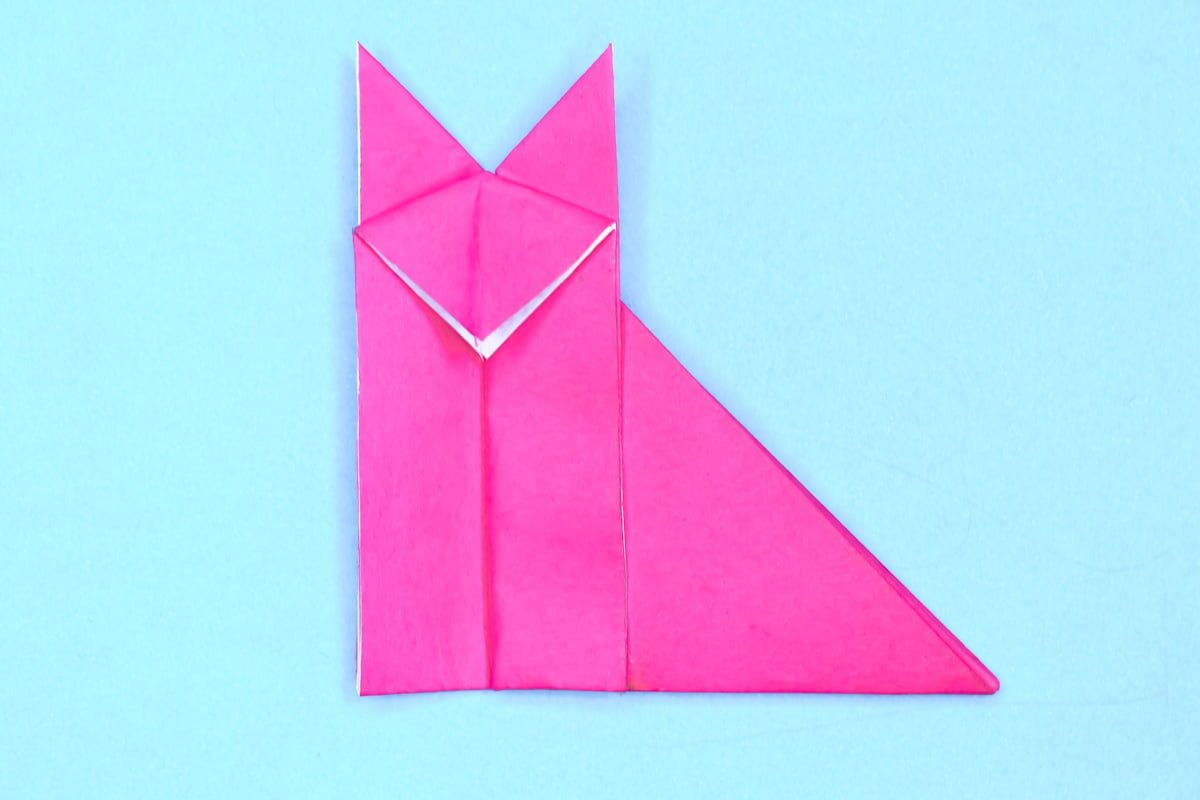
Step 12
12
Fold the bottom corner of the top flap of head inwards to make a nose.
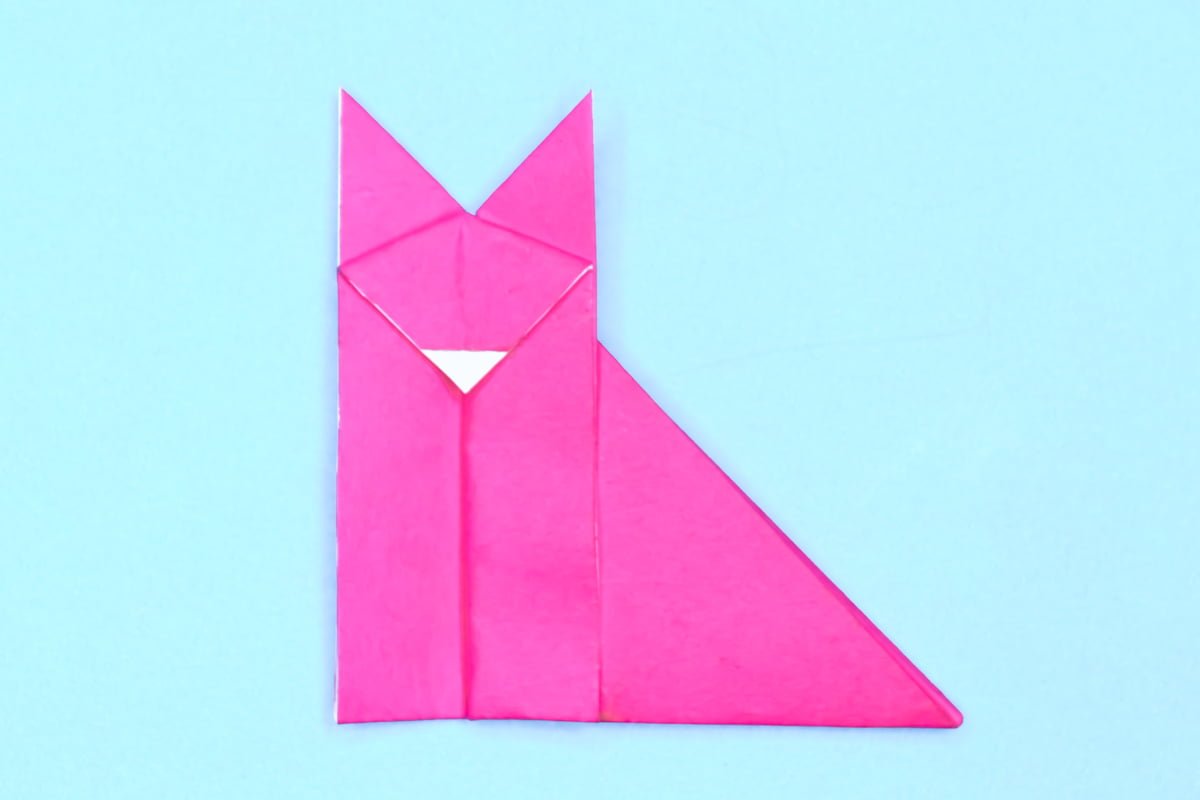
Step 13
13
Fold a portion of the tail in.
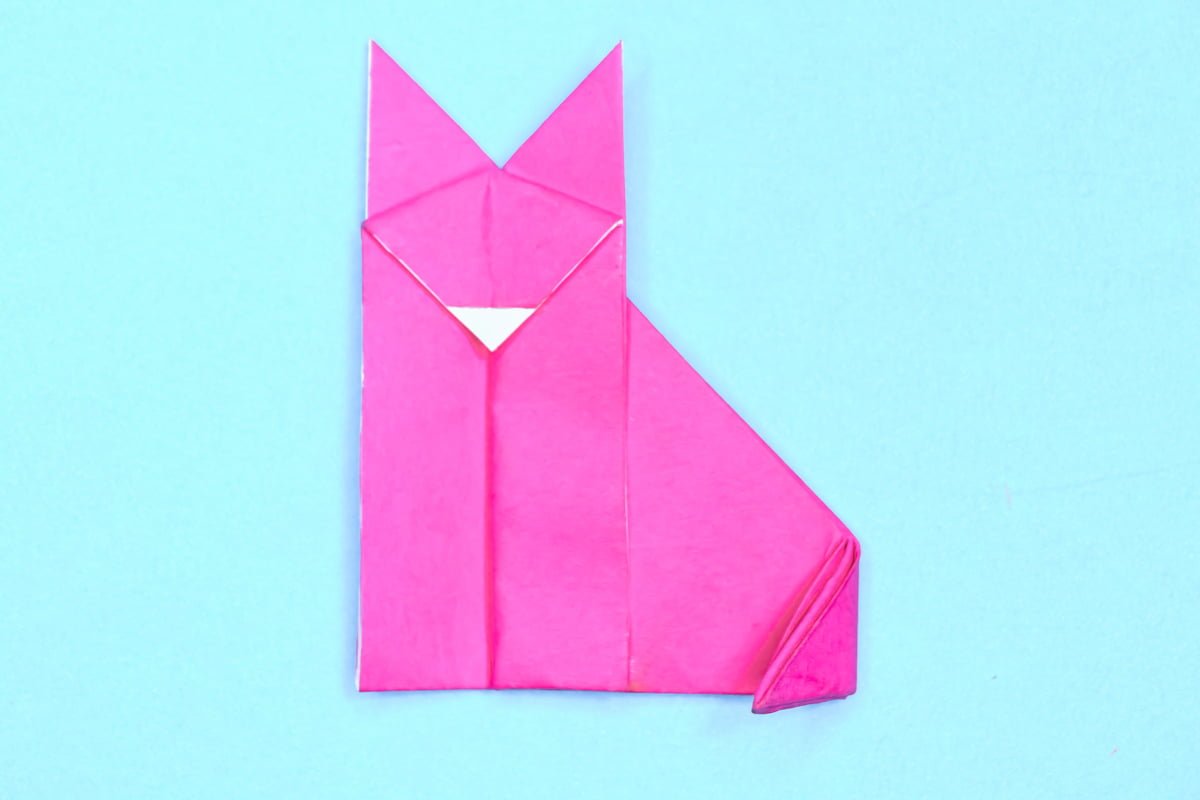
Step 14
14
Draw eyes and you’re all done. Wasn’t that easy?
Share and Comment
We would love to see your creations! Scroll down to the comments section and share a photo of your origami.
Leave a Reply