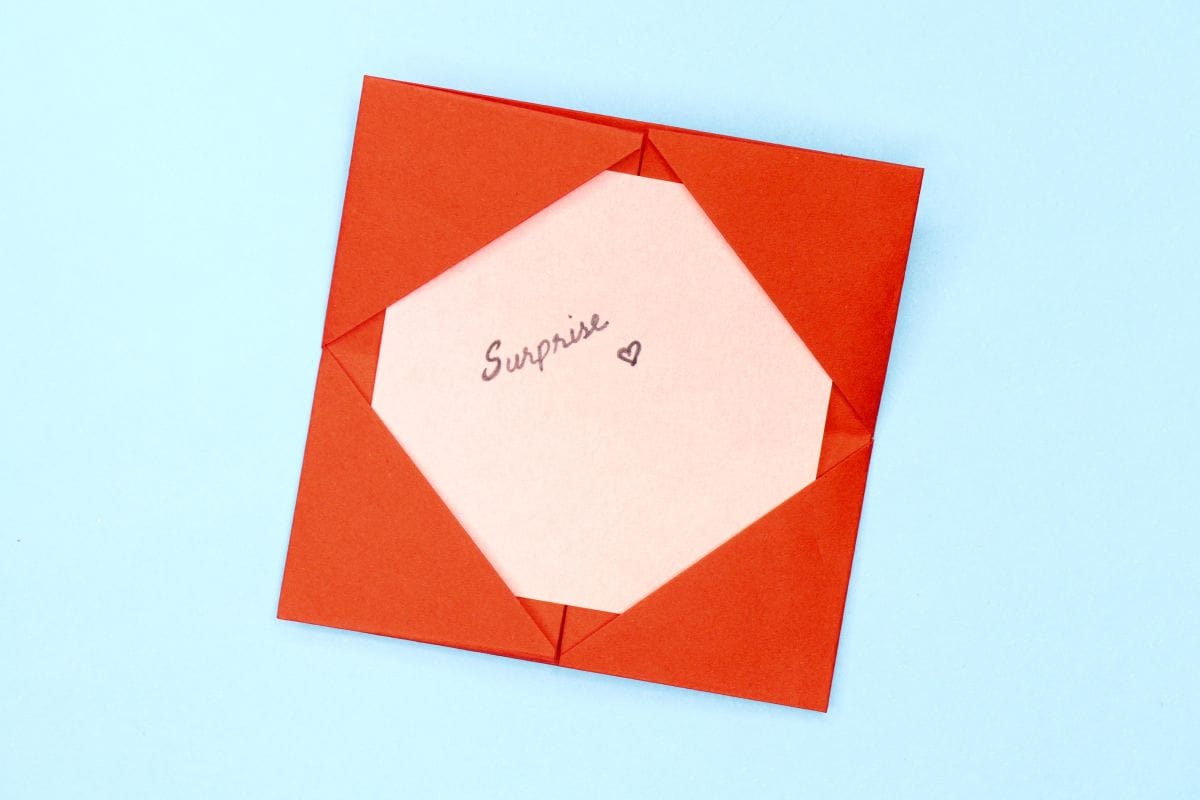
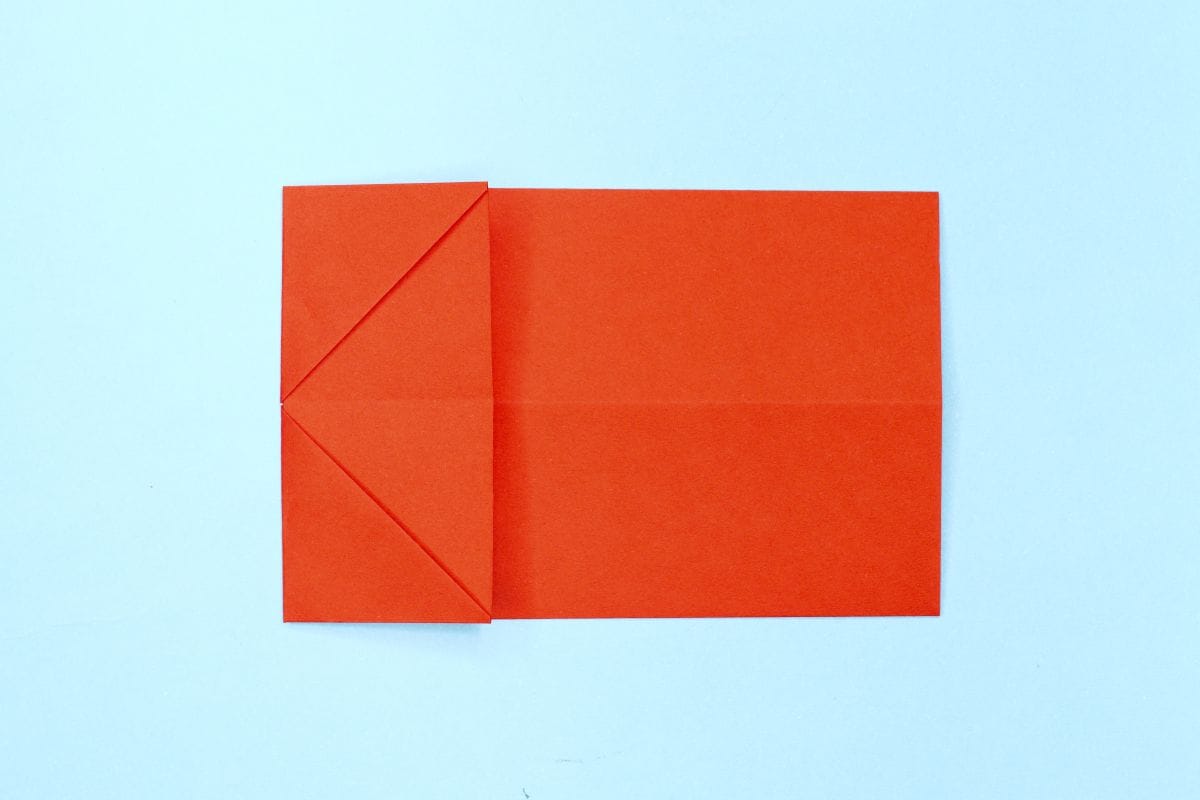
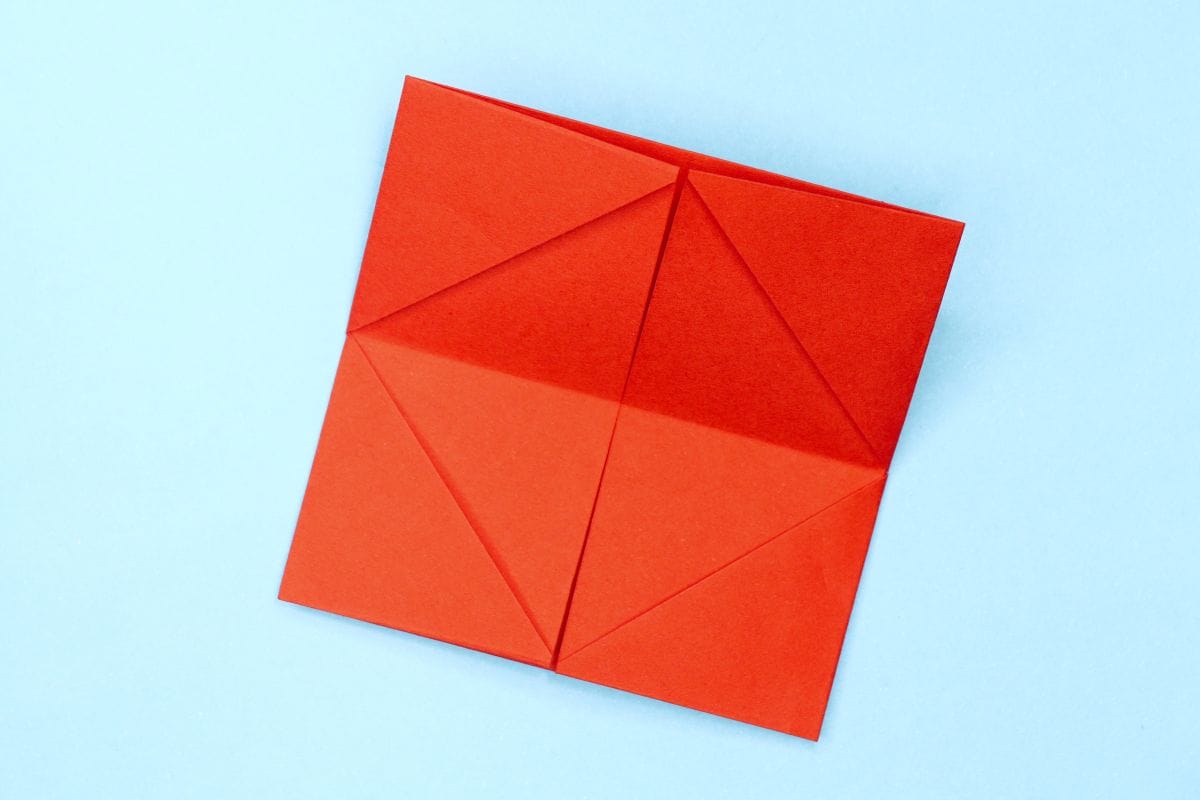
If you have gift card to give, this origami idea will come in handy, a personalized gift card holder you can make yourself.
You can use it for birthdays, Valentine’s Day, Thanksgiving, or any occasion when you want to give a thoughtful gift.
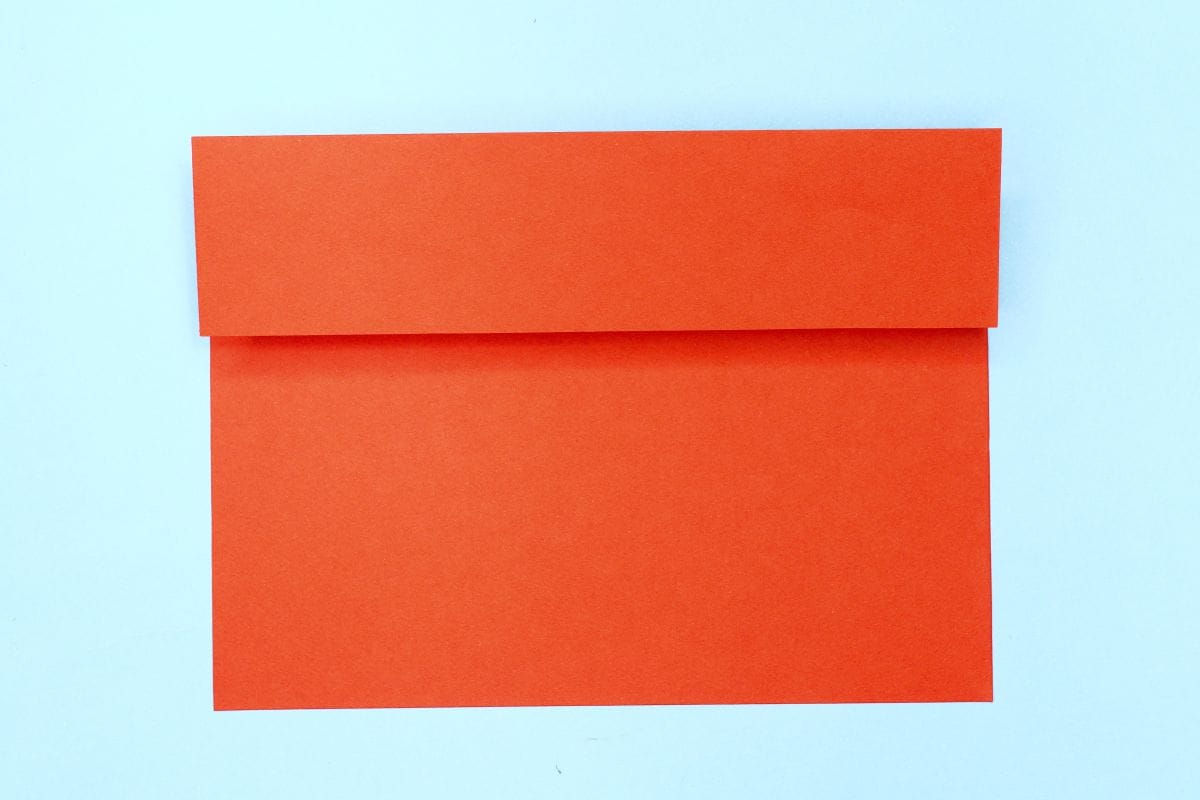
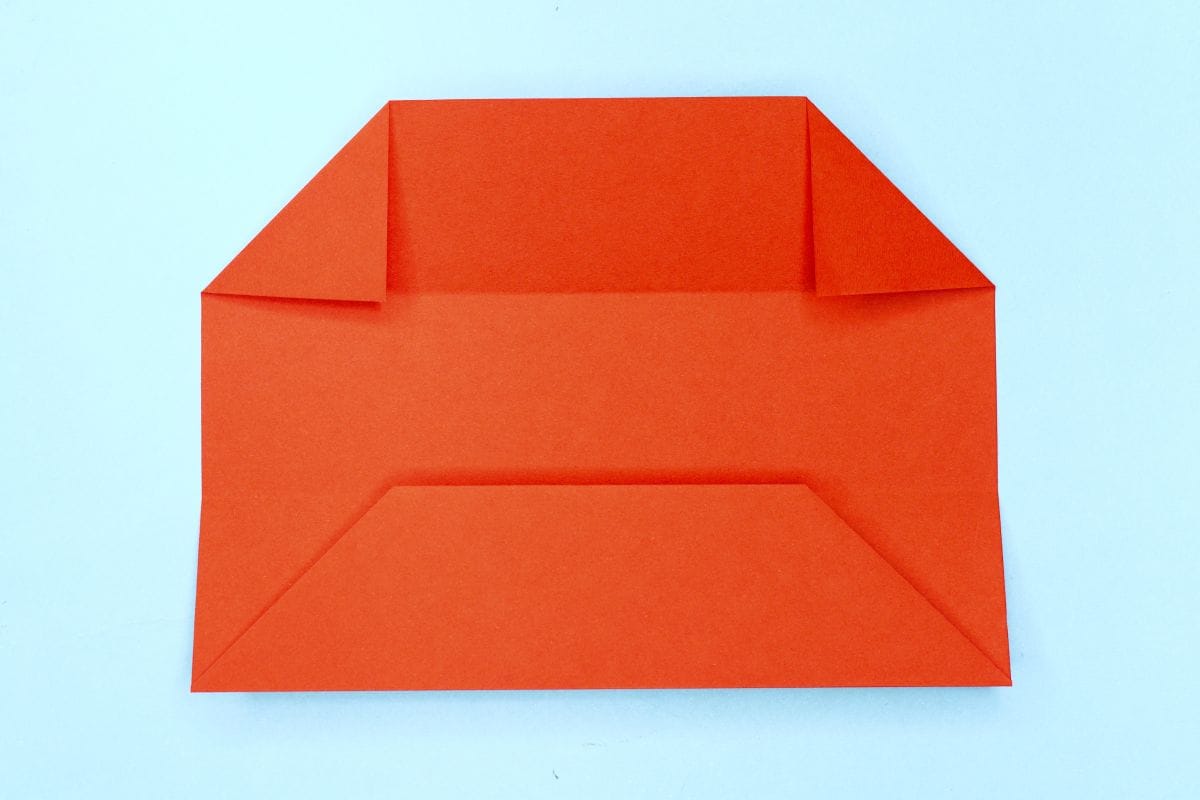
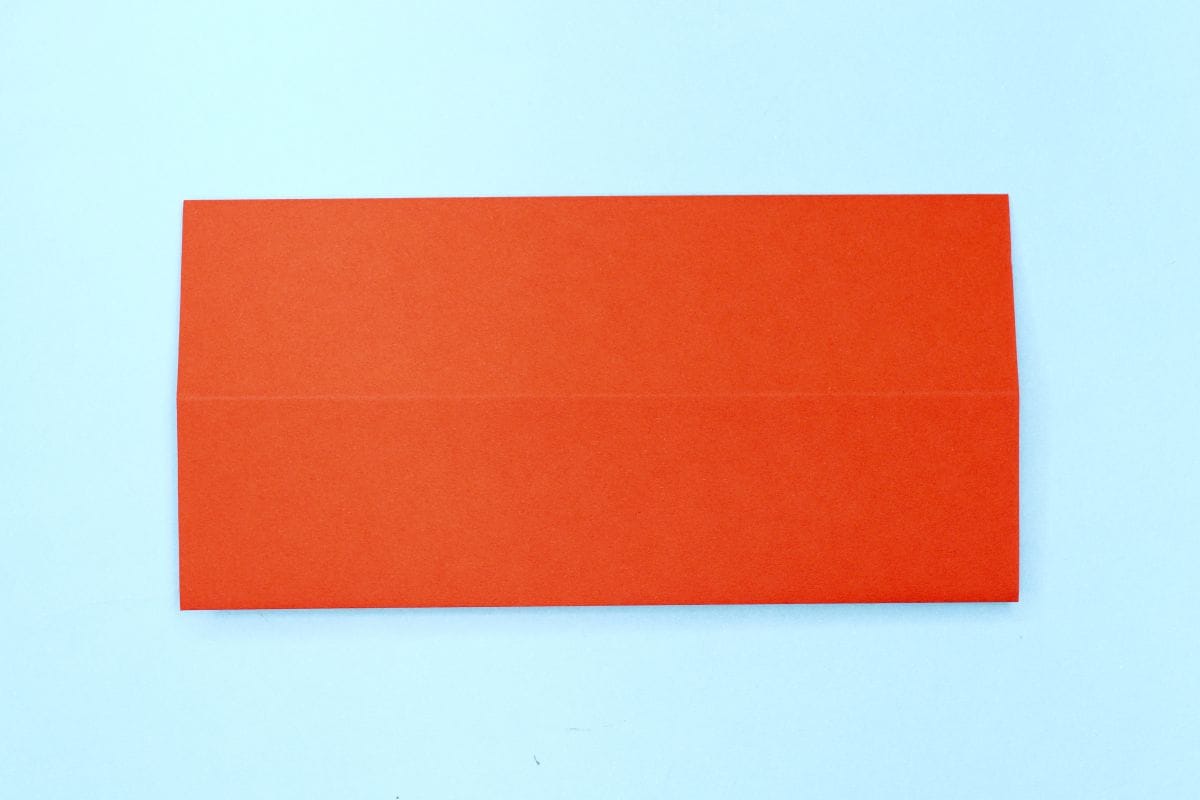
Follow the step-by-step instructions for a fun folding experience and create your very own paper gift card holder!


Leave a Reply