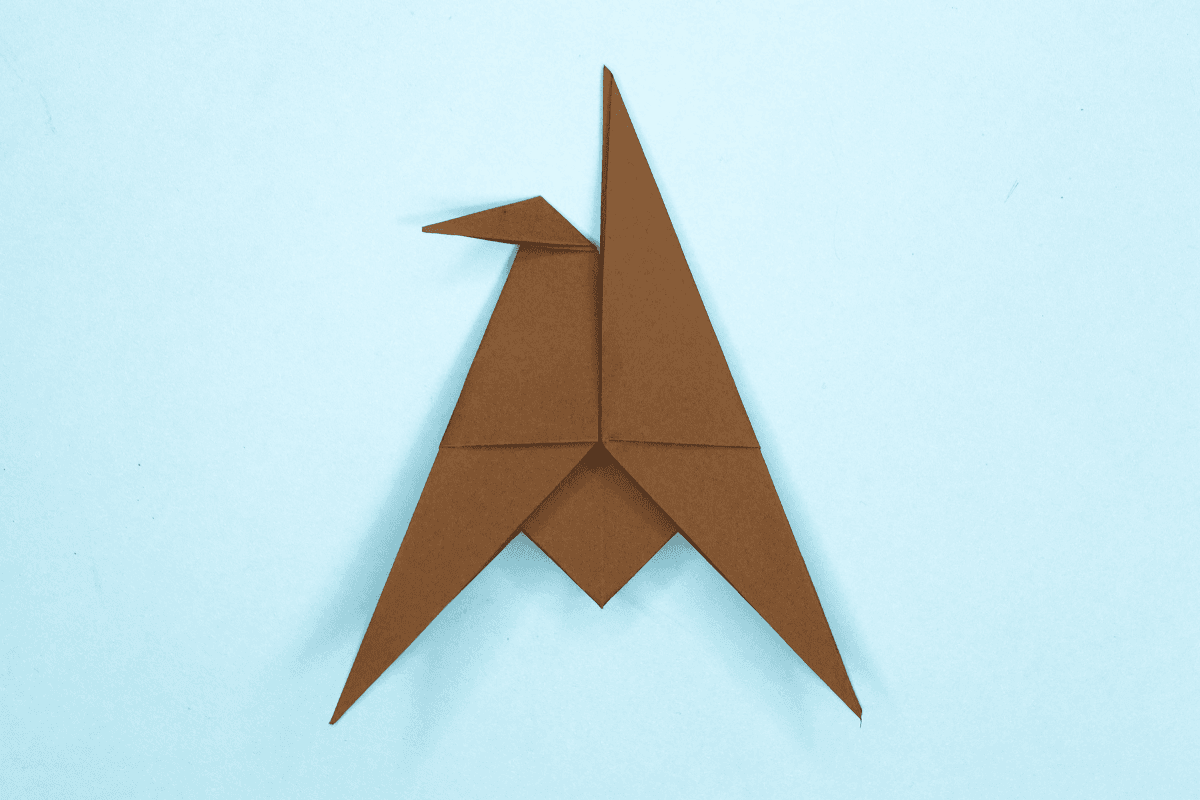
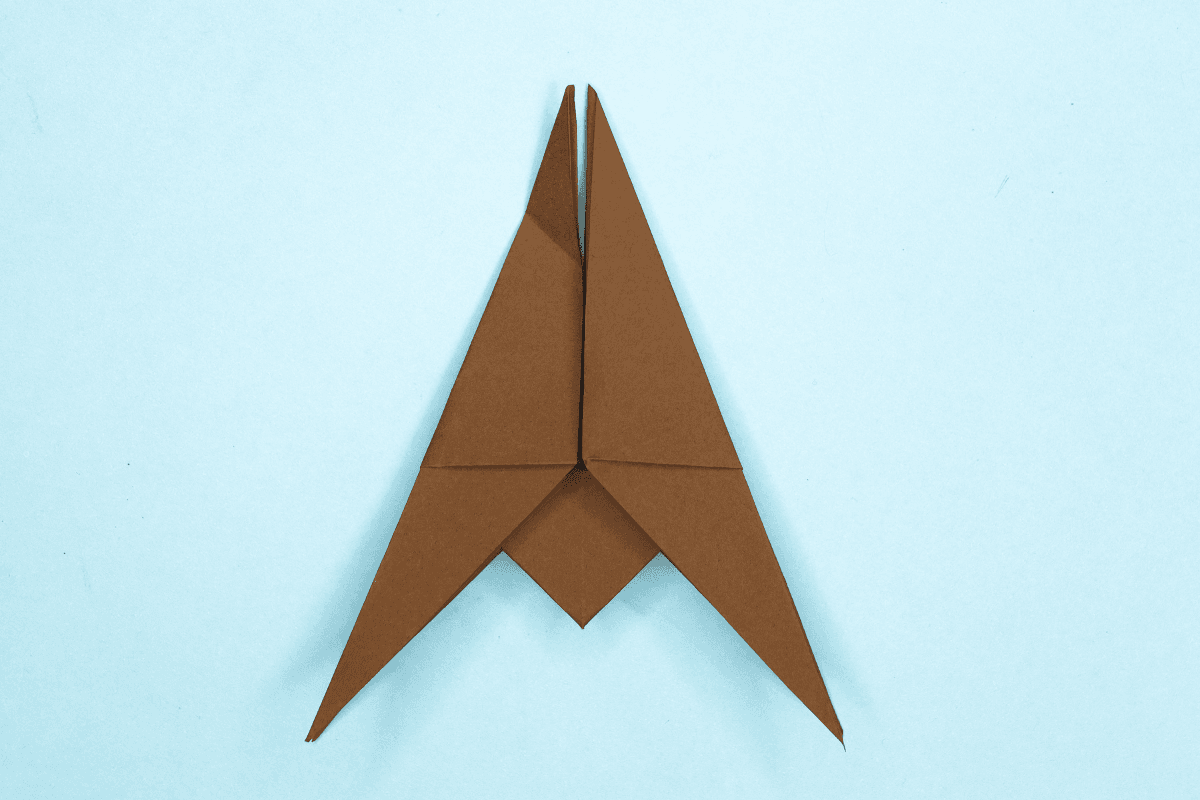
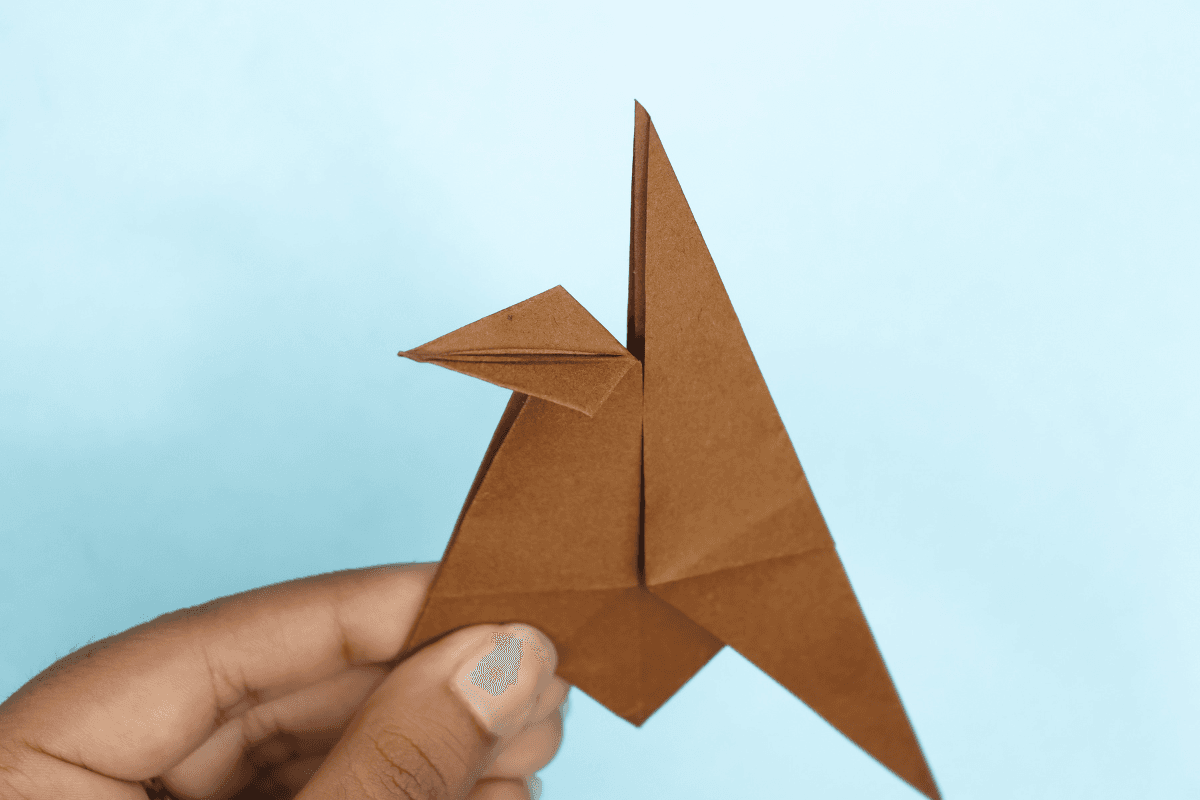
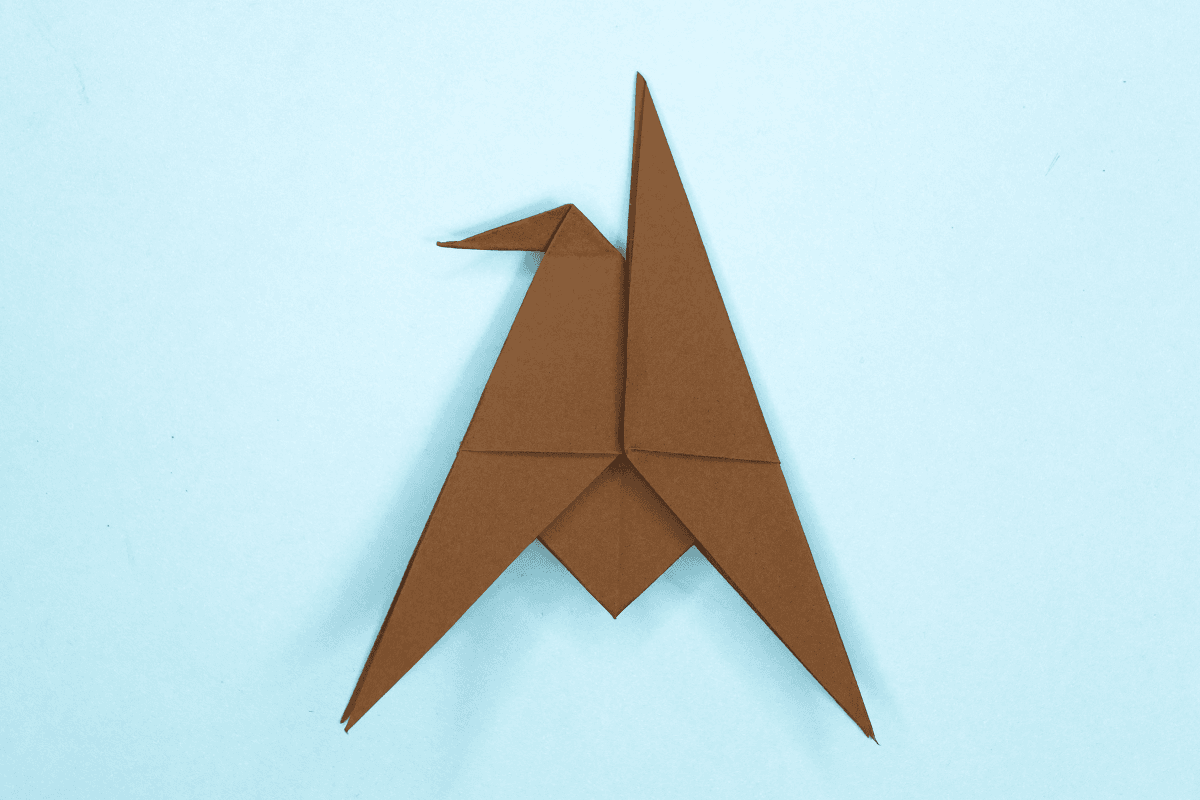
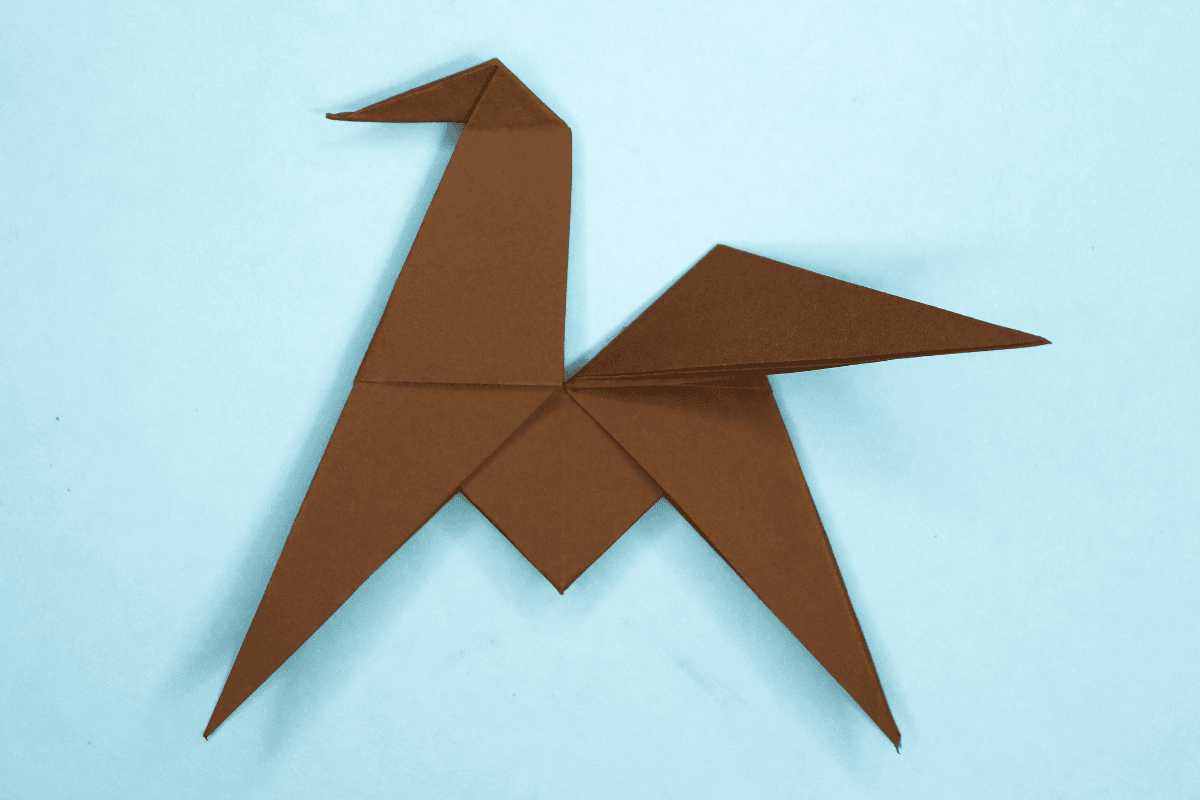
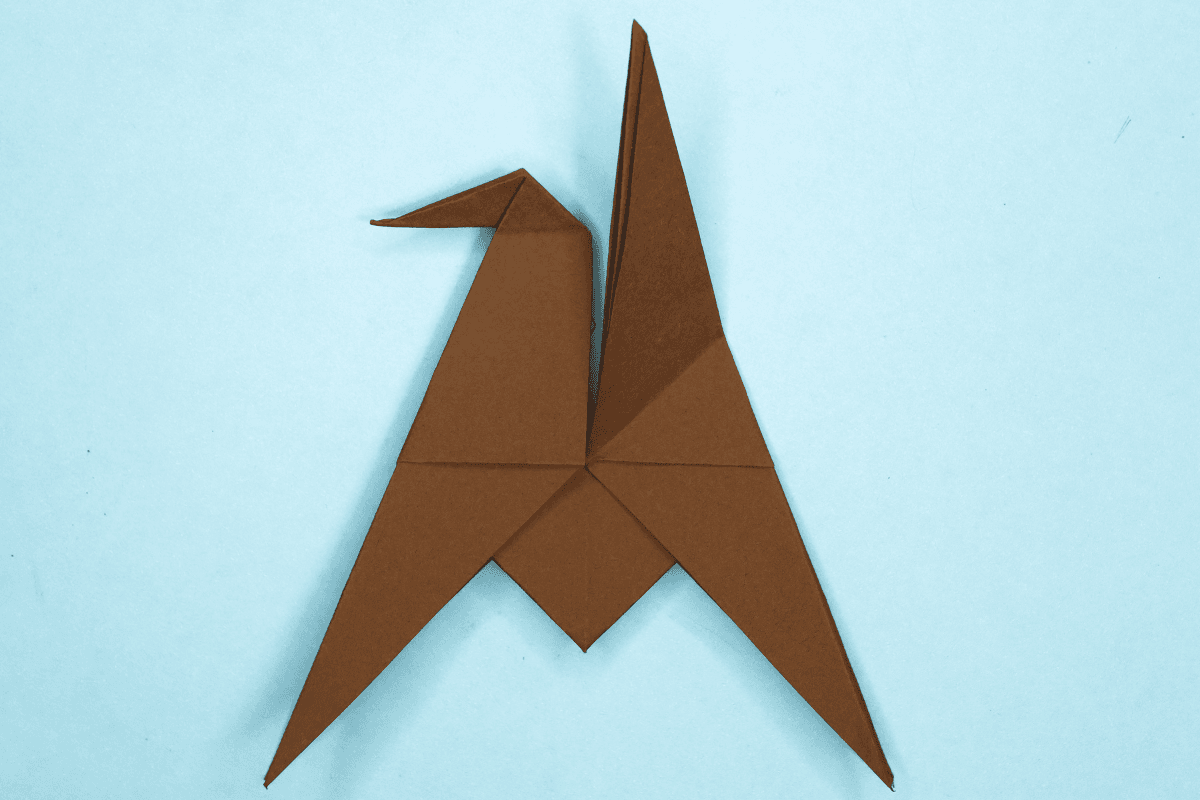
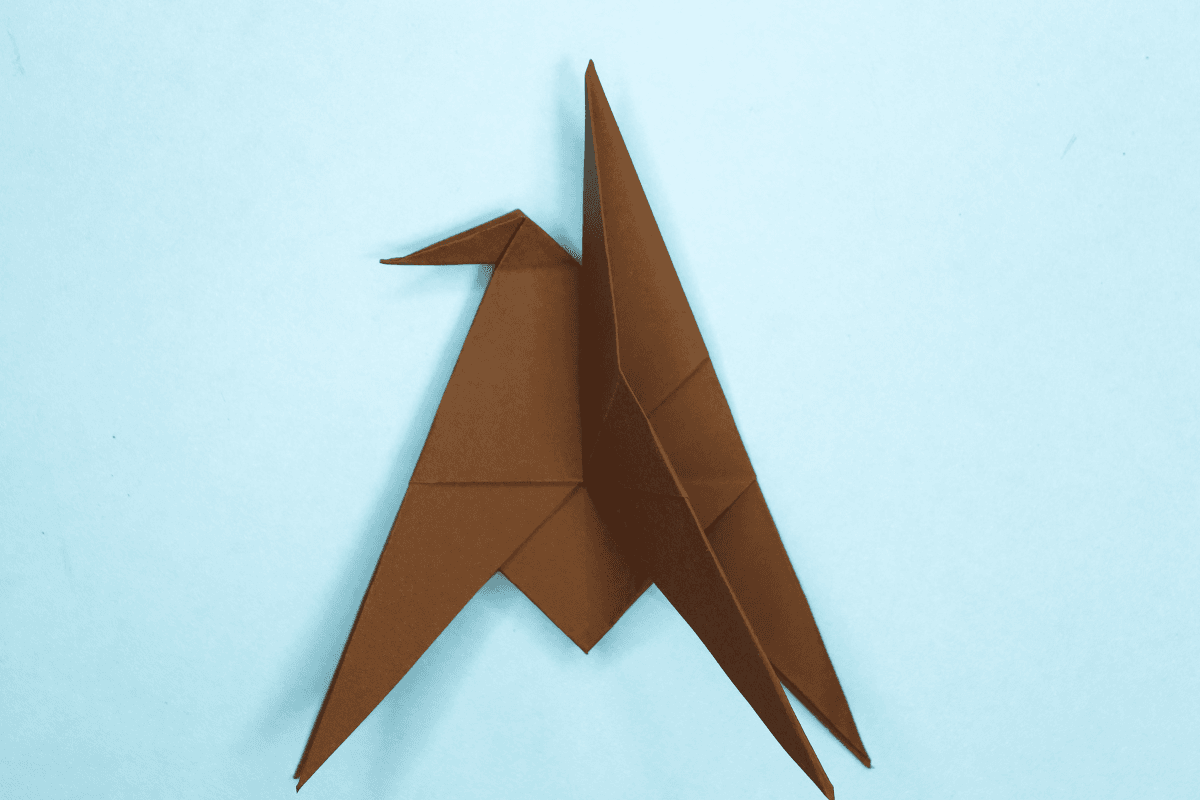
Origami Horse Instructions and Diagram
Difficulty: Easy-Medium
In the global community of animal symbols, horses are treated best. We associate them with things like strength, bravery, freedom, and power. The traditional Japanese art of paper folding is known as origami. Without employing scissors, glue, or tape, artists can produce a wide variety of lovely, symbolic, and occasionally even practical objects. Many patterns are simpler than they appear, despite the fact that the results frequently appear complex (and occasionally actually are!).
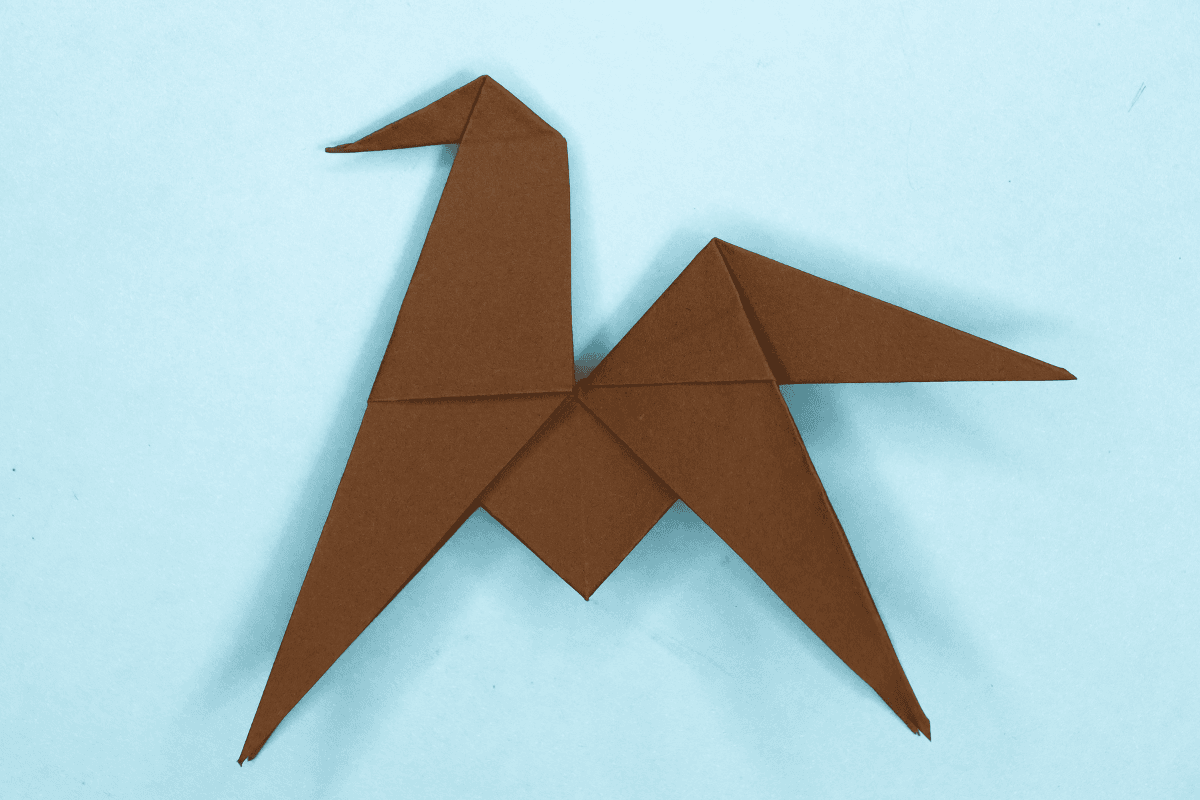
The four long, slender legs that give horses their distinctive appearance are too complex to fold into a horse shape in origami. The answer? Fold the horse's head and shoulders, two of its more identifiable features, and a single fold to symbolise the animal's long face and pointed nose. In the end, the origami horse successfully captures the meaning of the horse symbol. Even without the legs, you can still see all the power and nobility there.
A pure form of art, origami transforms everyday objects into something entirely unique. But the feat becomes more amazing the more you embrace the underlying animal symbolism. For example, make an origami frog that can hop into someone else's pocketbook rather than a simple one. Don't just fold an origami crane; understand the practice's origins. The more you learn about origami creatures, the better you'll be able to comprehend the society that influenced their creation.
If you're motivated to create your origami horse but lack the necessary (or any) skills, think about starting with some easier animals. You have access to a wealth of inspiration for any dimensional and alluring paper craft you'd like to learn with projects ranging from an abstract paper collage to a cutting-edge paper drawing. Once you've mastered the art of folding, creasing, and unfolding some simple origami birds, fish, or cats, you can go on to more challenging designs, like horses. Then take your time and read this article's instructions carefully.
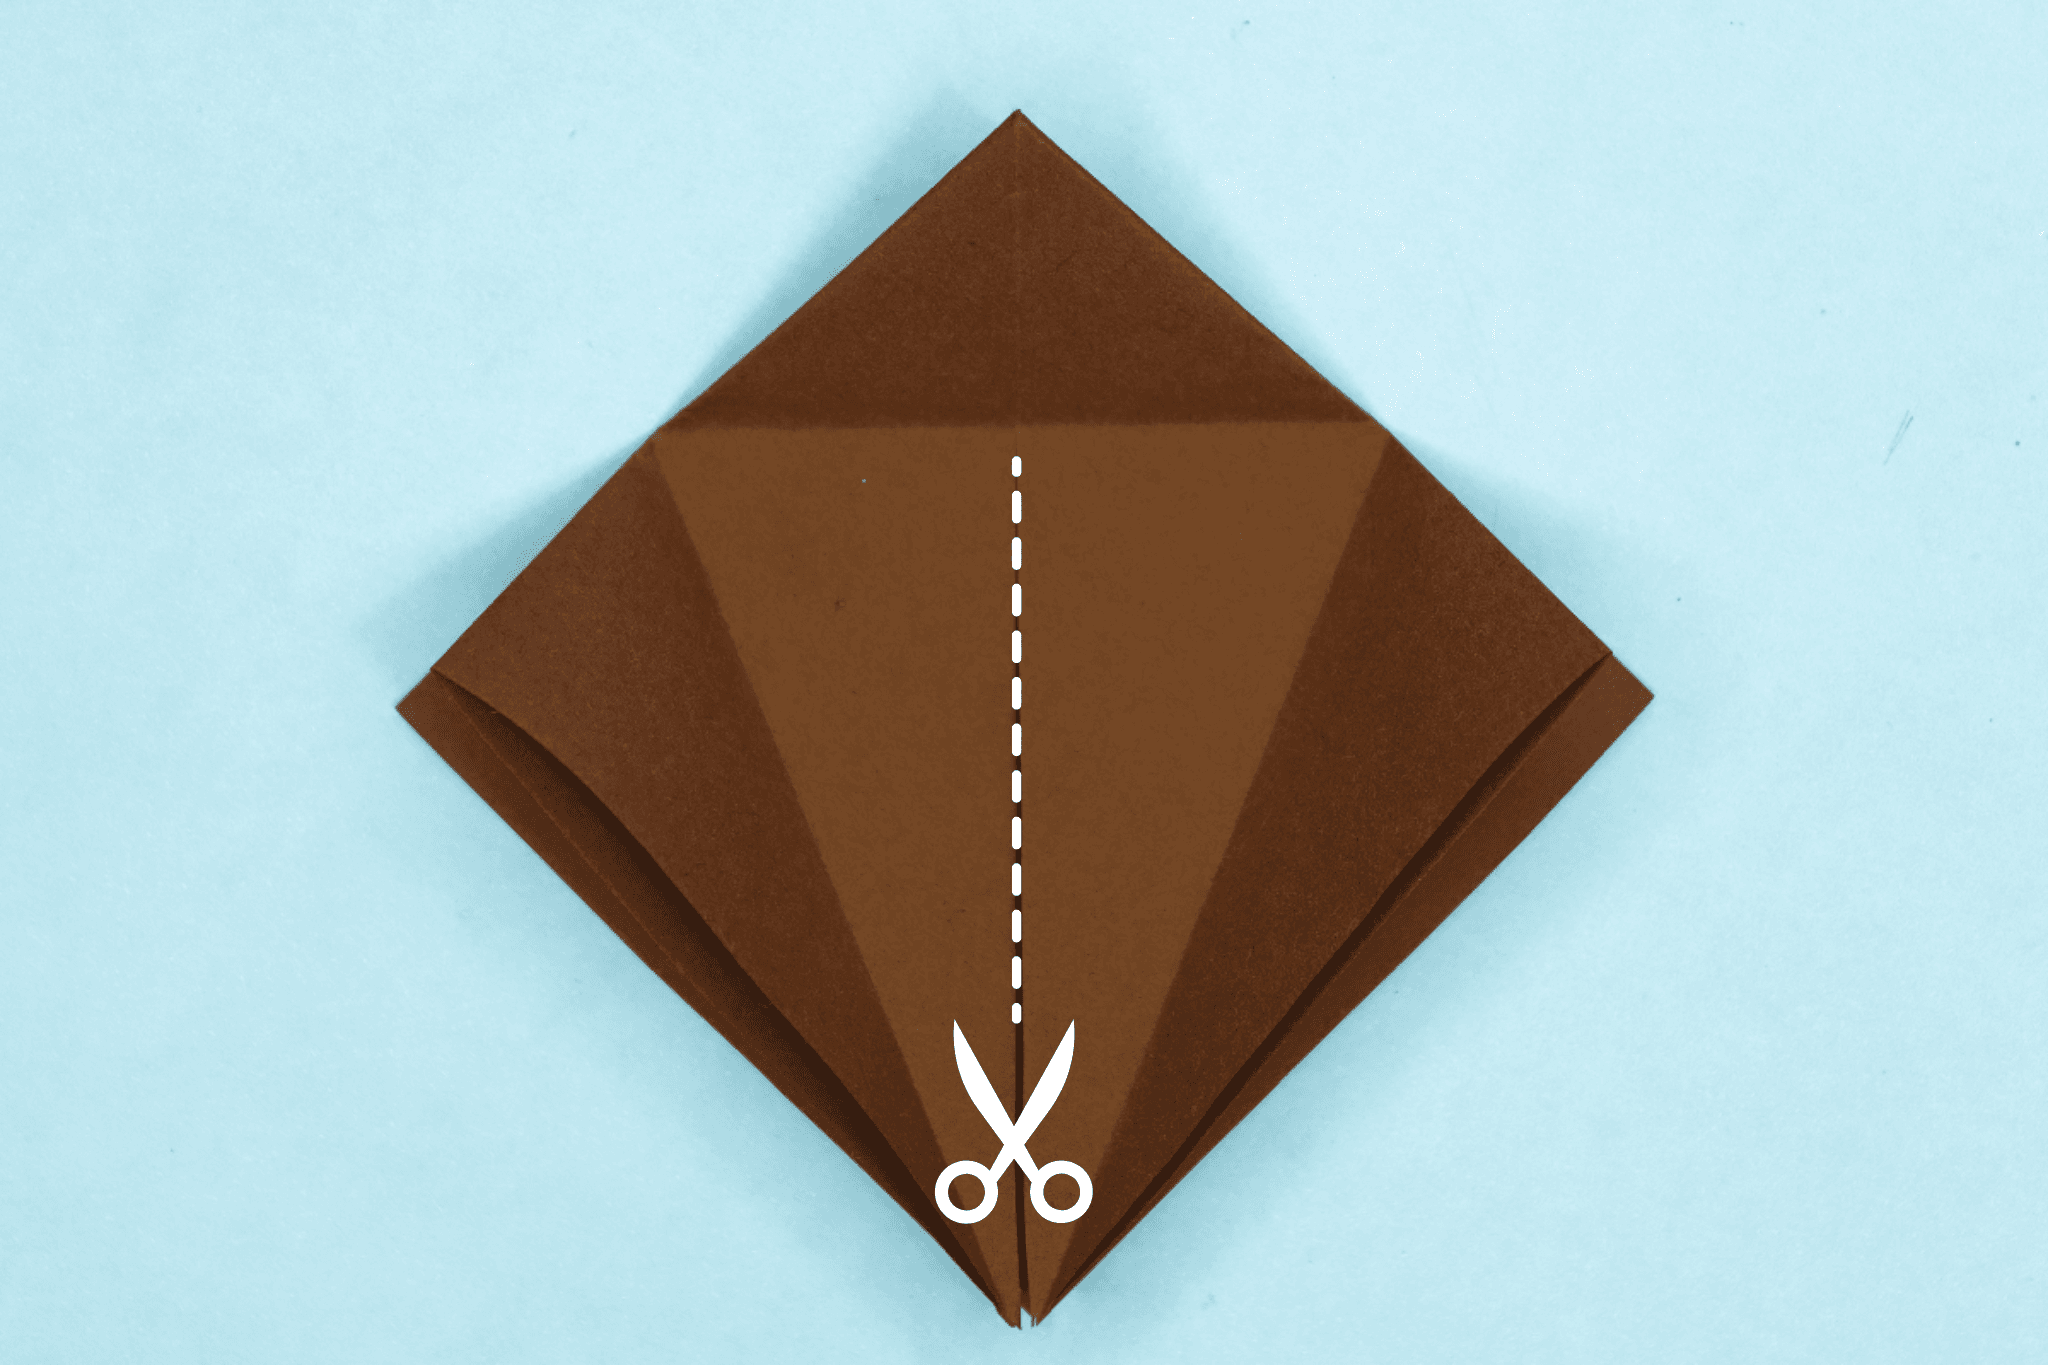
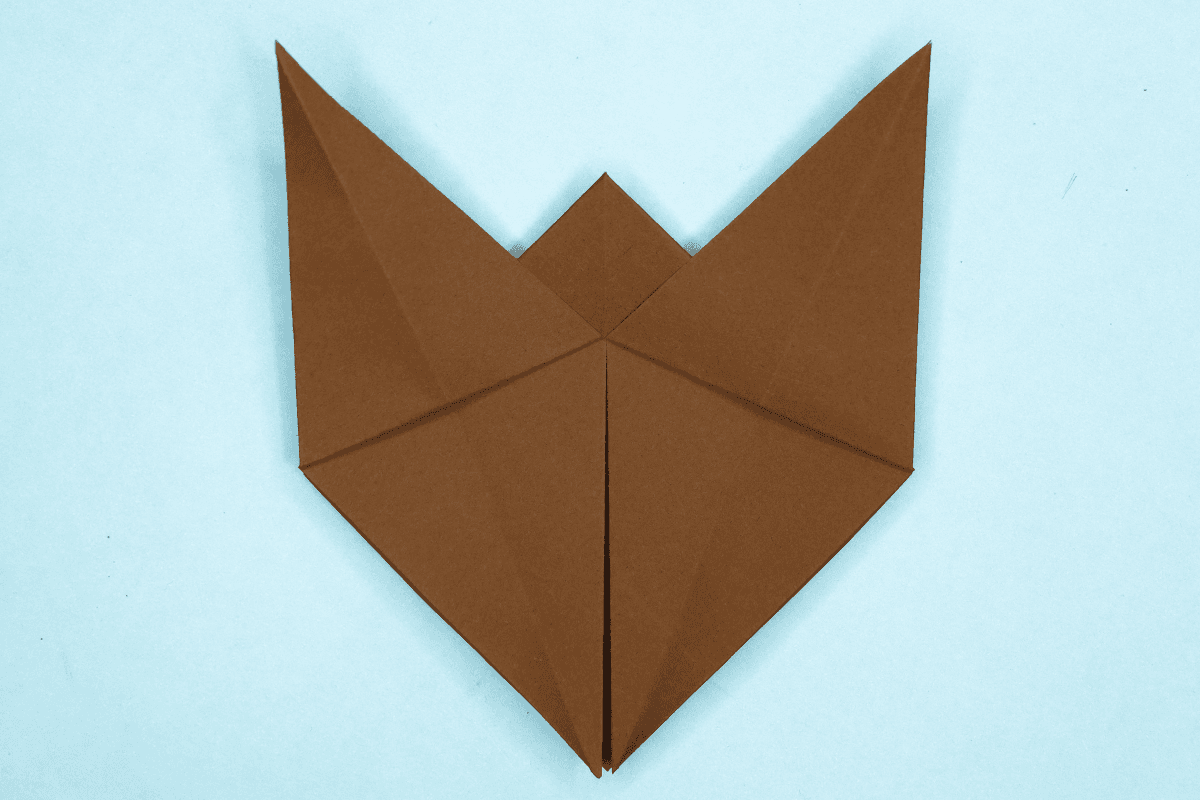
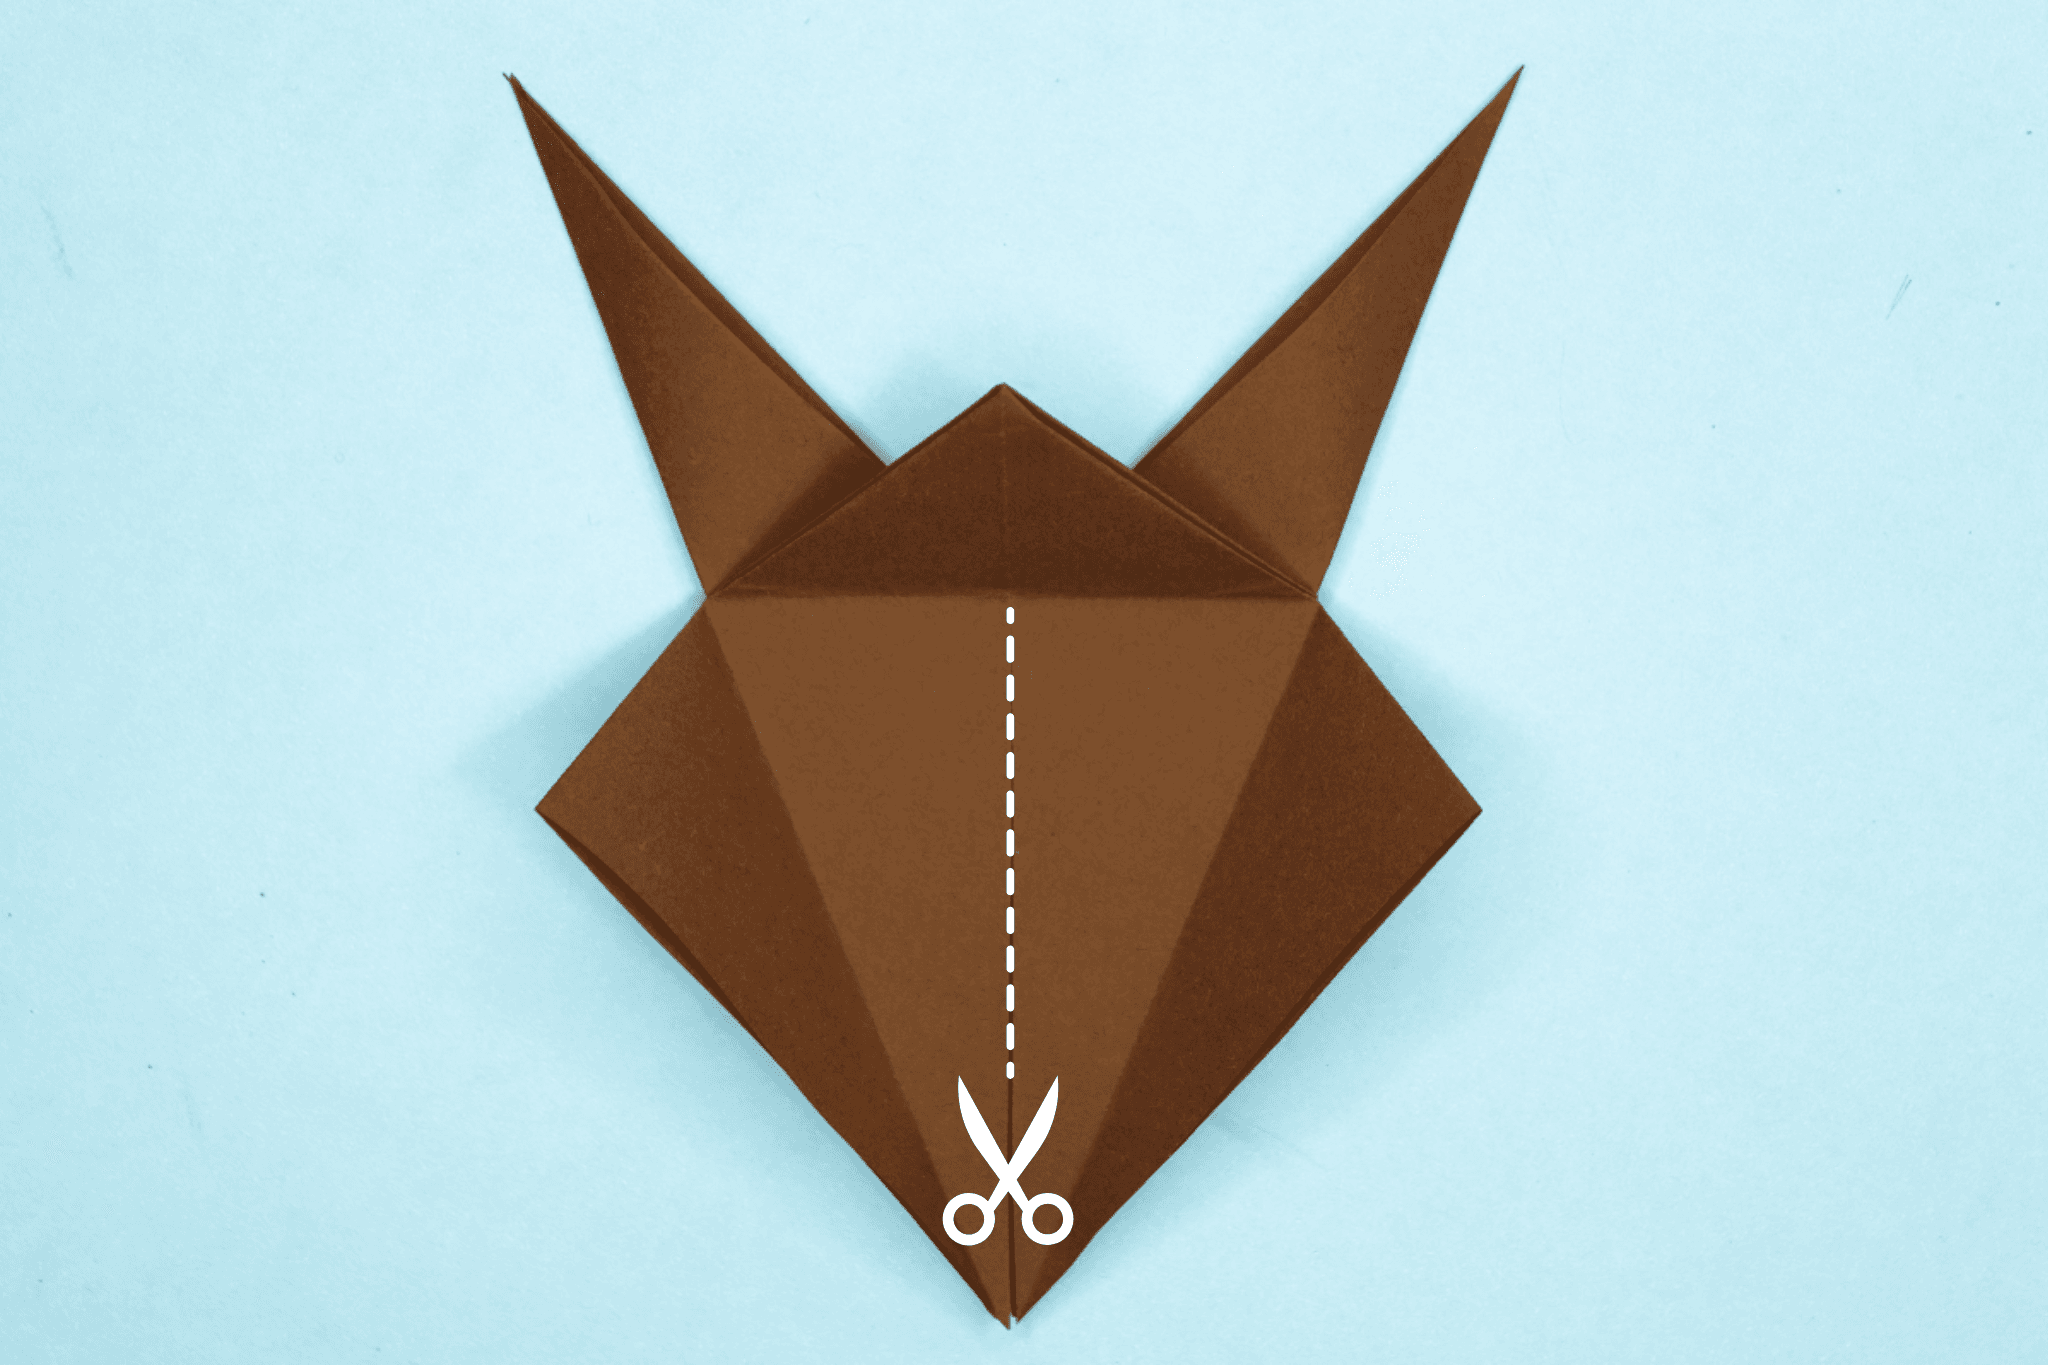
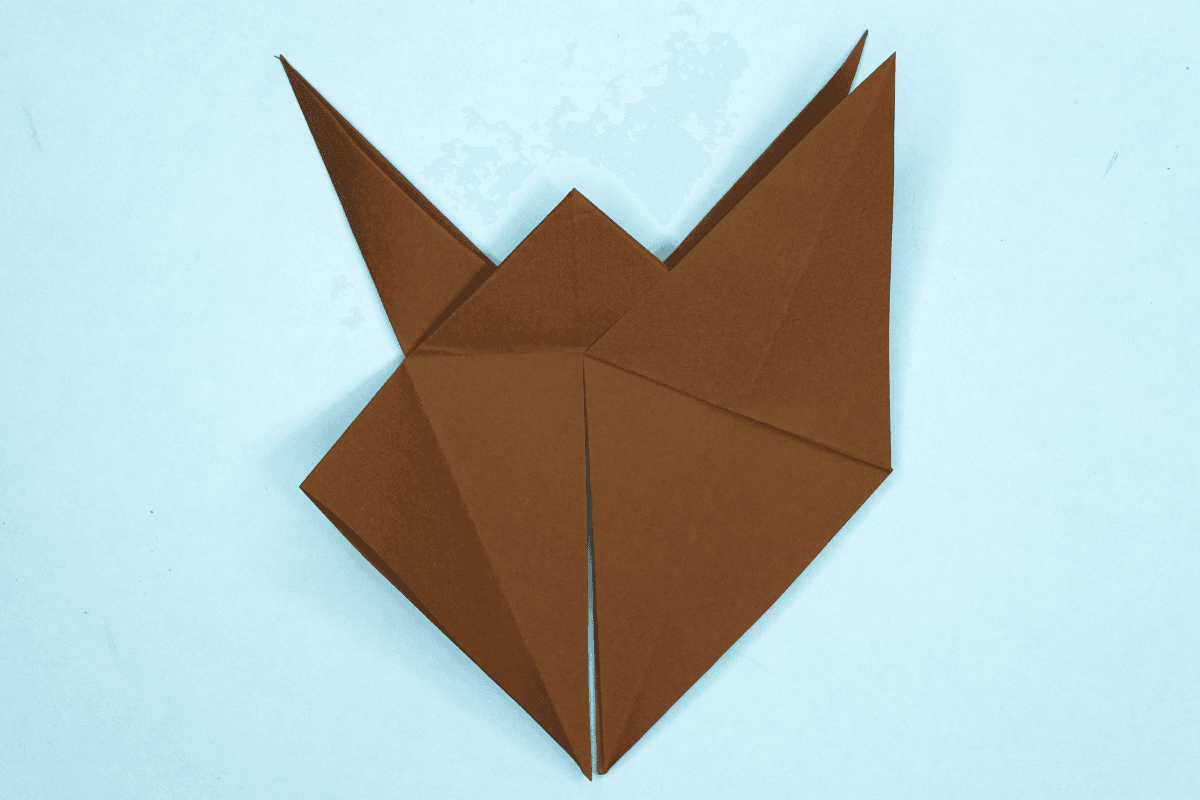
One other thing I want to mention about this origami horse is that it does require scissors. Purists will say this isn't exactly origami then, but the average person doesn't really care. The cuts allow this horse to be one of the "handsomest" origamis out there without being too complex to fold.
Does the Symbolism of the Origami Unicorn and Horse Overlap?
They don't mean the same thing. Thus no. We all understand that the unicorn stands for the magical. The equivalent is the unicorn-like Kirin or Qilin in Japan. Japanese "unicorns" often resemble deer more than their western counterparts, which more closely resemble a type of horned horse.
Unicorns may be just as uncommon and unique in origami. After all, getting that trumpet to sound just right is difficult. However, they are also one of the main pleasures of folding paper to create something totally original.
How is the Origami Horse Sealed?
Origami Horse can be sealed with wax. Making origami watercraft with melted beeswax or soy wax is a great method to organically waterproof your creations. Just fold the boat as you like, then cover all exposed surfaces with molten wax using an old paintbrush.
Can I Fold an Origami Horse Using Waterproof Paper?
It is indeed usable. By choosing water-resistant materials in advance, you can waterproof origami. For use in origami, several firms provide waterproof and tear-proof paper. The perfect surface for outdoor origami is a synthetic material called Tyvek, constructed of flash-spun polyethylene strands. Another choice is wax paper that has been precisely cut to the required size.
How to Make an Origami Horse?
Follow the steps below to make this handsome origami horse.
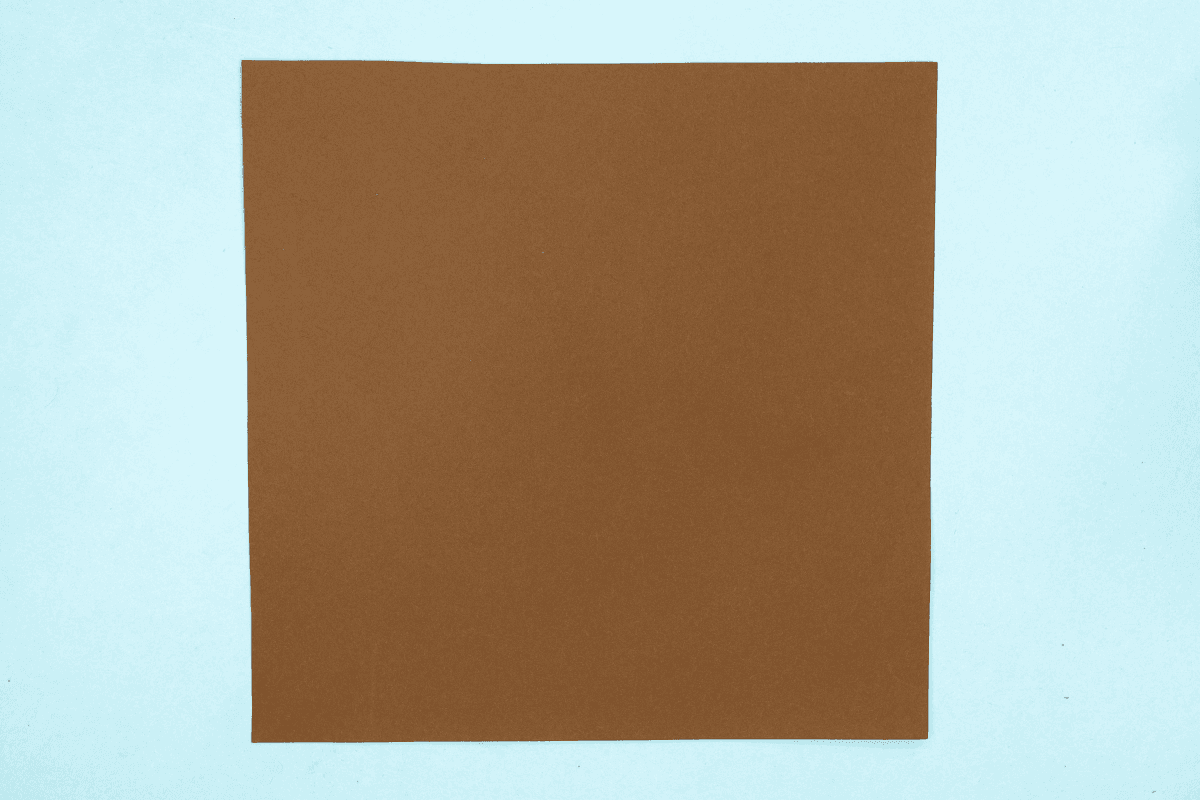
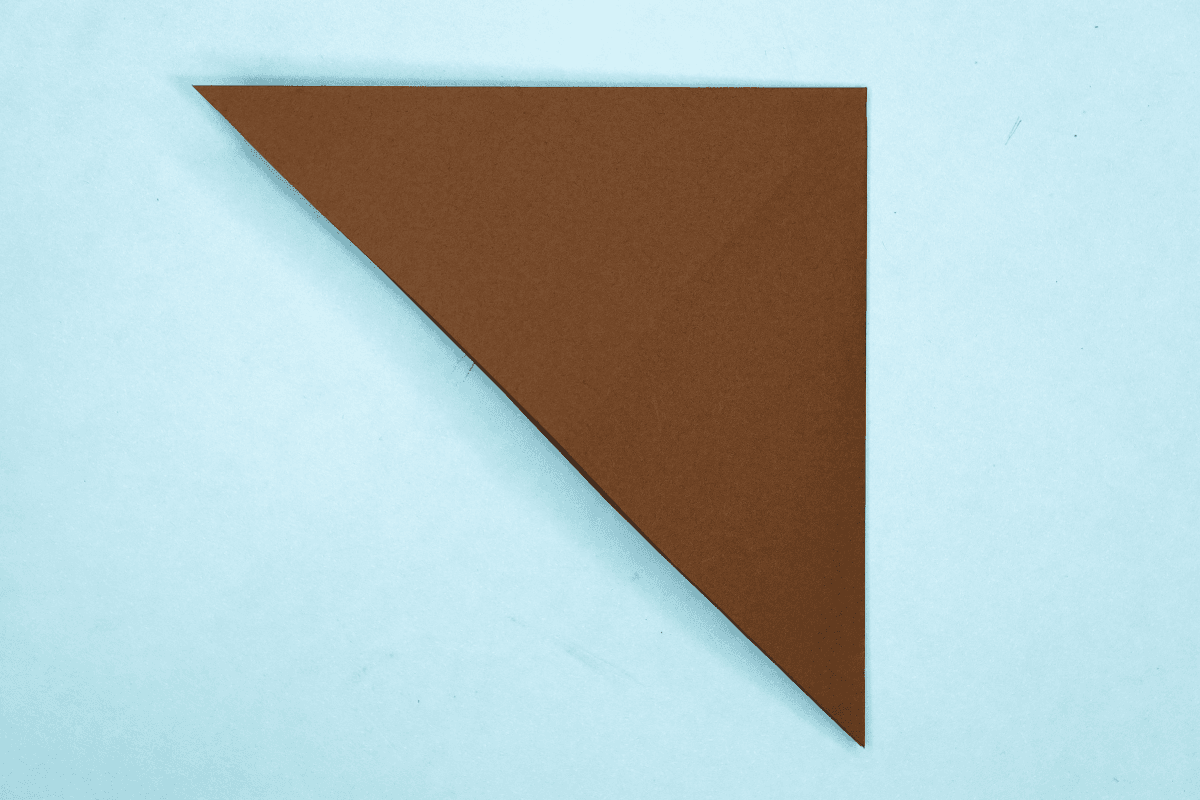
Step 1: Start with a square piece of origami paper, but if you only have regular 8.5x11 paper, follow these instructions to make a square sheet. | |
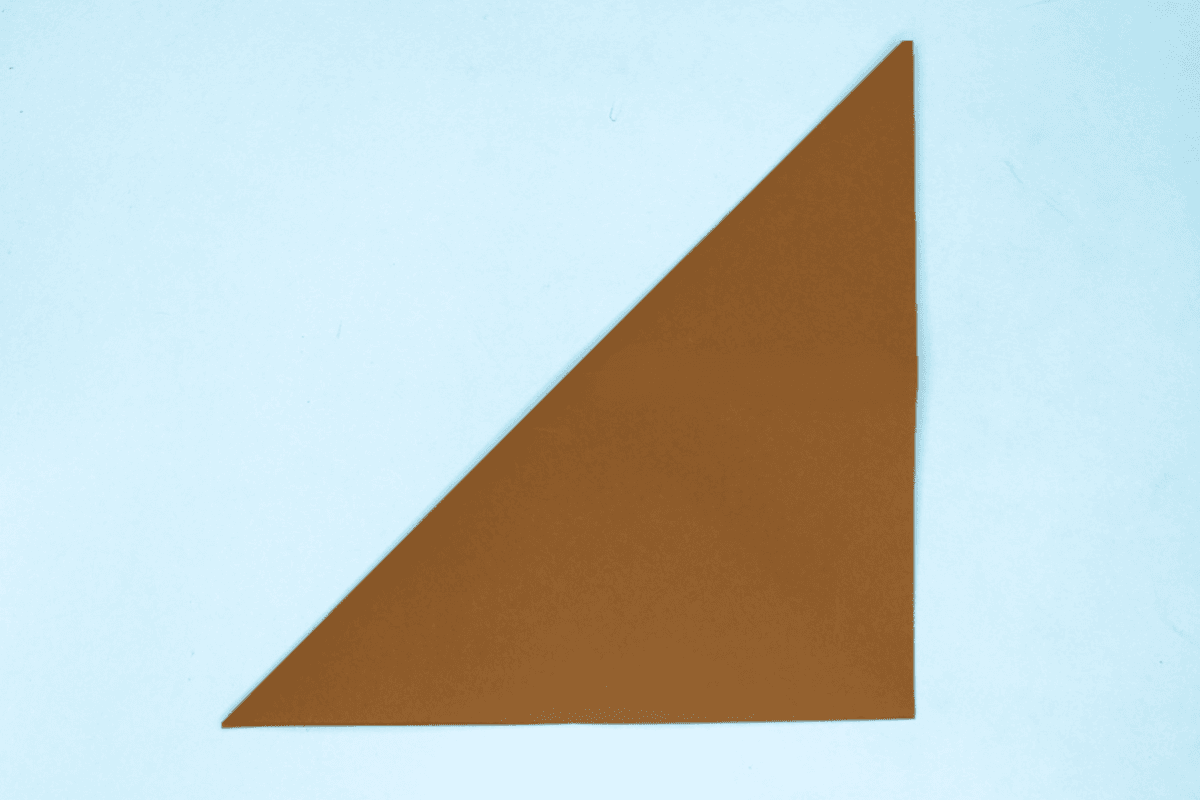
Step 2: Fold the paper in half from top corner to bottom corner. | |
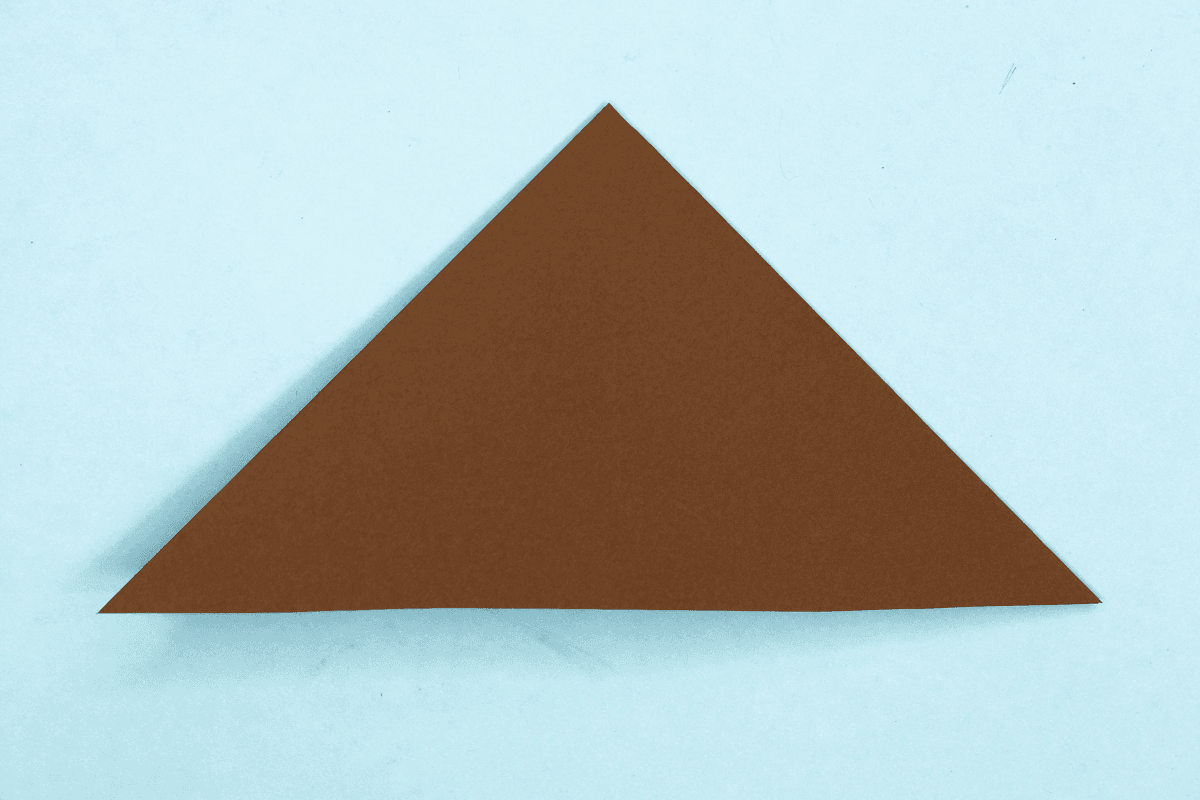
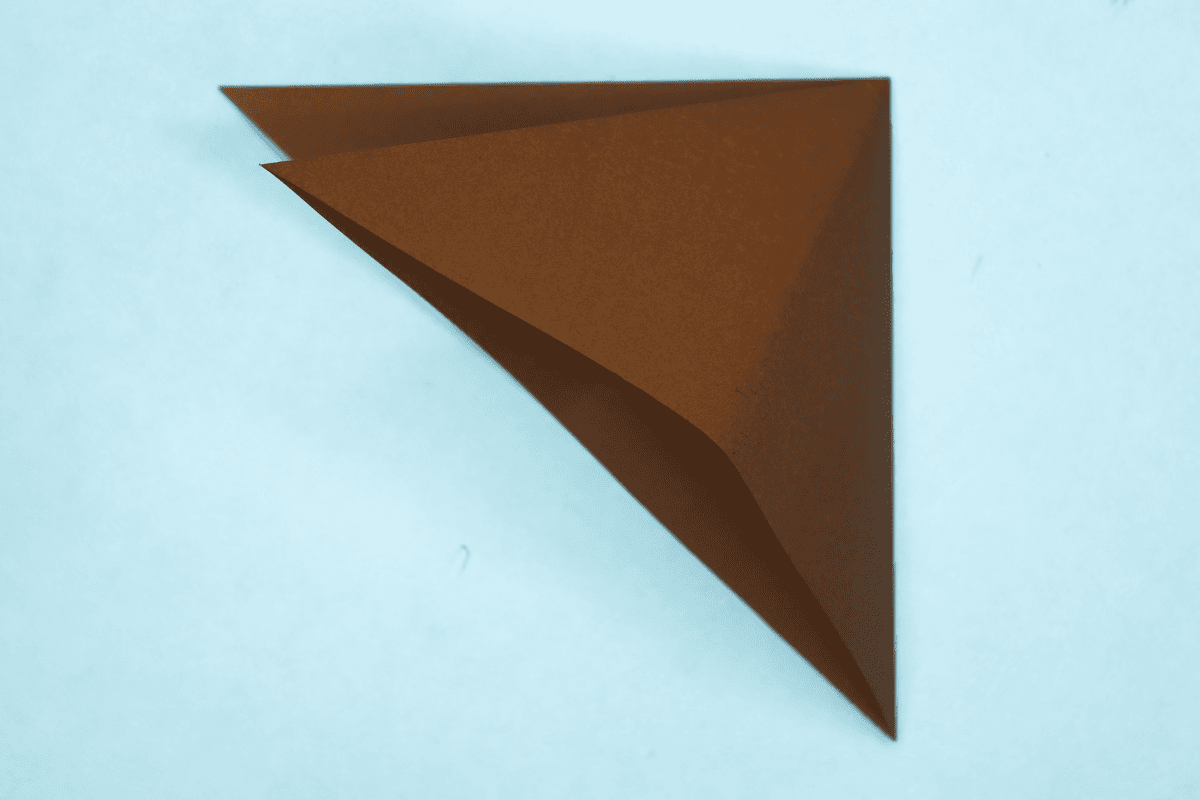
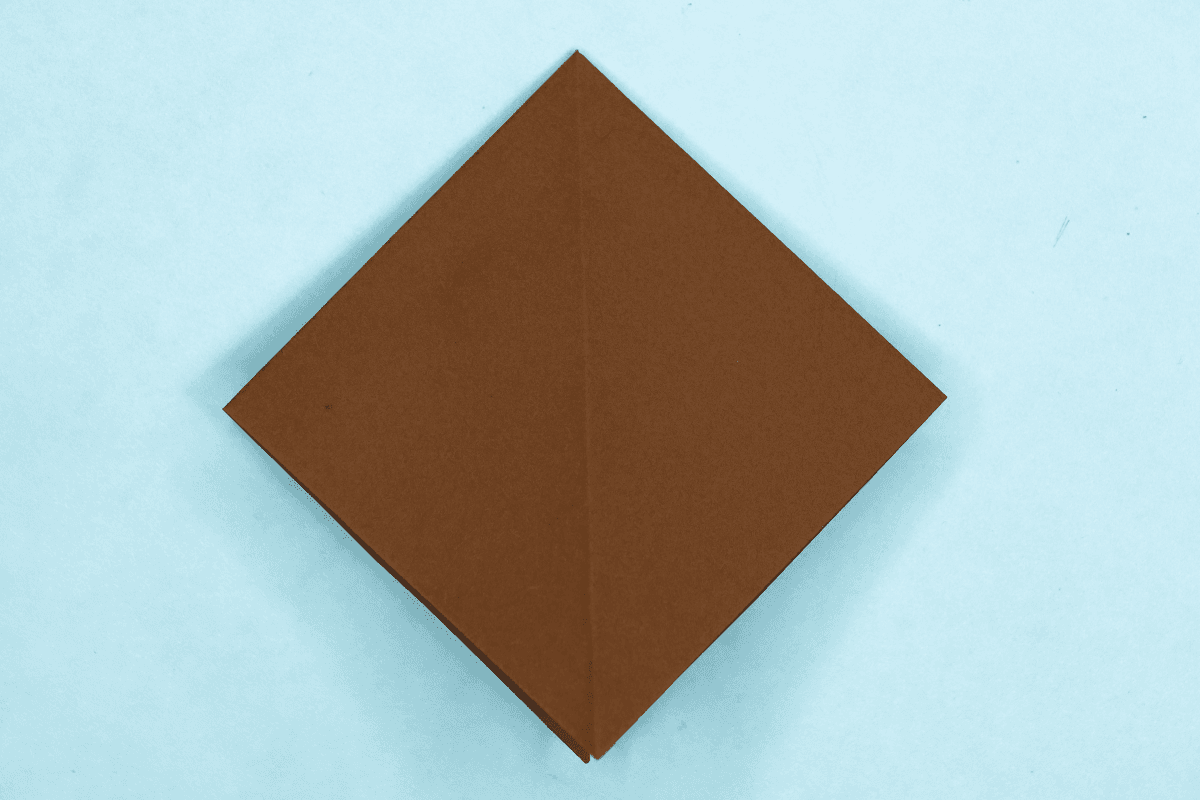
Step 3: Fold in half again from left corner to right corner. | |
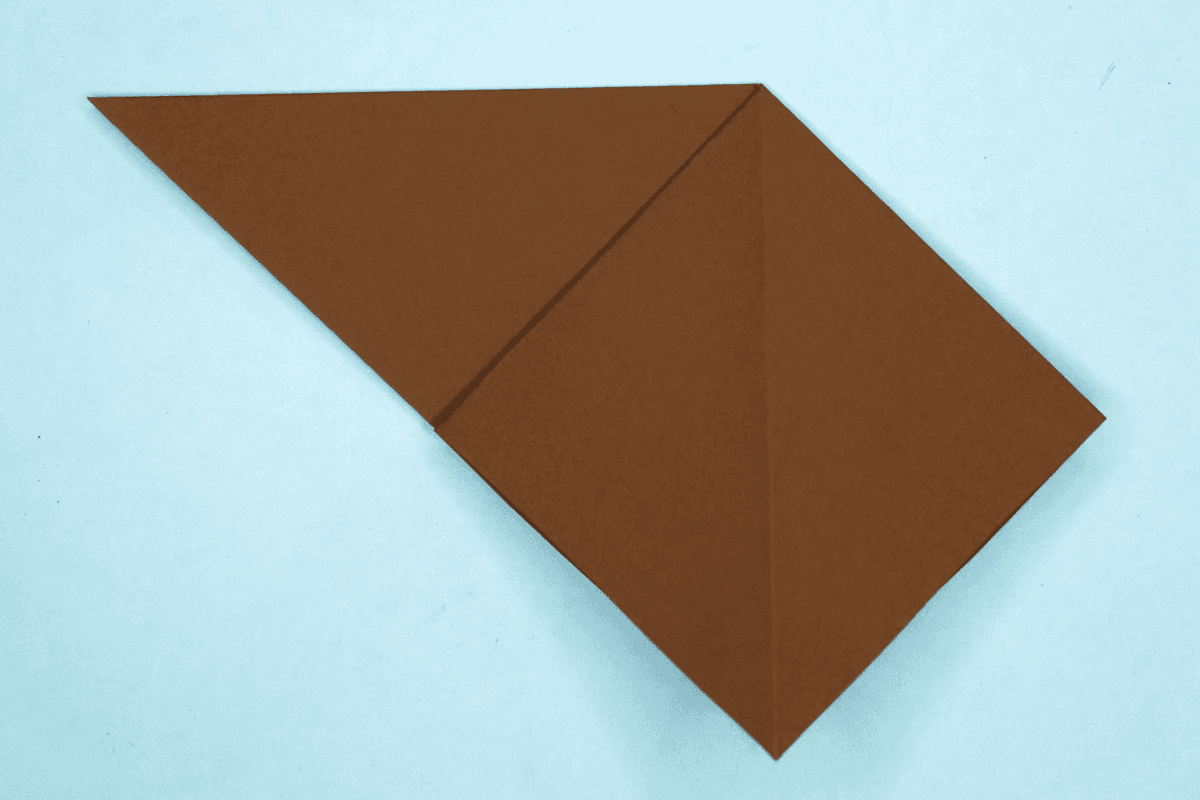
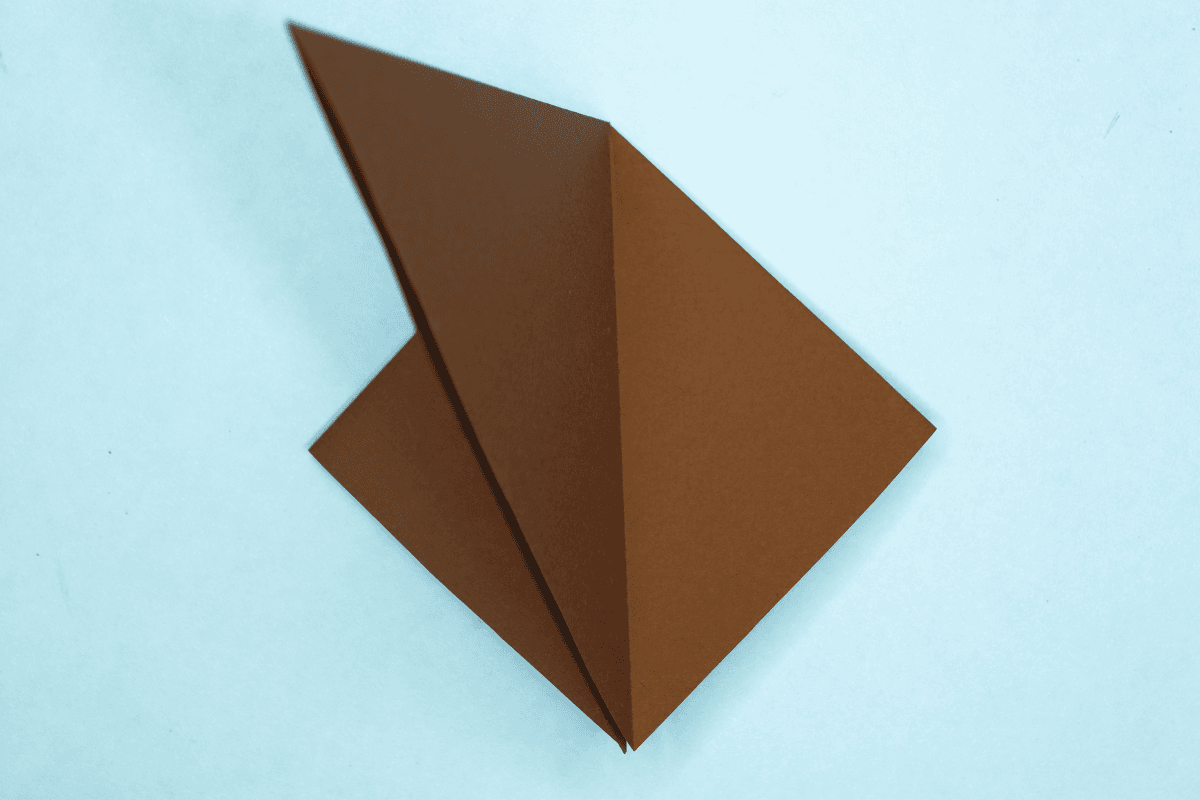
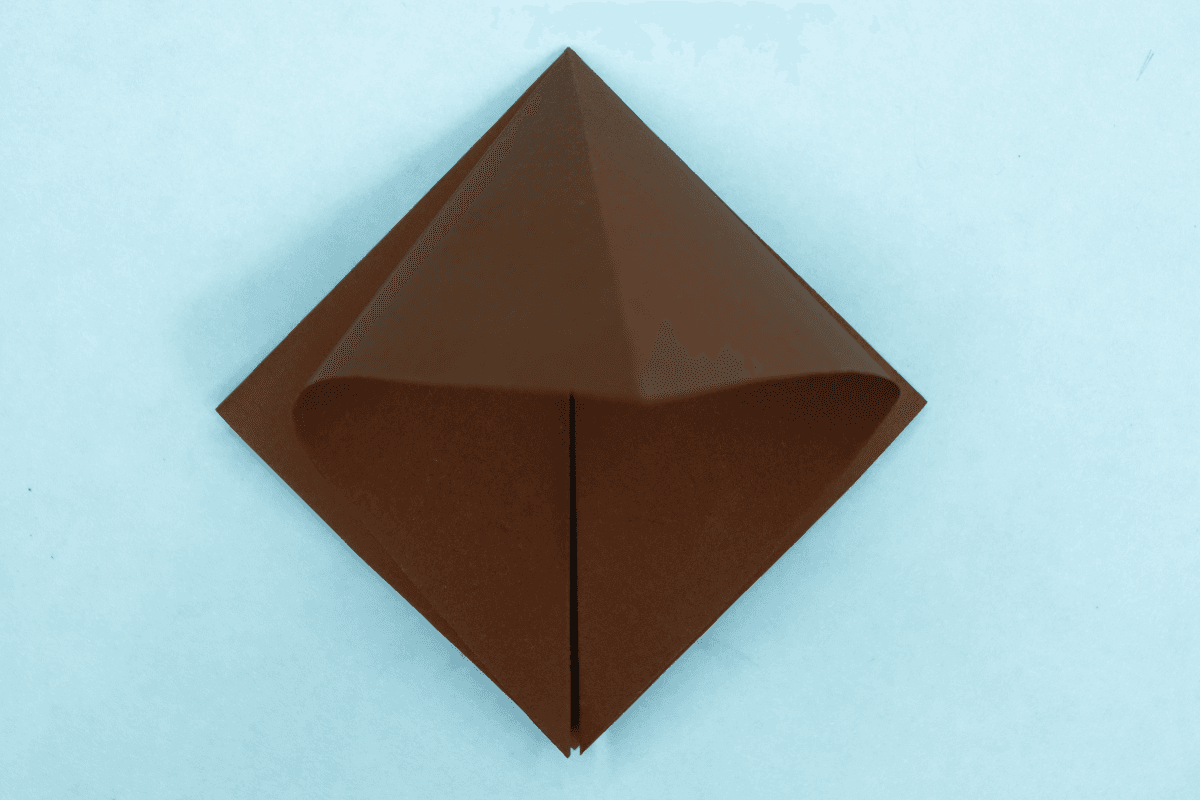
Step 4: Squash fold the upper layer. To do this, open the upper layer and fold down while creasing the sides. | |
Step 5: Turn over. | |
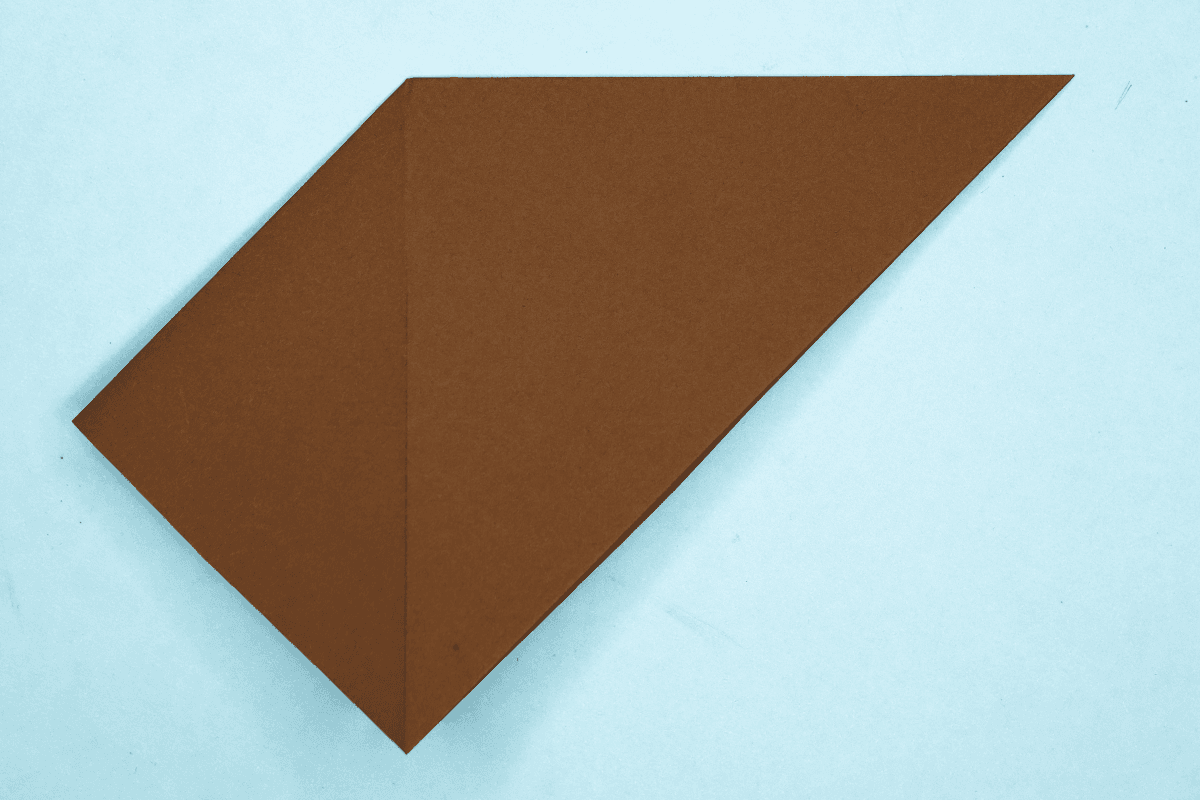
Step 6: Now squash fold the other flap. To do this, make the left flap stand vertically, then open up and squash down. | |
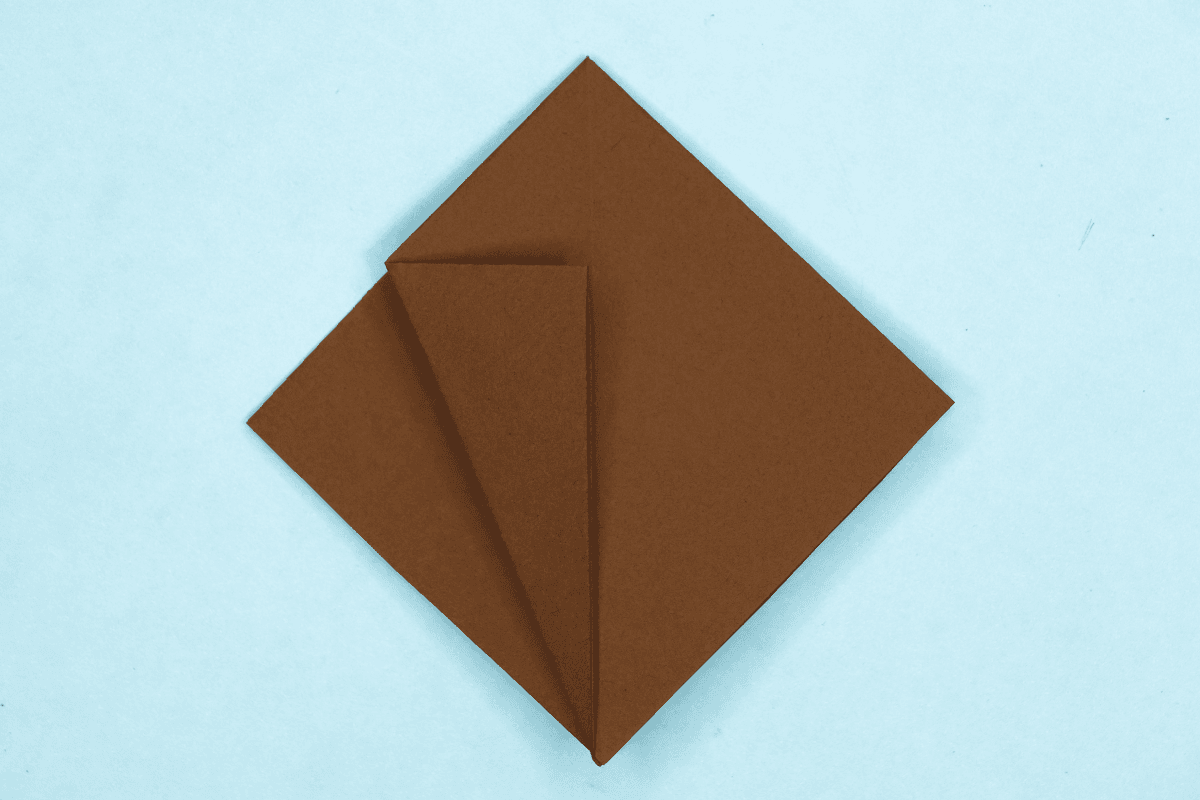
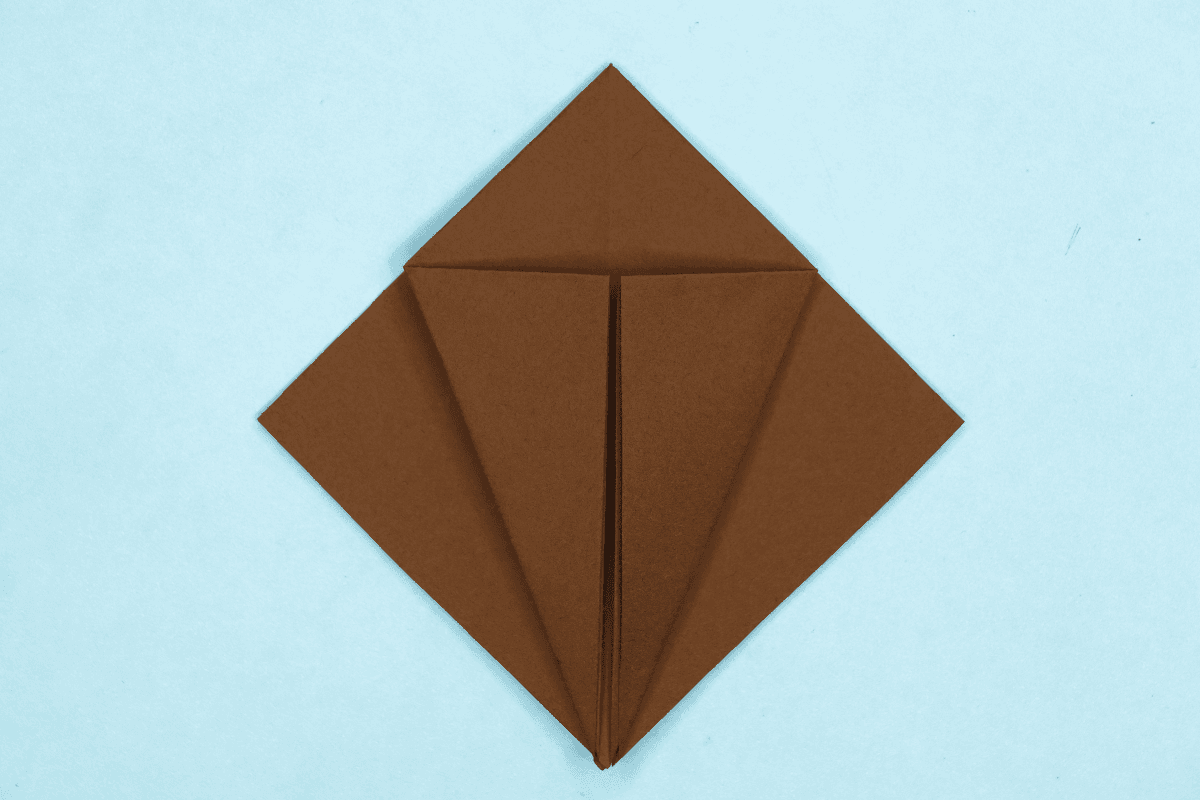
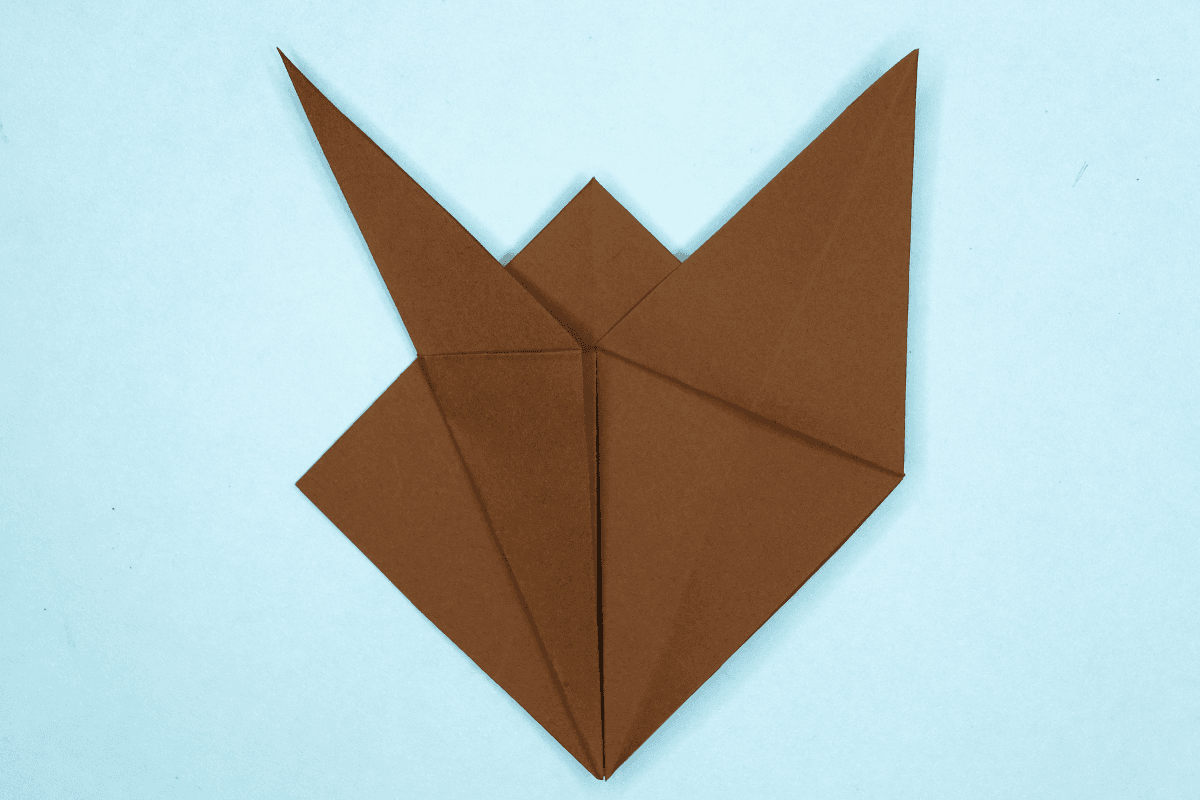
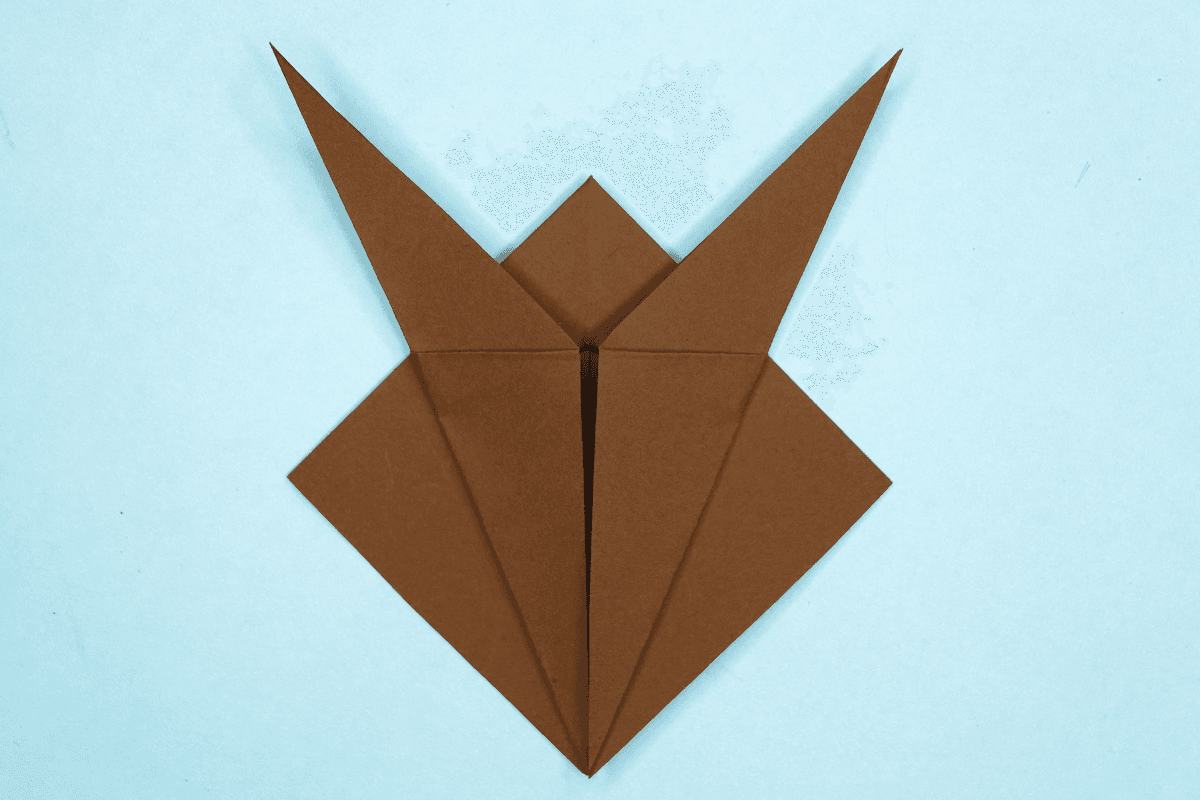
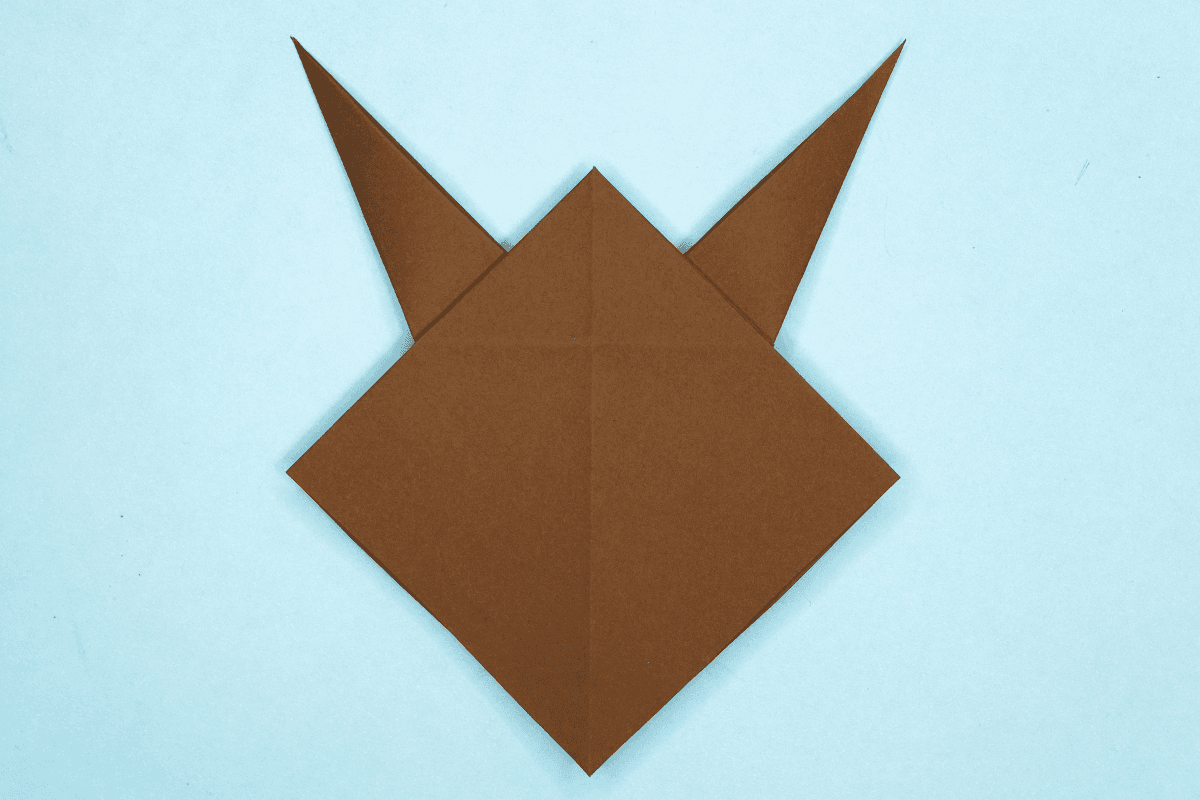
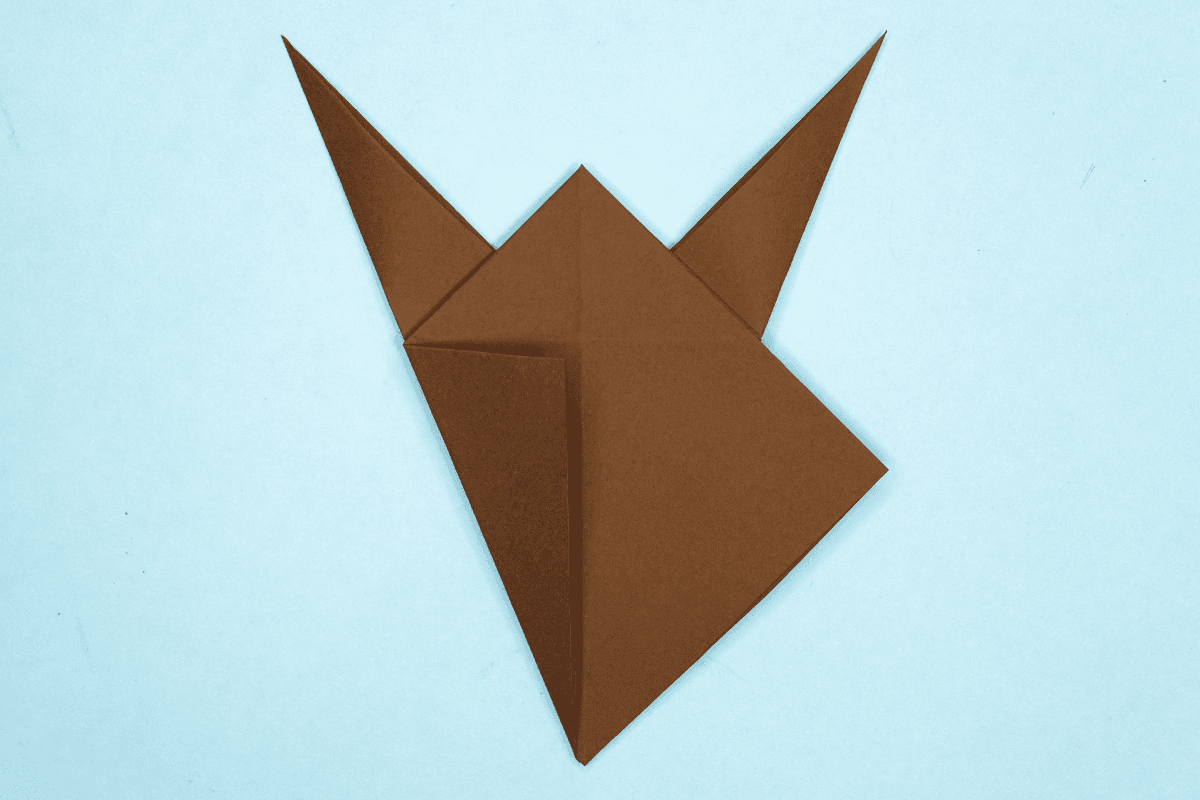
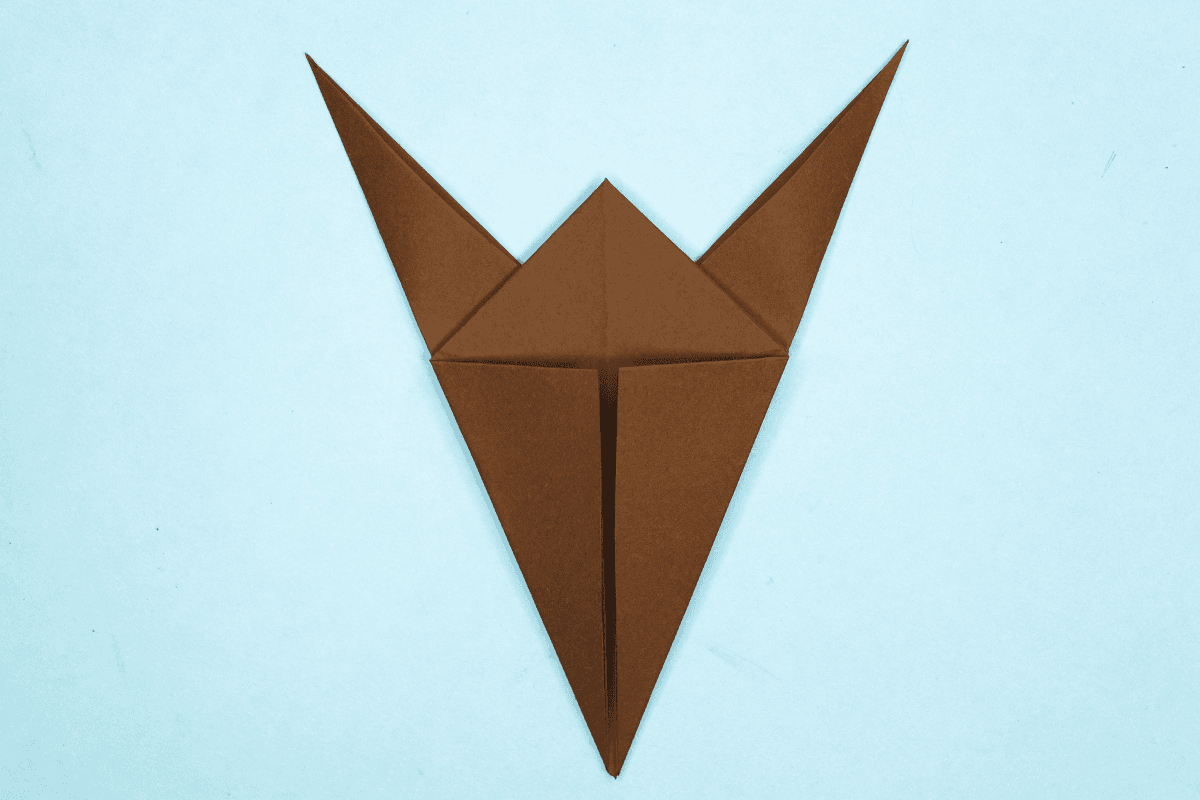
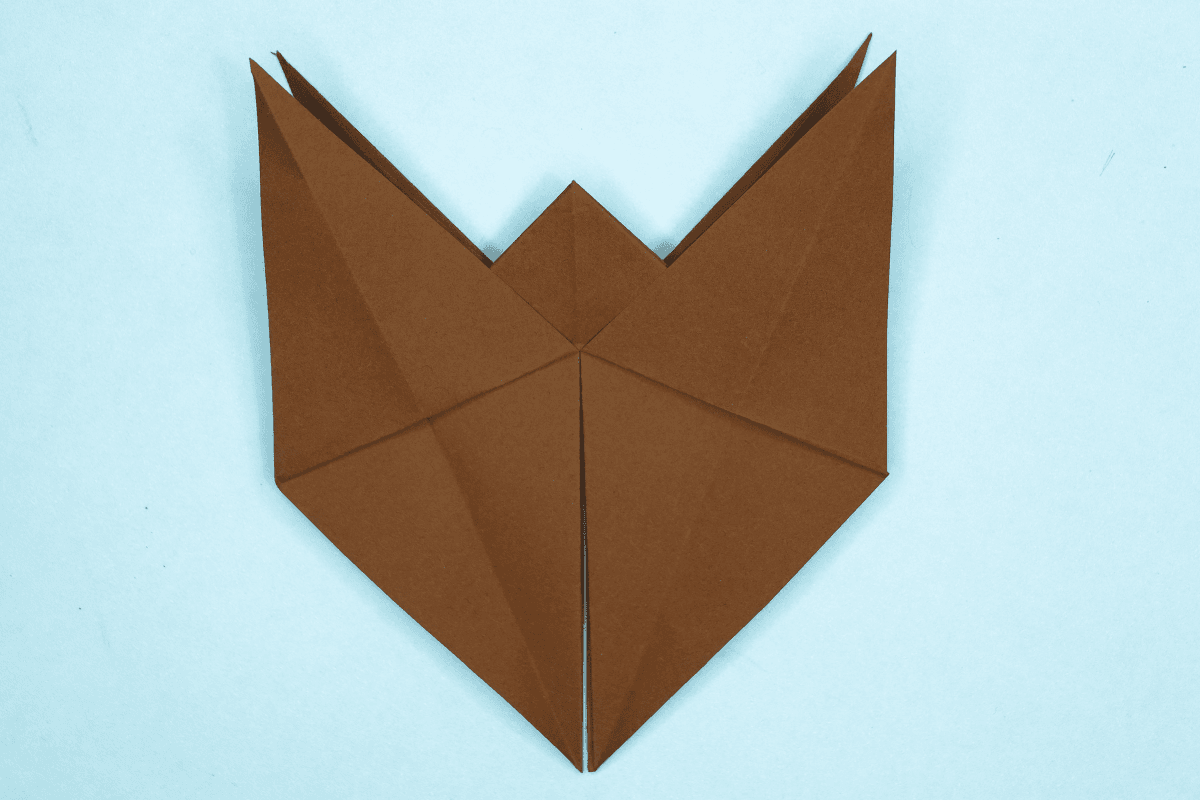
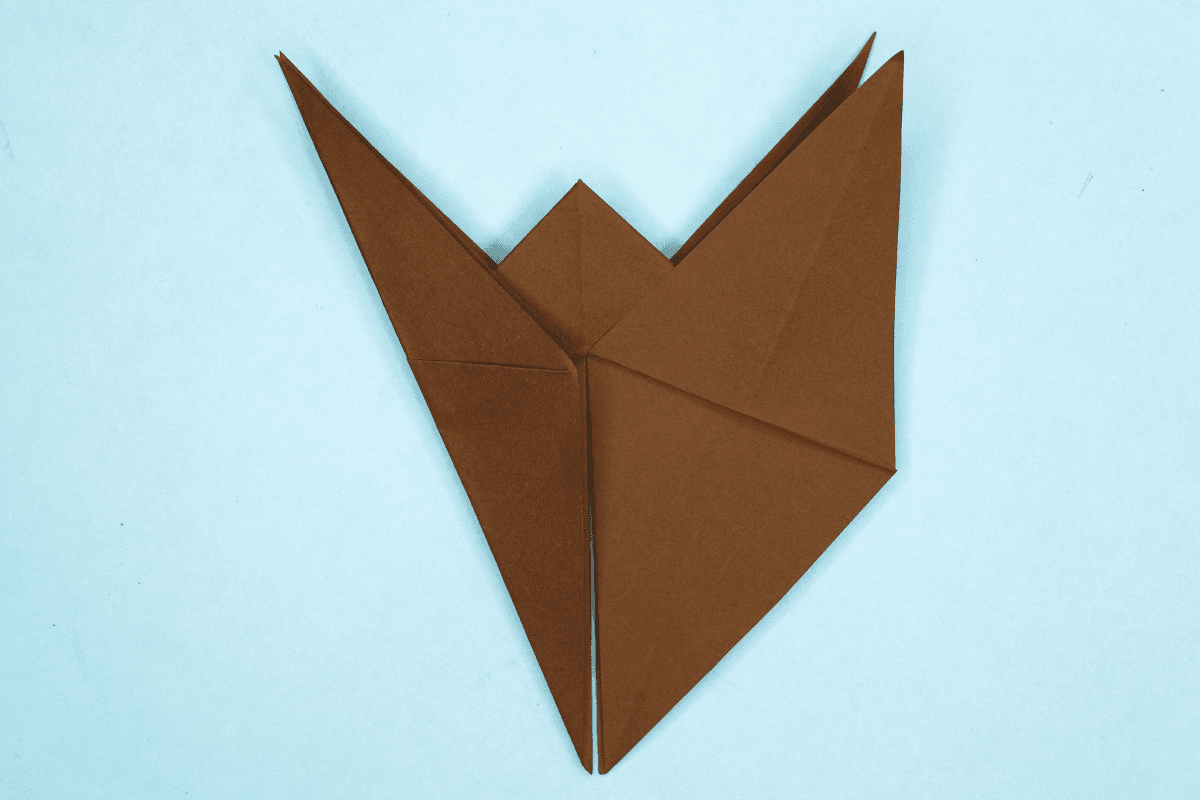
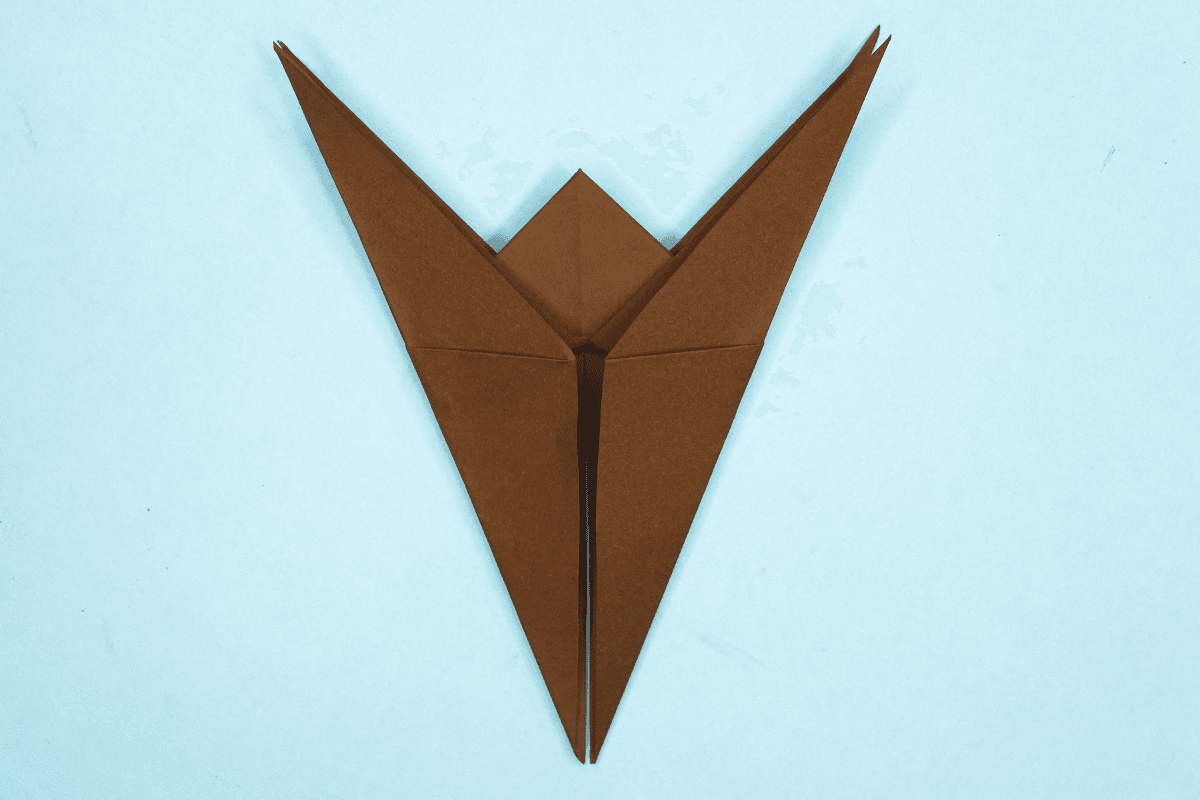
Step 7: Fold the left and right sides of the upper layer to the center. | |
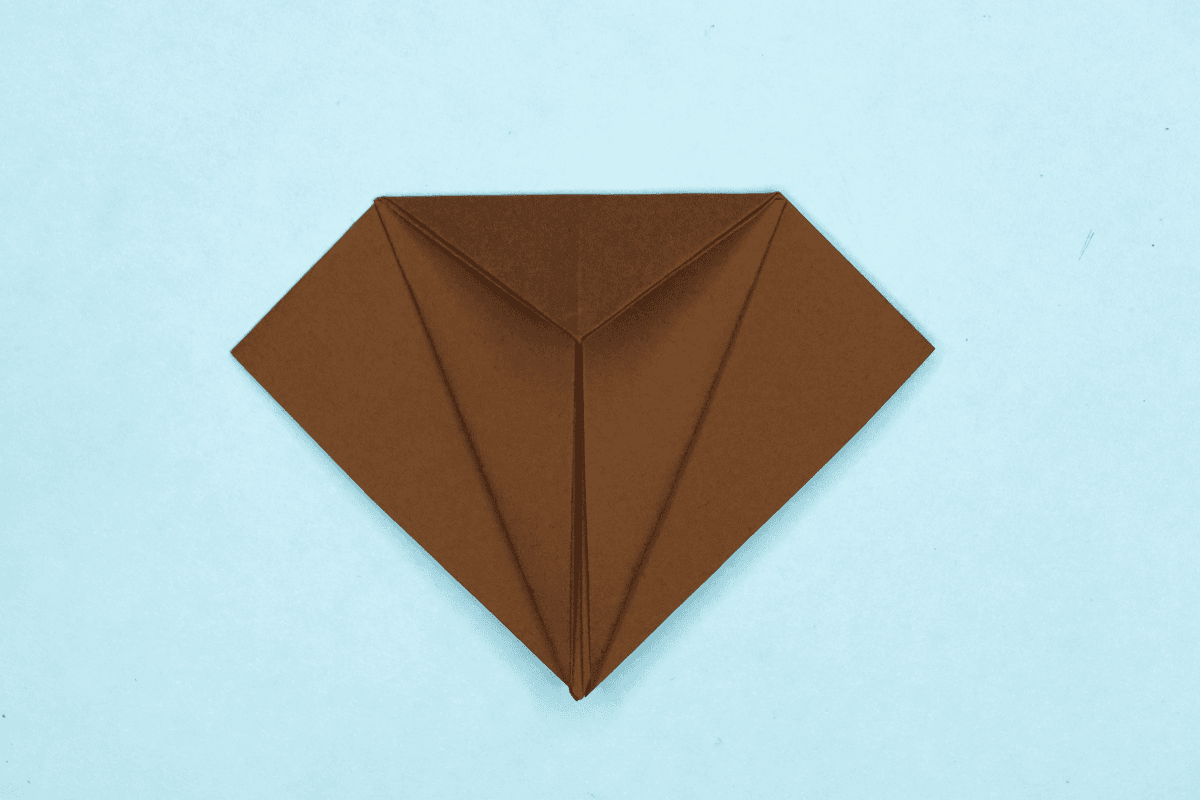
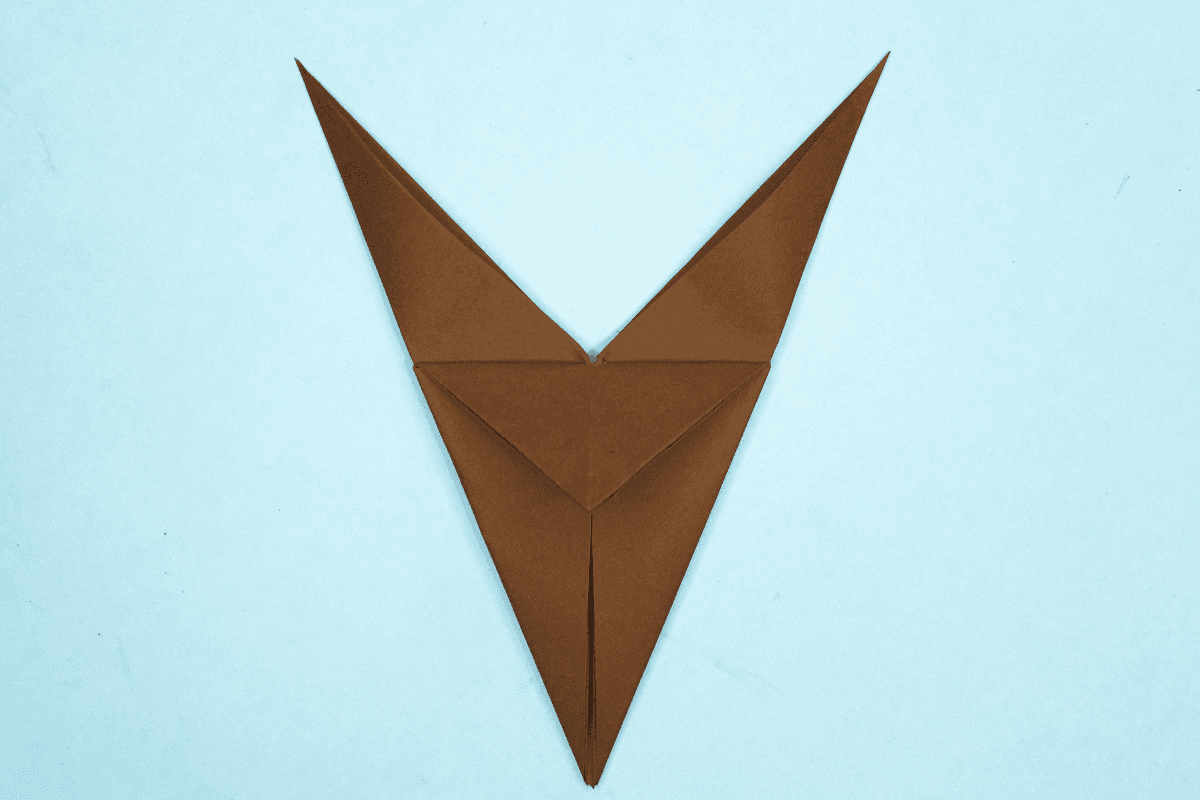
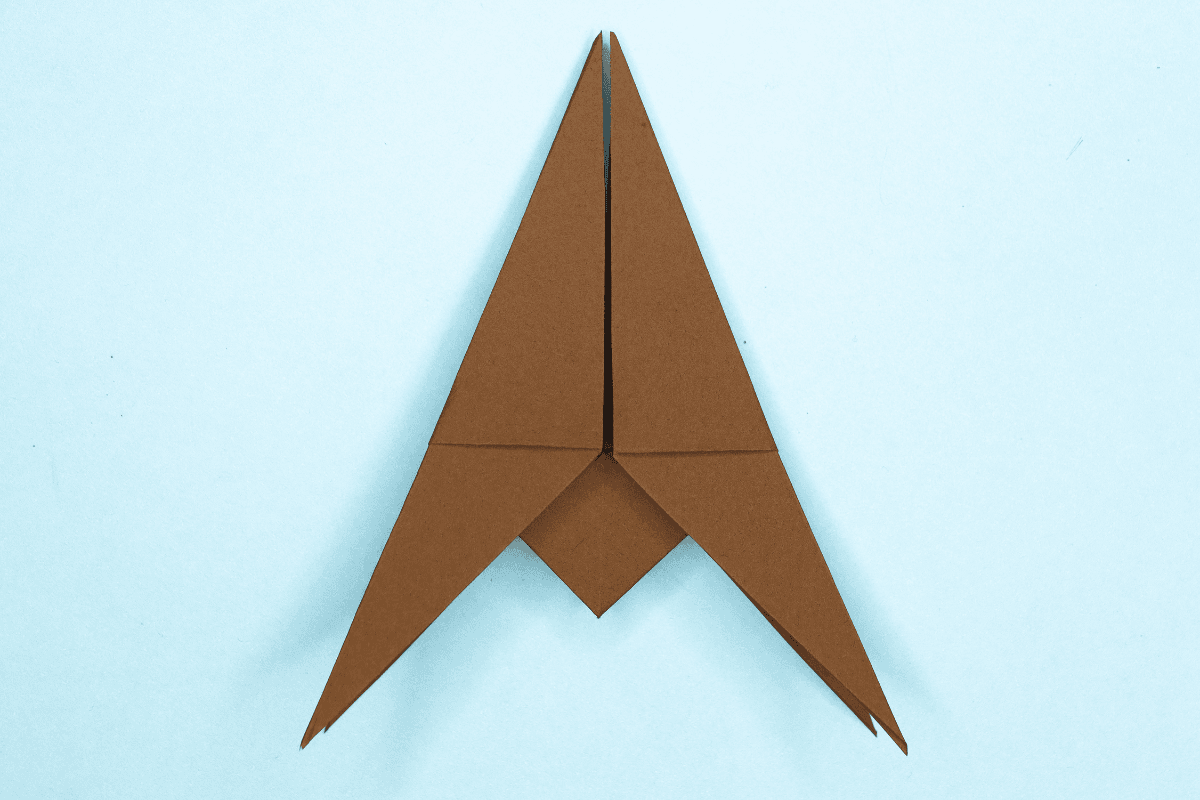
Step 8: Fold the top corner down. Go to Next page to continue making the origami horse. |