Origami Jumping Frog Instructions

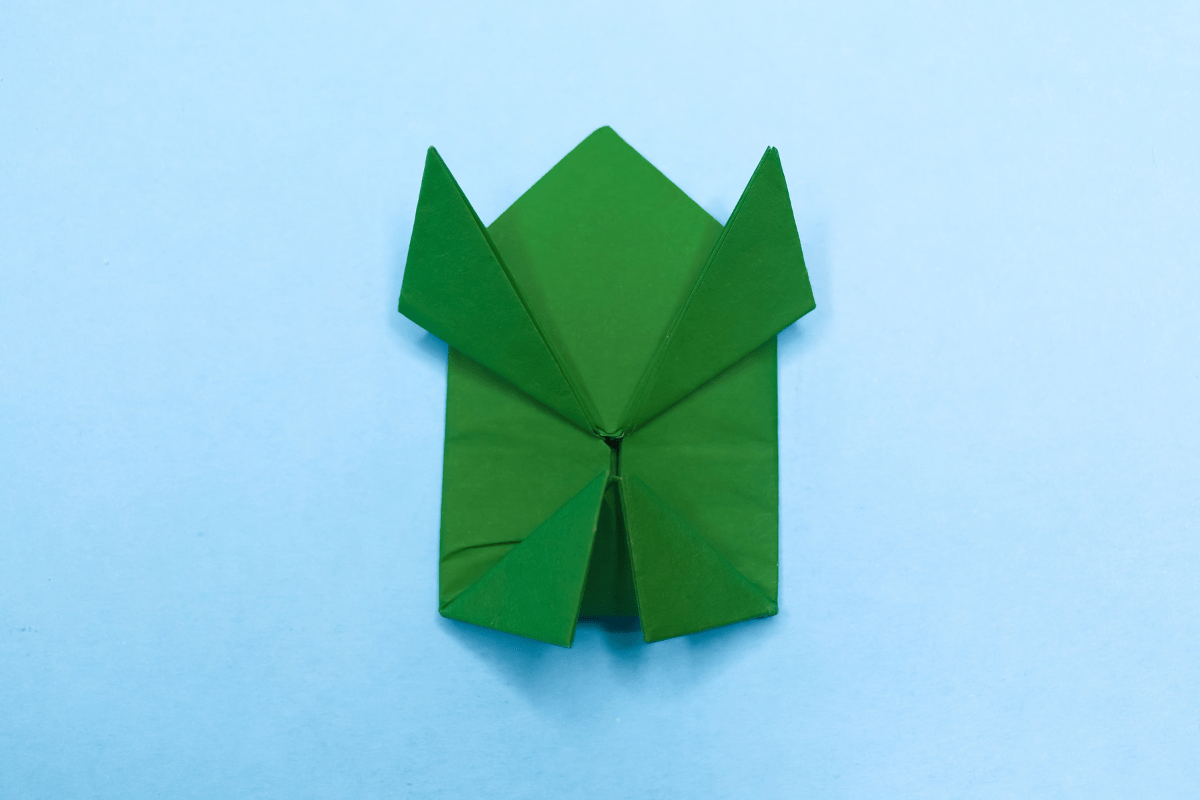
Jumping frog final step
Difficulty: Intermediate
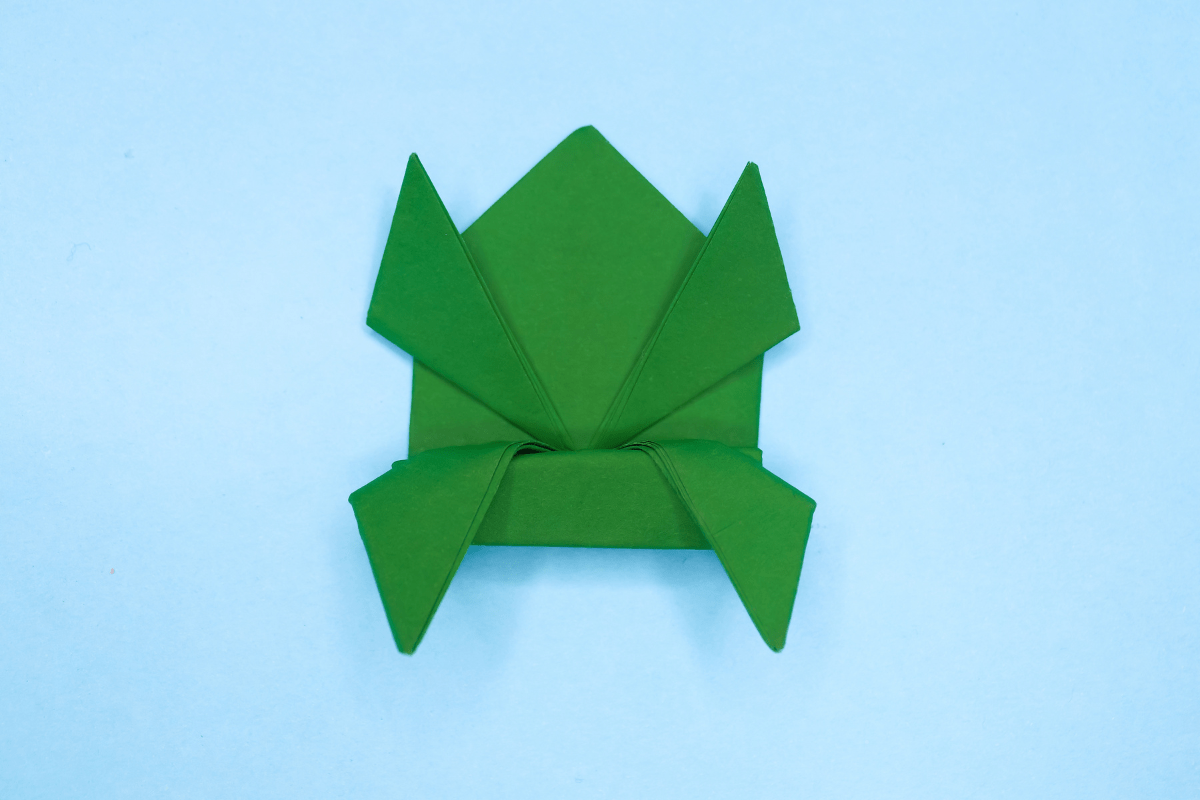
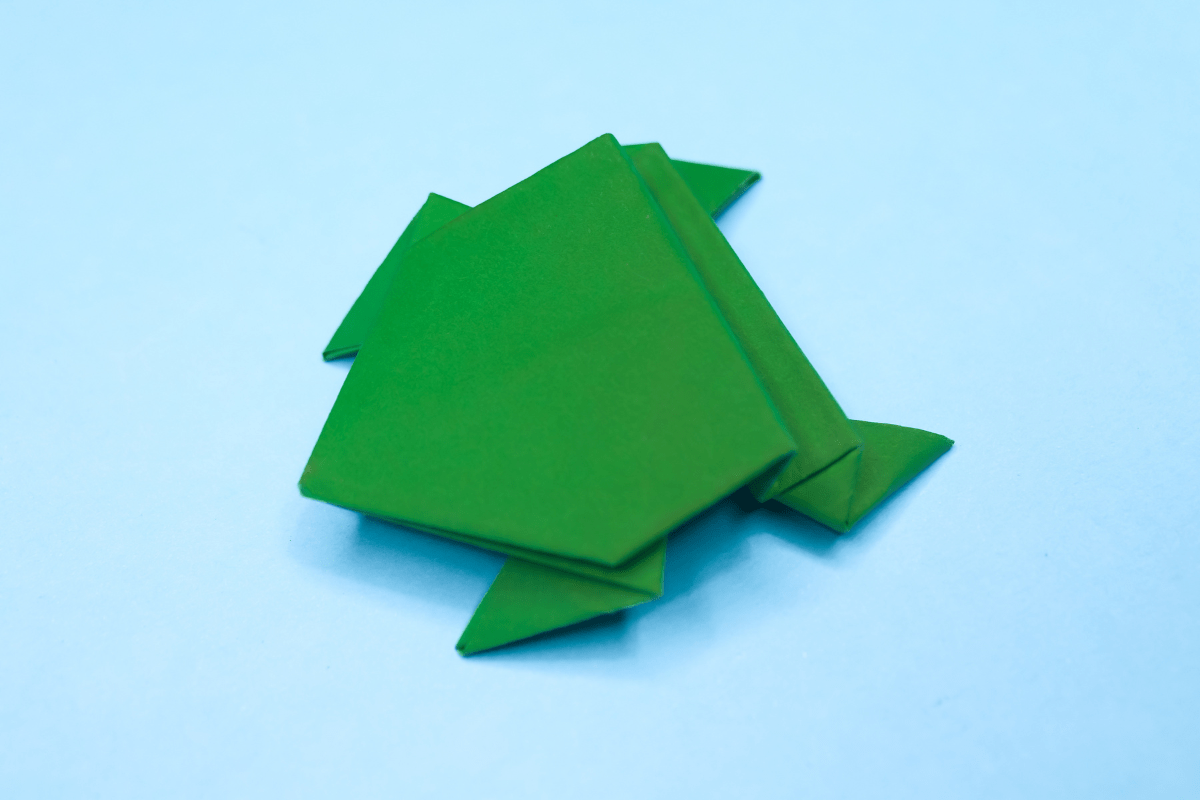
Fold a fun origami jumping frog! Follow our easy step-by-step tutorial to create a frog that really hops.

Follow these origami jumping frog instructions to make one yourself. It’s really cool to see it in action and really fun to play with. Just press on its back and watch it hop.

If this is for a child to fold, there’s an even easier version of a jumping frog available on our website.

Japanese culture has a few different meanings associated with frogs. The most well-known definition is that they symbolize fortune. To ensure that their money is always abundant and used wisely, it is highly typical for Japanese people to keep miniature frog origami in their wallets.

When visiting the Las Vegas casinos, Japanese travelers frequently have a frog figurine with them. The hopping frog is an excellent gift for someone who wants to try their hand at the age-old Japanese craft of Origami, whether they are adults or children.

Some Tips on Folding This Jumping Frog

The paper must be folded repeatedly on top of itself to create the origami frog the more you fold the harder the paper gets. Use origami paper for a smoother procedure and a neater-looking frog; it’s a little thinner than printer paper and easier to fold. As a result, if you want to create a frog that can jump a long way, use thicker paper.

It won’t be as easy to fold and may not seem as clean, but your frog will have much more bounce in its rear legs. It will also assist your frog jump if you start with a smaller piece of paper. However, if you use origami paper that is 6 inches square, all you will get is a 2.2-inch frog. Try a printer paper square with sides that are 2.5 inches long for optimal results.

After folding your frog, swiftly slide your finger off the folded “legs” to make it jump. To do this, press down with the tip of your finger on the folded “legs.” The origami frog could do a perfect flip in the air and land back on its feet, depending on how firmly you press the legs down.

It is entertaining to attempt to direct the frogs into objectives or to watch which frog can jump the farthest.

Who Invented Origami Frogs?

The Japanese designer Nishikawa Sukenobu (1671–1750) invented frog Origami. It was when he showed women “folding paper” procedures. Among the designs, they folded the jumping Frog.

Step 1
Jumping frog step 01
1
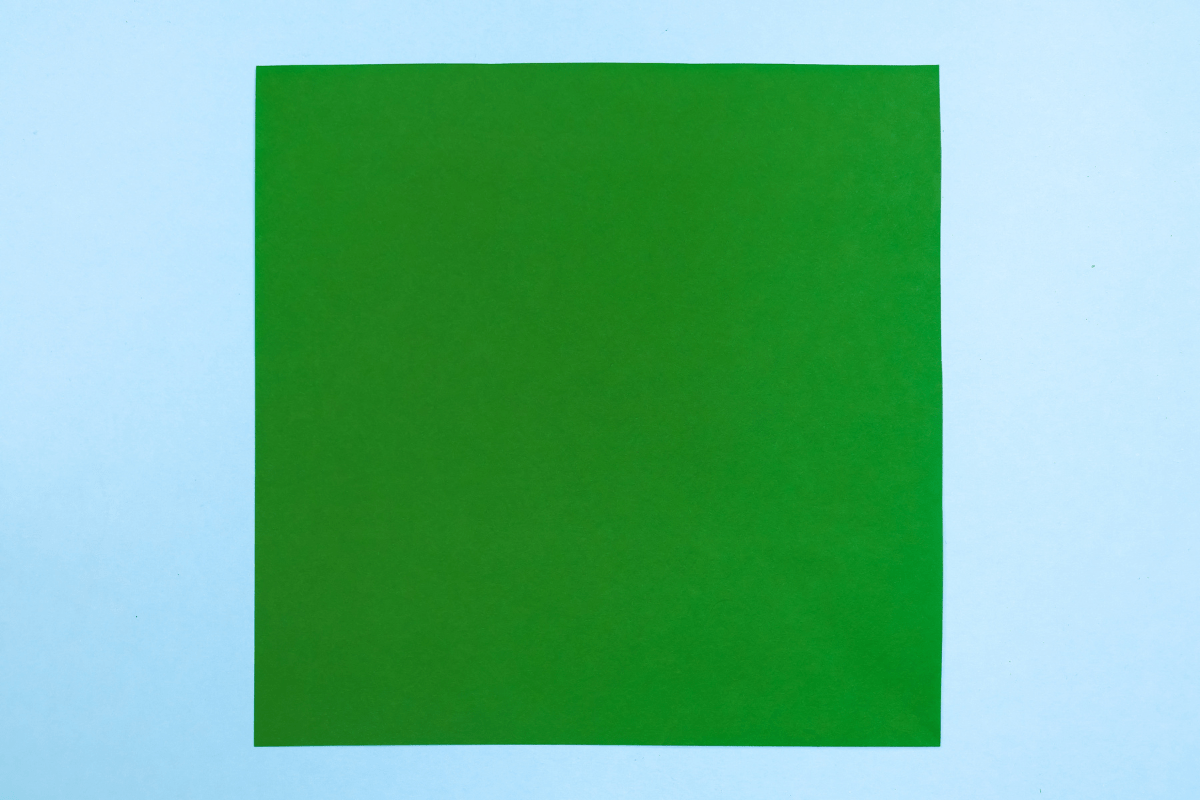
Start with a square piece of origami paper. I am using an 7×7 inches origami paper.

If you only have regular paper, follow these instructions on how to make a square origami paper.

Step 2
Jumping frog step 02
2
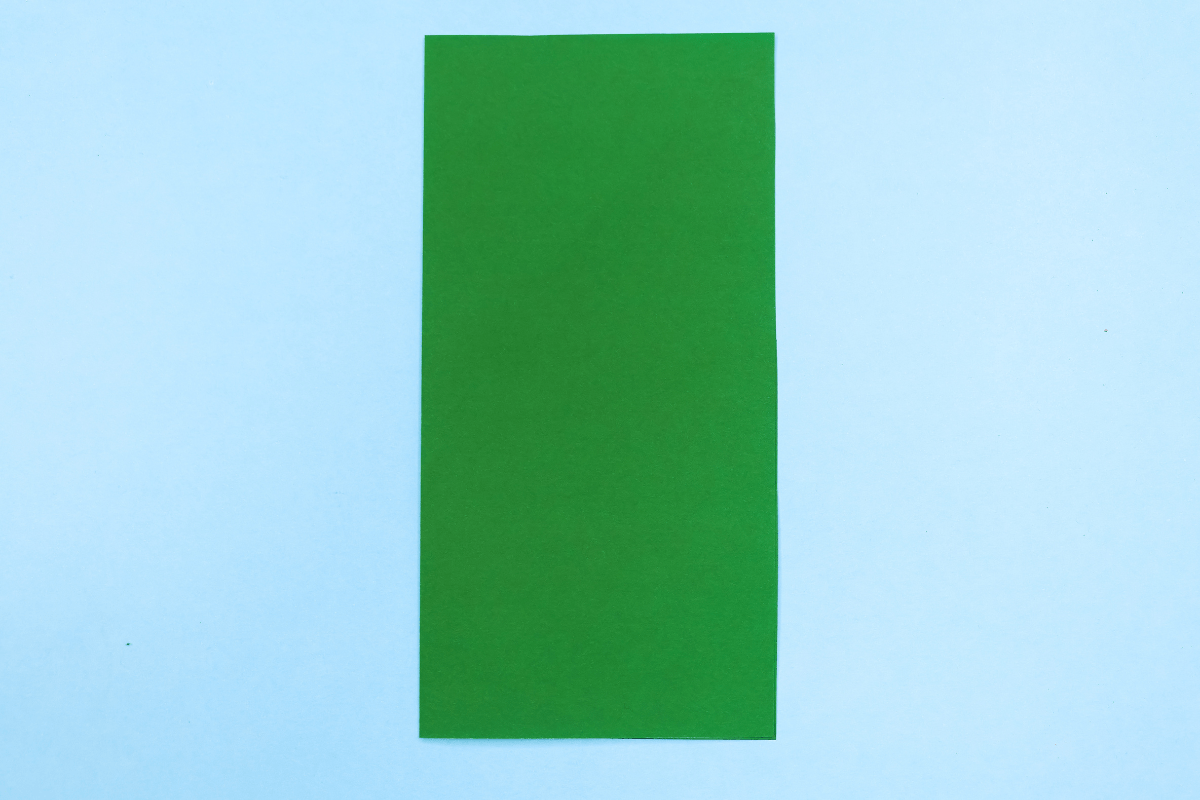
Fold the paper in half by folding the left side over to the right.

Step 3
Jumping frog step 03
3
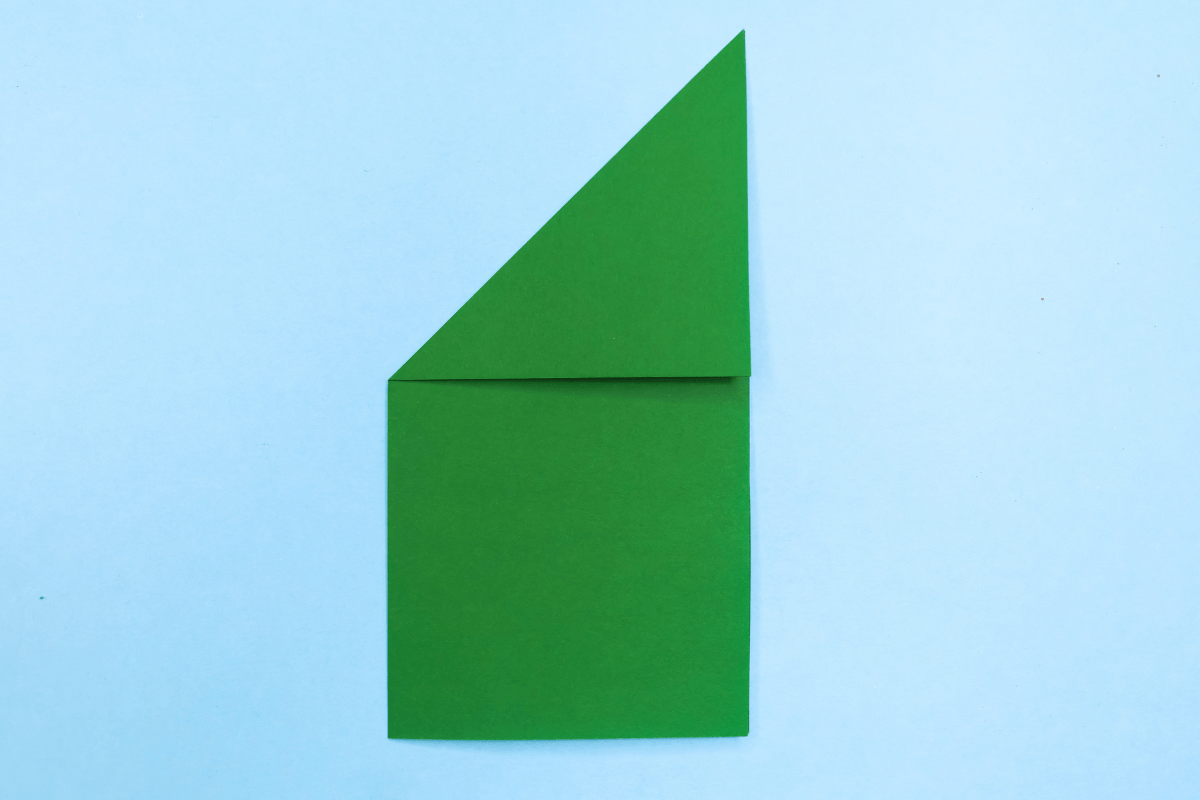
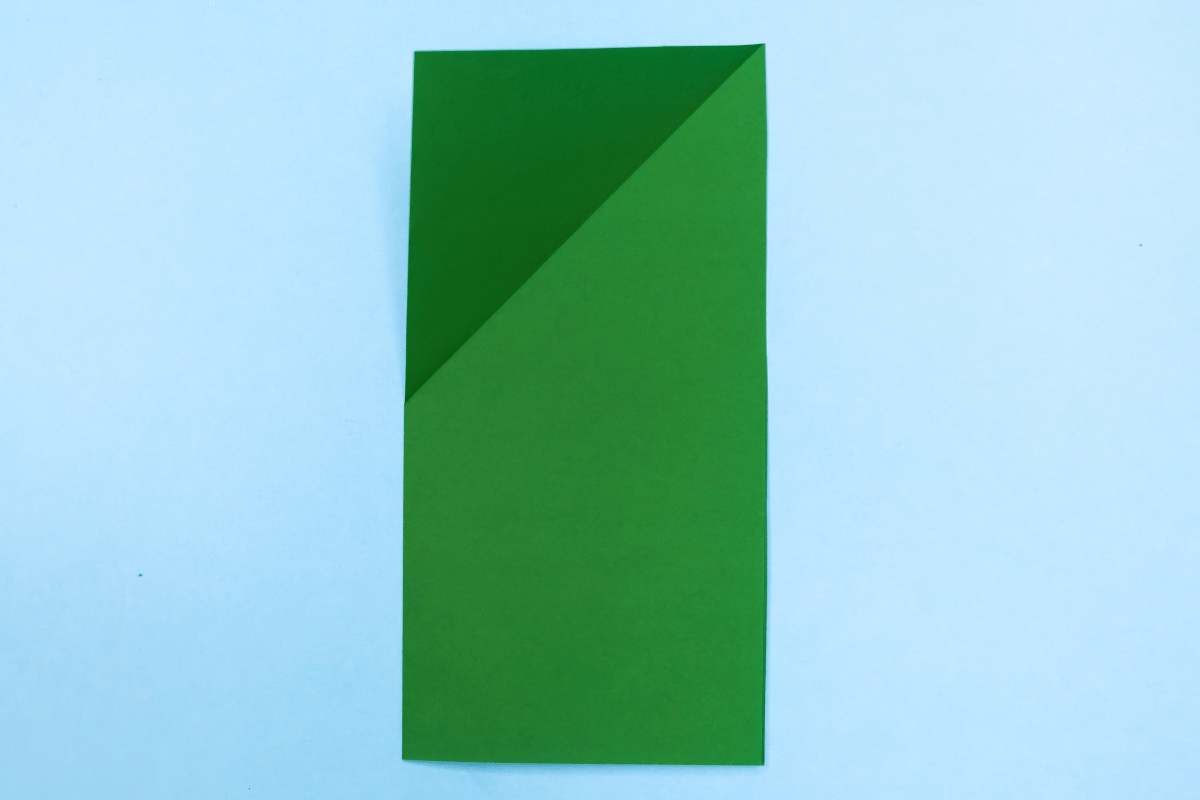
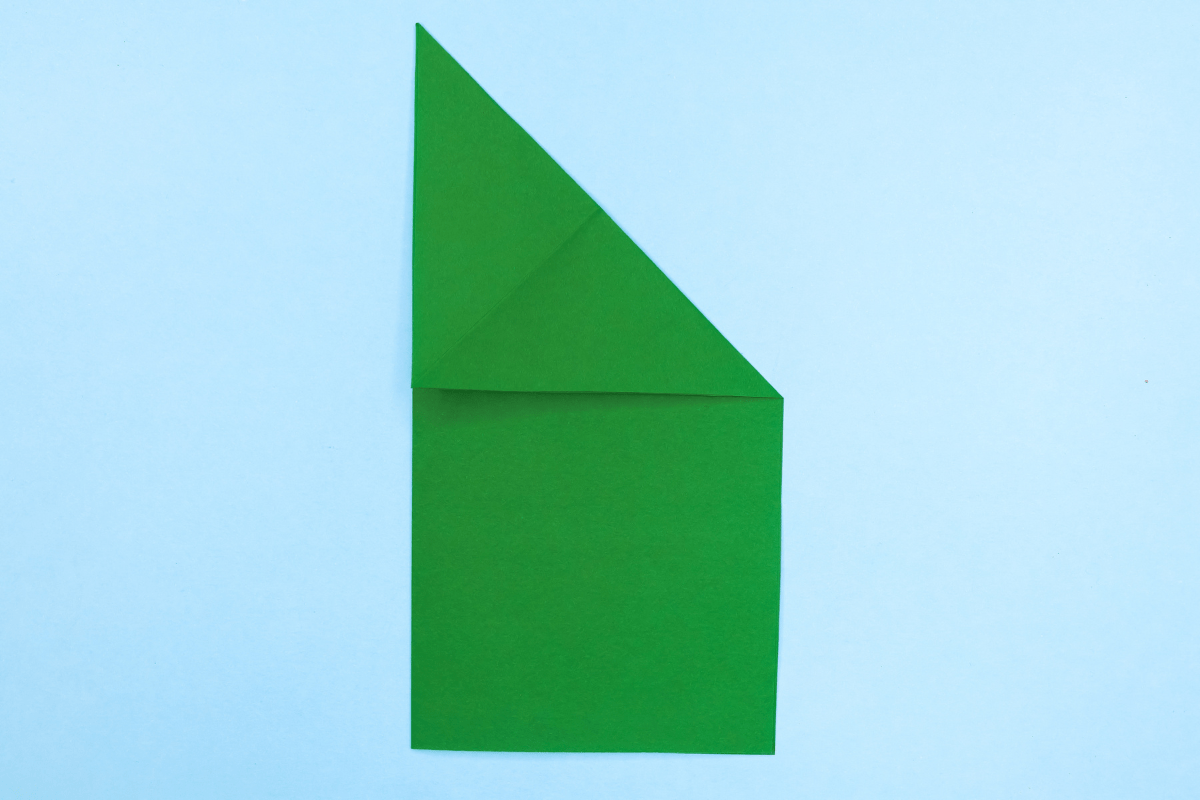
Fold the left corner to the right side, creating a sharp point on the top/right corner.

Step 4
Jumping frog step 04
4
Unfold.

Step 5
Jumping frog step 05
5
Fold the right corner to the left side.

Step 6
Jumping frog step 06
6
Unfold.

Step 7
Jumping frog step 07
7
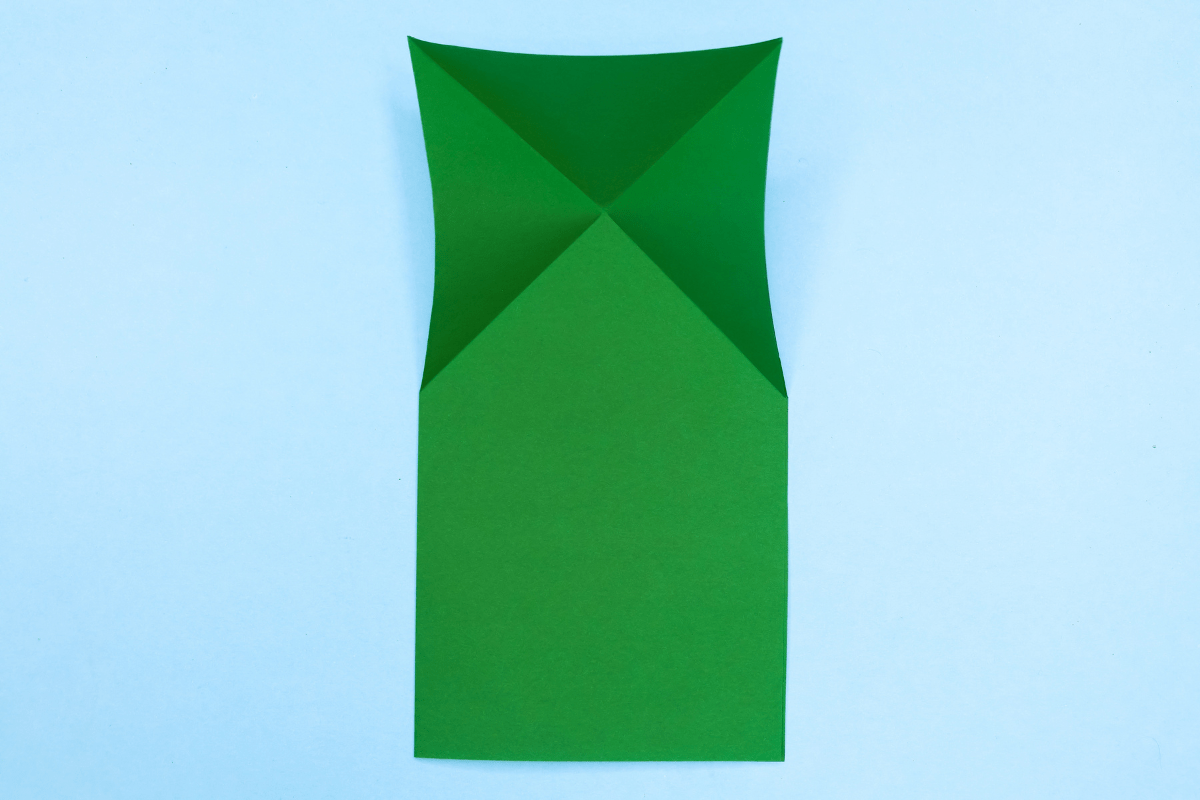
Fold back at where the two diagonal creases meet (the center of the “X”).

Step 8
Jumping frog step 08
8
Unfold.

Step 9
Jumping frog step 09
9
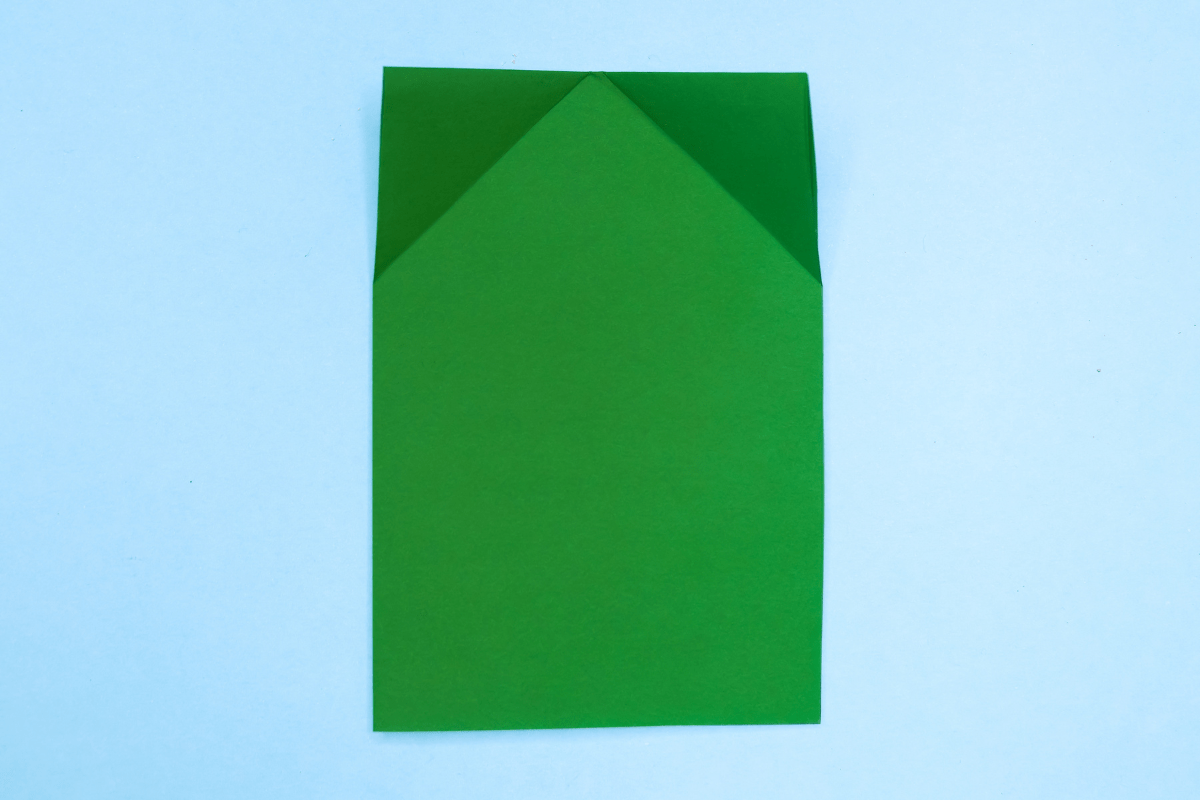
Using the creases as guides, form a triangle like you see in the picture.

Step 10
Jumping frog step 10
10
Press the fold firmly.

Step 11
Jumping frog step 11
11
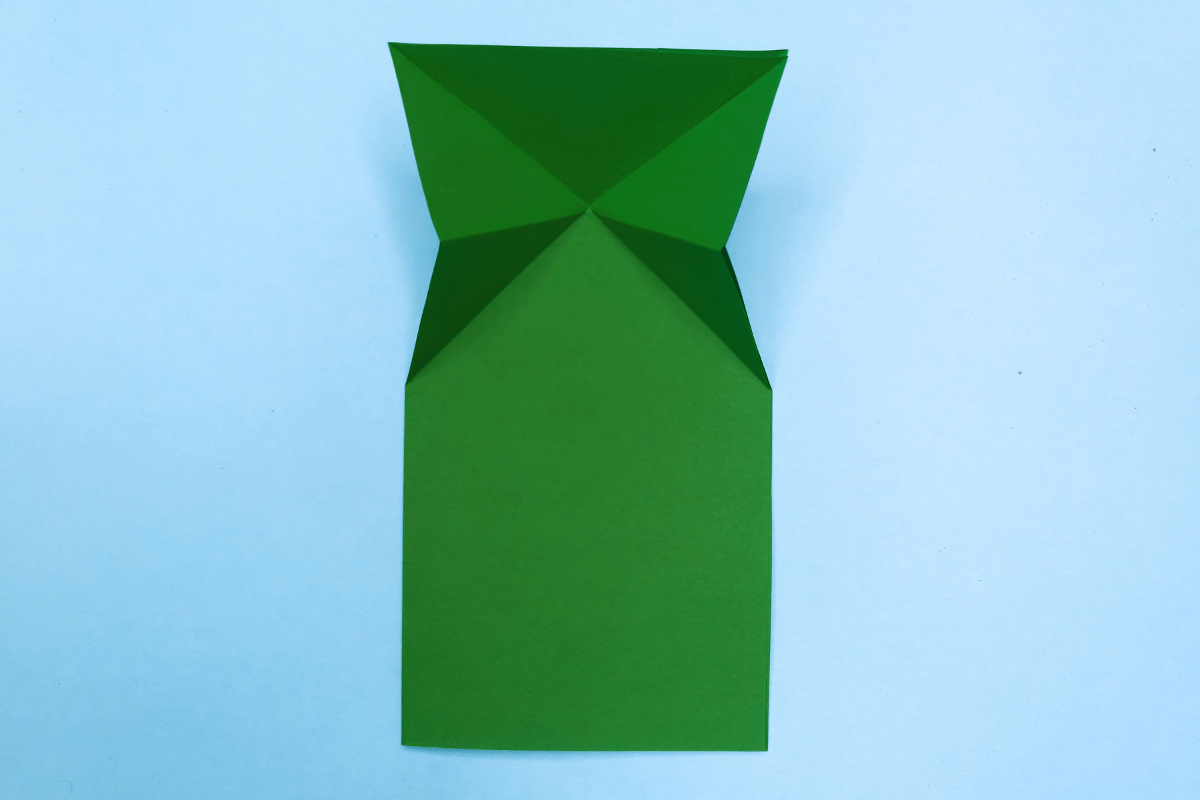
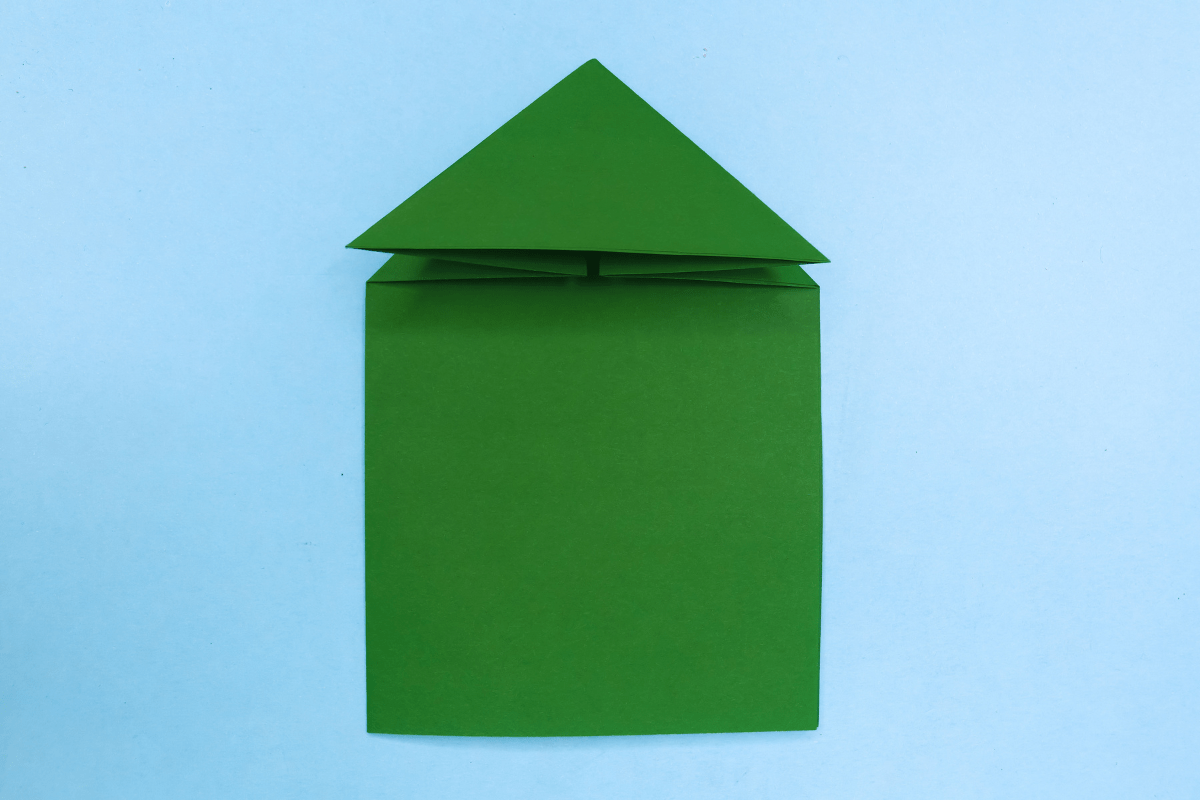
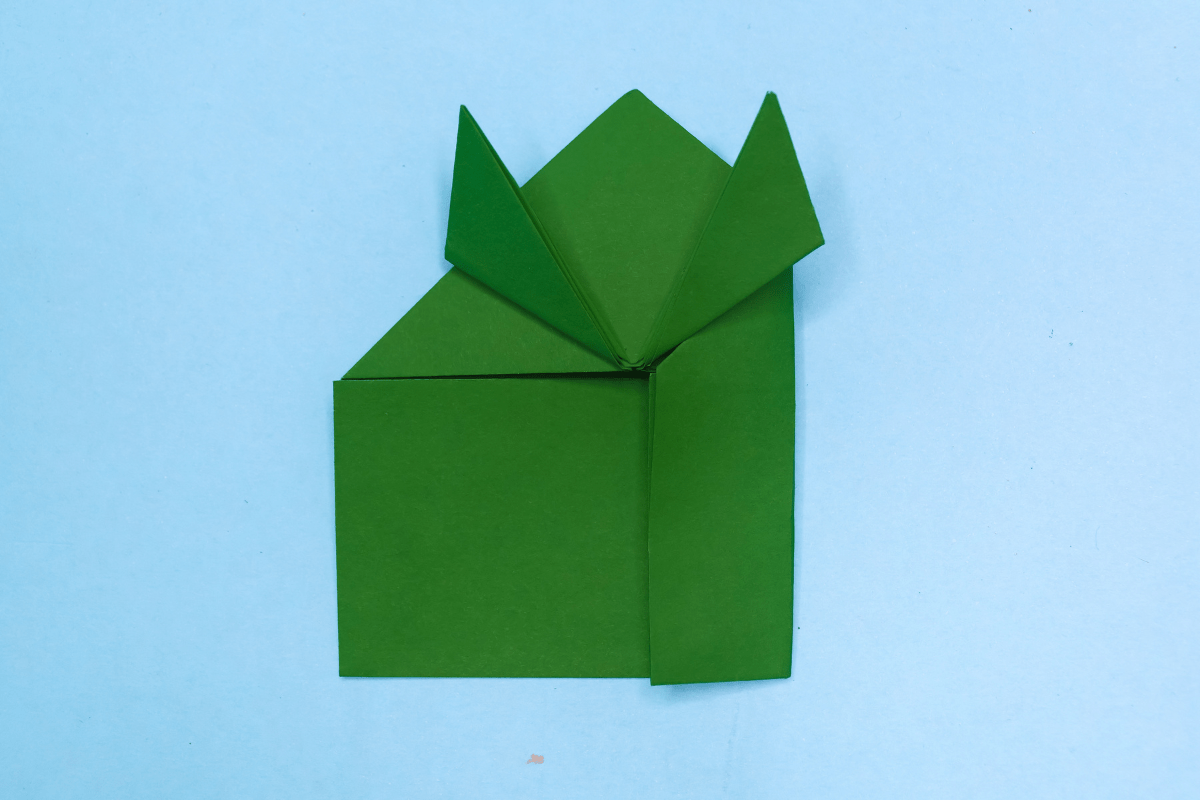
Fold the bottom rectangle in half toward the triangle.

Step 121
Jumping frog step 12
121
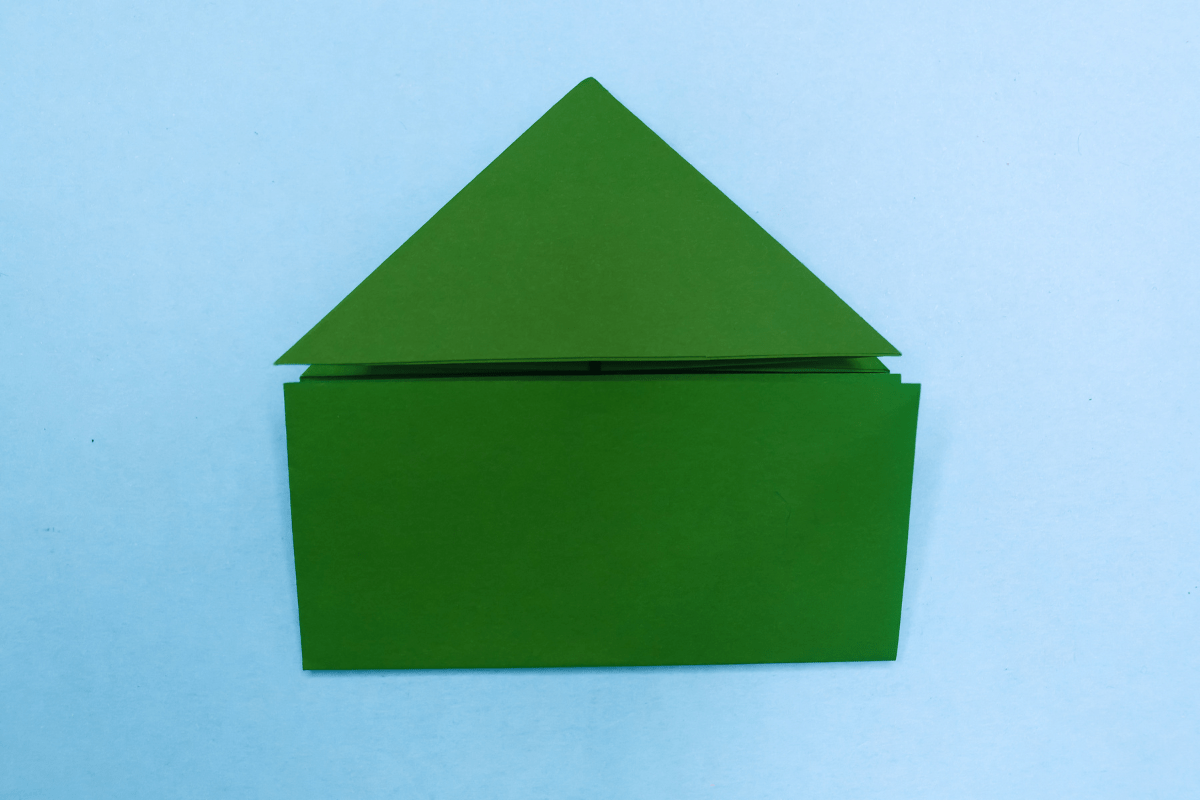
Take the right corner of the triangle and fold it up at an angle (like you see in the picture).

Step 131
Jumping frog step 13
131
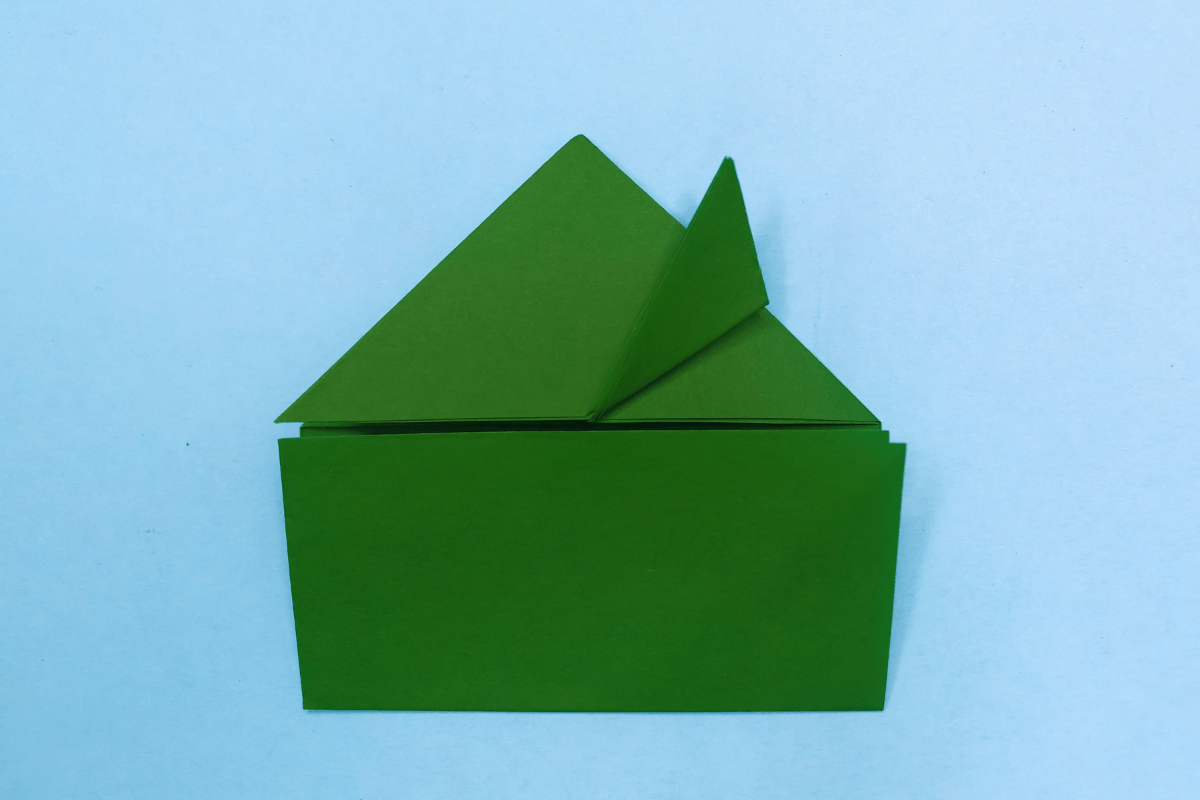
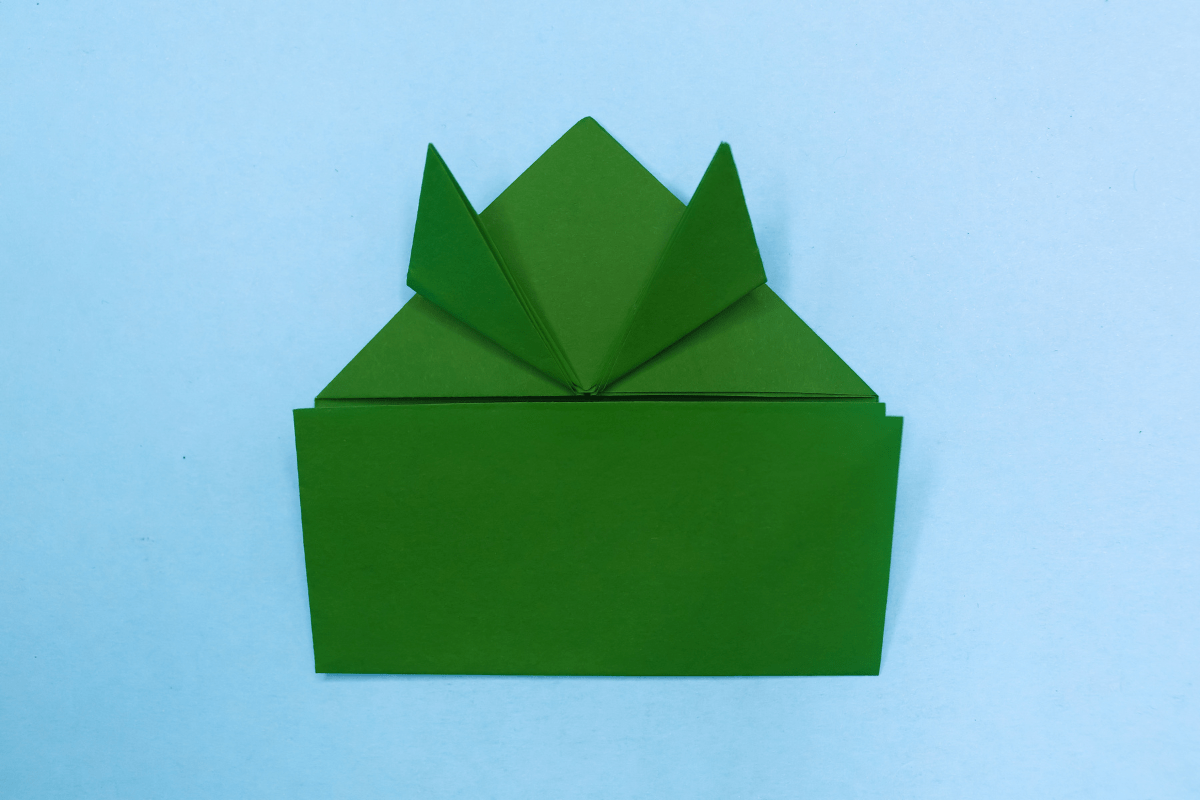
Take the left corner of the triangle and fold it up at an angle (like you see in the picture).

Step 14
Jumping frog step 14
14
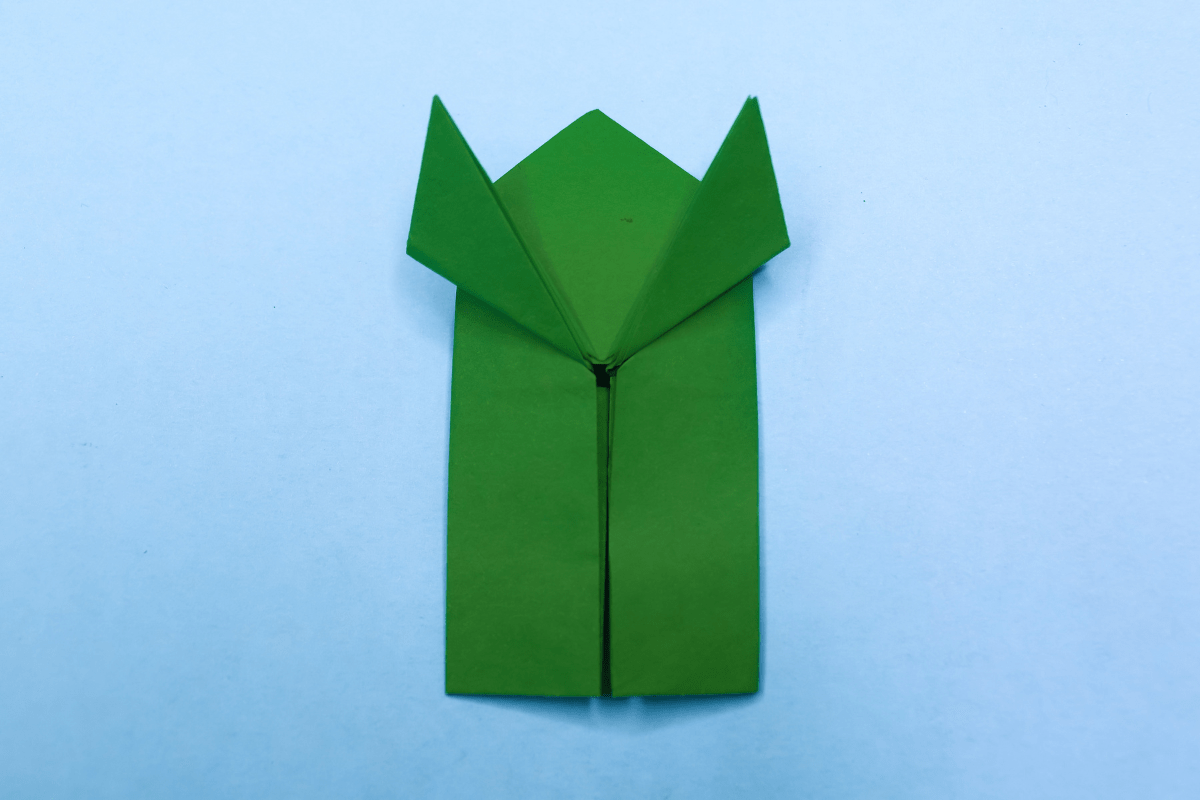
Fold the right side of the rectangle towards the center.

Step 15
Jumping frog step 15
15
Now fold the left side of the rectangle towards the center.

Step 16
Jumping frog step 16
16
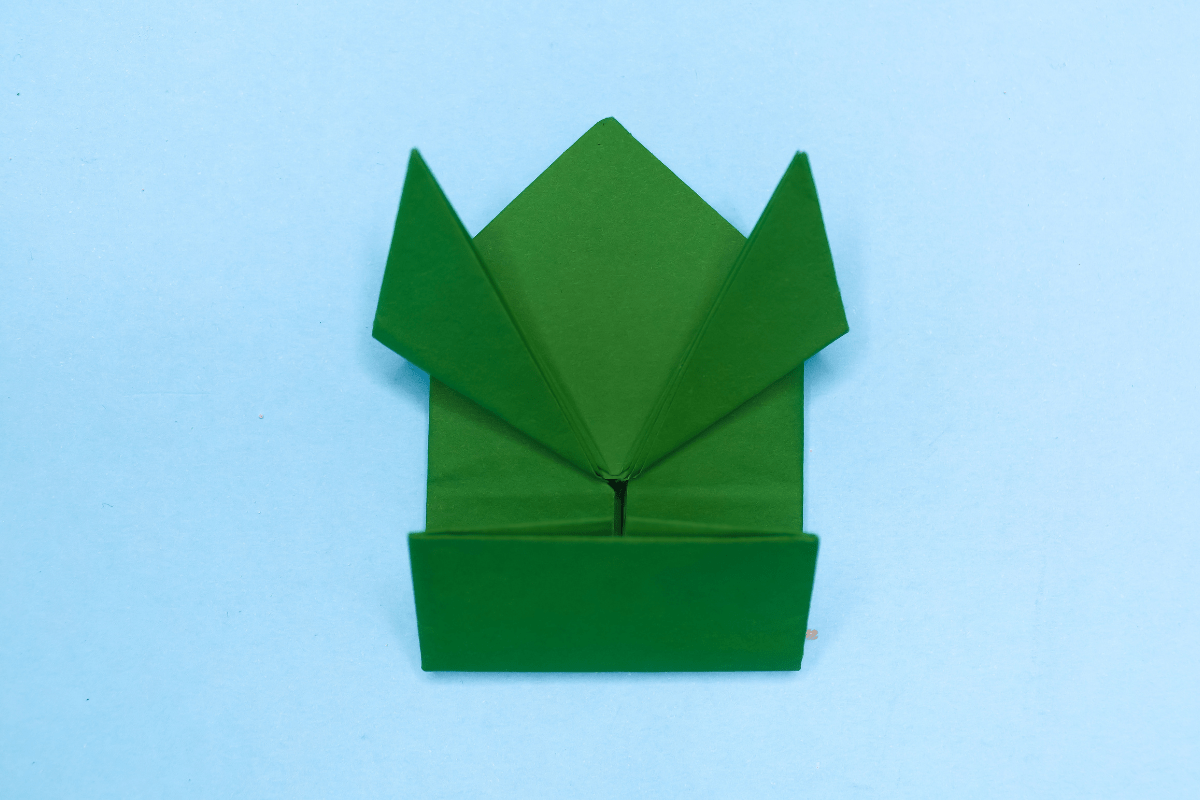
Fold the rectangle in half toward the triangle.

Step 17
Jumping frog step 17
17
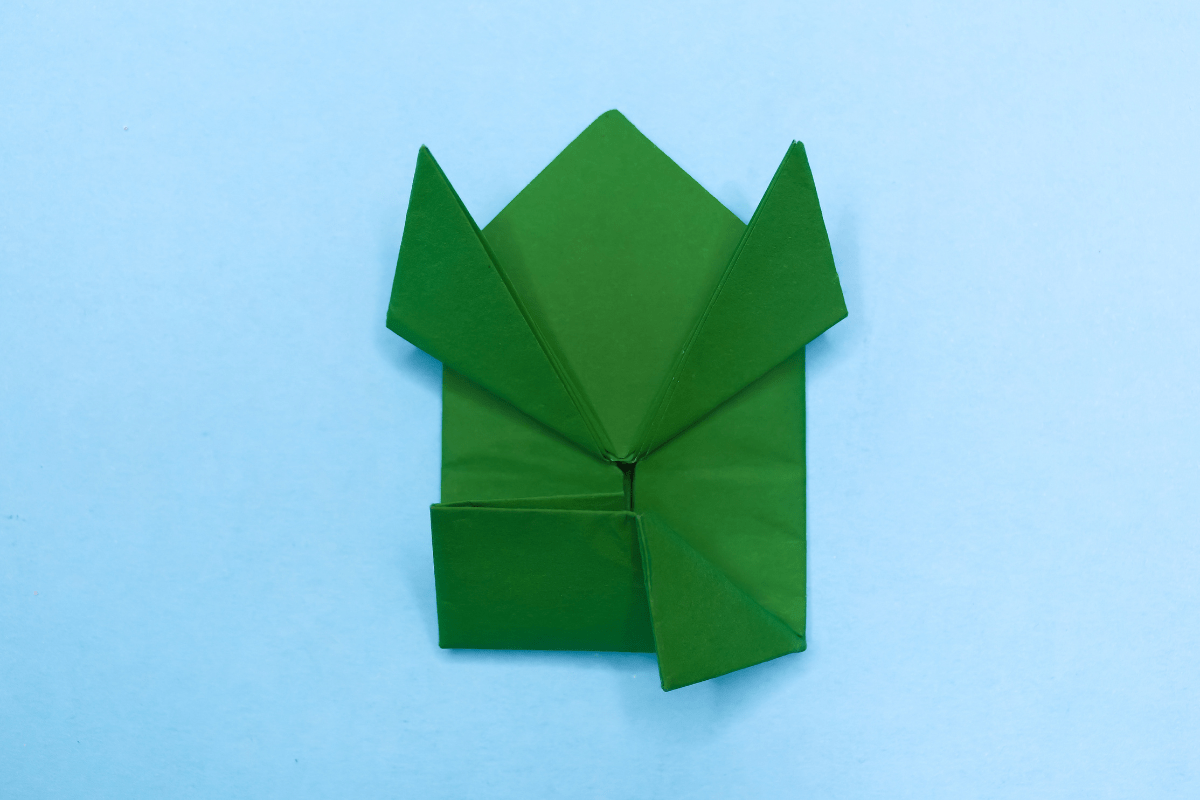
Fold the right corner of the rectangle down to meet at the center.

Step 18
Jumping frog step 18
18
Fold the left corner of the rectangle down to meet at the center.

Step 19
Jumping frog step 19
19
Open the legs

Step 20
Jumping frog step 20
20
Straighten the crease.

Step 21
Jumping frog step 21
21
Spread out the insides as shown in the picture.

Step 22
Jumping frog step 22
22
Continue spreading the insides until it match the outer legs.

Step 23
Jumping frog step 23
23
Crease the fold well.

Step 24
Jumping frog step 24
24
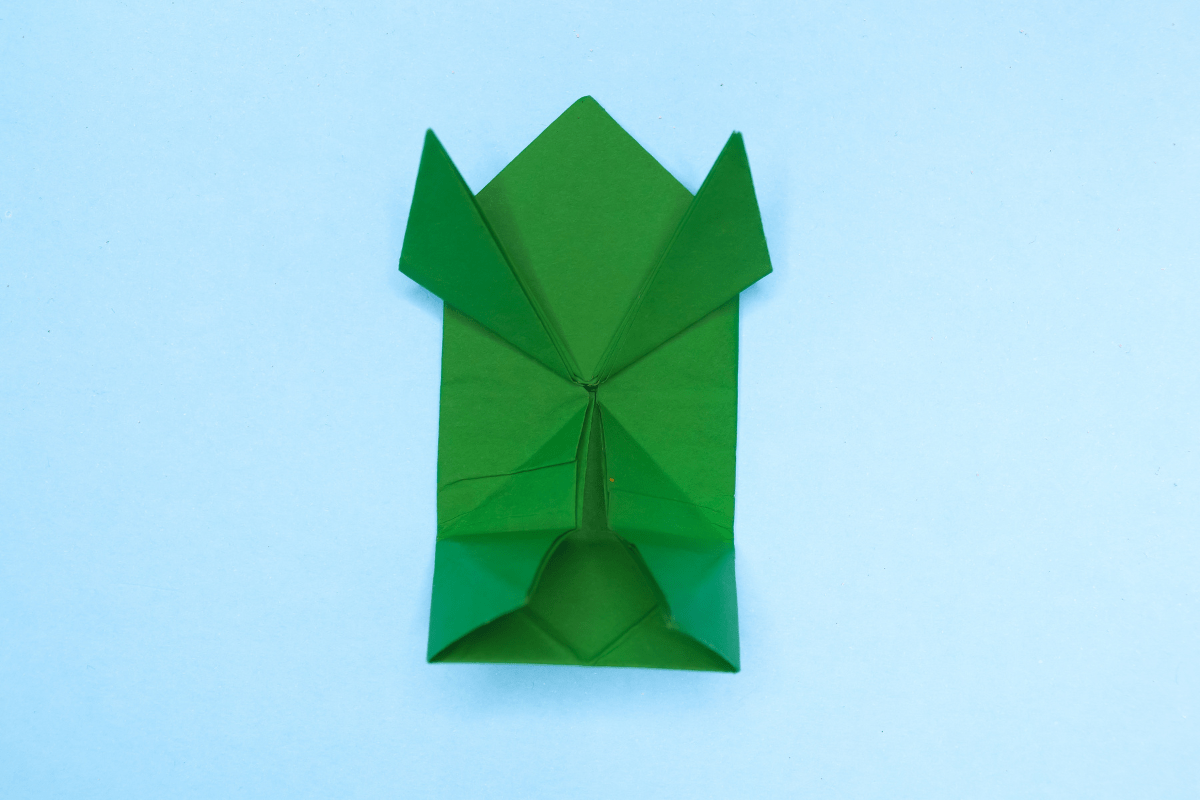
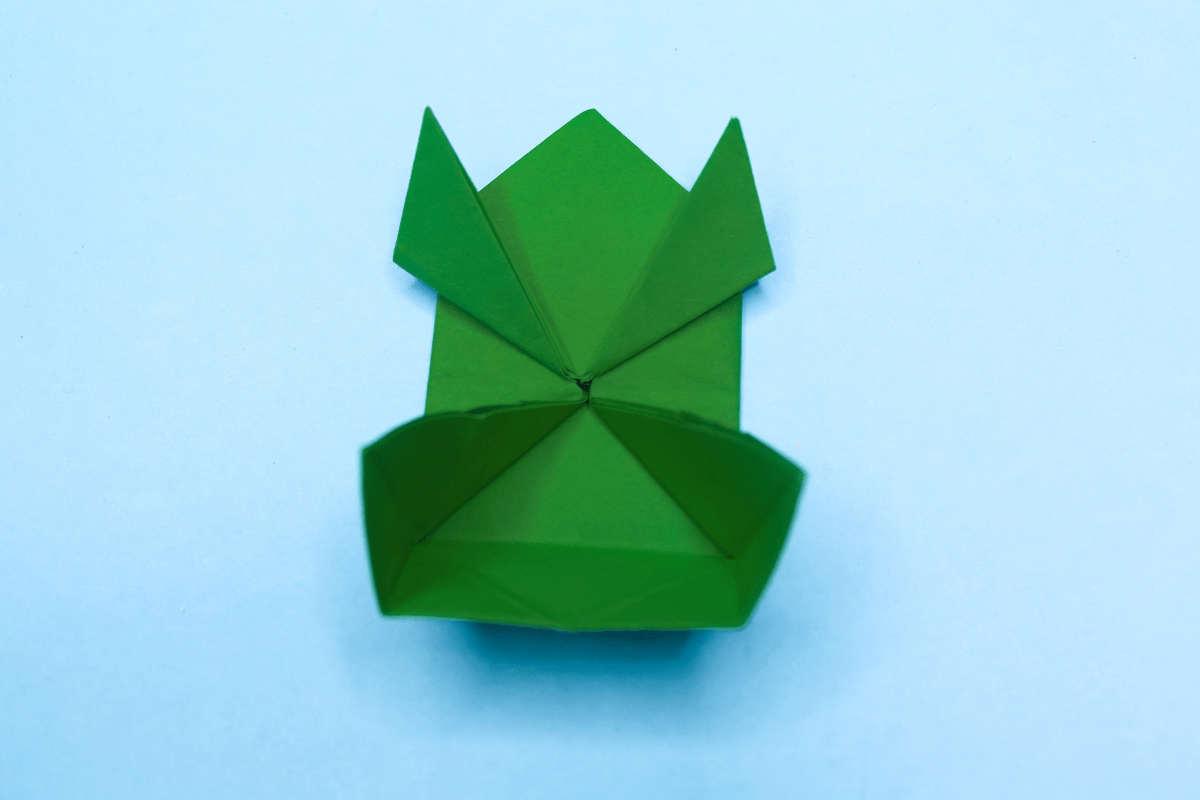
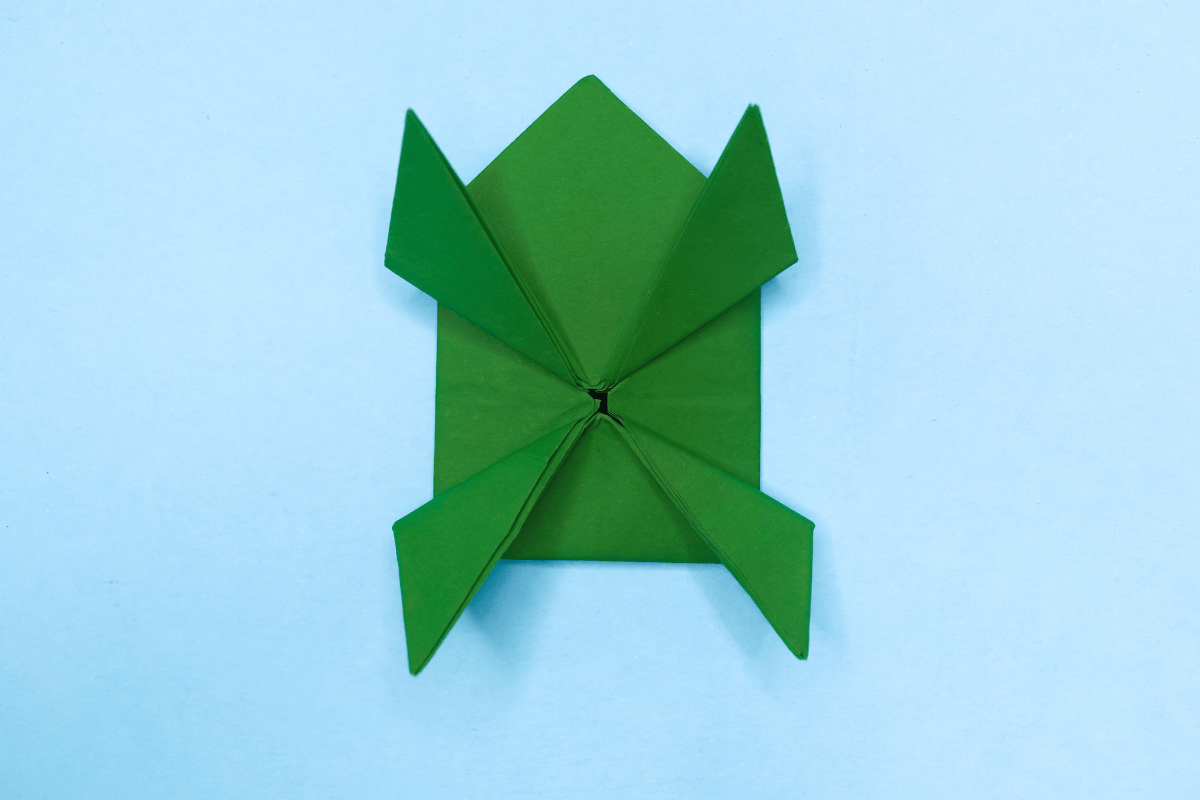
Now take the left and right corners of the legs and fold them down at a slant just like the “arms”.

Step 25
Jumping frog step 25
25
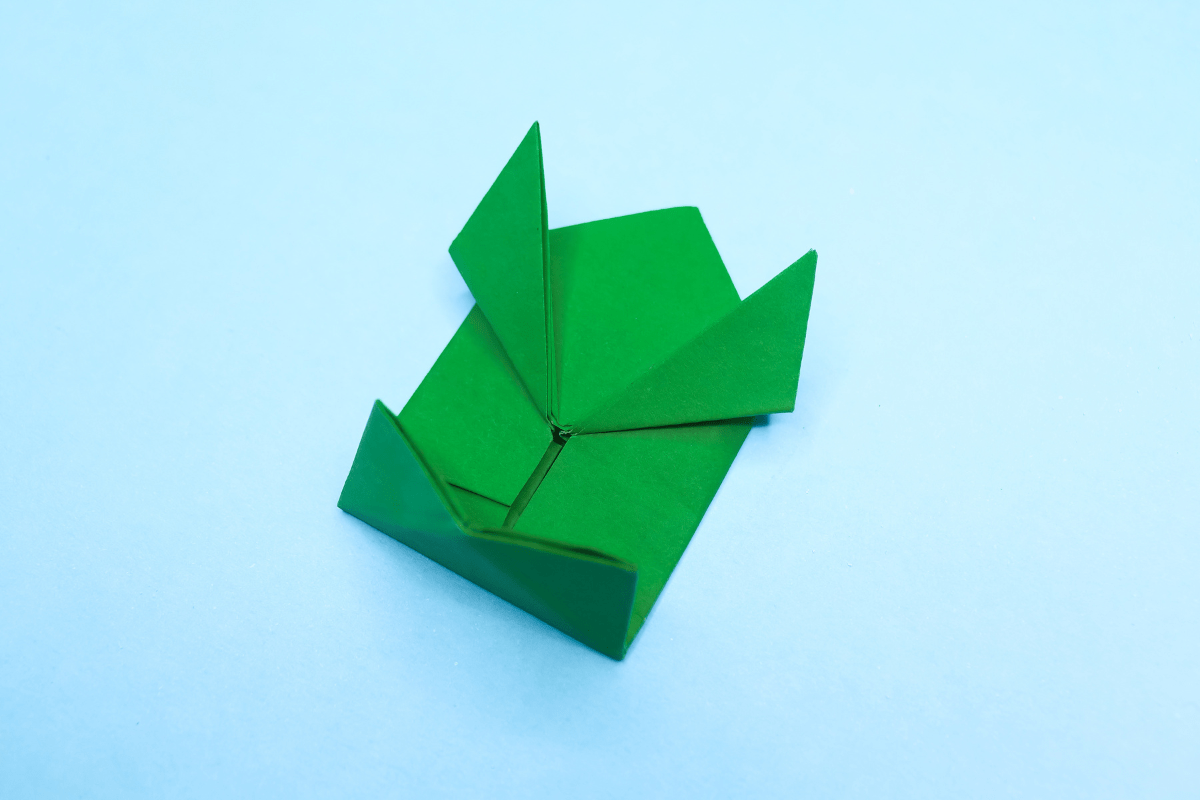
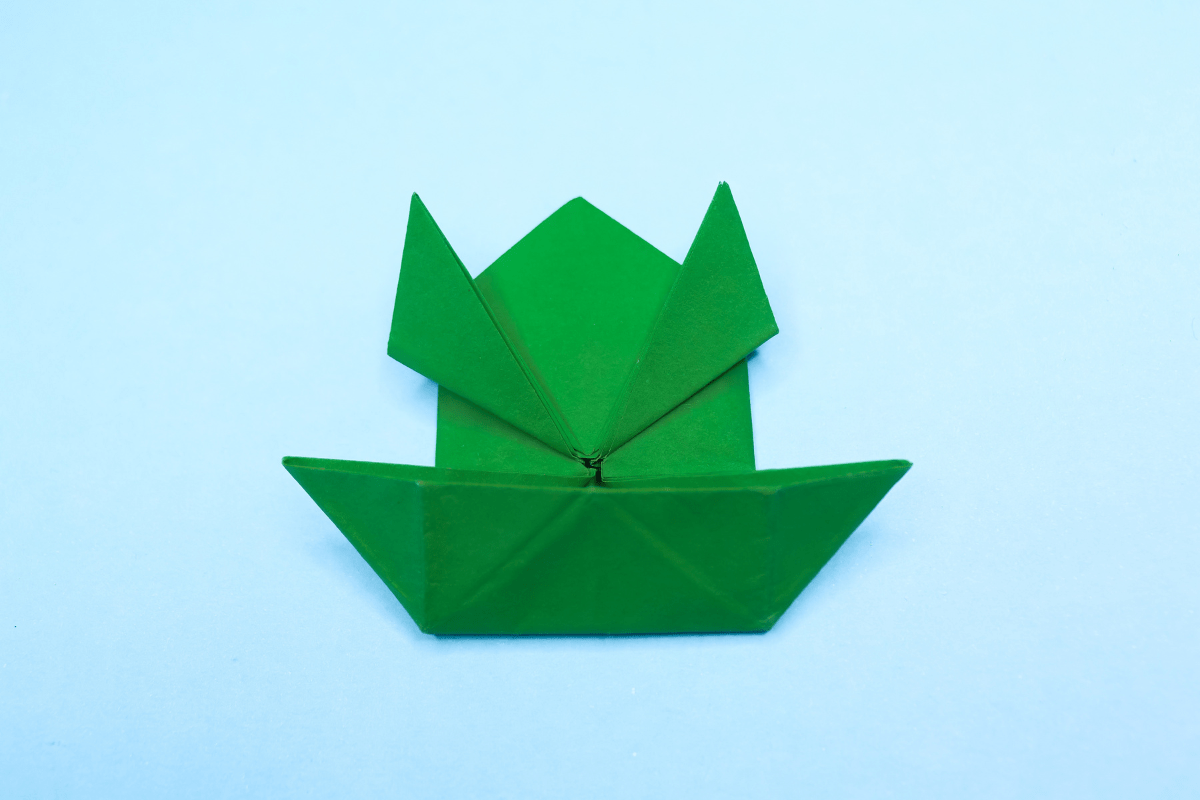
Fold the frog legs up, creasing at the center “X” where the arms and legs meet.

Step 26
Jumping frog step 26
26
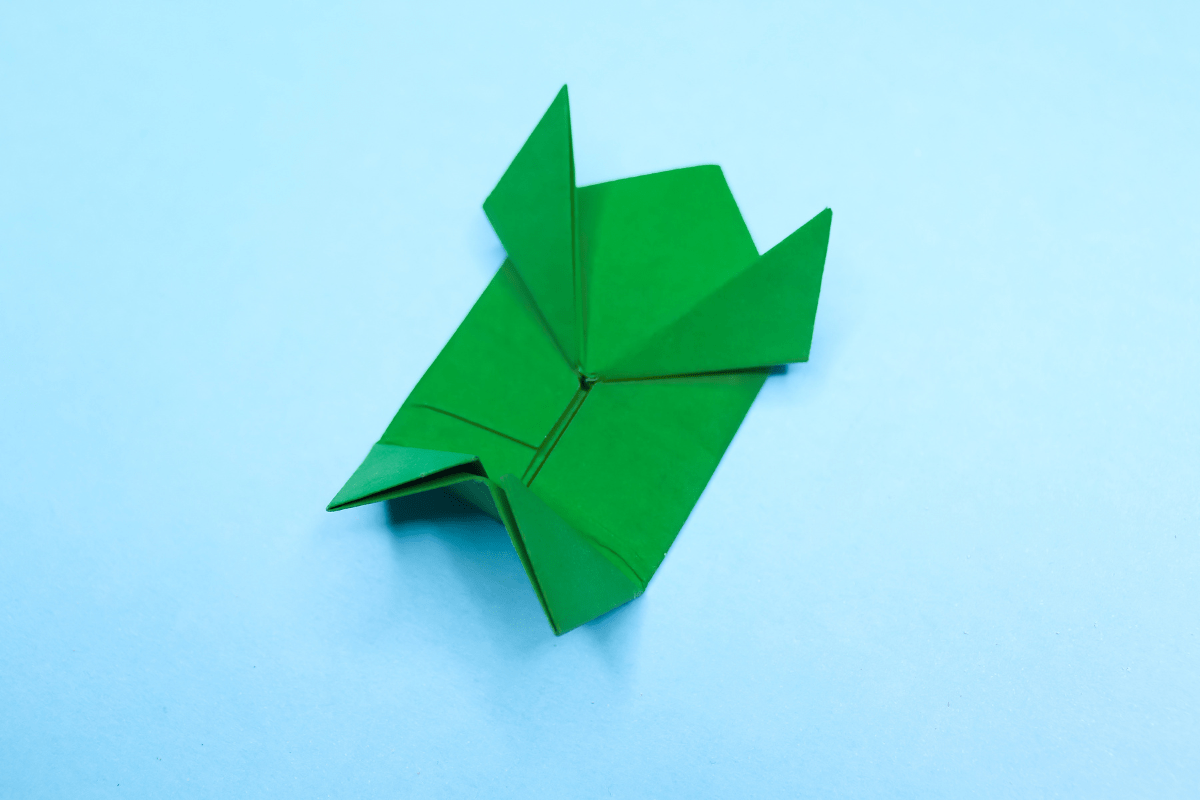
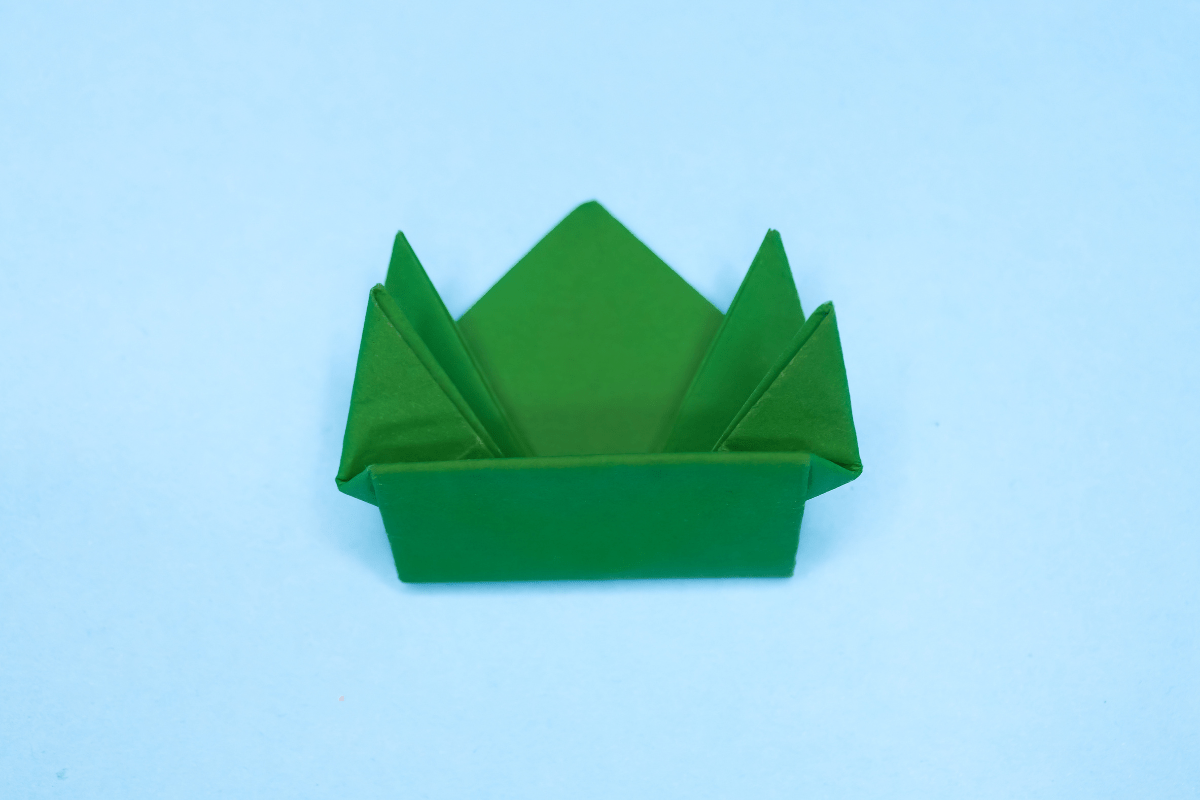
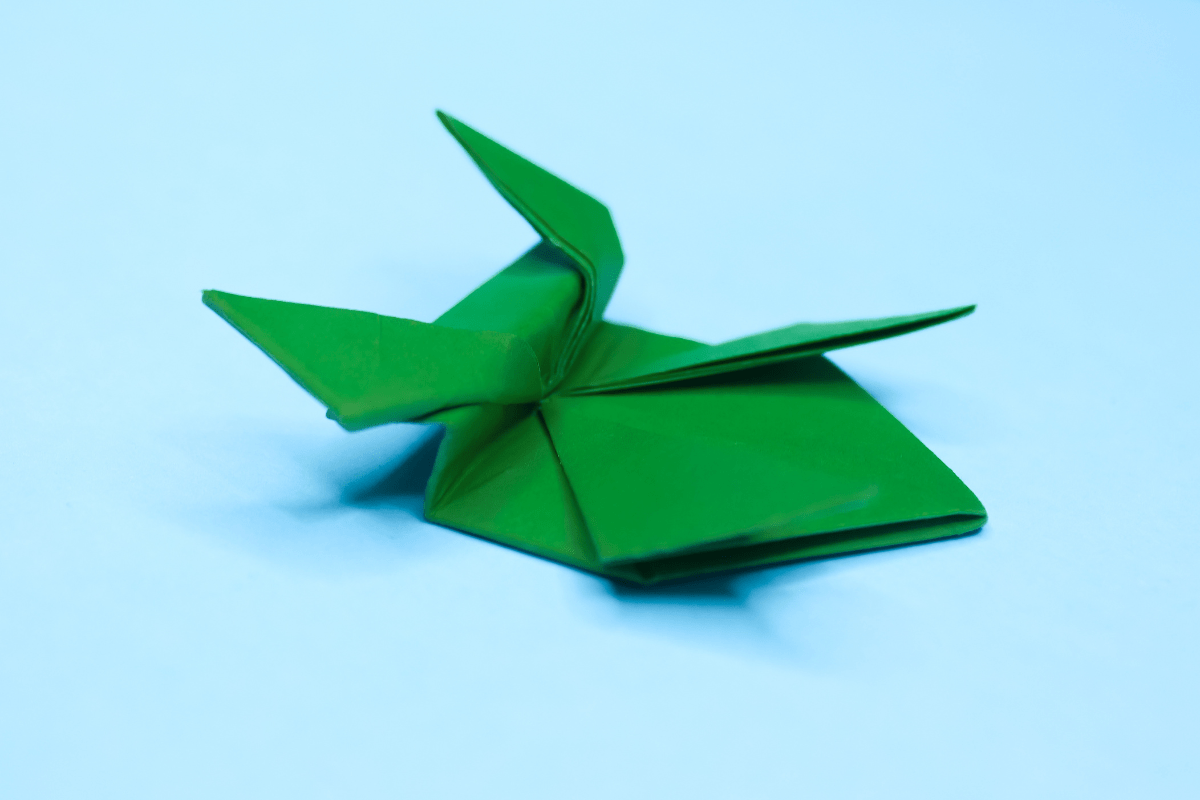
Fold about half of the legs back to form a spring.

Step 27
Jumping frog step 27
27
From the side view it should look like this.

Step 28
Jumping frog step 28
28
Place the frog on its feet and push on the rear to make it jump!

Step 29
Jumping frog final step
29
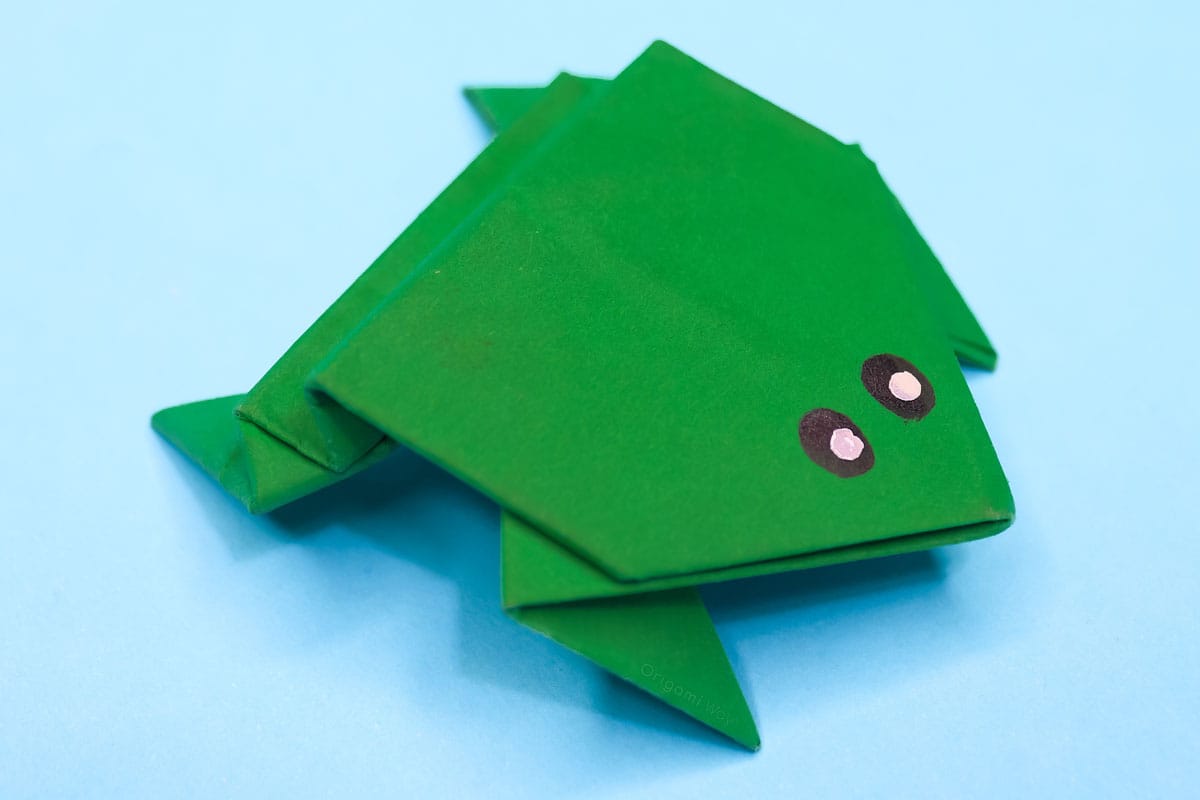
Draw the eyes to make it even cuter.

Comments

Leave a Reply

Your email address will not be published. Required fields are marked *