
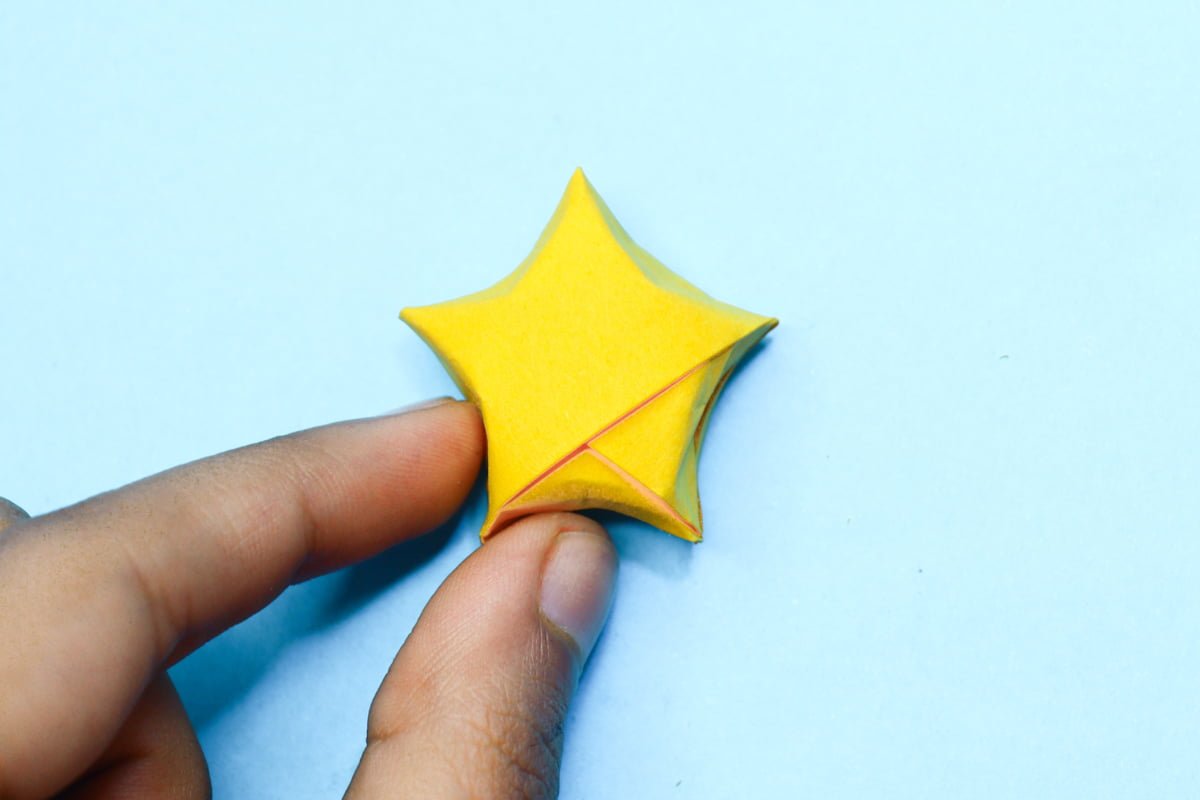
Origami lucky stars are also known as origami wishing stars. Making stars out of paper in the origami style is thought to bring good luck. And when you distribute them, they bring even better luck.
They look so gorgeous and puffy, and when you give someone a lot of them, they get to make a wish (isn’t that wonderful?). You can also use them as decor by stuffing jars or bowls with them, or you may put them in gift bags as a fortunate charm.
Of course, it would be a lot of fun to do this with your kids and other loved ones. The five-pointed origami stars also resemble well-known Hollywood stars, don’t you think? So, yes, you might say that they represent fame.
In making the folding process of lucky stars, you need to use paper strips that are 10 to 11 inches long and 1/4 inch, 1/2 inch, or 3/4 inch wide. If you want different sizes, thinner strips create smaller stars, while wider strips create larger ones.
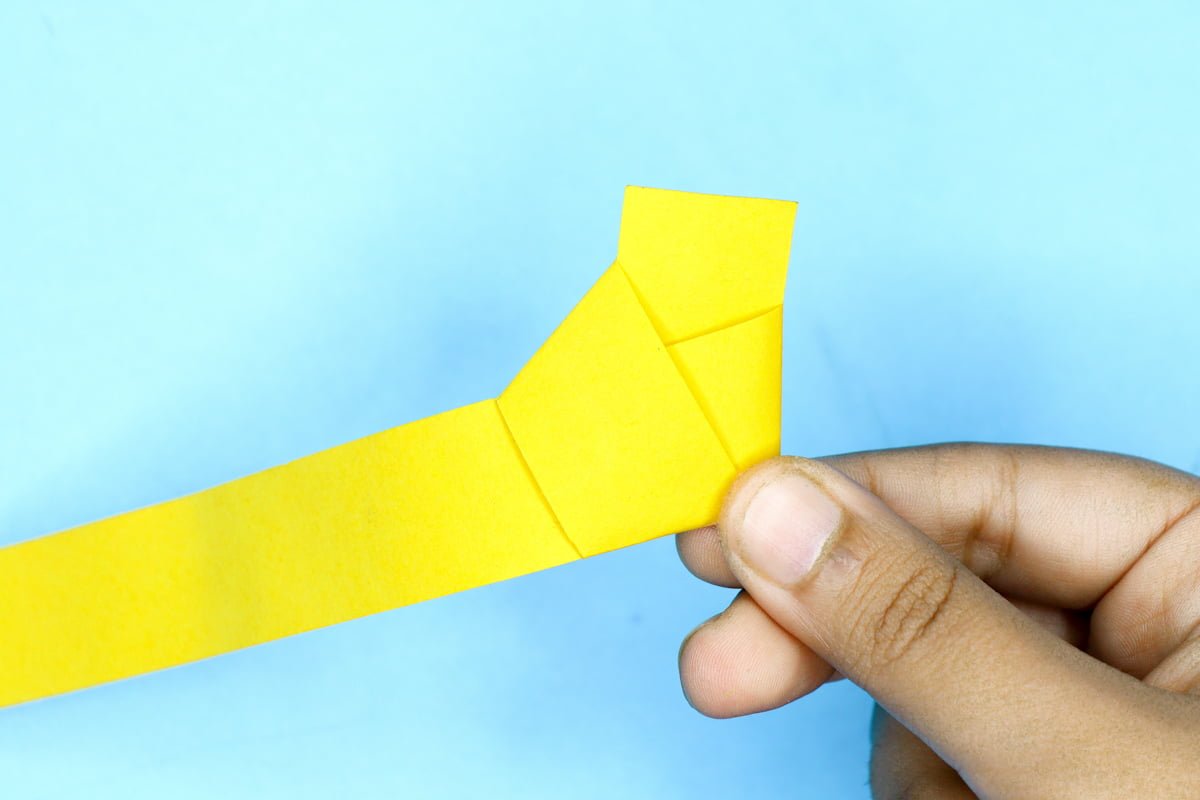
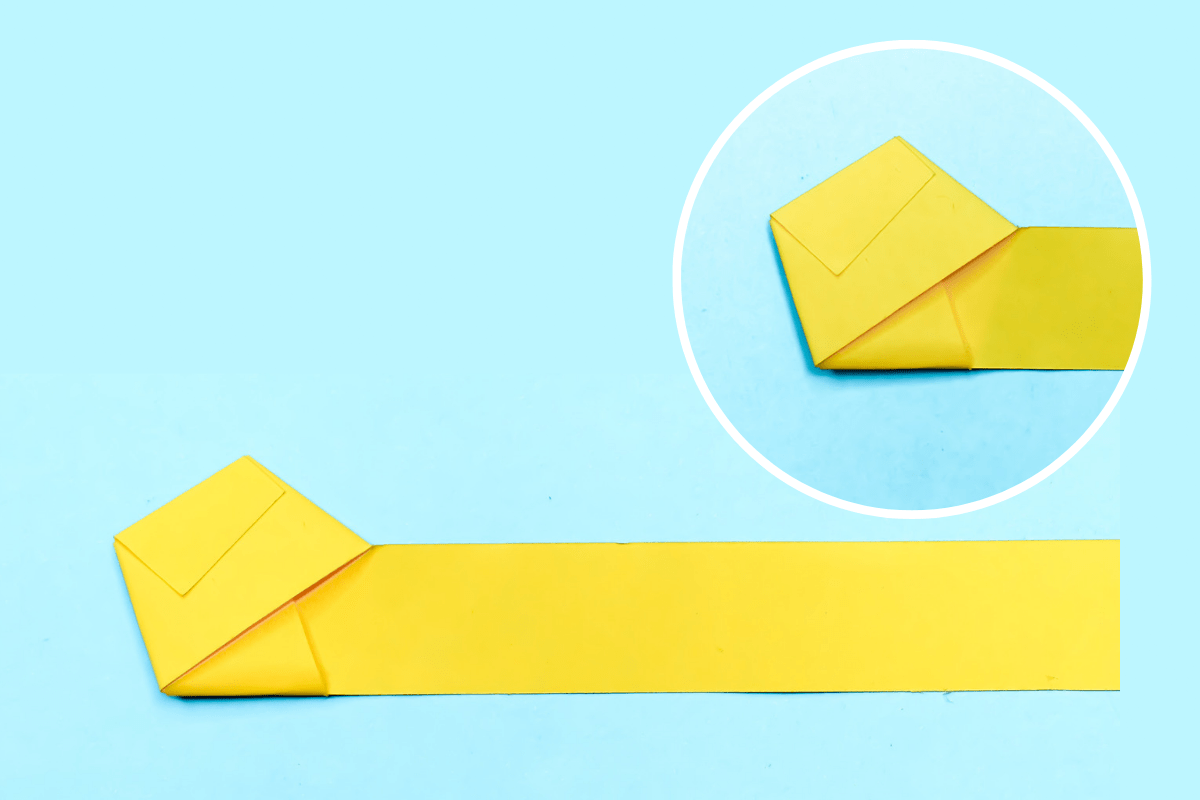
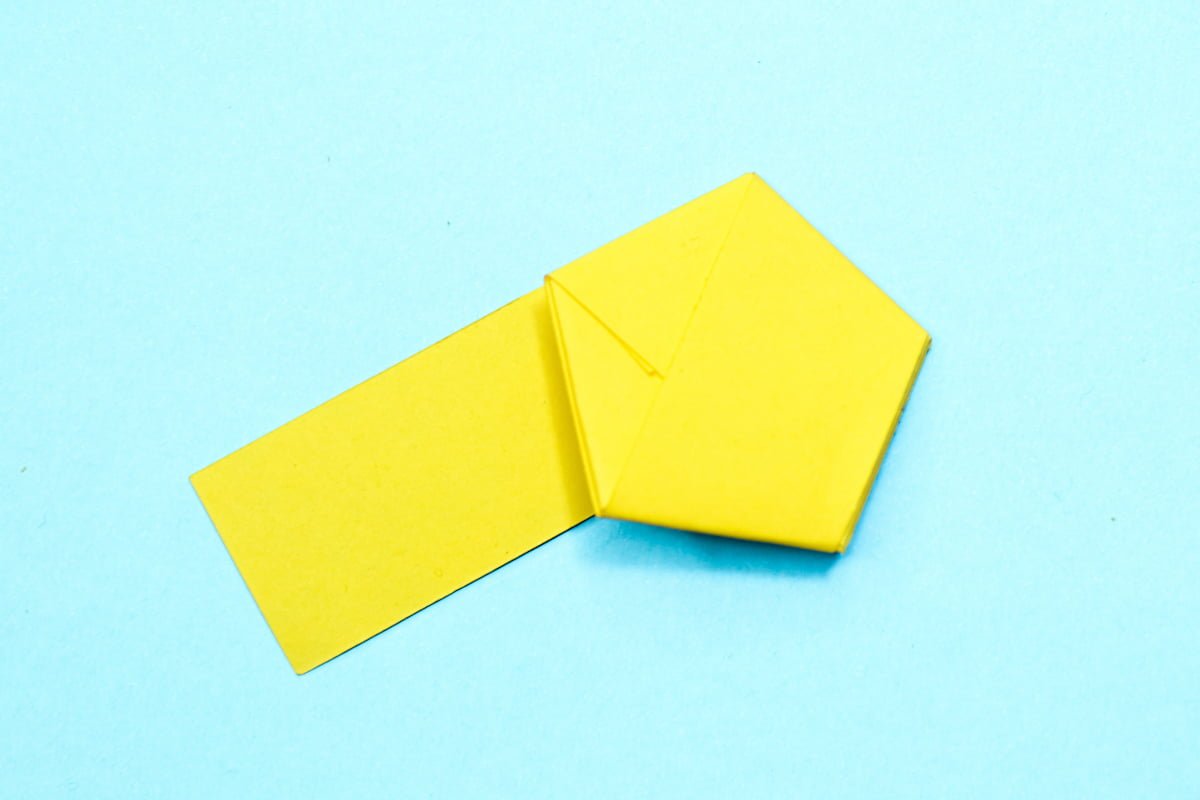
Make the knot and the pentagon of your origami lucky star as neatly as tightly as you can. Doing the knot tips is one of the main ways to ensure that your tiny origami lucky stars turn fluffy and firm as you hold them.
Trivia: Did you know that you can use these lucky star origami as your checker in every achievement or wish that comes true? Yes! Indeed, when you accomplish something, whether a small accomplishment, place one star in a mason jar, and you will see those beautiful stars that are your achieved goals. At any moment you look at those stars in the mason jar, it can boost your perseverance in pushing to achieve your objectives and desire to come true.
How to Make an Origami Lucky Star?
Making one or many of these adorable little stars is easy with the help of this step-by-step guide. And it will be more fun if you consider this activity part of your quality time with your loved one, especially with your kids. You can use this lucky star origami as party decorations, to add color to a room, to decorate gift wrap, or to bring some little charm into your life.
These two origami lucky stars are both fairly simple to build. Even beginners can make them perfectly after practicing a few times. So, what are you waiting for? Grab some colored paper and start making some origami stars following the steps mentioned and explained below.


Leave a Reply