The origami Nik-Nak Box is great for storing all your little nik-naks. Using regular paper is the most convenient way to fold this box, but you can use a more sturdy material to make a nik-nak box that lasts longer. Ready? Just follow the simple instructions to make your own Nik-Nak Box.
Origami Nik-Nak Box
Category: Origami Toys

Difficulty: Intermediate
Folded with precision, this Origami Nik-Nak Box is a stylish, space-saving way to store your treasures. Artful, practical, and perfect for any decor!
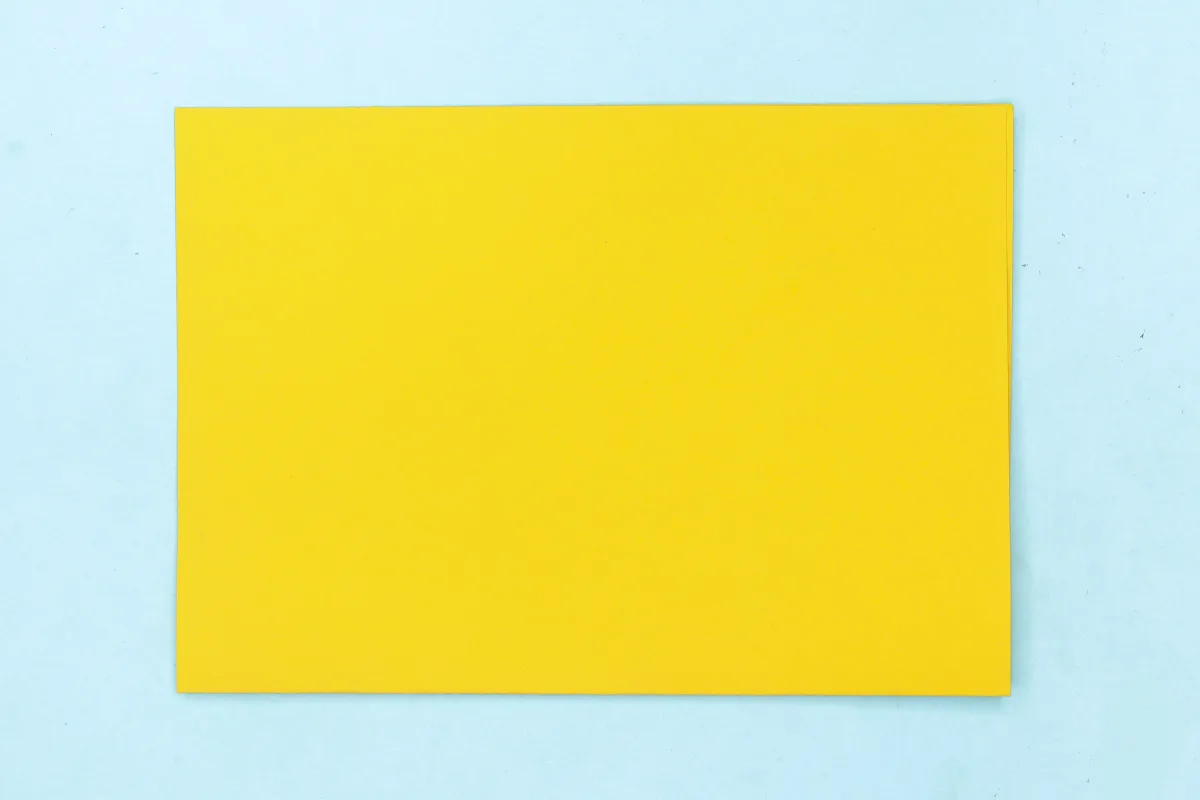
Step 1

1
Get out a regular sheet of rectangular paper.
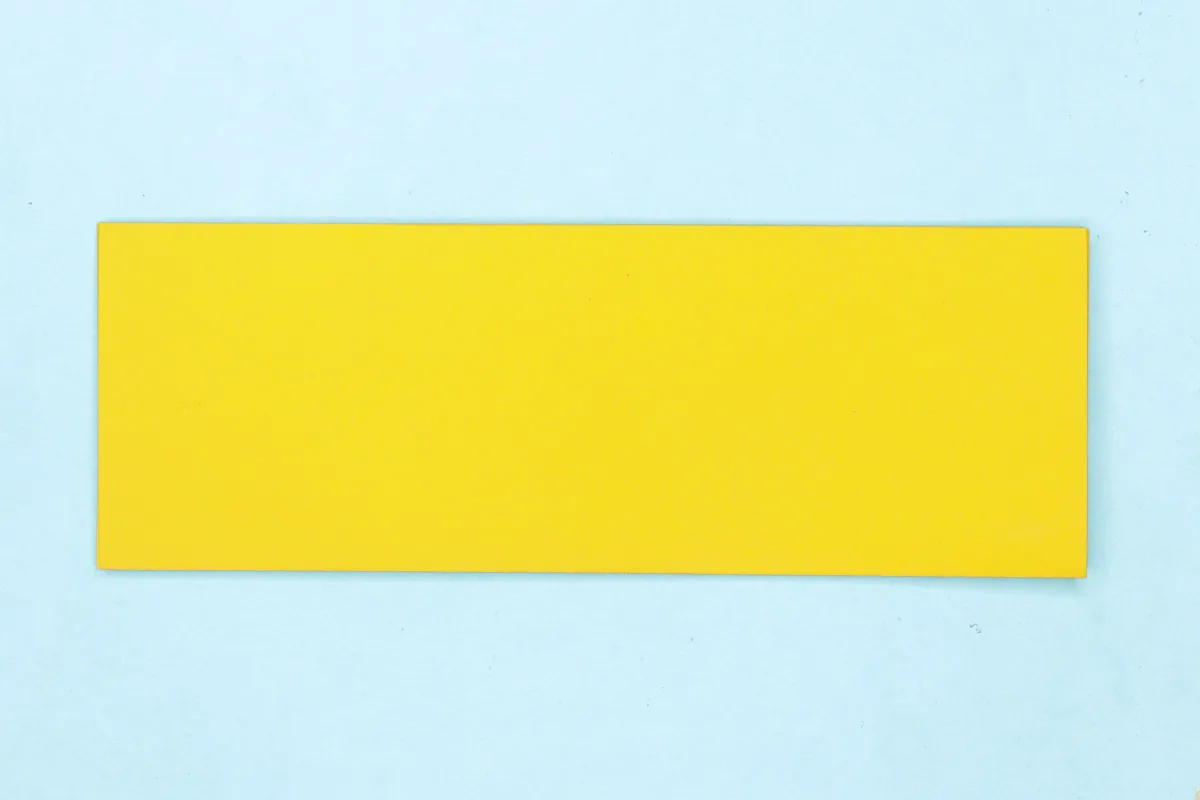
Step 2
2
Fold the top half to the bottom, making sure the corners touch each other.
Step 3
3
Once again, fold the top half to the bottom.
Step 4
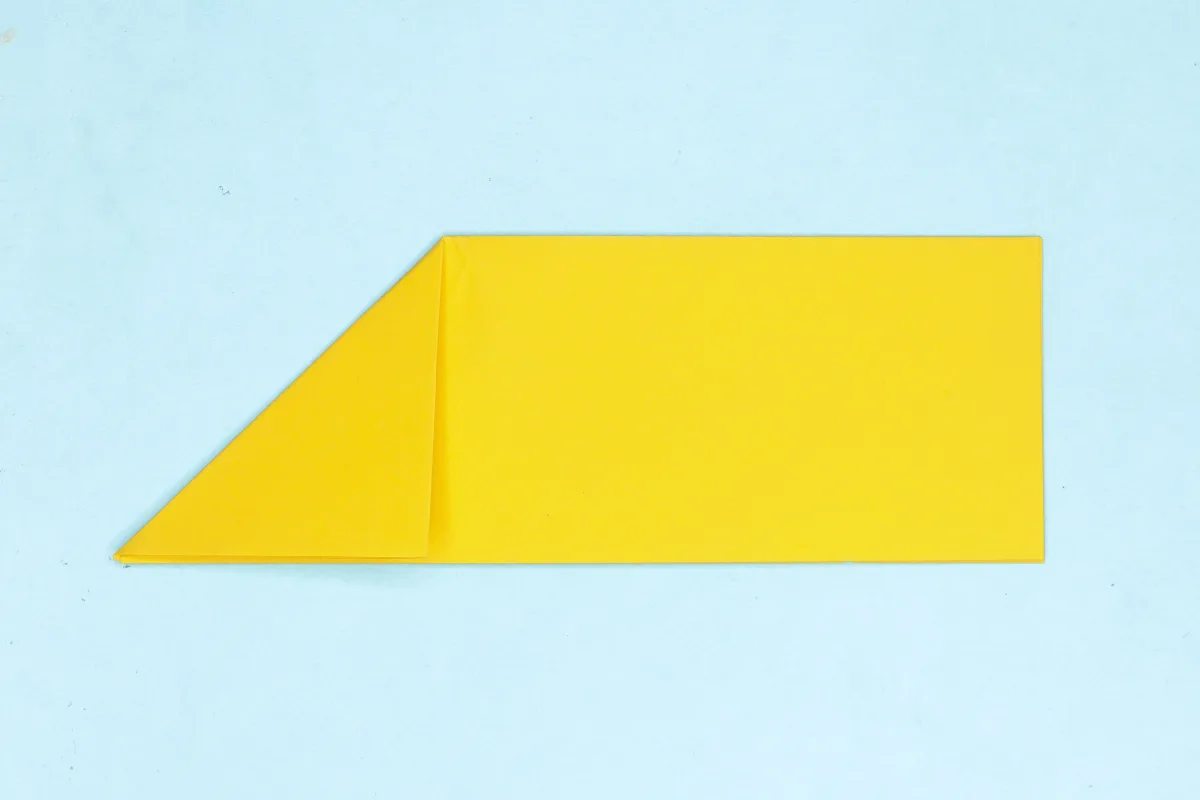
4
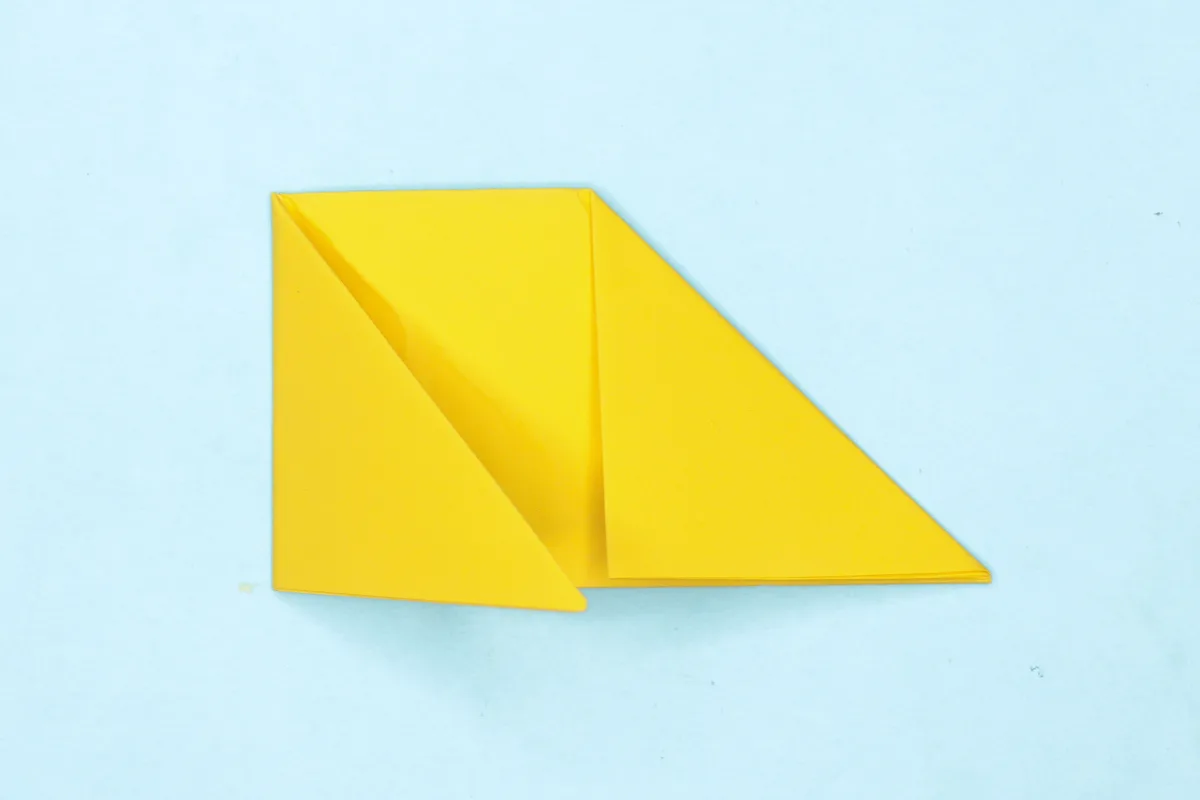
Fold the top left corner to the bottom.
Step 5
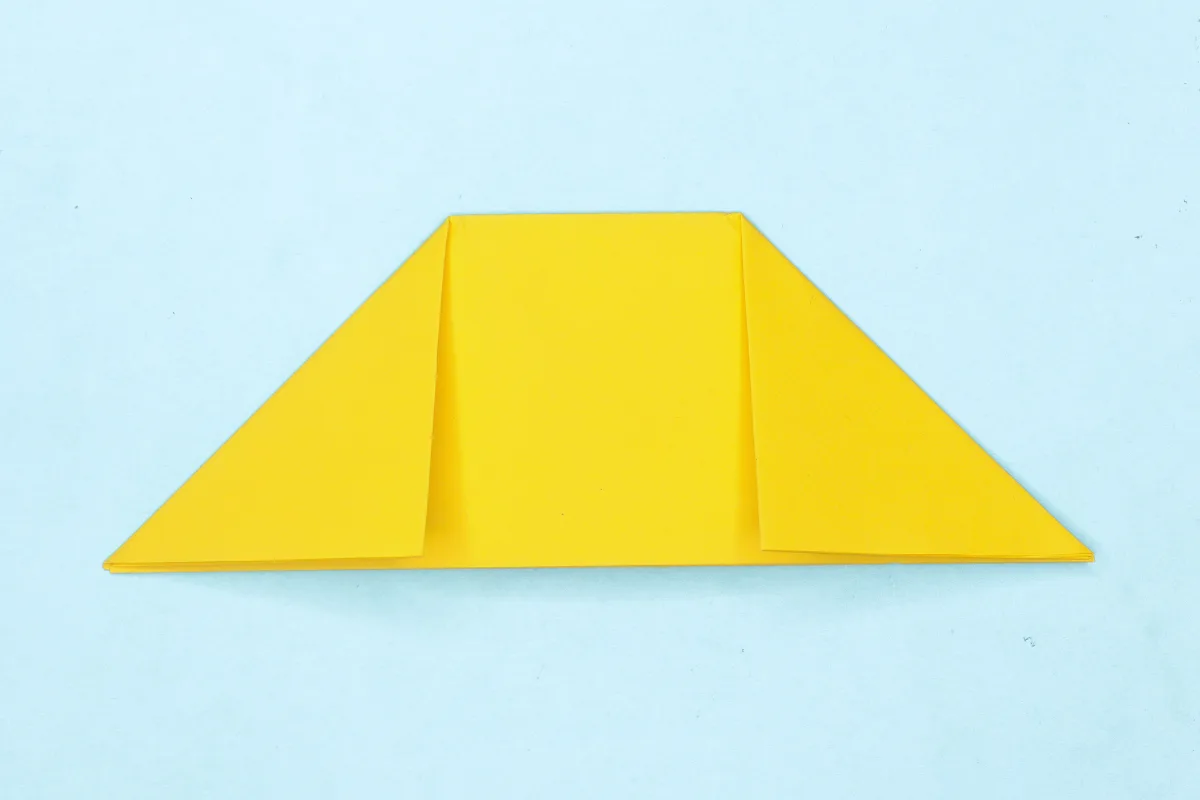
5
Fold the top right corner to the bottom.
Step 6
6
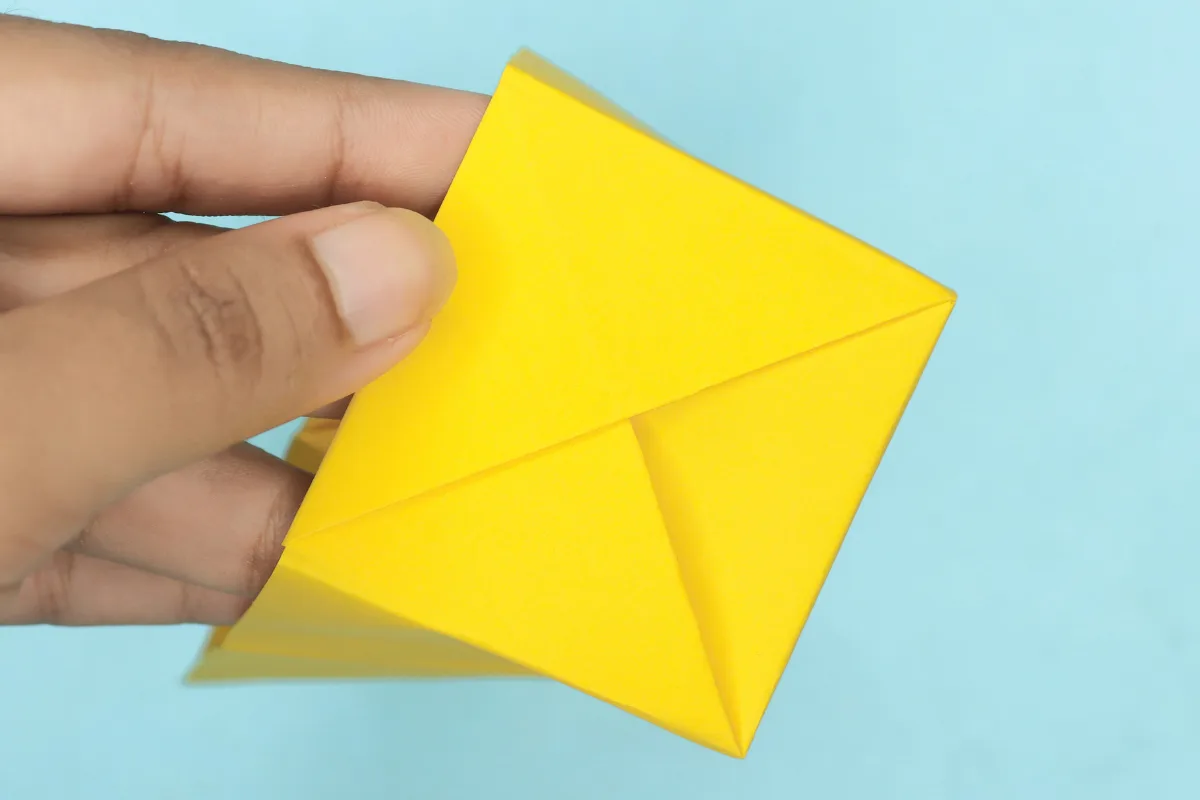
Fold the left flap to the right along its vertical edge.
Step 7
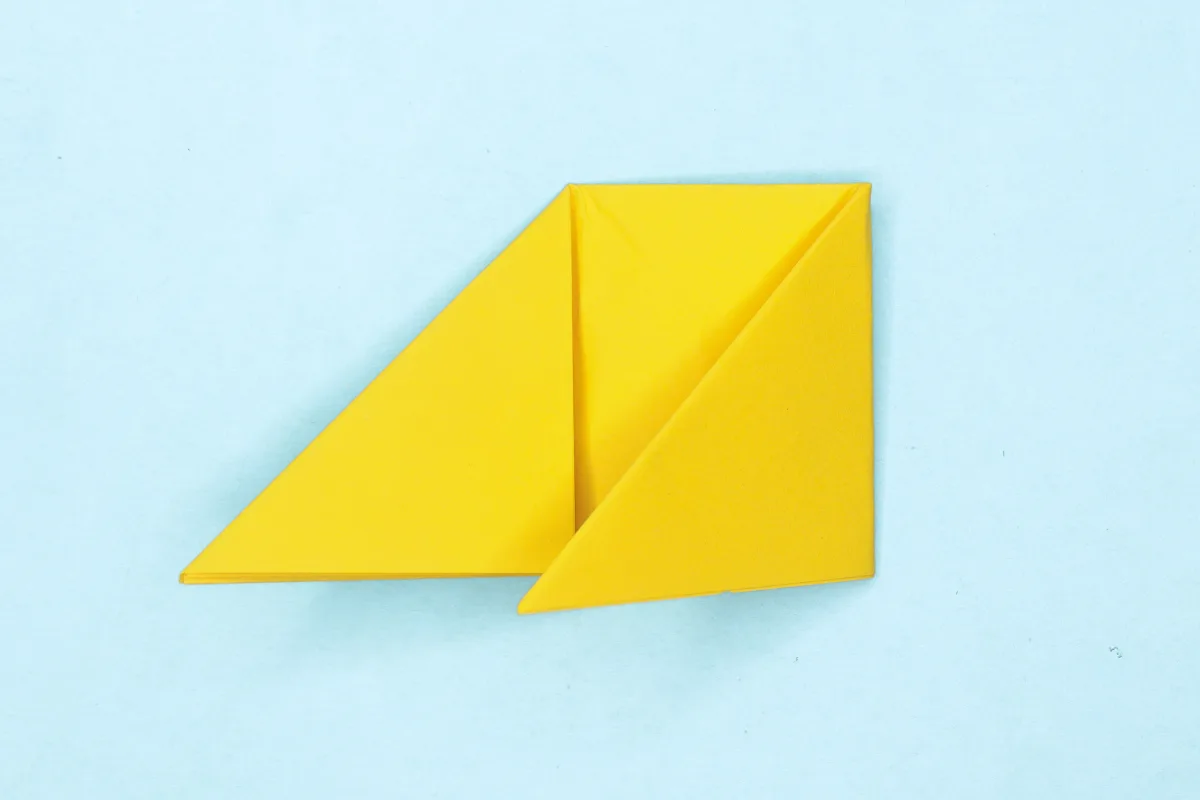
7
Unfold the left flap and repeat the previous step on the right flap.
Step 8
8
Unfold the right flap.
Step 9
9
Turn the model over.
Step 10
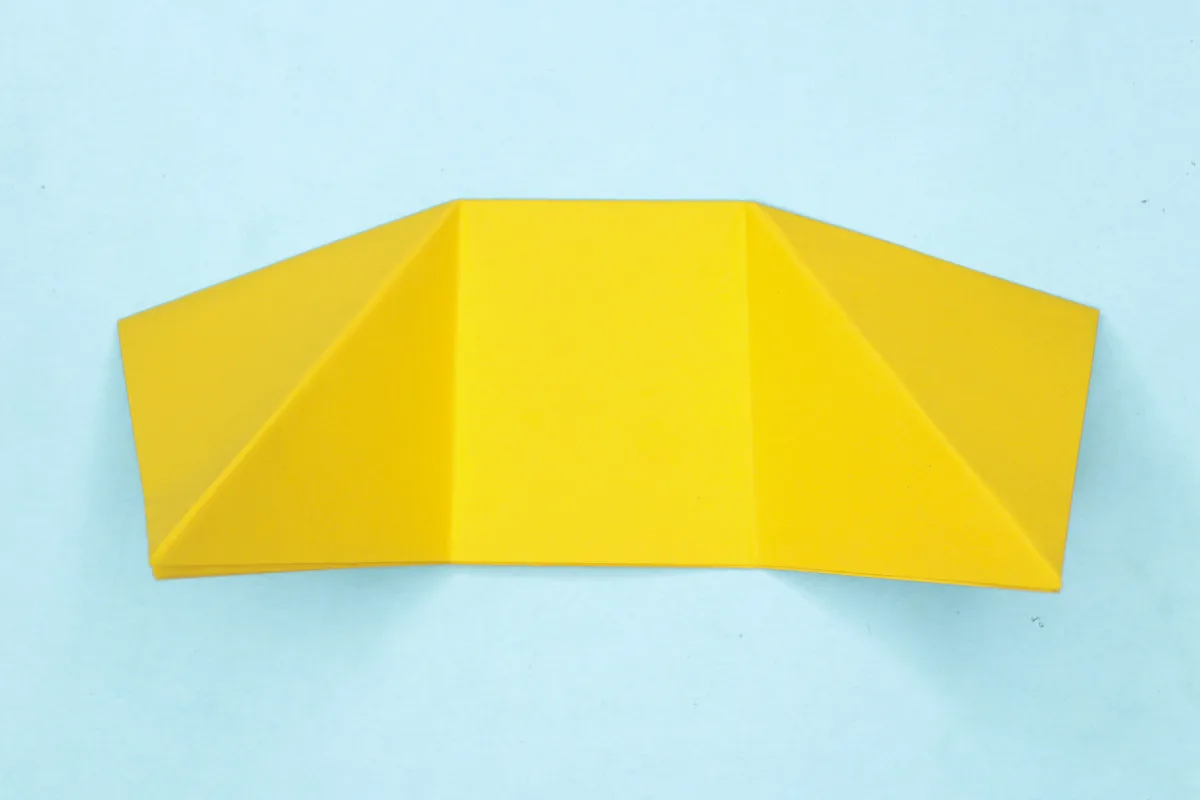
10
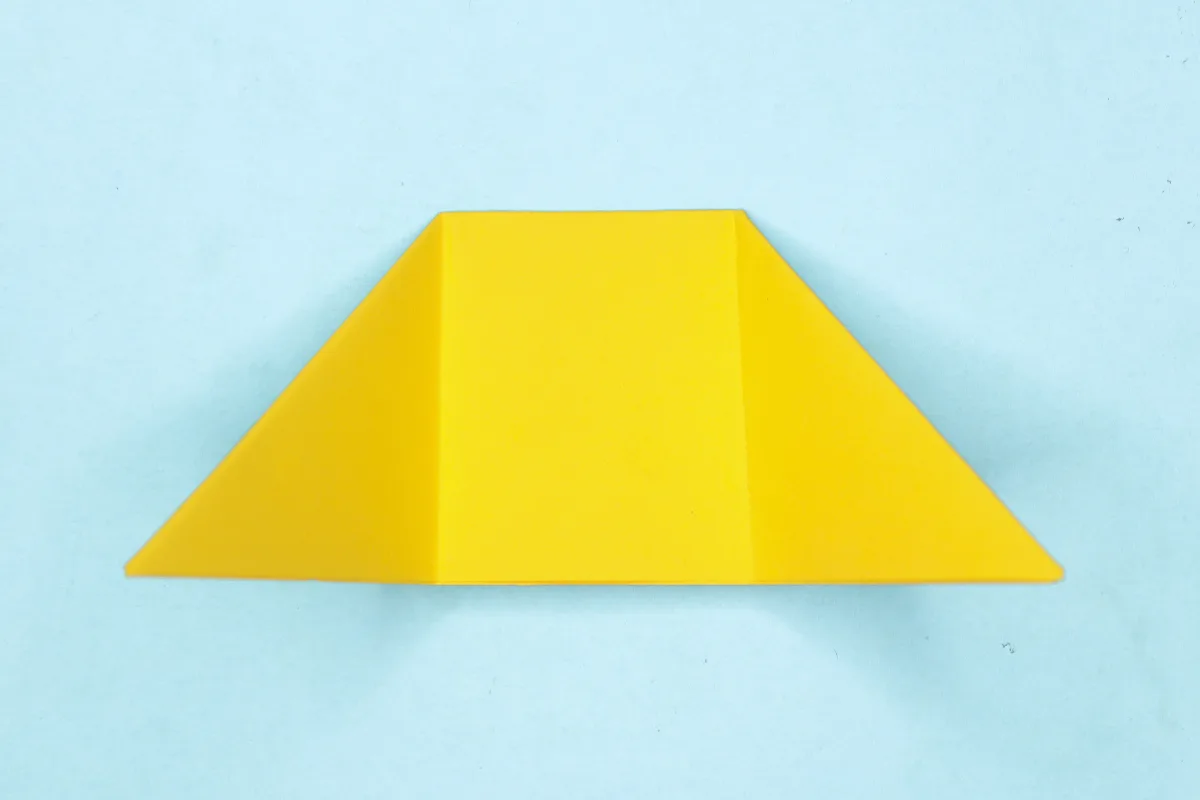
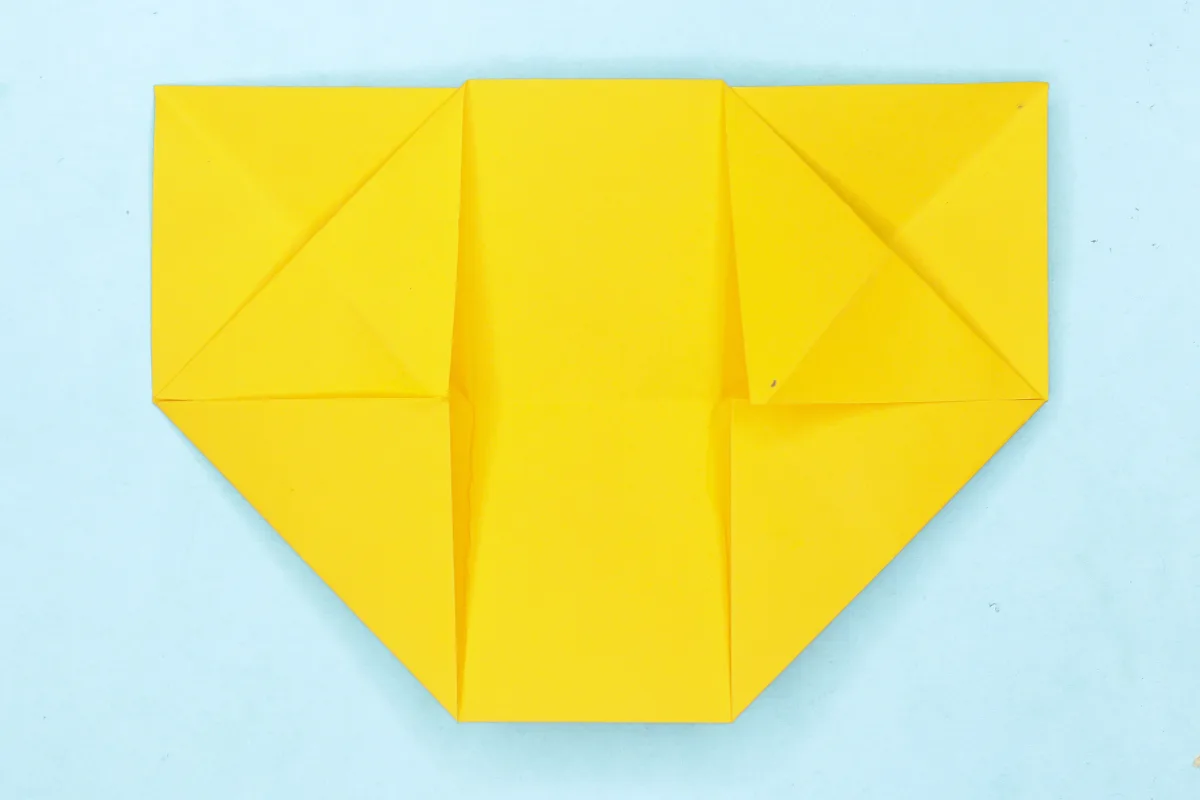
Unfold the left and right triangle flaps.
Step 11
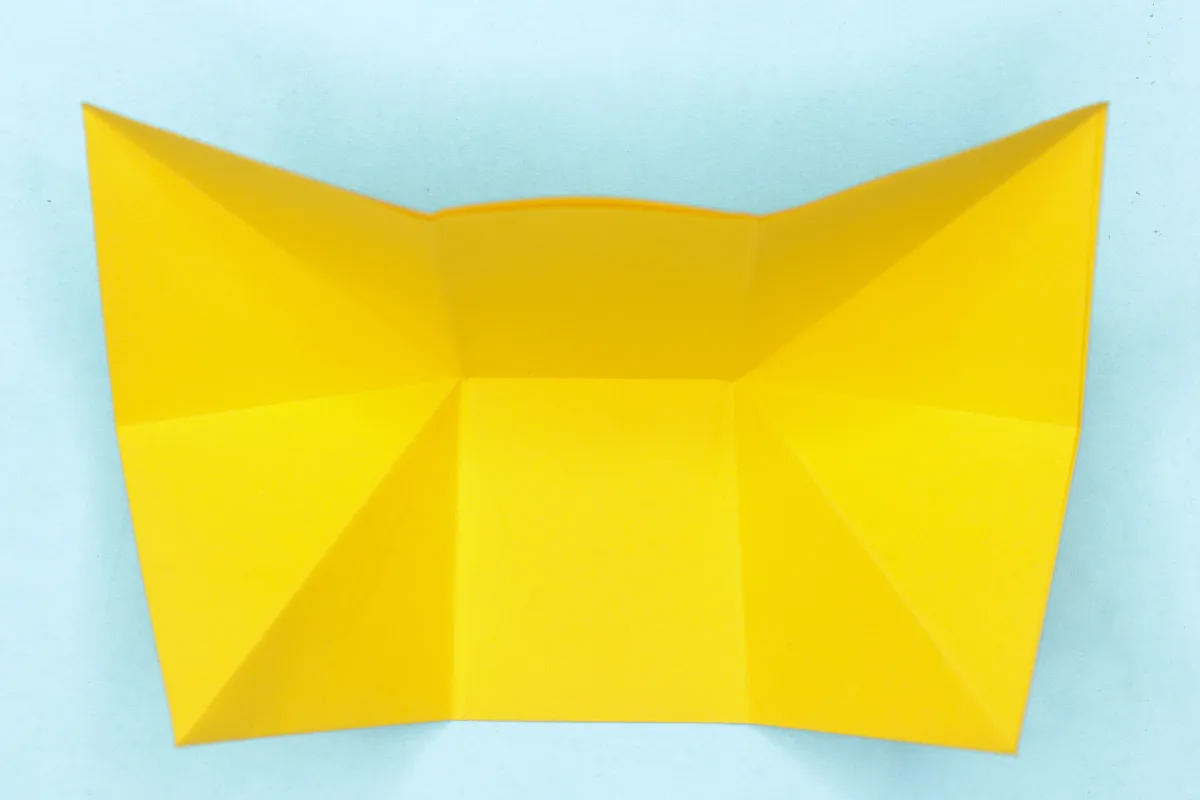
11
Unfold the bottom layer up.
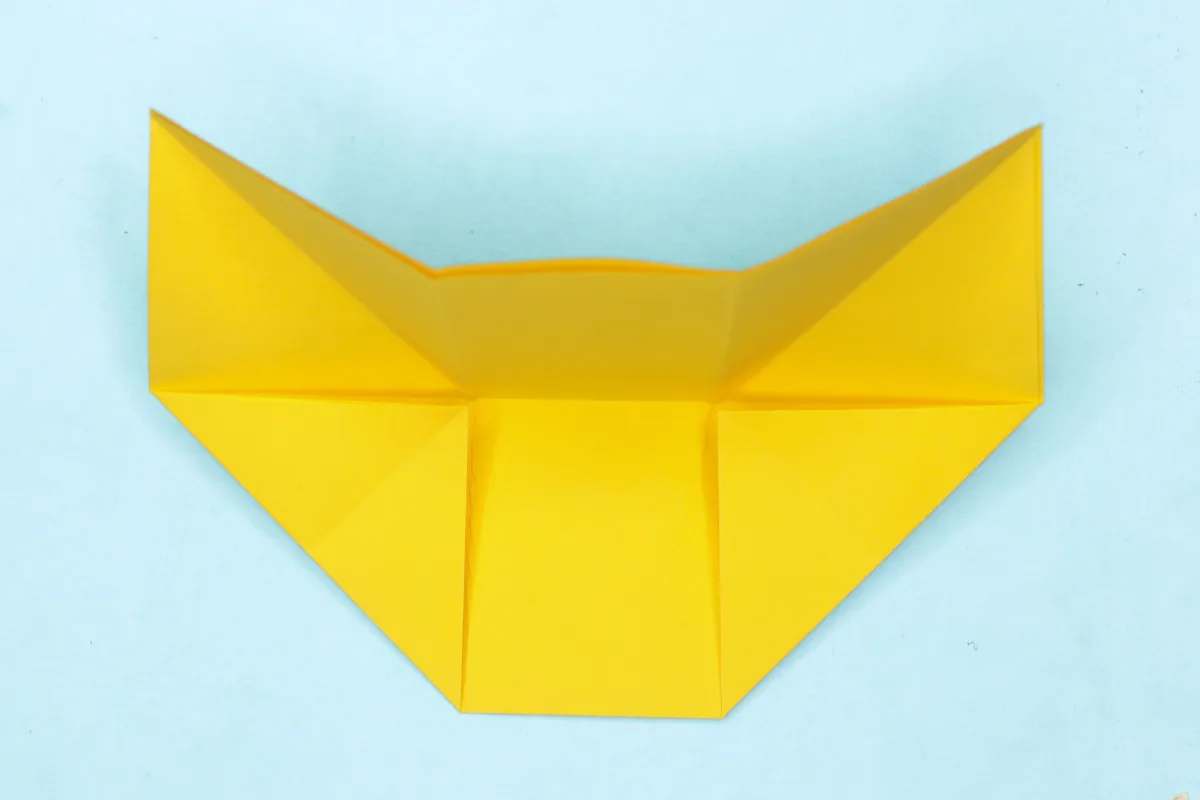
Step 12

12
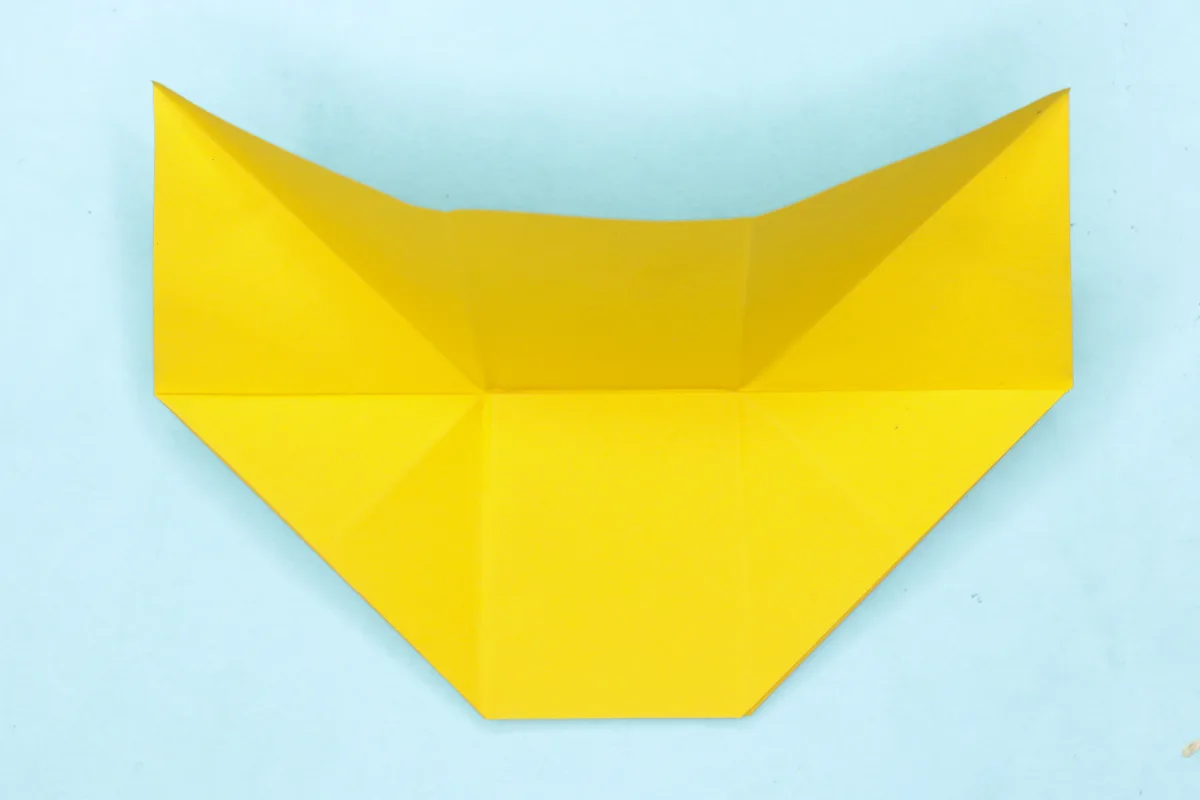
Fold up the bottom right corner to the crease.
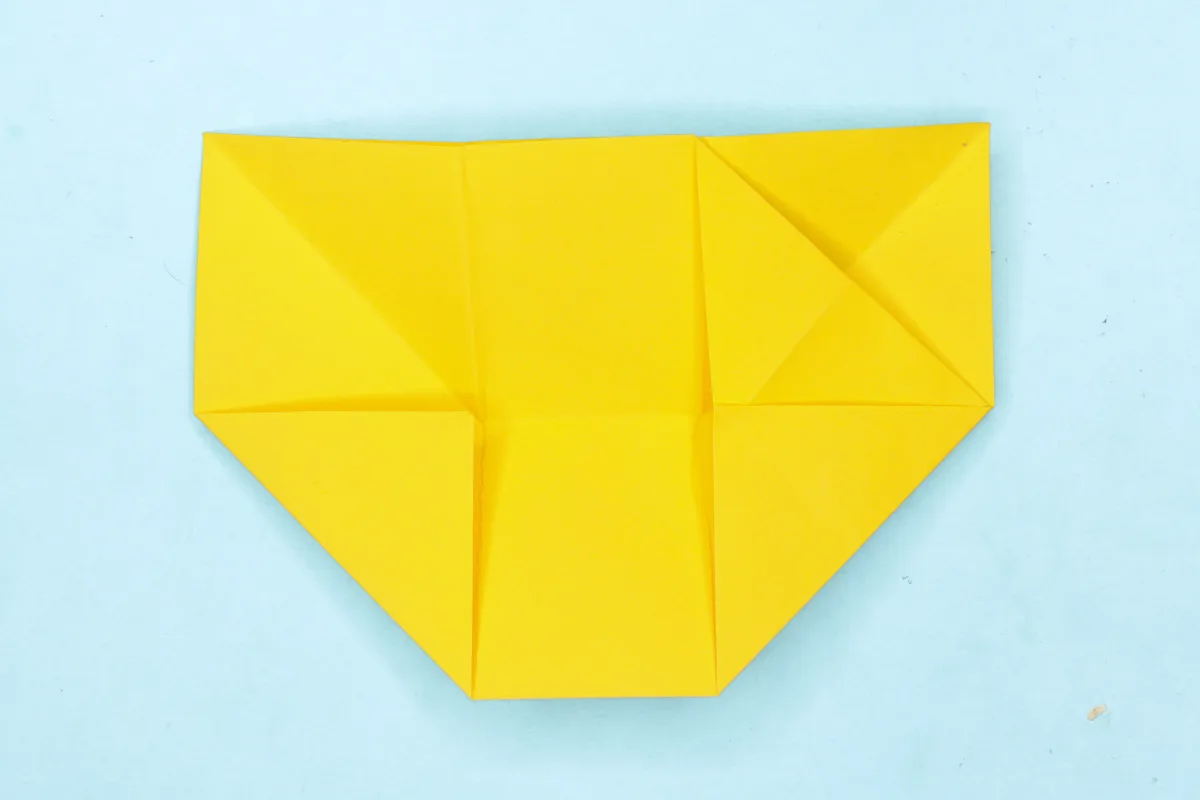
Step 13
13
Repeat on the left side.
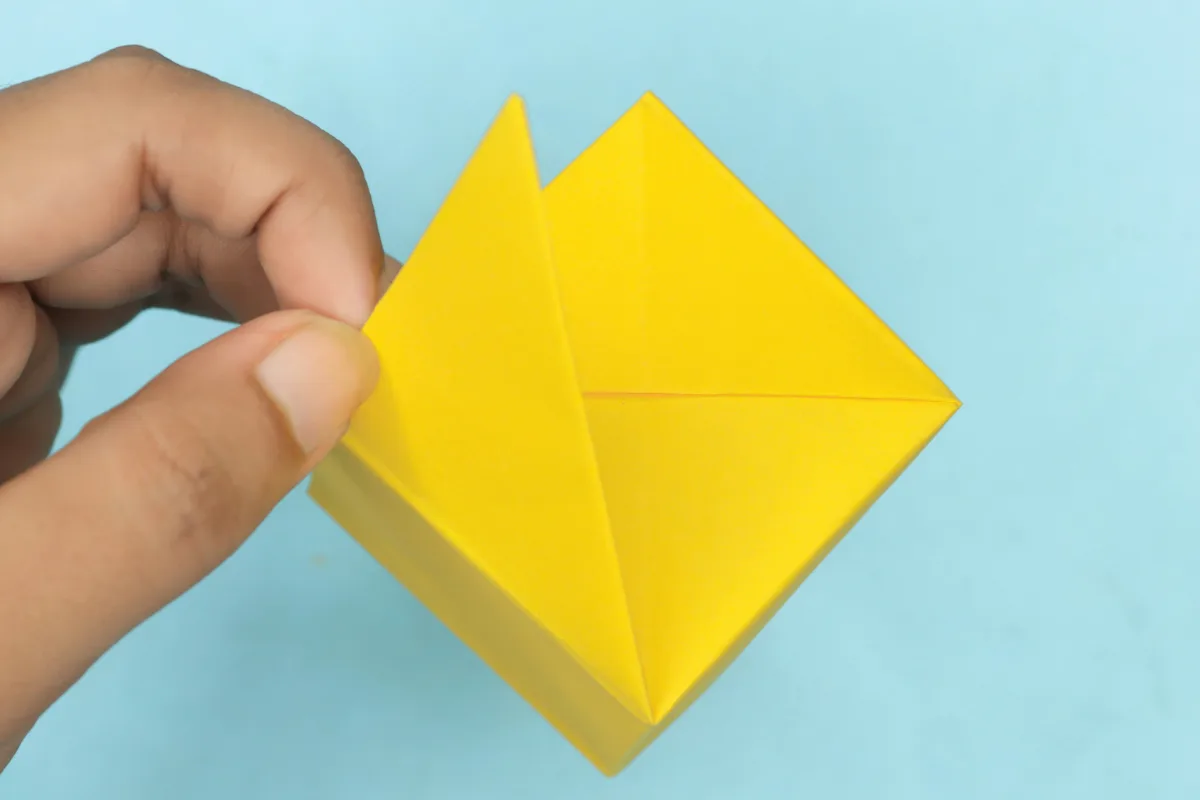
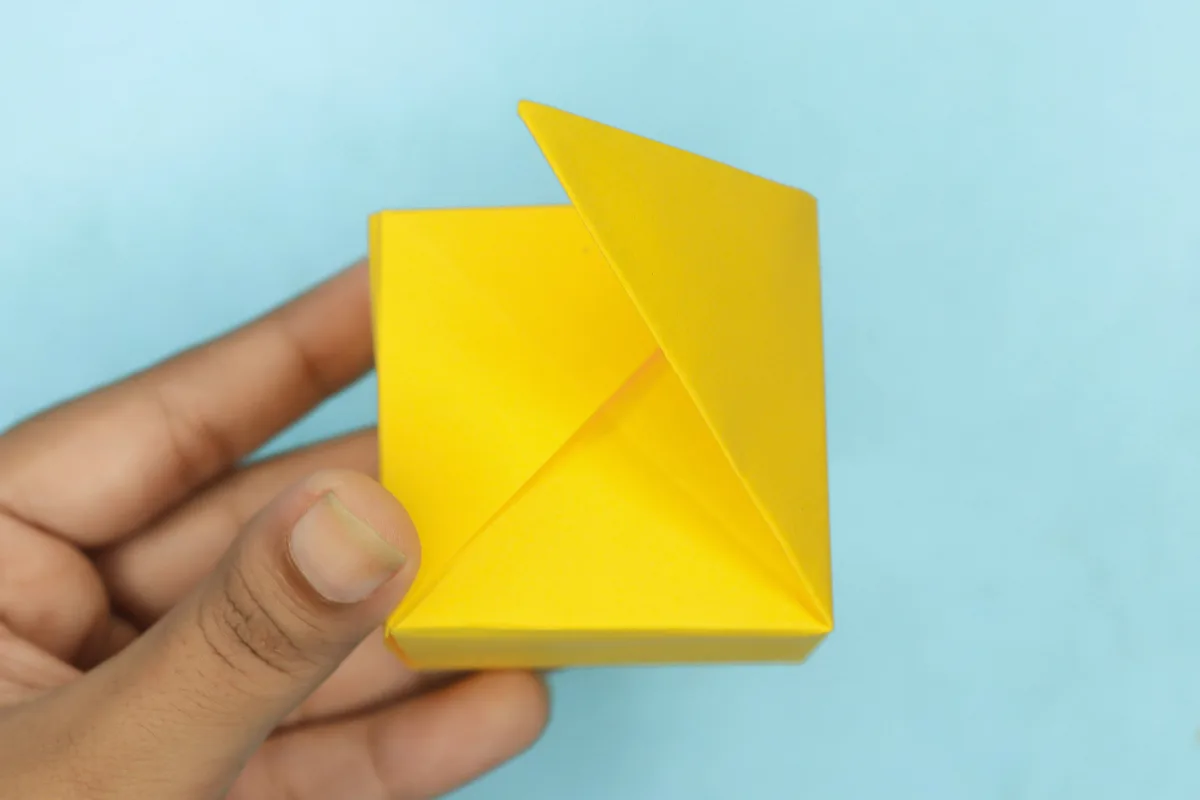
Step 14
14
Fold down only the top single layer of the right corner.
Step 15
15
Fold down only the top single layer of the left corner.
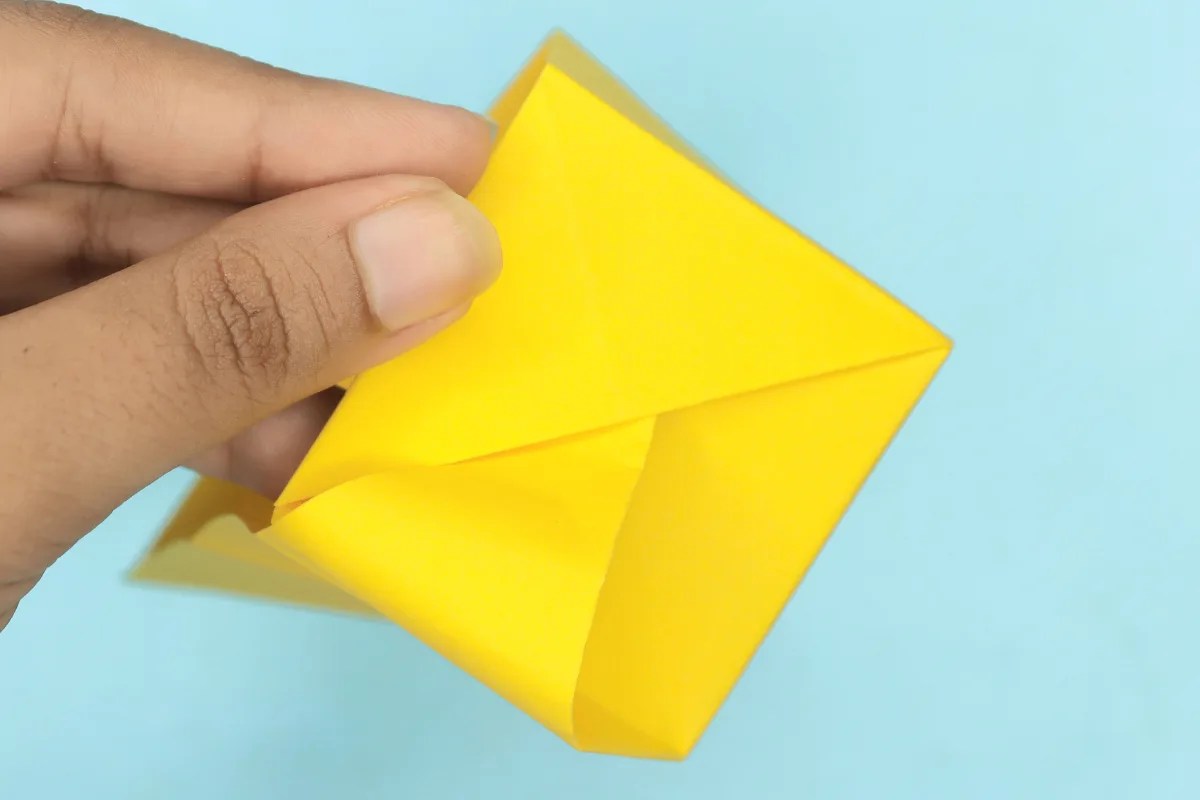
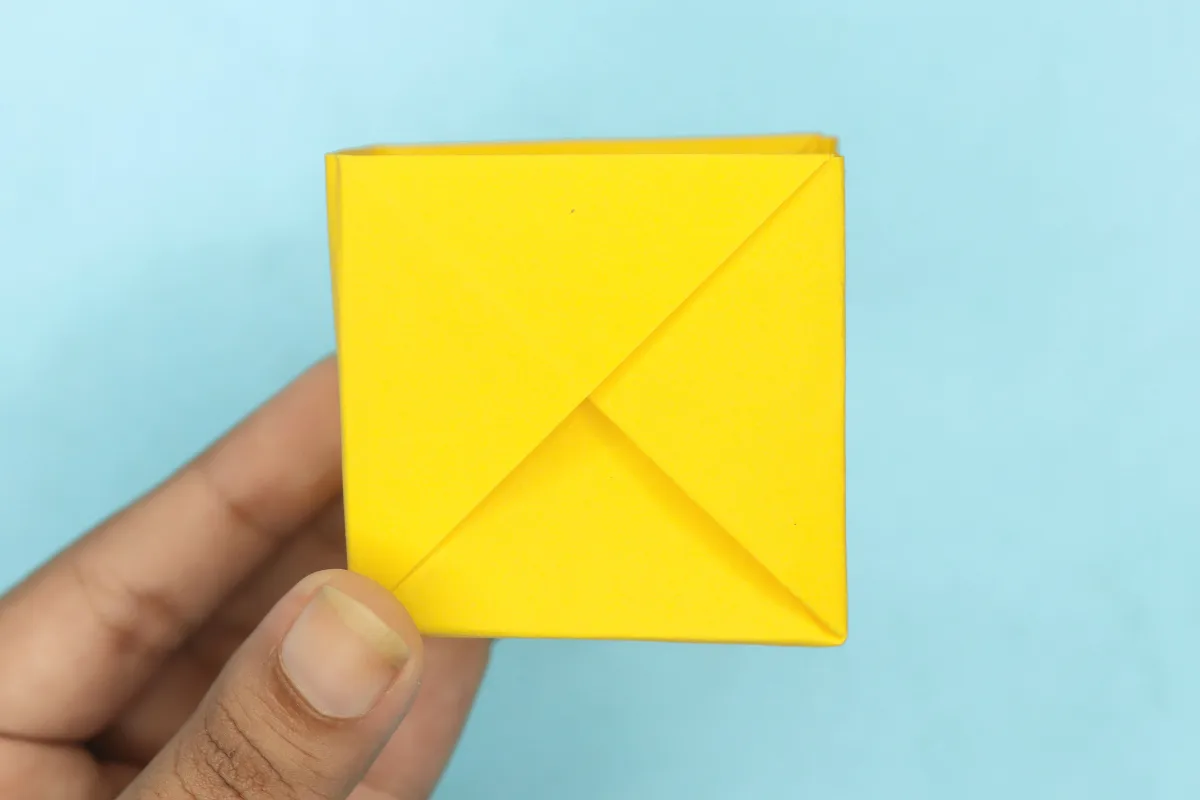
Step 16
16
Fold down the single layer of the top flap.
Step 17
17
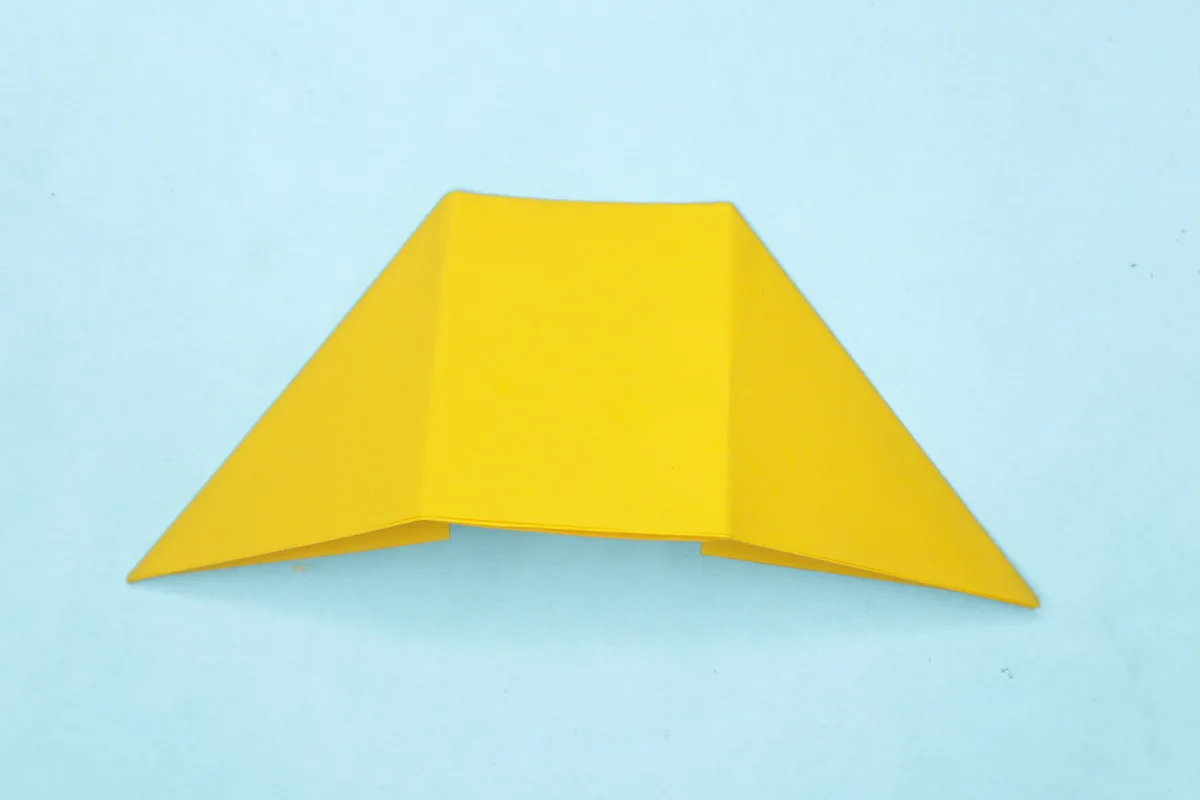
Pull out the bottom pocket.
Step 18
18
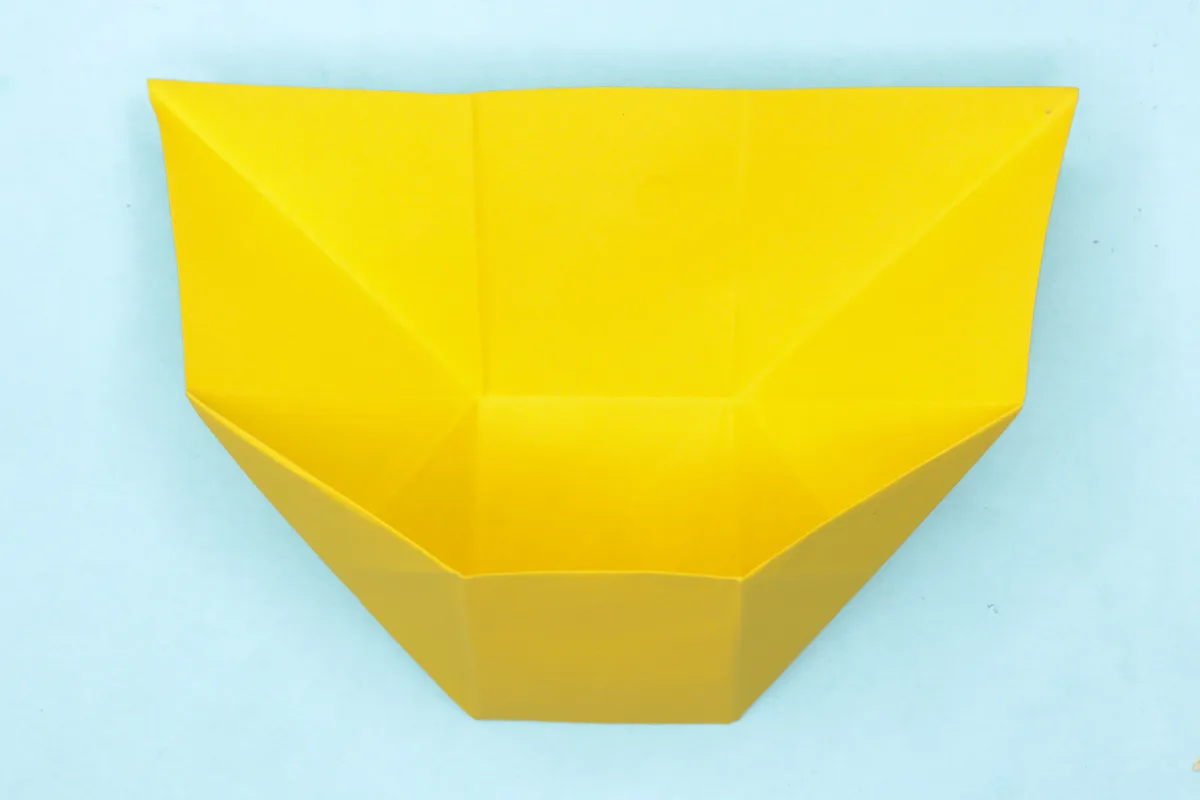
Crease the left and right flaps into the shape of a box.
Step 19
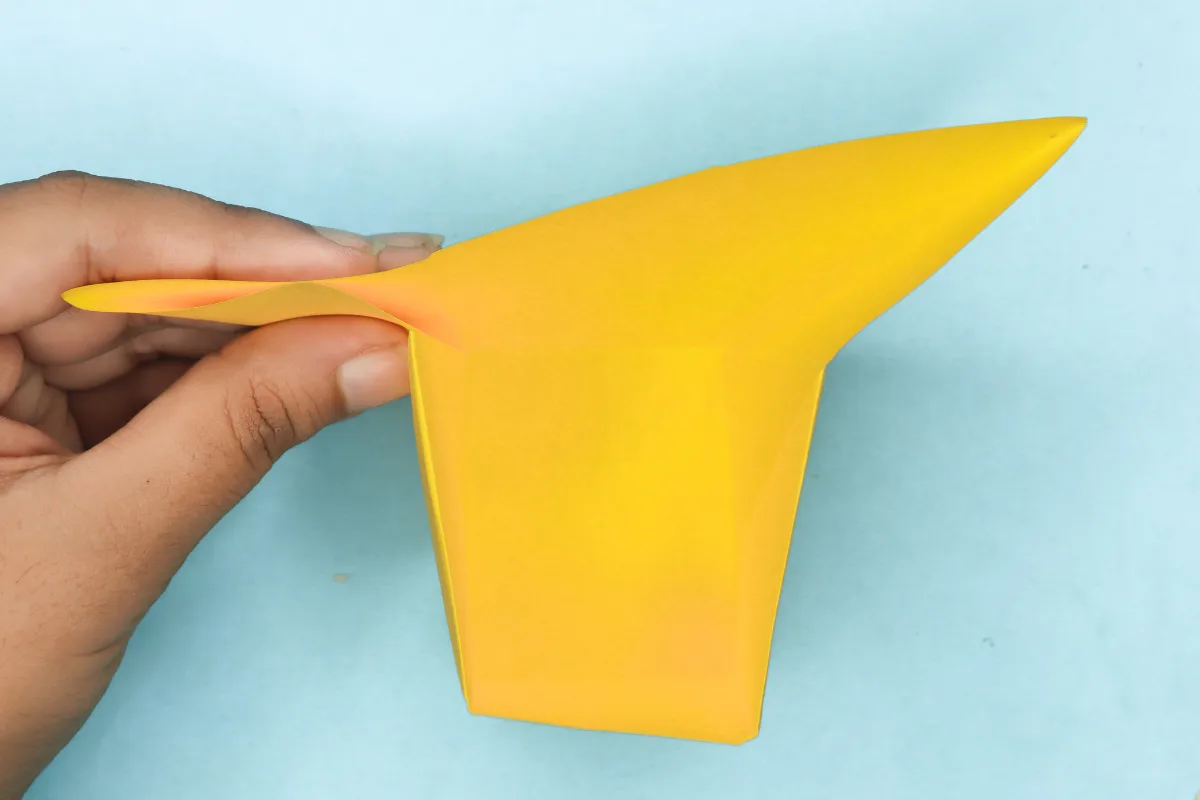
19
Bend up and bring in the opening of the box. Pinch the corners to make it easier.
Step 20
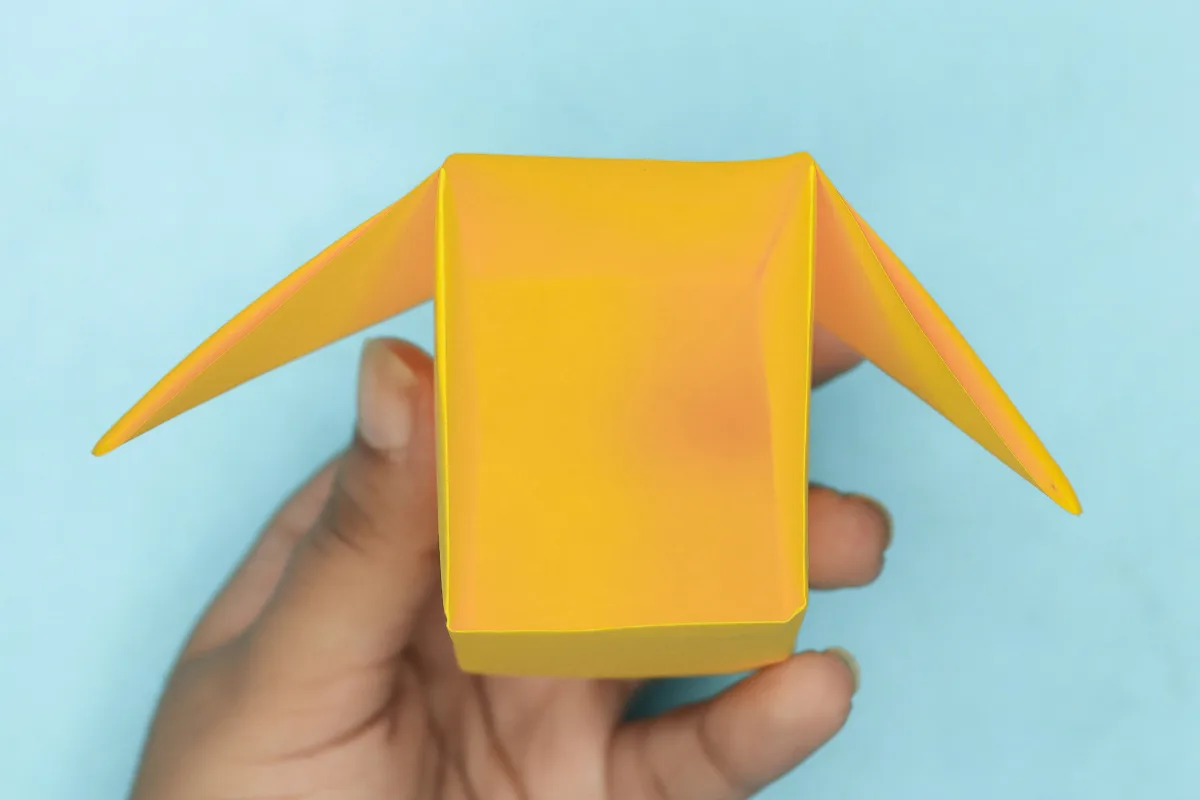
20
Then fold the corners to the side of the box.
Step 21
21
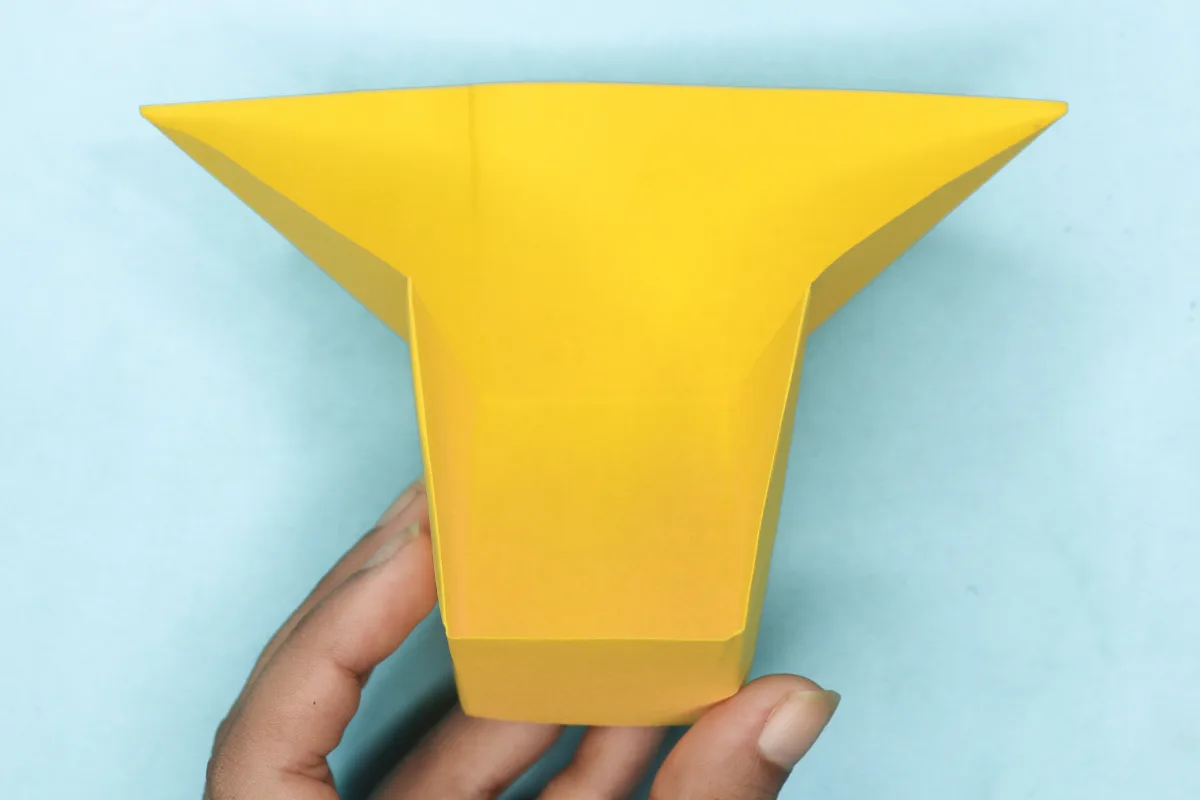
Hold the corner of one side.
Step 22
22
Then tuck the corner into the side pocket of the box.
Step 23
23
I have tucked one corner in.
Step 24
24
Now switch the side of box and tuck in the other corner too.
Step 25
25
All done.
Step 26
26
Voila! You just made an origami Nik-Nak box.
Share and Comment
We would love to see your creations! Scroll down to the comments section and share a photo of your origami.
Leave a Reply