How to Make an Origami Paper Boat

Category:
Origami boat final step
Difficulty: Intermediate
Set sail with ease! Follow our step-by-step Origami paper boat instructions and fold your own floating masterpiece in minutes!

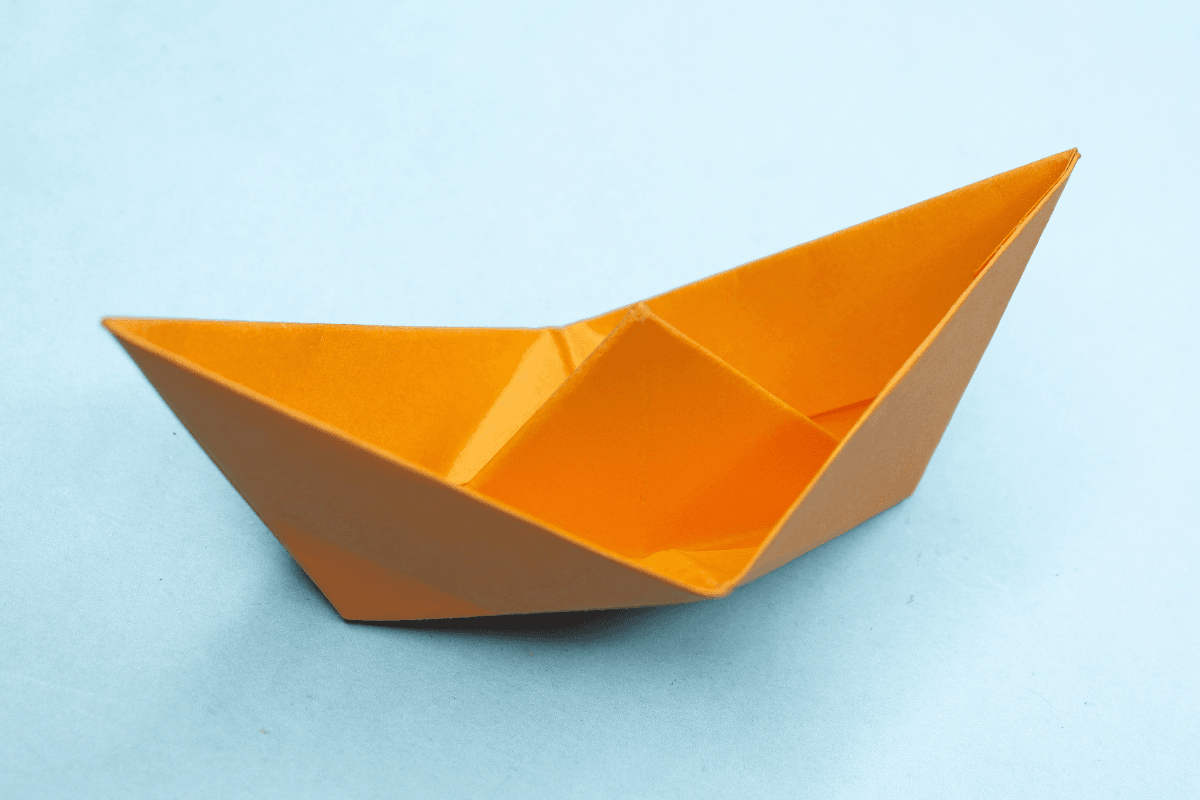
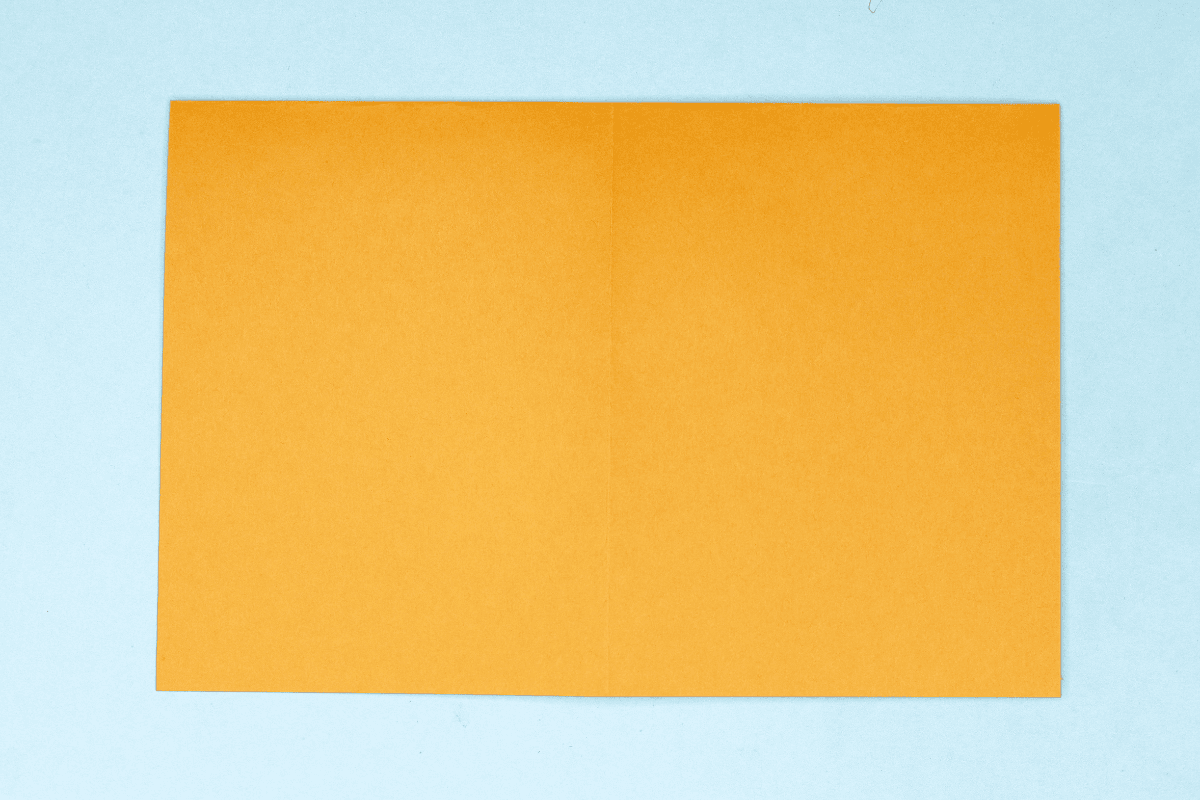
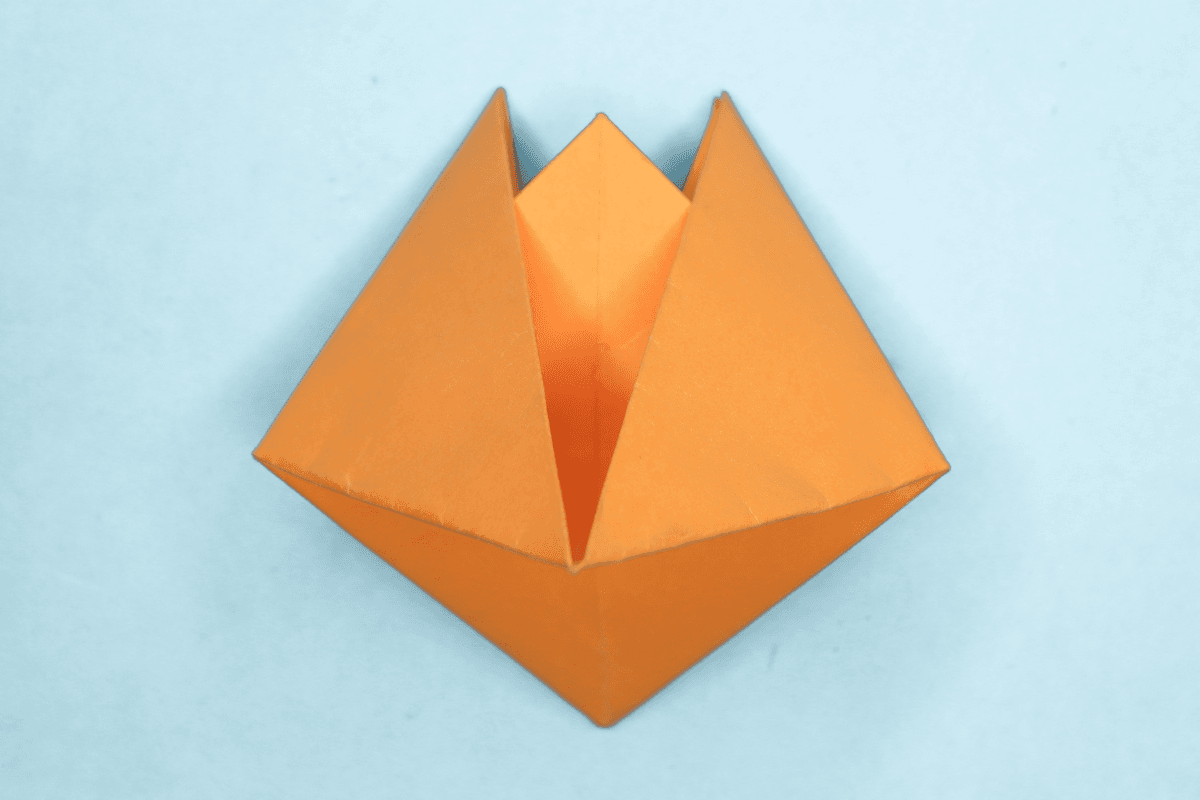
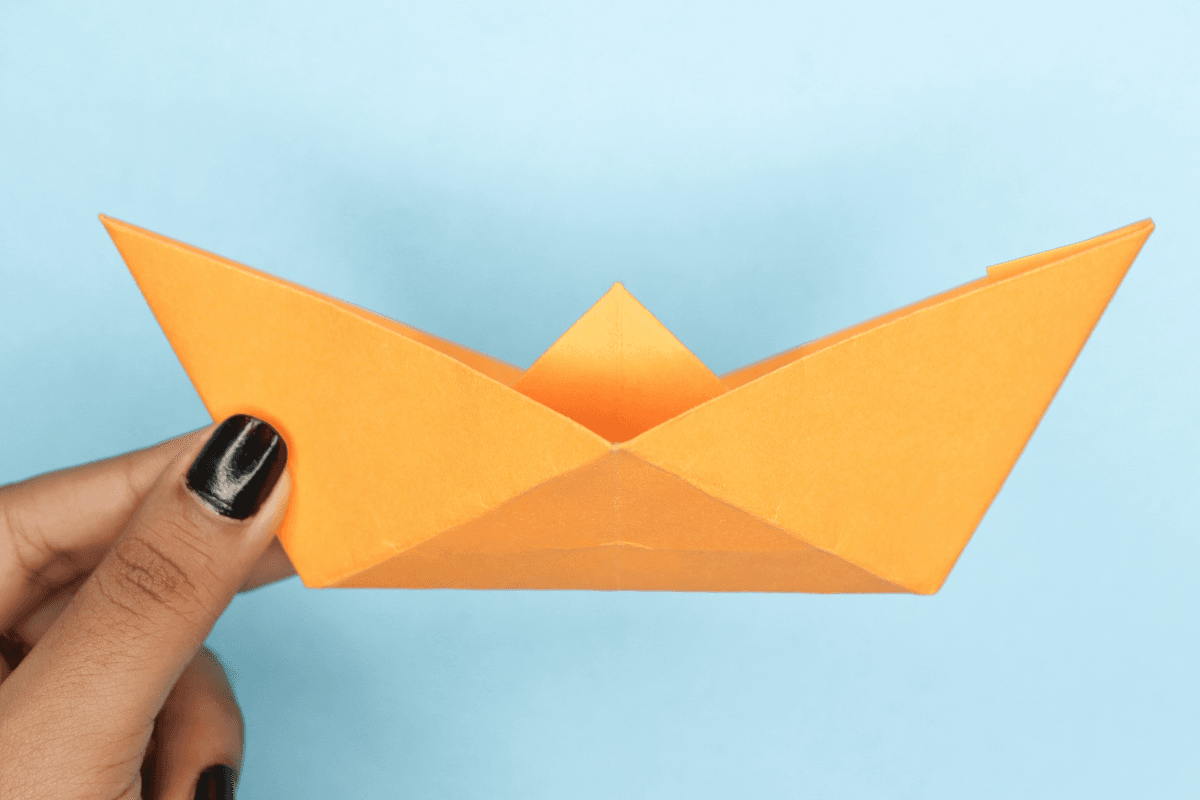
If you’ve always wanted to play with boats in the tub, but your parents wouldn’t get one for you, don’t worry. I will show you how to make an origami boat out of paper, and yes, it floats… for a little bit, but it’s still fun nonetheless.

How to Make a Paper Boat Float Longer?

The most common thing to try is that you can color the bottom of the origami boat with crayons, it will float longer but not long enough to reach the finish line. Some people also say that to make the boat last longer when it is on water, try using foil paper or grease-proof paper. Just be careful not to splash too much water on it!

Step 1
Origami boat step 01
1
Get out a piece of regular 8.5×11 rectangular paper.

Step 2
Origami boat step 02
2
Fold the paper in half by folding the left side over to the right side.

Step 3
Origami boat step 03
3
Unfold.

Step 4
Origami boat step 04
4
Fold the paper in half again by folding the bottom edge to the top edge.

Step 5
Origami boat step 05
5
Rotate the model by 90° or make sure that the side with center crease is on the top.

Step 6
Origami boat step 06
6
Fold the upper right corner to the middle.

Step 7
Origami boat step 07
7
Fold the upper left corner to the middle.

Step 8
Origami boat step 08
8
Fold the bottom strip up.

Step 9
Origami boat step 09
9
Turn the model over.

Step 10
Origami boat step 10
10
Do the same to the strip on the other side.

Step 11
Origami boat step 11
11
Seperate the top and bottom fold as shown.

Step 12
Origami boat step 12
12
Open up the paper all the way to collapse it.

Step 13
Origami boat step 13
13
Face the right side towards you and the paper will look like a diamond.

Step 14
Origami boat step 14
14
Fold the bottom corner up to the top corner.

Step 15
Origami boat step 15
15
Turn the model over.

Step 16
Origami boat step 16
16
Also fold this side’s bottom corner to the top corner.

Step 17
Origami boat step 17
17
Like before, open the paper all the way until it collapses into a diamond shaped figure.

Step 18
Origami boat step 18
18
This is how it will look like after collapsing both sides all the way.

Step 19
Origami boat step 19
19
Face the right side towards you and the paper will look like a diamond.

Step 20
Origami boat step 20
20
Grab the top two corners and gently pull it apart.

Step 21
Origami boat step 21
21
Flatten well.

Step 22
Origami boat final step
22
Voila! Now bring it with you when you need to take a bath.

Share and Comment
We would love to see your creations! Scroll down to the comments section and share a photo of your origami.

Comments

Leave a Reply

Your email address will not be published. Required fields are marked *

Drop file here