Learn how to make a paper pencil with these easy origami instructions. Every step comes with pictures to make sure you can do this. The paper pencil has no confusing folds, but there is a step that requires a thin fold, so just be a little careful there. Overall, it’s pretty easy to make and you should be able to make this paper pencil pretty quickly.
How to Make an Easy Origami Pencil
Category: Easy Origami
Difficulty: Easy
Learn how to make a paper pencil using these easy origami instructions. Every step comes with clear pictures to make sure you can fold this.
Step 1

1
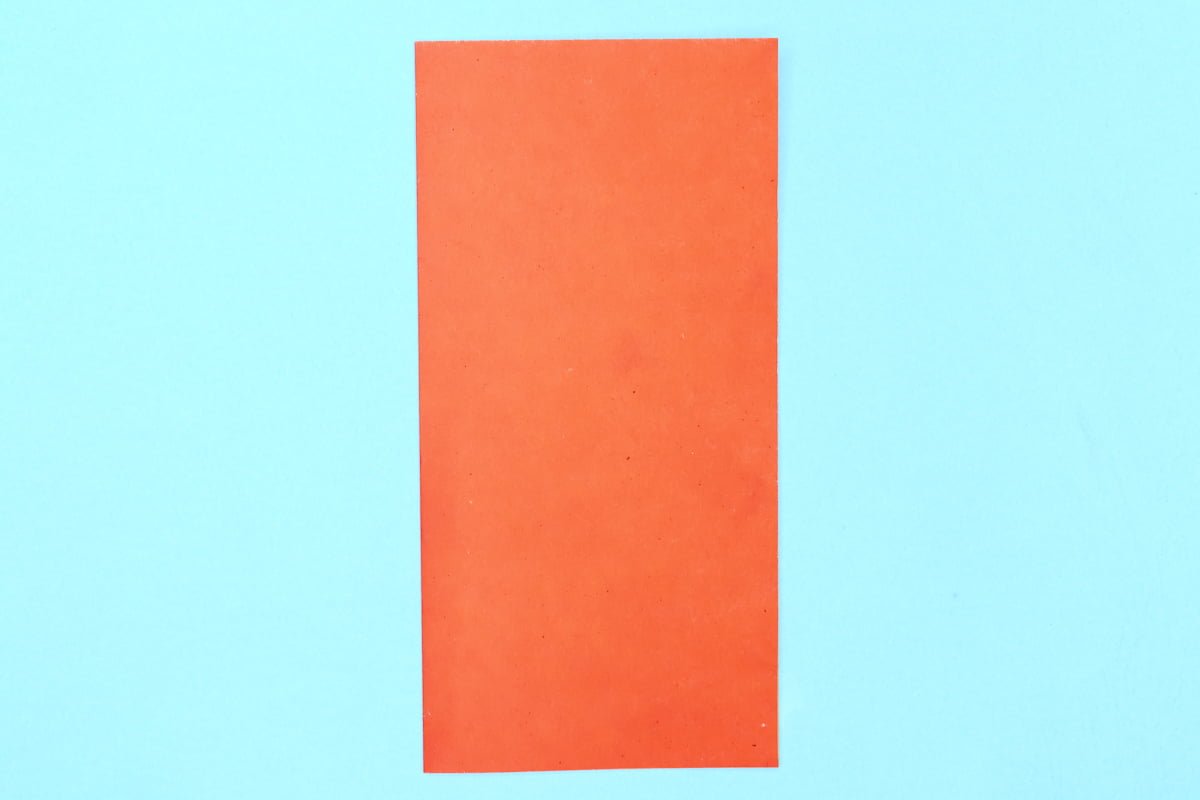
Start with a square sheet of origami paper. I am using an 7×7 inches origami paper.
If you only have regular paper, follow these instructions on how to make a square origami paper.
If you only have regular paper, follow these instructions on how to make a square origami paper.
Step 2

2
If you are using two sided color origami paper then face the lighter side upwards.
Step 3
3
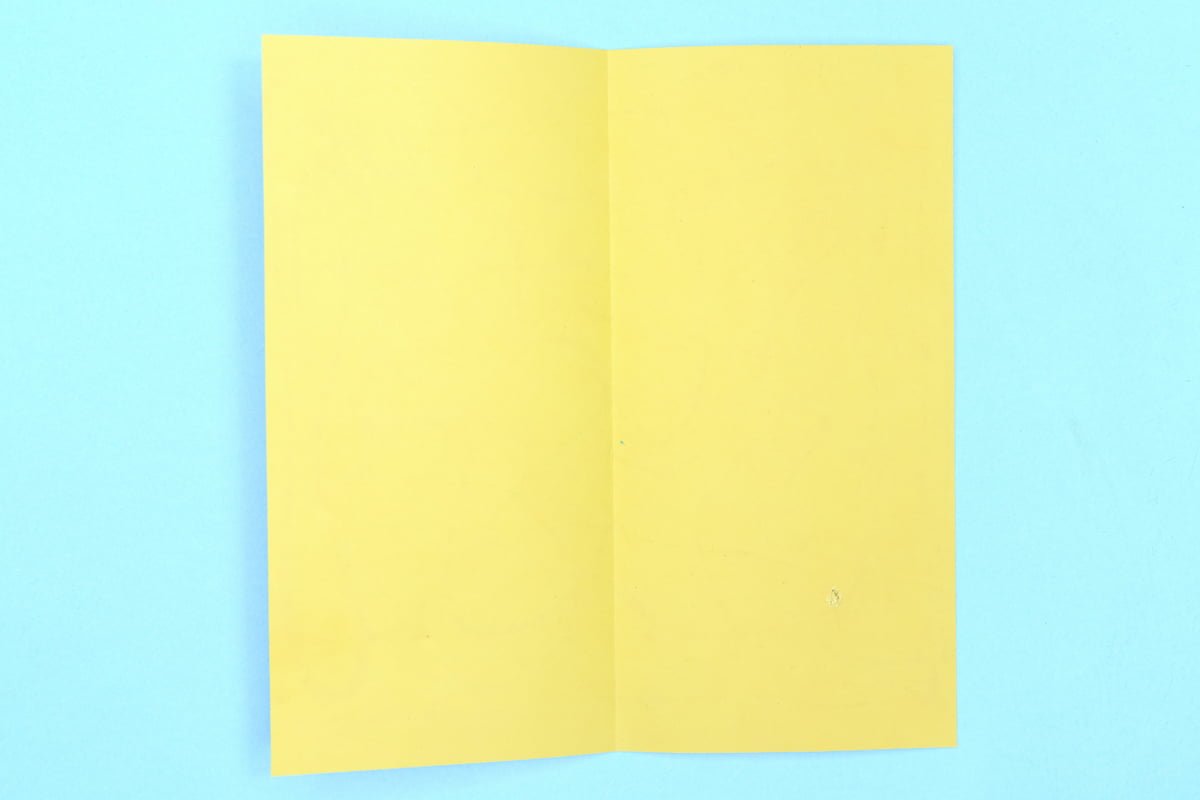
Fold the paper in half.
Step 4
4
Unfold.
Step 5

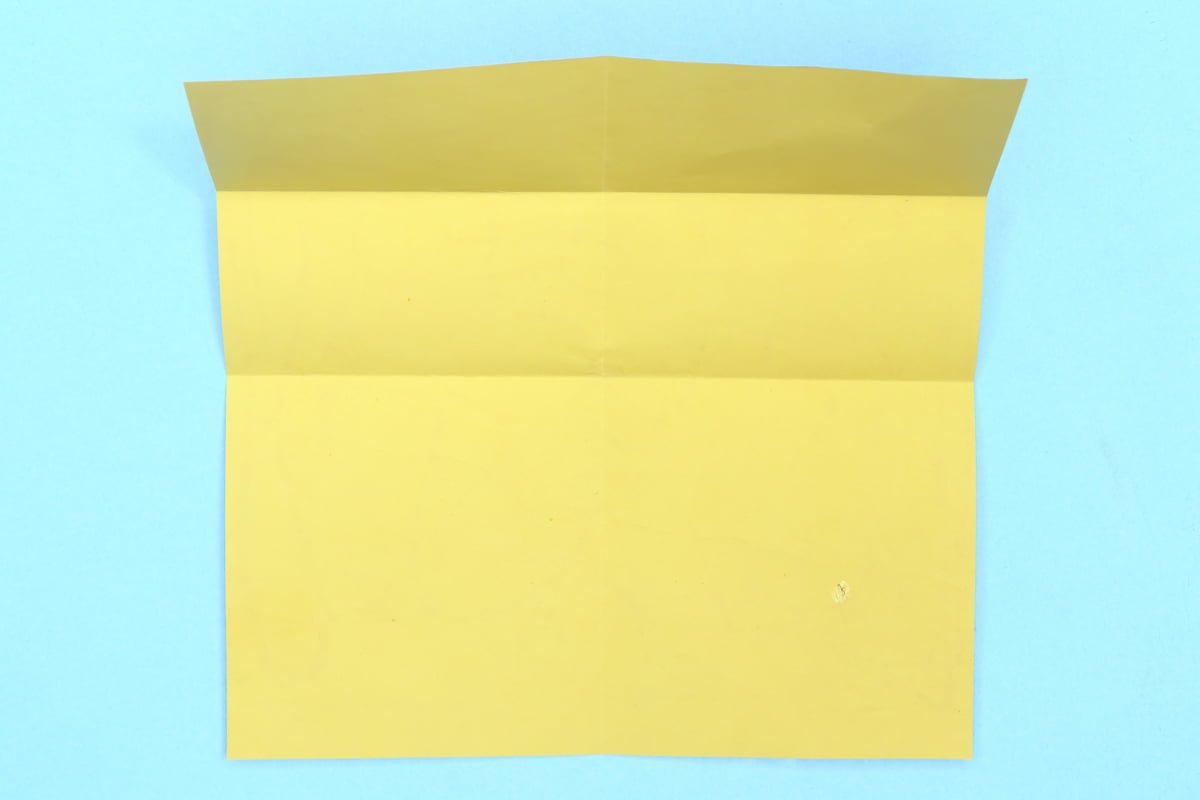
5
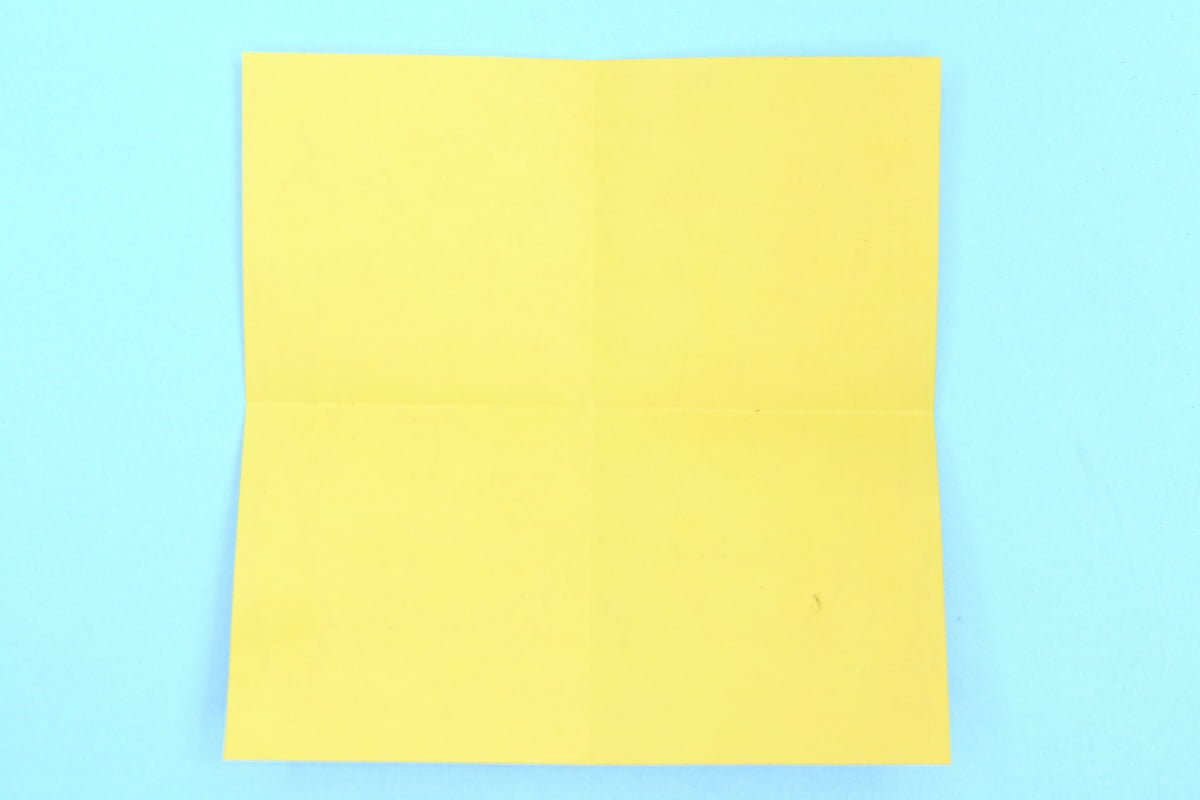
Fold in half again, but this time folding from top to bottom.
Step 6
6
Unfold.
Step 7

7
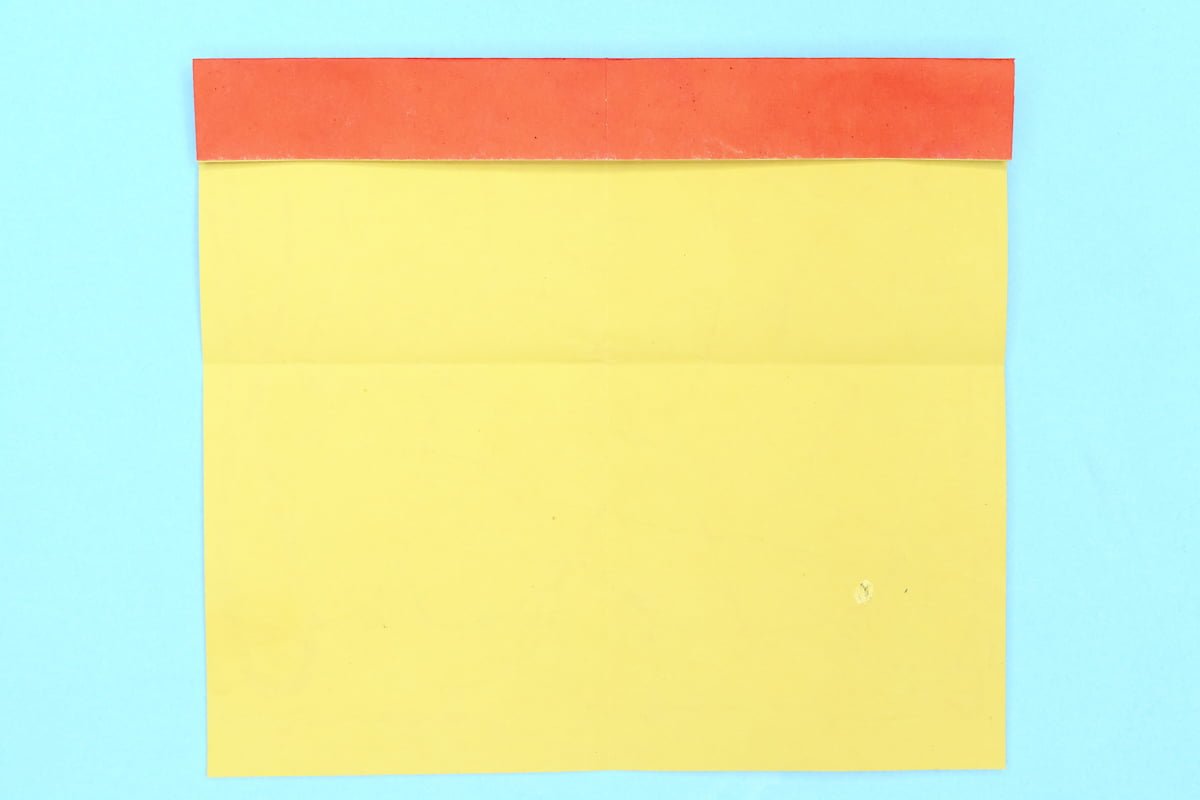
Now fold the top edge down again, but this time stopping at the center.
Step 8
8
Unfold.
Step 9
9
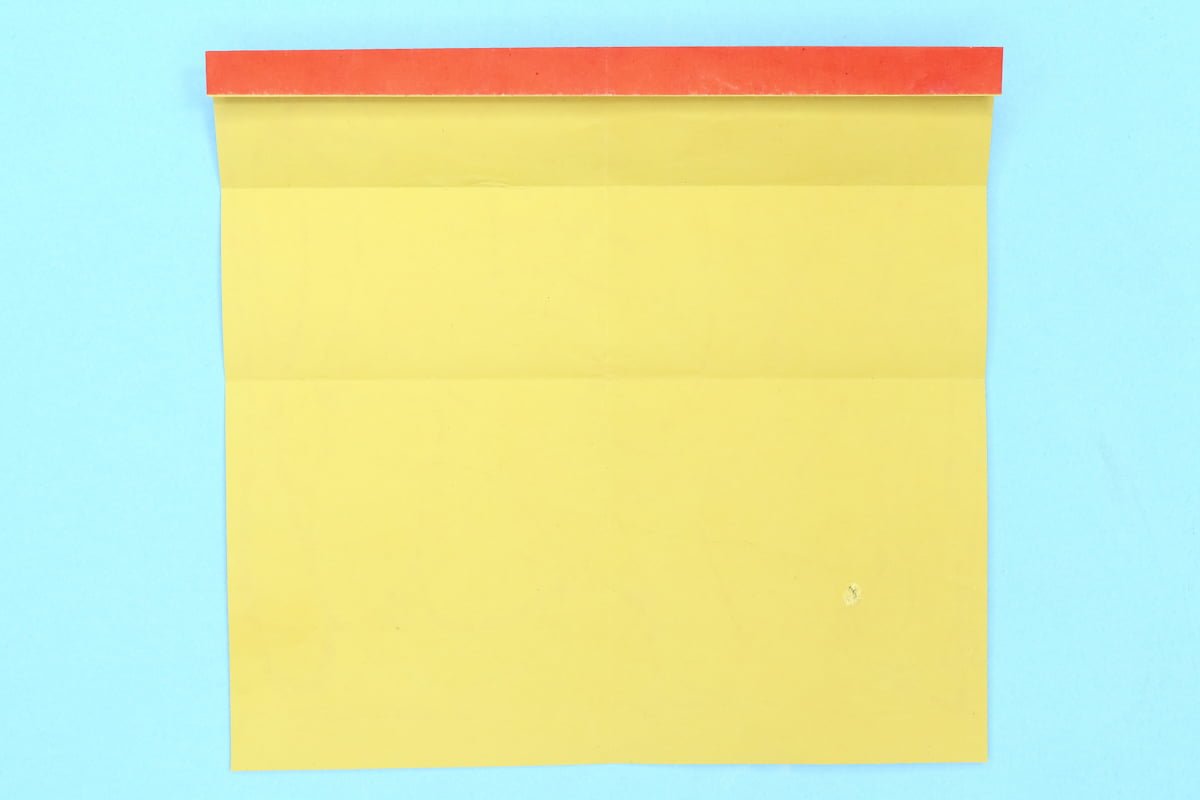
Once again, fold the top edge down, but stopping at the top crease.
Step 10

10
Unfold.
Step 11
11
Fold the top edge down to the uppermost crease.
Step 12
12
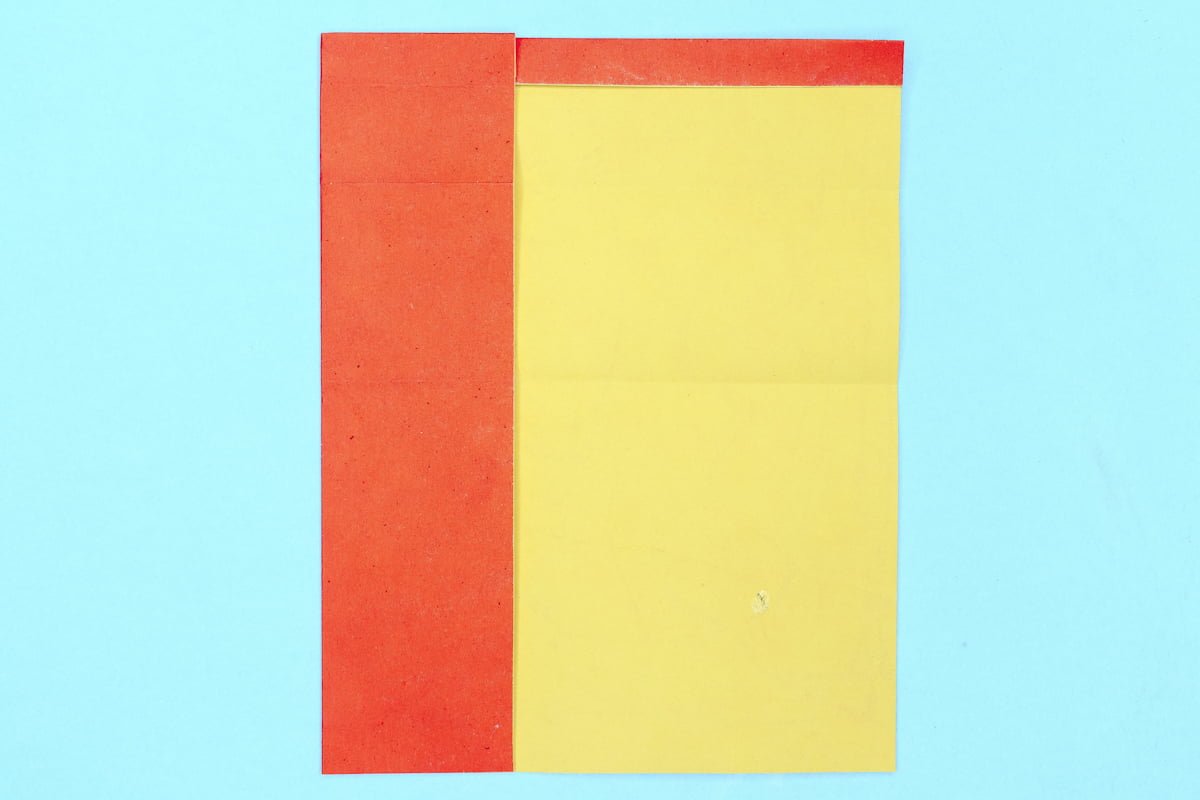
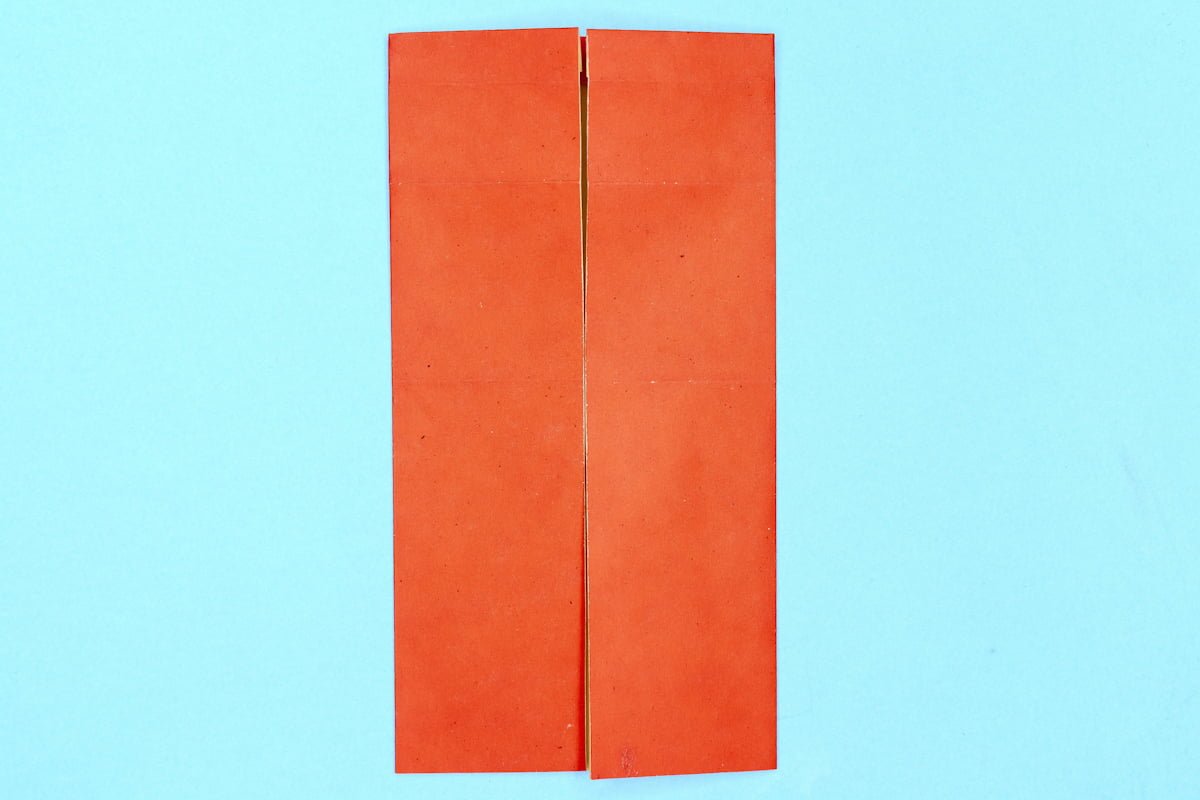
Fold in the left edge to the center crease.
Step 13
13
Fold in the right edge to the center crease.
Step 14
14
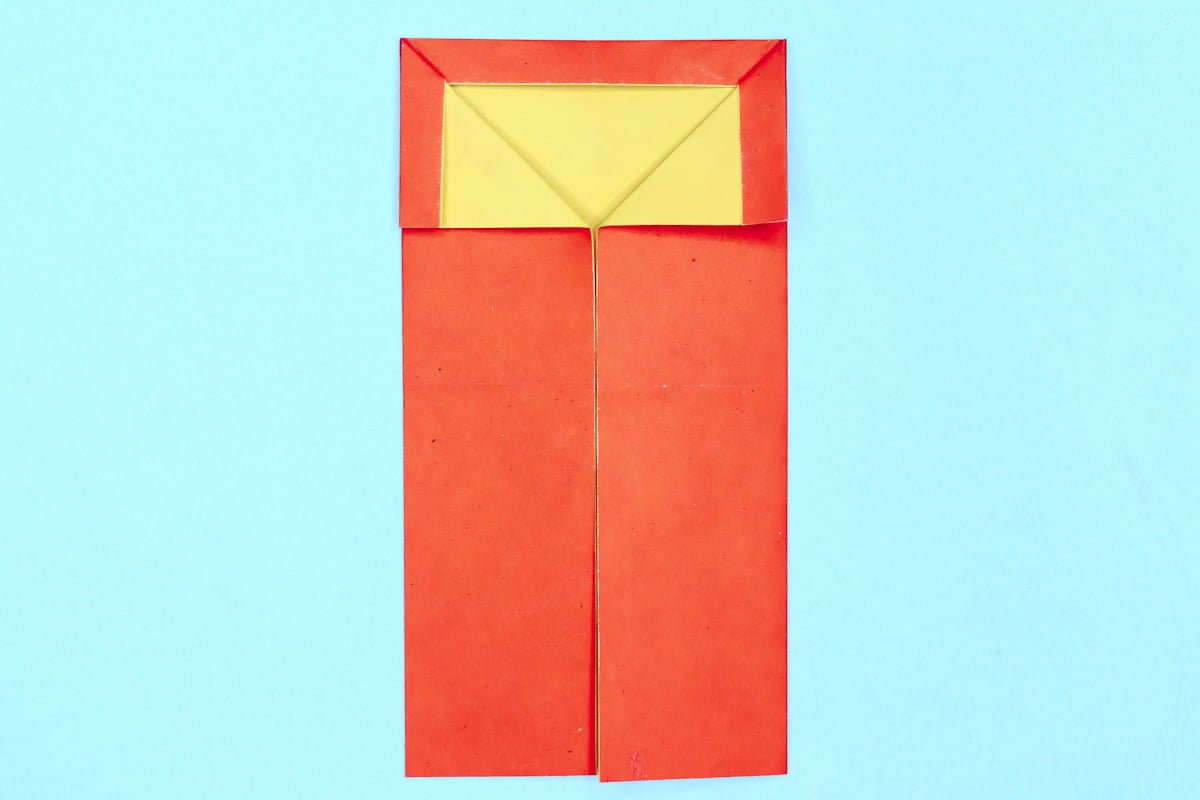
Spread out the top corners in the center and fold them to the side.
Step 15
15
Take the little flap from what you just folded and fold diagonally outward.
Step 16
16
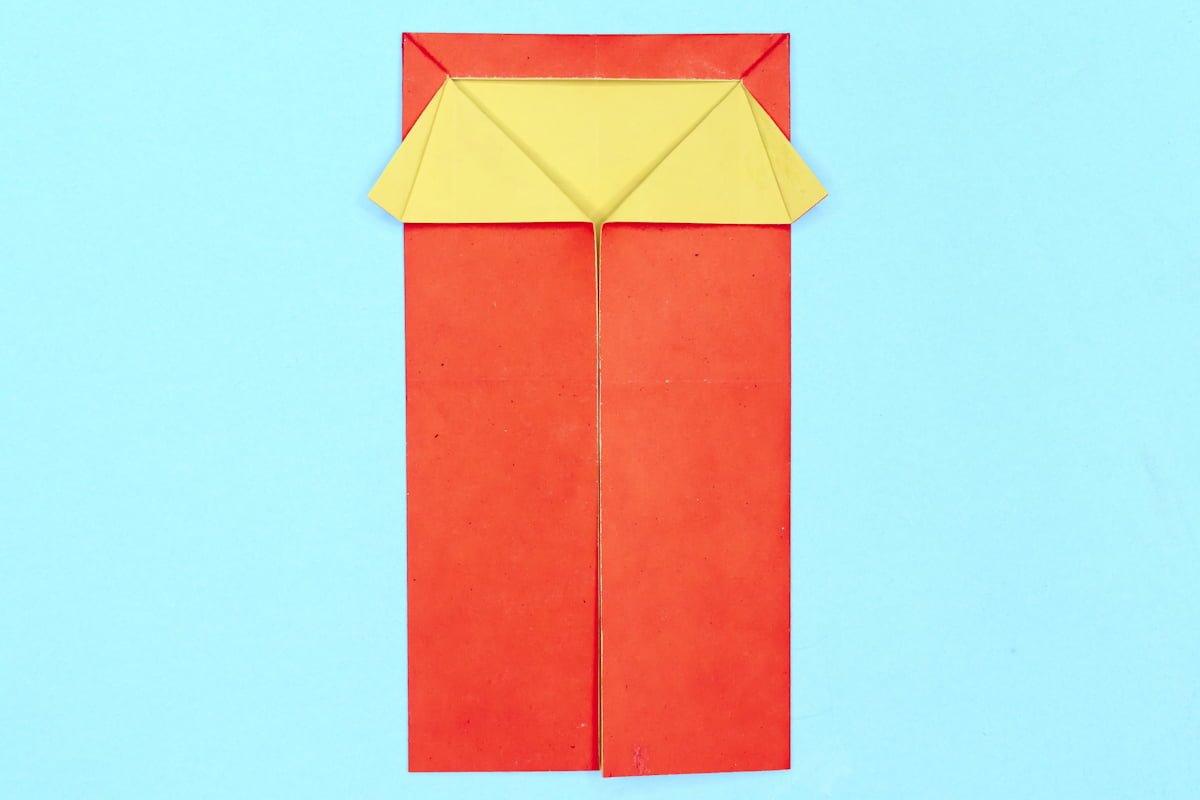
Turn the figure over.
Step 17
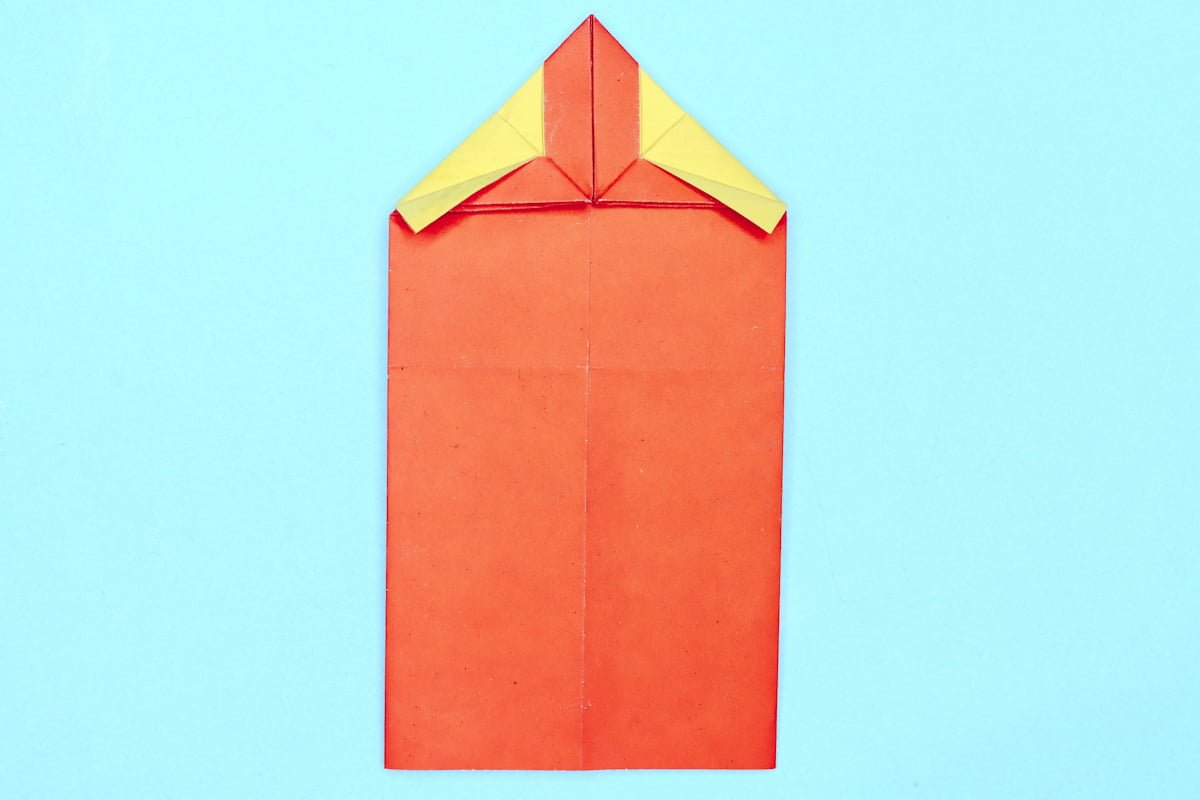
17
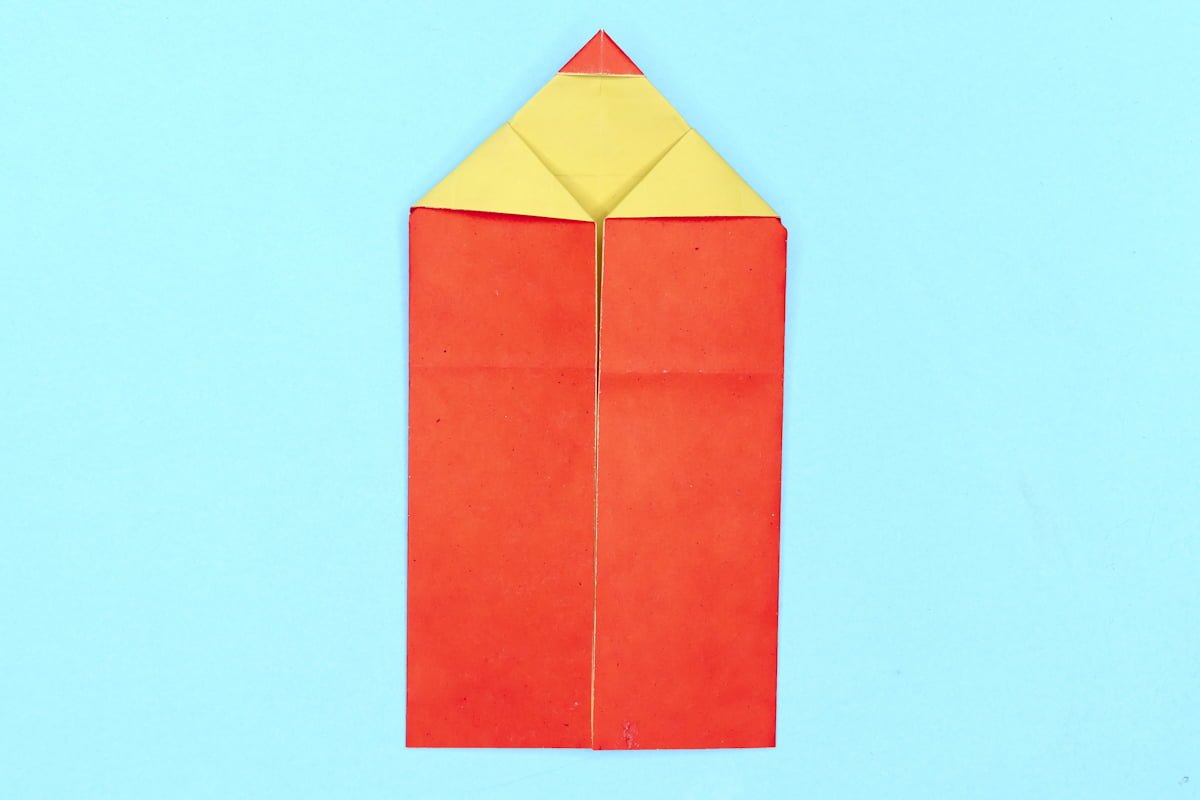
Fold the top left and right corners to the center.
Step 18
18
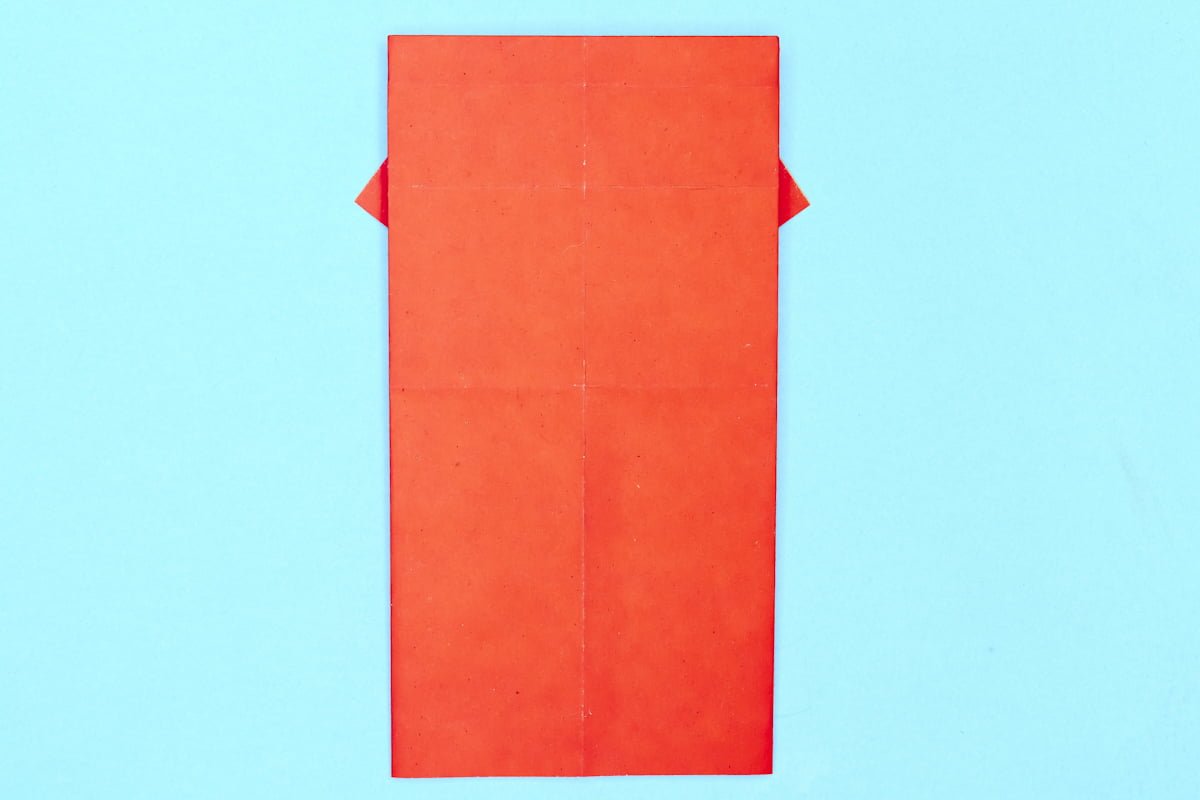
Turn the figure over and now you have a paper pencil and it can draw too. Just kidding it only looks like a pencil!
Share and Comment
We would love to see your creations! Scroll down to the comments section and share a photo of your origami.
Comments
2 responses to “How to Make an Easy Origami Pencil”

it worked pretty well for my first time doing origami even though this is my first time doing it
It is so fun and easy!
Leave a Reply