Origami Basics: Origami Petal Fold Instructions

Petal fold final step
Difficulty: Easy
This step-by-step guide with clear pictures shows you how to easily make the origami petal fold.

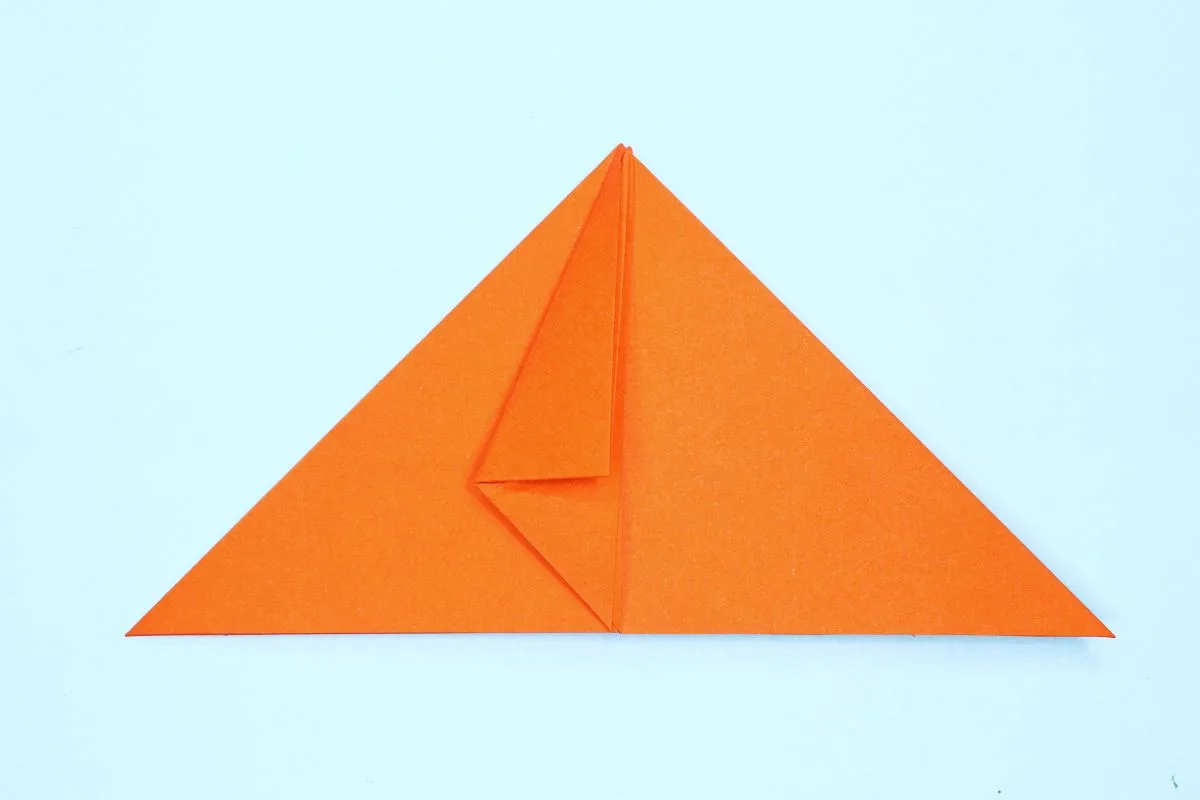
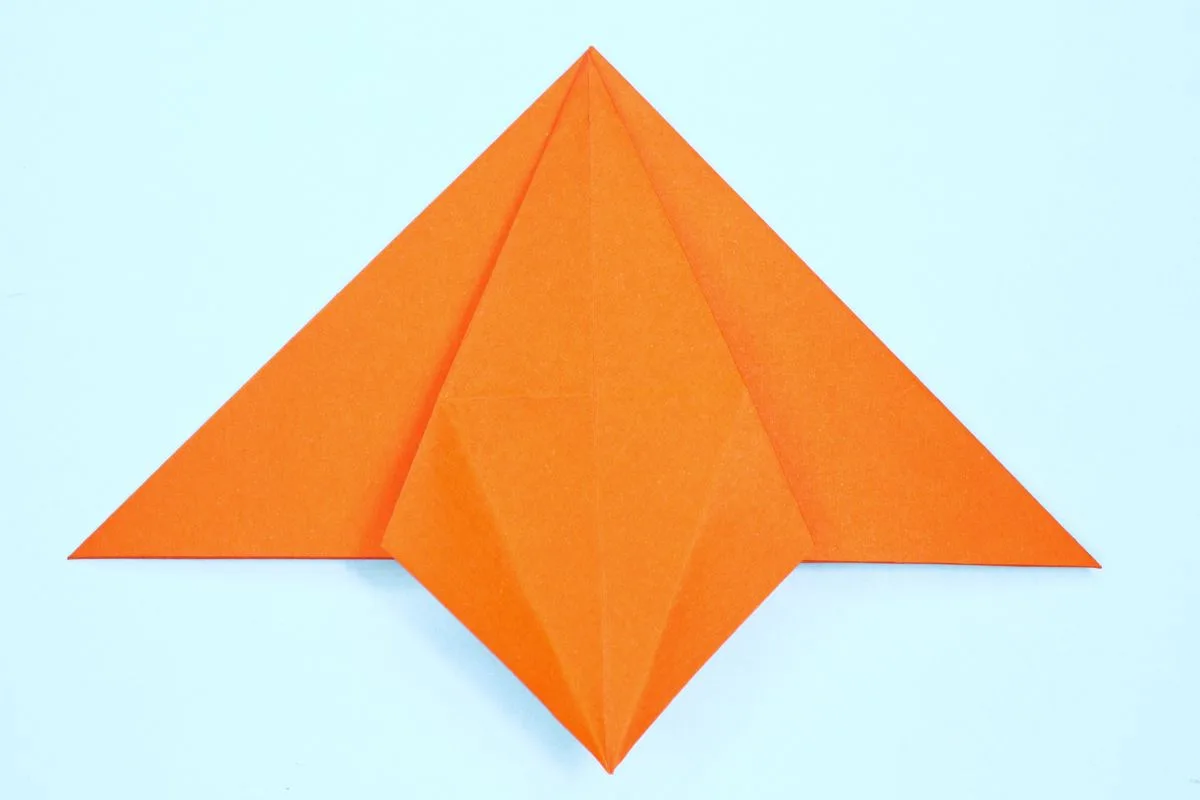
The Origami Petal Fold is a basic yet essential folding technique in origami, commonly used to create pointed or petal-like shapes in models. It involves lifting and folding a flap upward while creasing along existing folds, creating a symmetrical triangular shape.

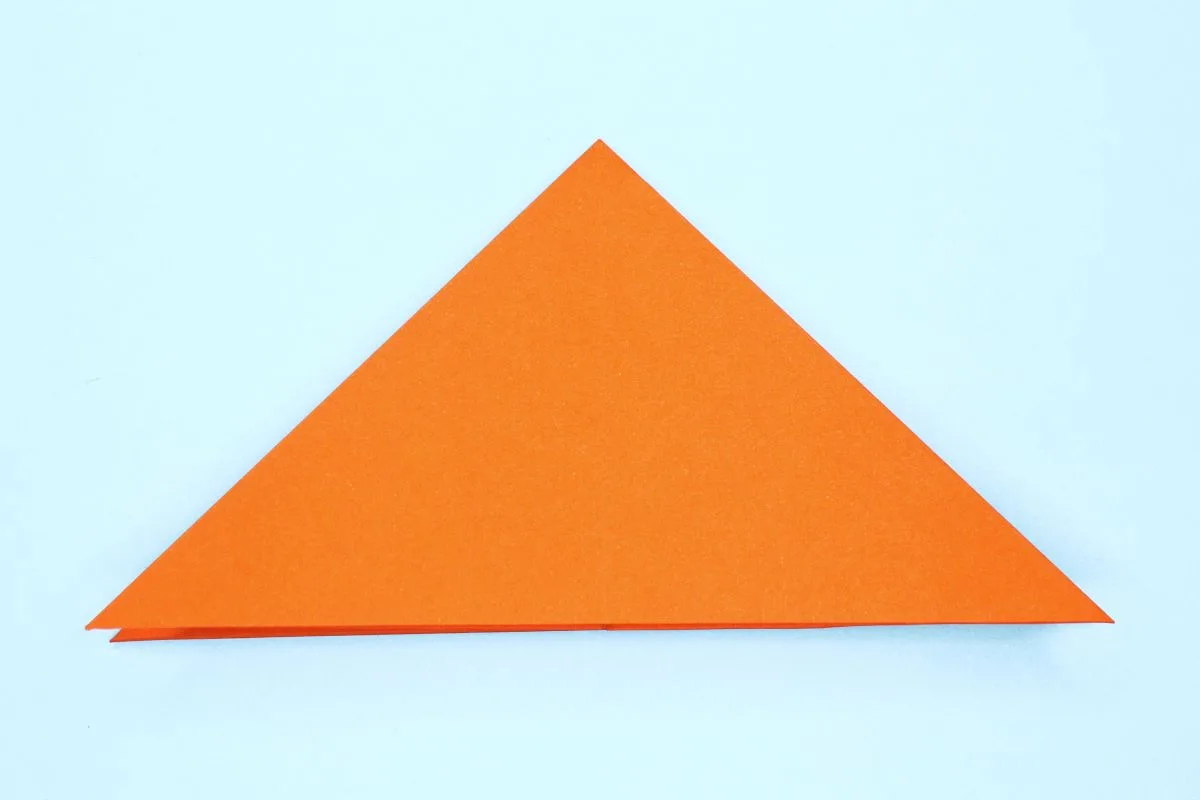
This origami petal fold instruction begins with a waterbomb base, so if you would like to follow these steps, you’ll have to make the waterbomb base first.

Step 1
Petal fold step 01
1
Starting with a waterbomb base here.

Step 2
Petal fold step 02
2
Take the left flap and fold the tip up to the top corner of the triangle

Step 3
Petal fold step 03
3
Fold the left corner of the folded flap to the center.

Step 4
Petal fold step 04
4
Unfold the previous step.

Step 5
Petal fold step 05
5
Now unfold the top flap.

Step 6
Petal fold step 06
6
Put your finger in the flap.

Step 7
Petal fold step 07
7
Create an opening in the center as shown.

Step 8
Petal fold step 08
8
Flatten the fold.

Step 9
Petal fold step 09
9
Lift up the tip of the flap and fold up along the crease lines.

Step 10
Petal fold step 10
10
Fold it all the way up.

Step 11
Petal fold final step
11
Flatten the fold and voila!

Share and Comment
We would love to see your creations! Scroll down to the comments section and share a photo of your origami.

Comments

Leave a Reply

Your email address will not be published. Required fields are marked *

Drop file here