This origami preliminary base is a starting point for many origami models. With this base, you will have 9 points to sculp your model with.
Origami Basics: Origami Preliminary Base Instructions
Category: Basic Origami Folds
Difficulty: Easy
This step-by-step guide with clear pictures shows you how to easily fold an origami preliminary base.
Step 1

1
Start with a square sheet of paper of any size. I am using an 7×7 inches paper for demonstration.
If you only have regular paper, follow these instructions on how to make a square origami paper.
If you only have regular paper, follow these instructions on how to make a square origami paper.
Step 2

2
Fold the left half to the right.
Step 3
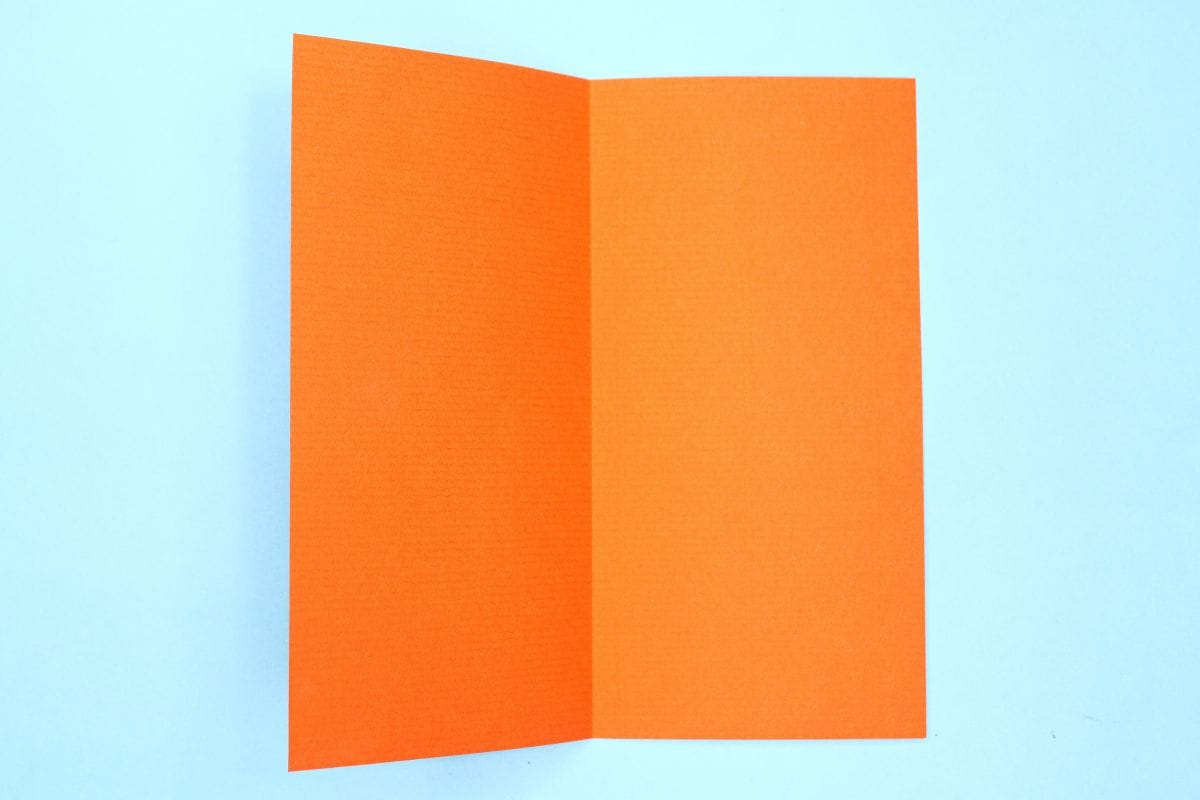
3
Unfold.
Step 4
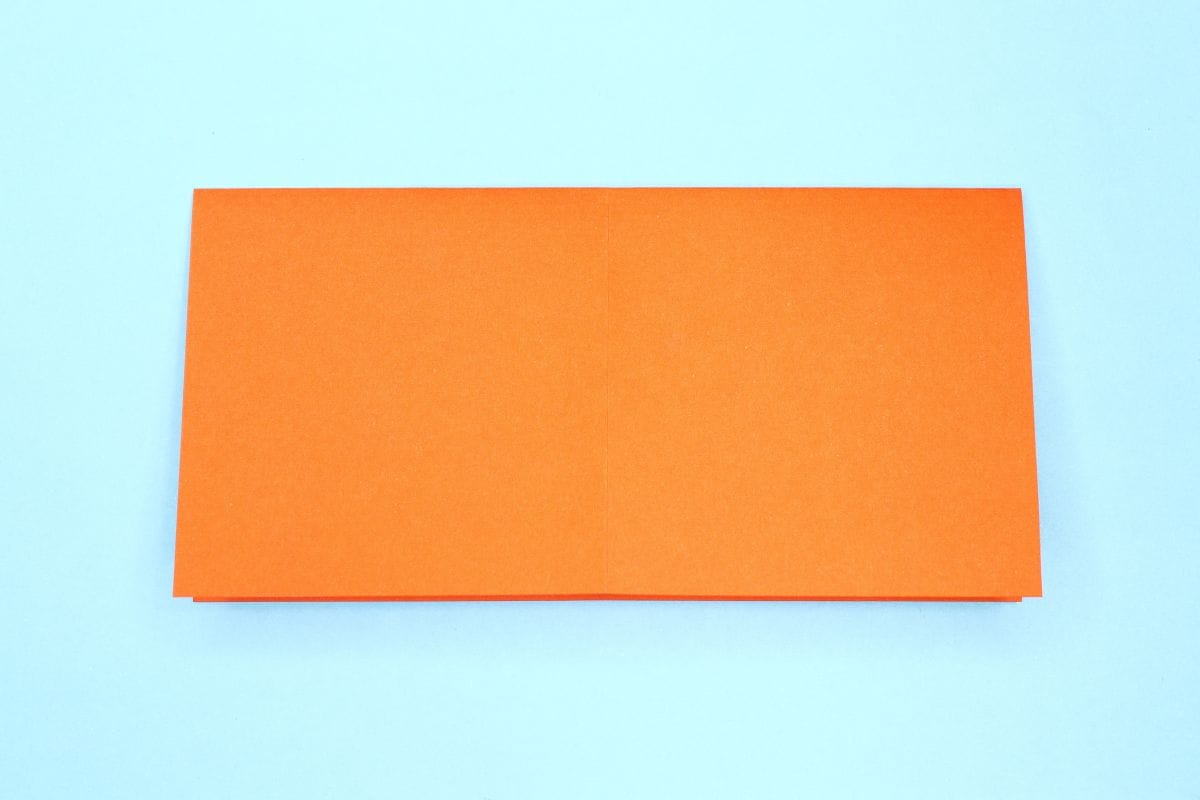
4
Now fold the top half down.
Step 5
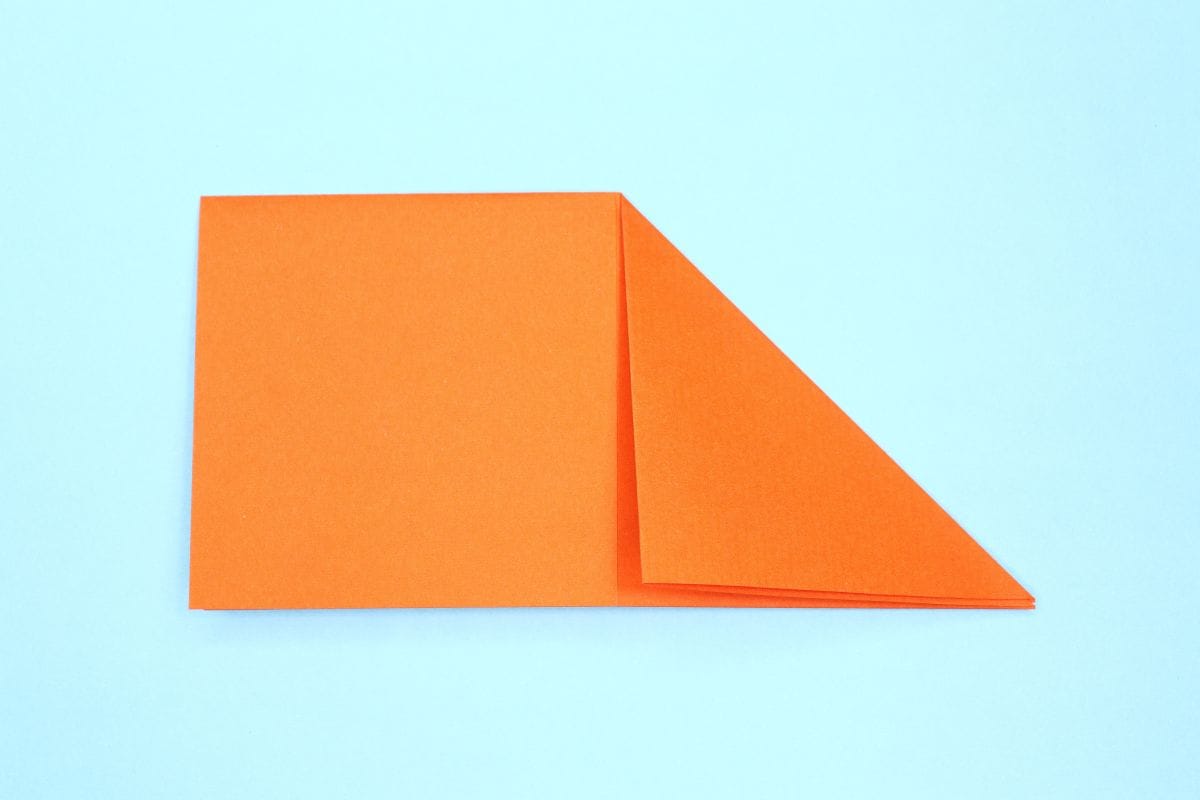
5
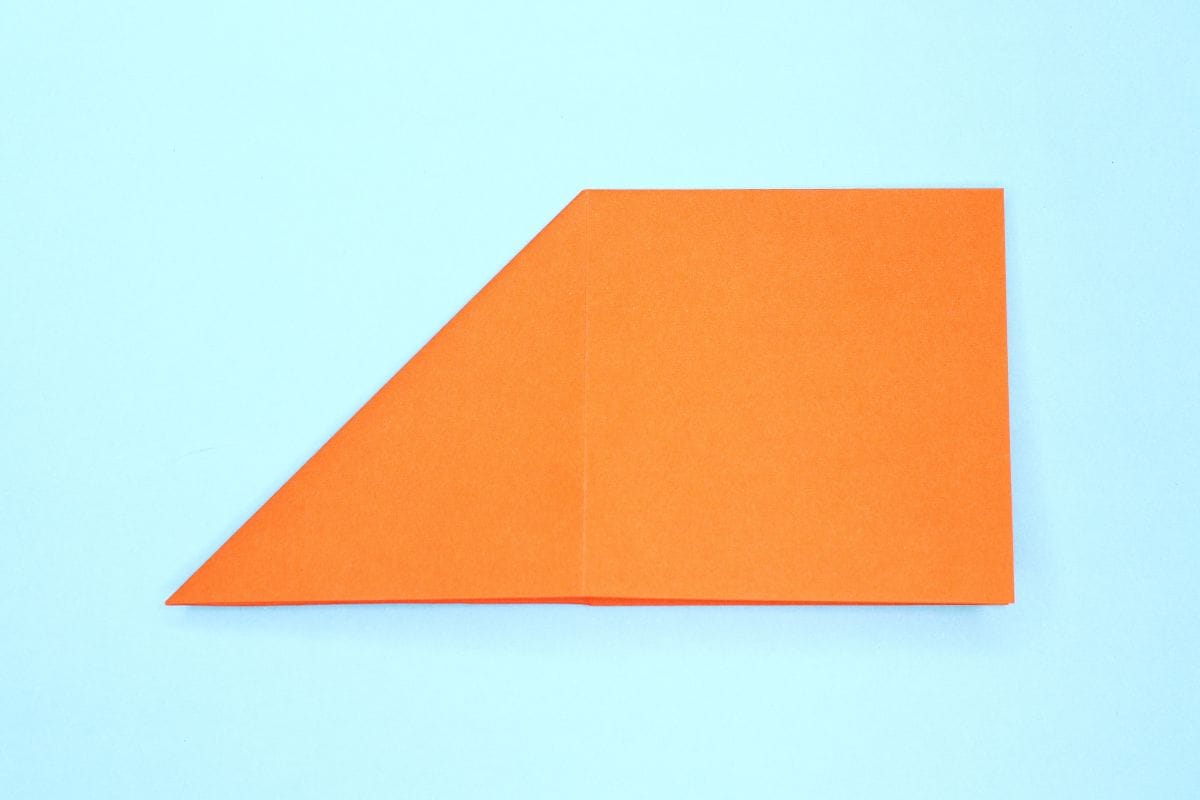
Fold the top right corner down.
Step 6
6
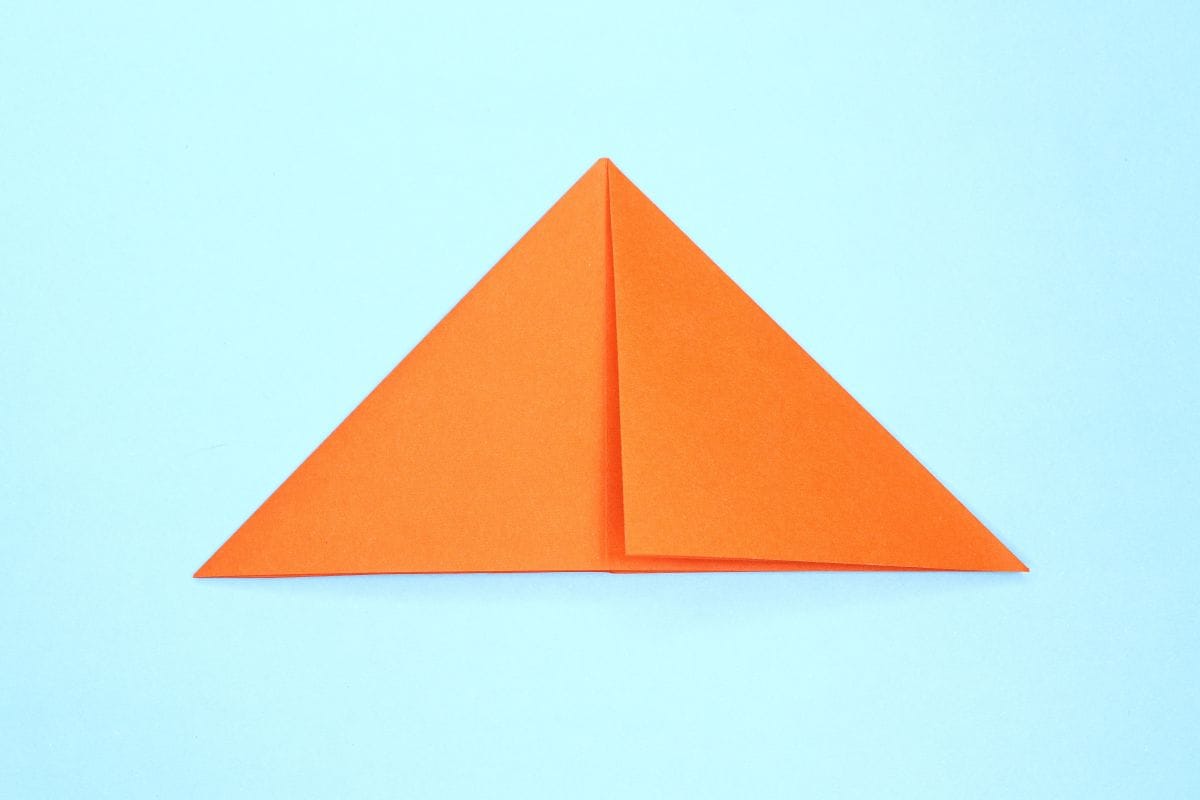
Turn the paper over horizontally.
Step 7
7
Again, fold the top right corner down.
Step 8

8
Open the bottom of the traingle.
Step 9

9
Lift up the center as shown.
Step 10

10
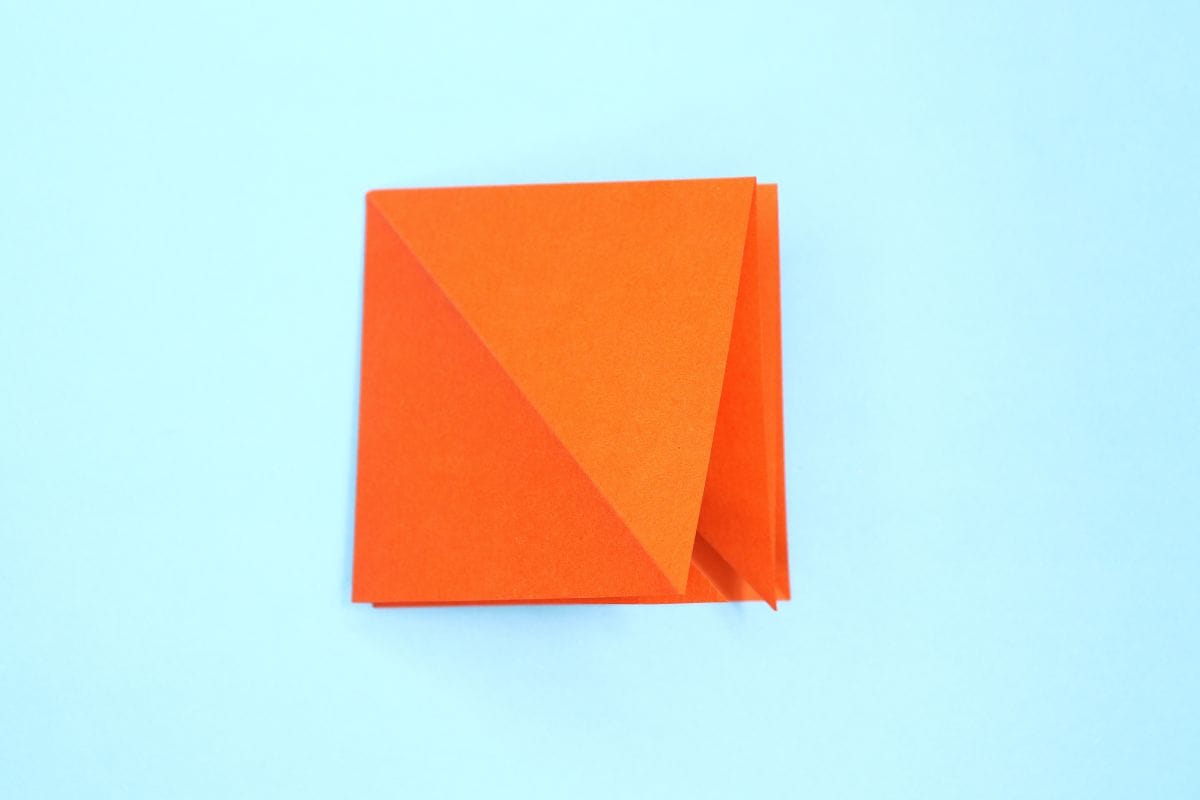
Keep lifting up the center creasing and keep opening until it collapses into a square.
Step 11
11
Flatten the fold.
Step 12
12
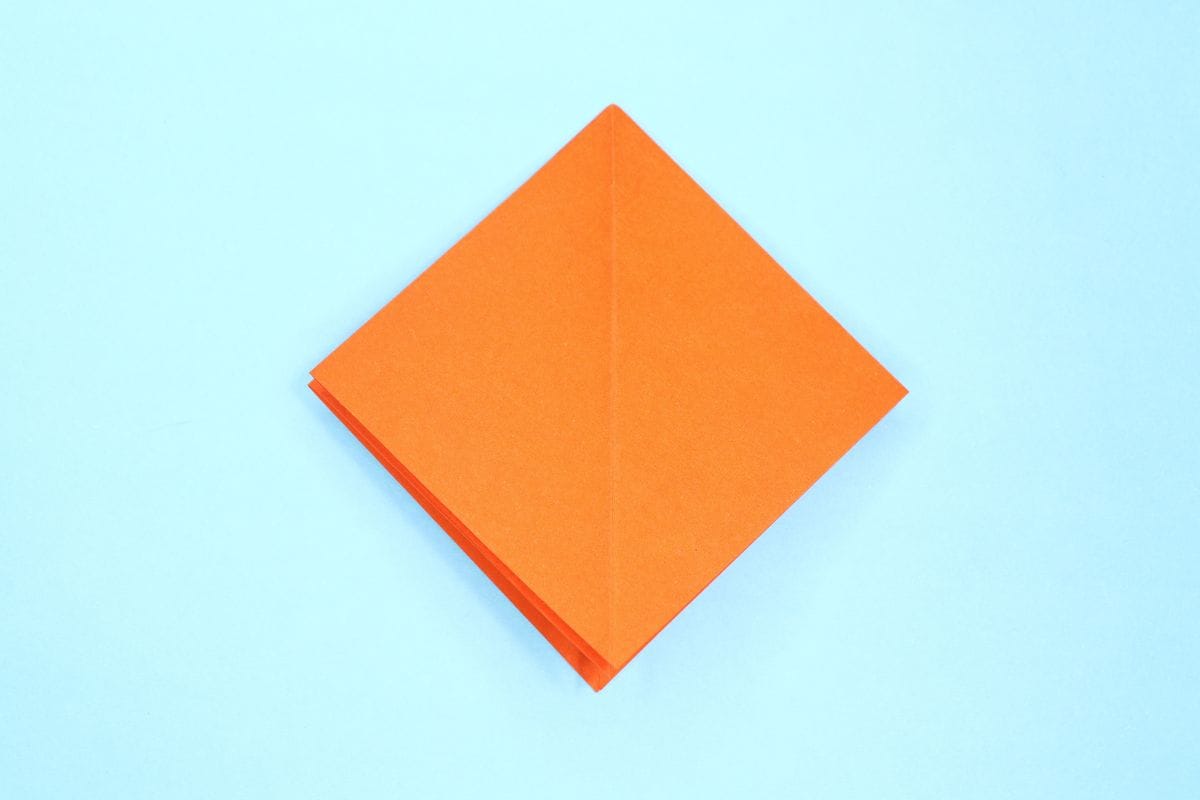
Rotate the paper to make it resemble a diamond. Voila!
Share and Comment
We would love to see your creations! Scroll down to the comments section and share a photo of your origami.
Leave a Reply