Origami Basics: Origami Rabbit Ear Fold Instructions

Rabbit ear fold final step
Difficulty: Easy
This step-by-step guide with clear pictures shows you how to easily make the origami rabbit ear fold.

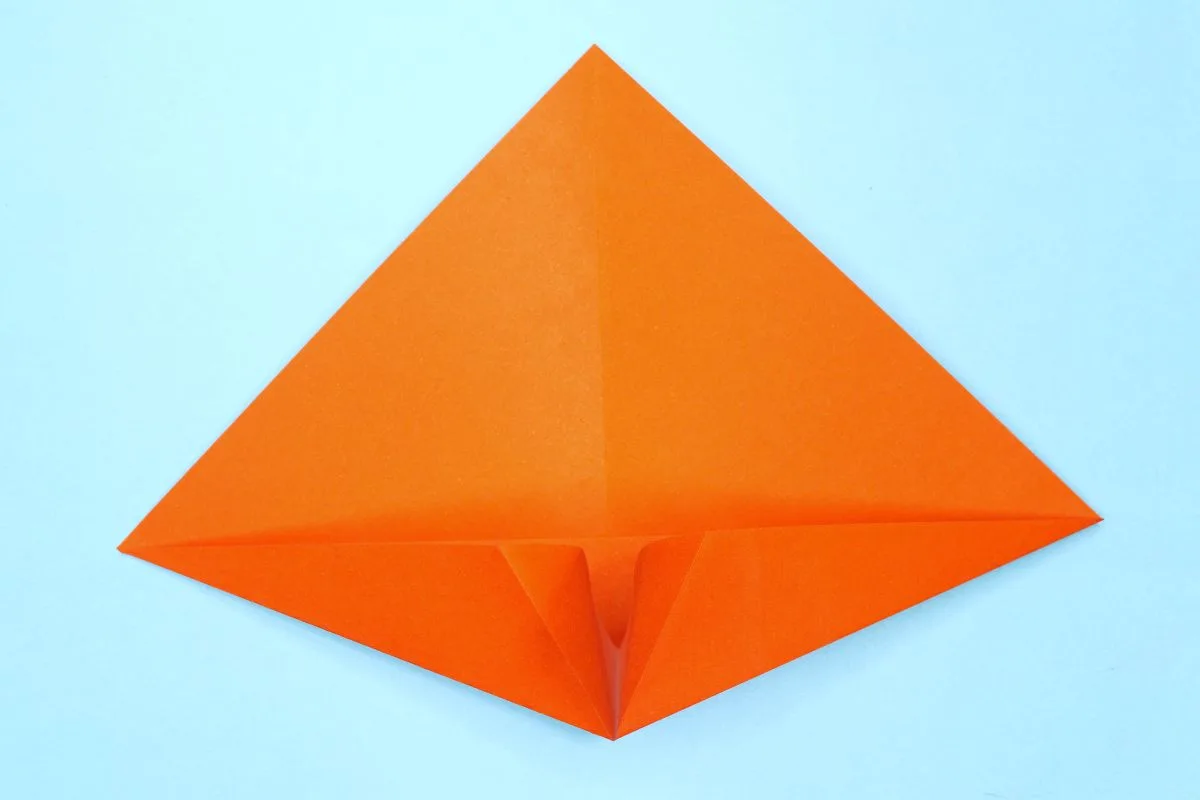
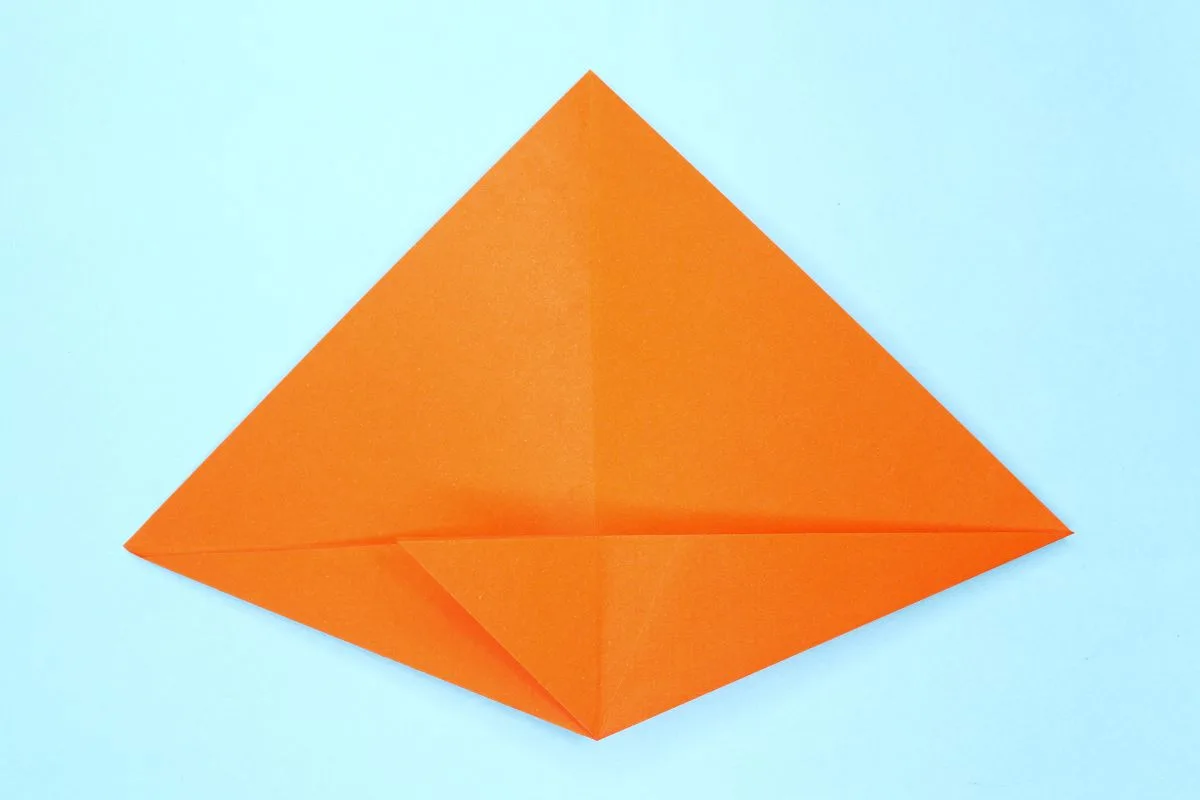
The rabbit ear fold doesn’t really look like rabbit ears, but this is what this technique is called and it can come in handy.

If you were looking for rabbit origami instructions, click here.

Step 1
Rabbit ear fold step 01
1
Start with a square sheet of origami paper of any size. I am using an 7×7 inches origami paper.

If you only have regular paper, follow these instructions on how to make a square origami paper.

Step 2
Rabbit ear fold step 02
2
Rotate the paper to make it resemble a diamond.

Step 3
Rabbit ear fold step 03
3
Fold the left half to the right.

Step 4
Rabbit ear fold step 04
4
Unfold.

Step 5
Rabbit ear fold step 05
5
Fold down in half.

Step 6
Rabbit ear fold step 06
6
Unfold.

Step 7
Rabbit ear fold step 07
7
Fold the bottom left edge to the center crease.

Step 8
Rabbit ear fold step 08
8
Unfold.

Step 9
Rabbit ear fold step 09
9
Now fold the bottom right edge to the center crease.

Step 10
Rabbit ear fold step 10
10
Unfold.

Step 11
Rabbit ear fold step 11
11
With the help of the diagonal creases you just made, start bring the both bottom edges to the center.

Step 12
Rabbit ear fold step 12
12
After bringing the edges together it should look like the image.

Step 13
Rabbit ear fold final step
13
Now fold the hanging triangle flap in the center to the side and voila!

Share and Comment
We would love to see your creations! Scroll down to the comments section and share a photo of your origami.

Comments

Leave a Reply

Your email address will not be published. Required fields are marked *

Drop file here