Blast off with this origami rocket! Just kidding, it’s flat and doesn’t fly, but it doesn’t take a rocket scientist to make. It’s great for crafts and gluing on to posters. Kids will have a lot of fun with this one.
How to Make an Origami Rocket Ship

Difficulty: Easy
Follow the simple step-by-step instructions with pictures to learn how to make an easy origami space rocket ship.
Step 1

1
Start with a square origami paper or a piece of regular paper. I am using an 7×7 inches origami paper.
If you only have regular paper, follow these instructions on how to make a square origami paper.
If you only have regular paper, follow these instructions on how to make a square origami paper.
Step 2

2
Flip over the paper so the lighter side faces you.
Step 3

3
Fold the paper in half, left to right.
Step 4
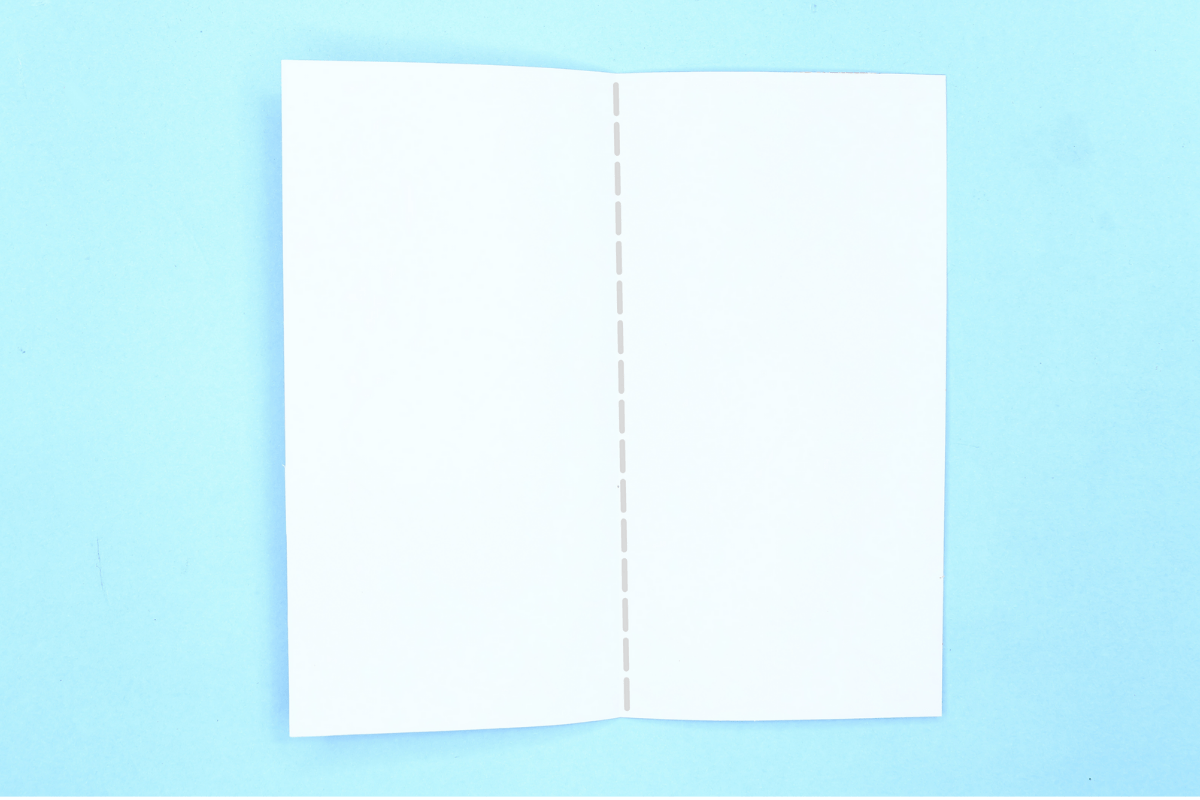
4
Unfold. You now have a straight crease where the dotted grey line goes.
Step 5
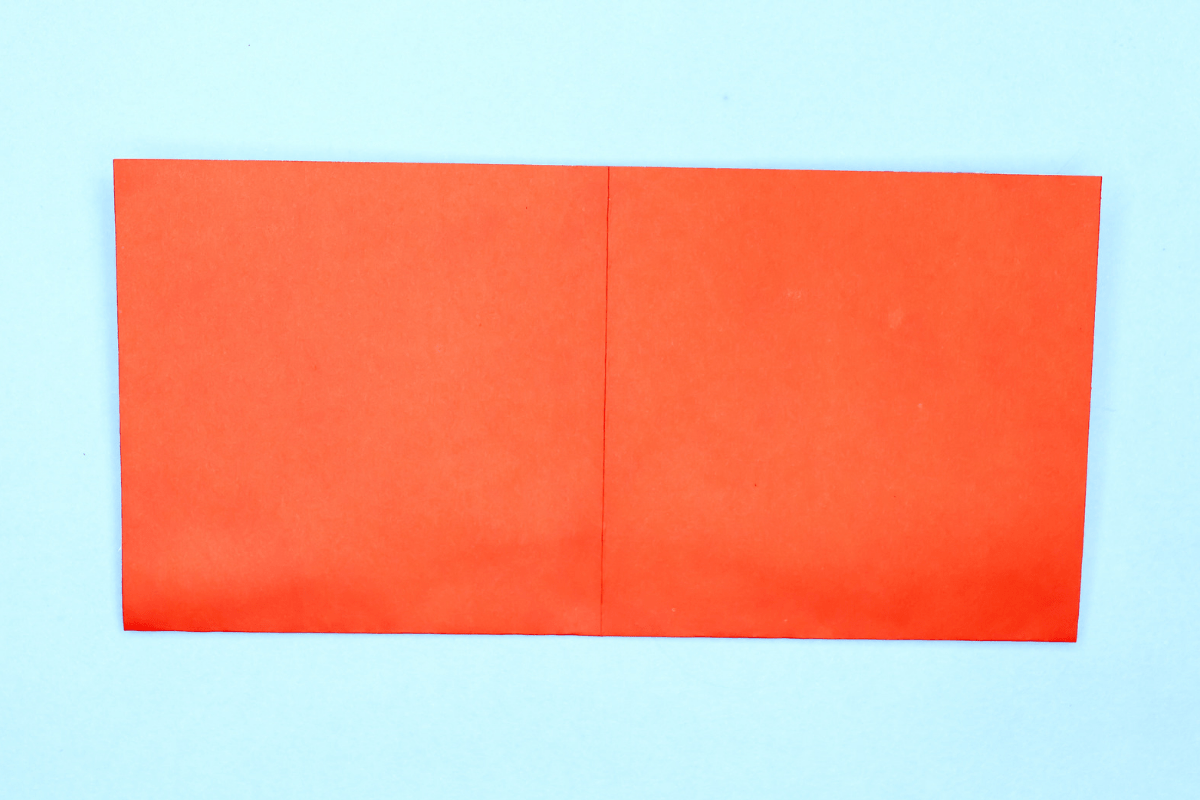
5
Fold the paper in half again, top to bottom.
Step 6
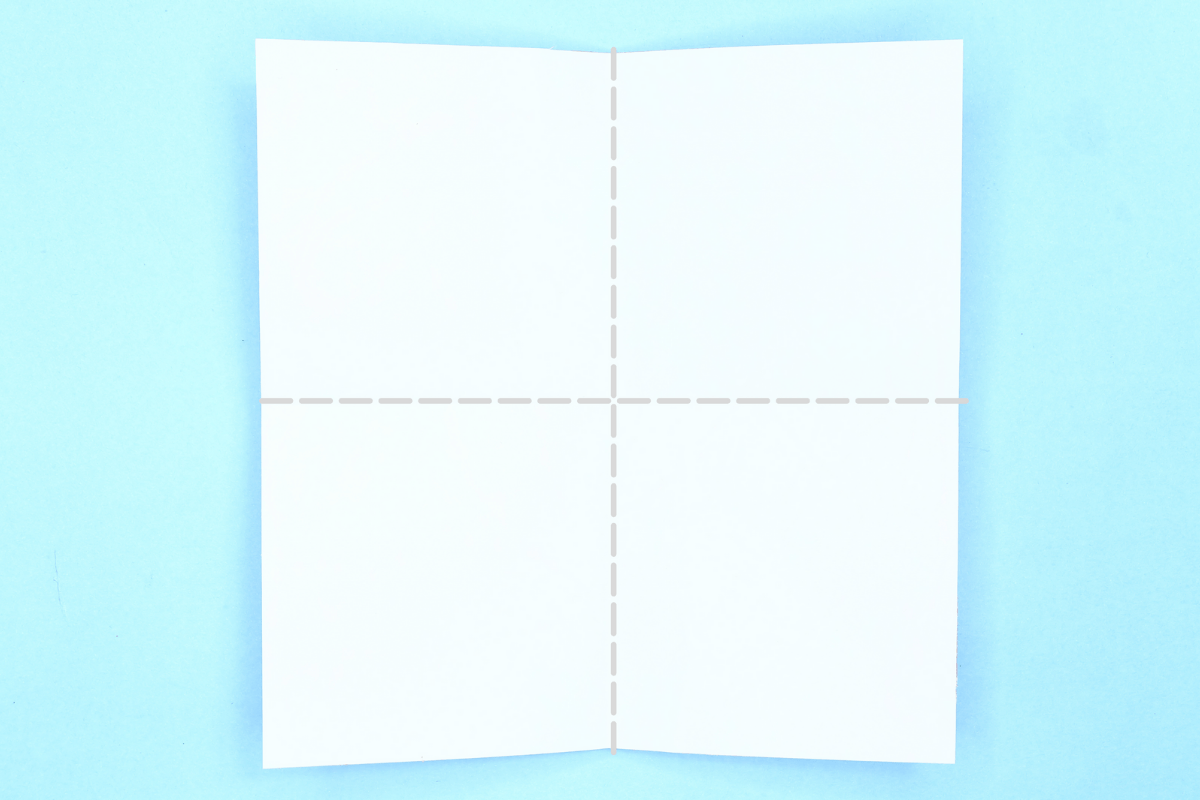
6
Unfold.
Step 7
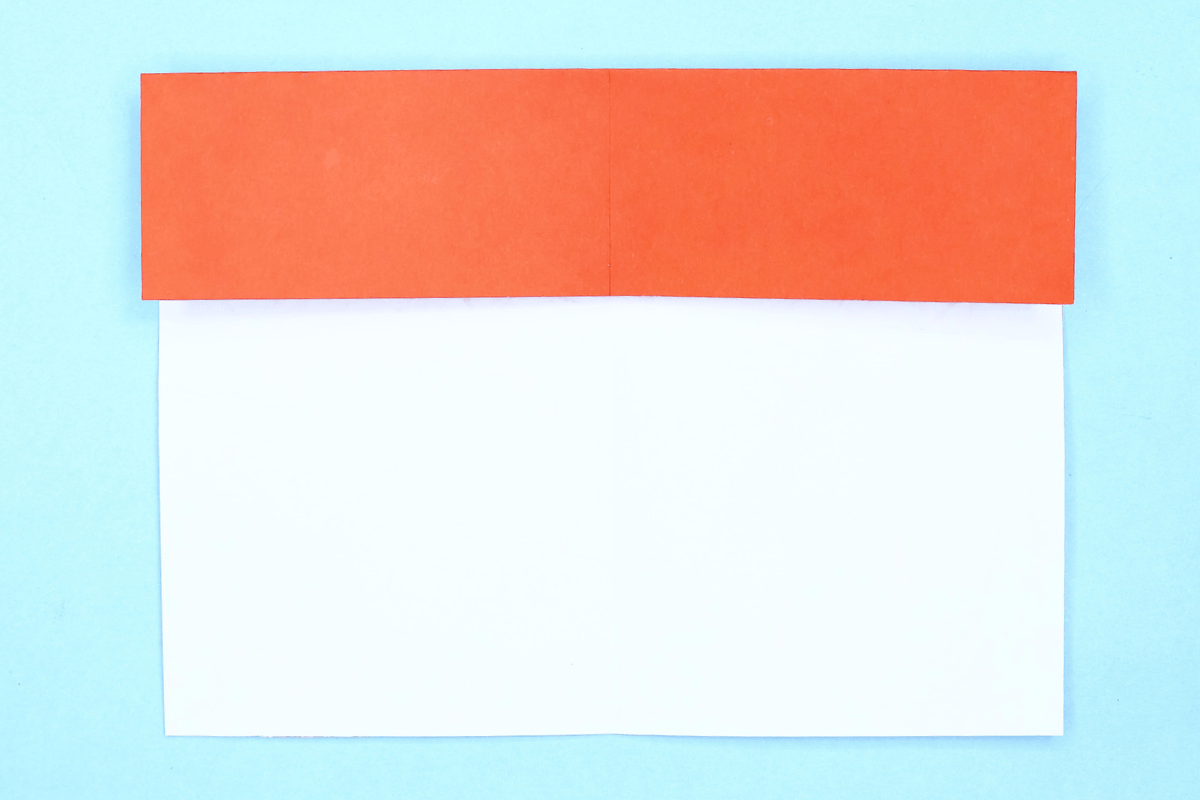
7
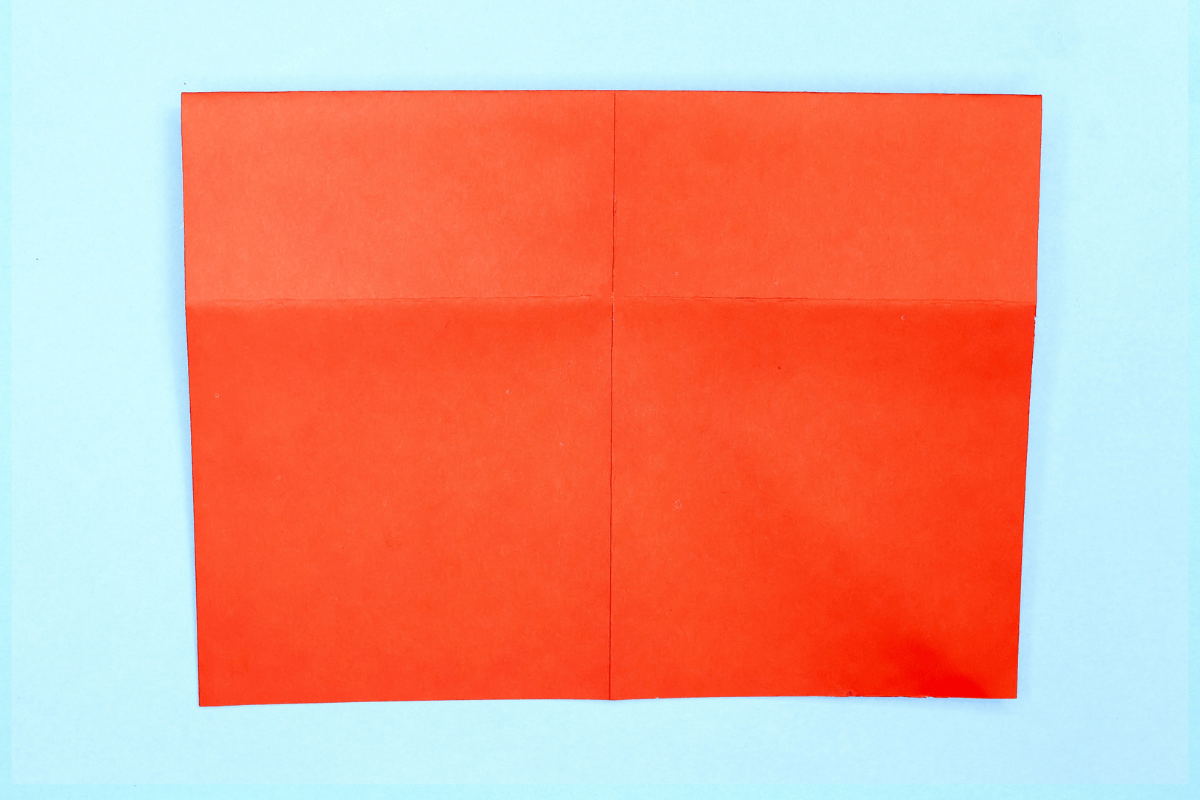
Fold the top edge to the center.
Step 8
8
Turn the paper over.
Step 9
9
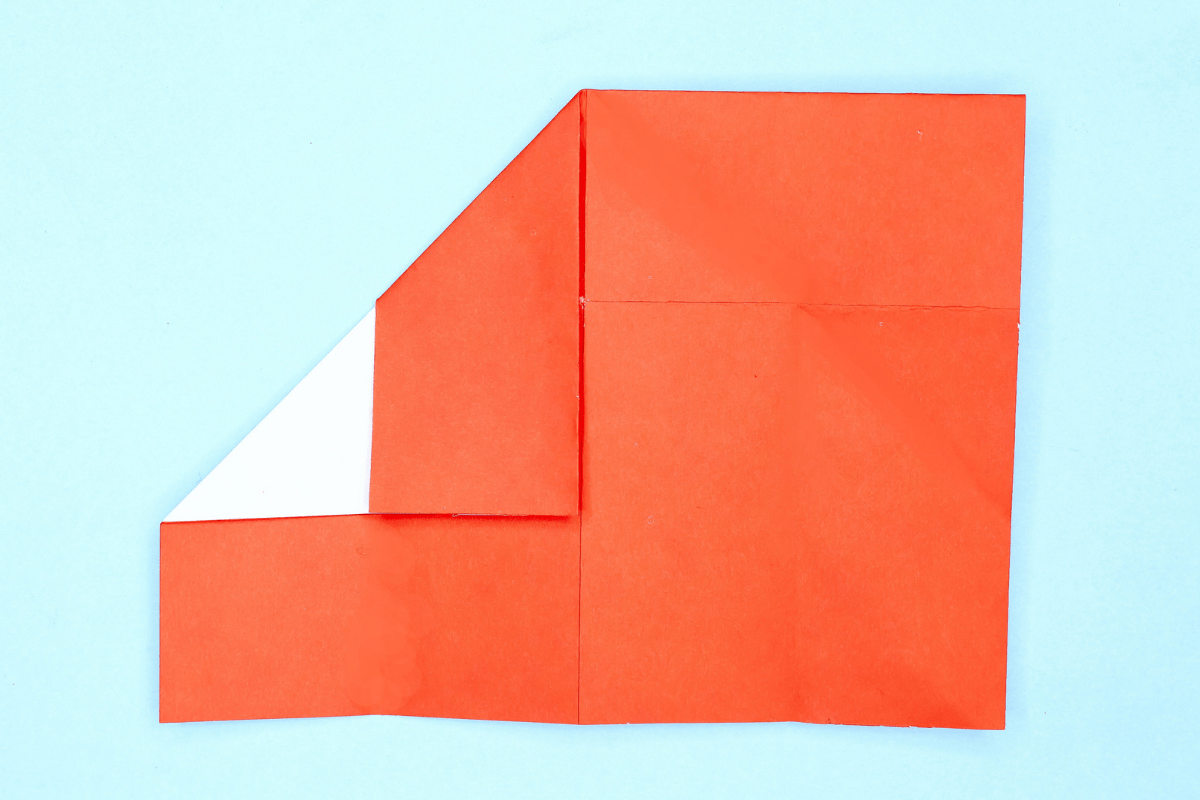
Fold the left corner to meet at the middle.
Step 10
10
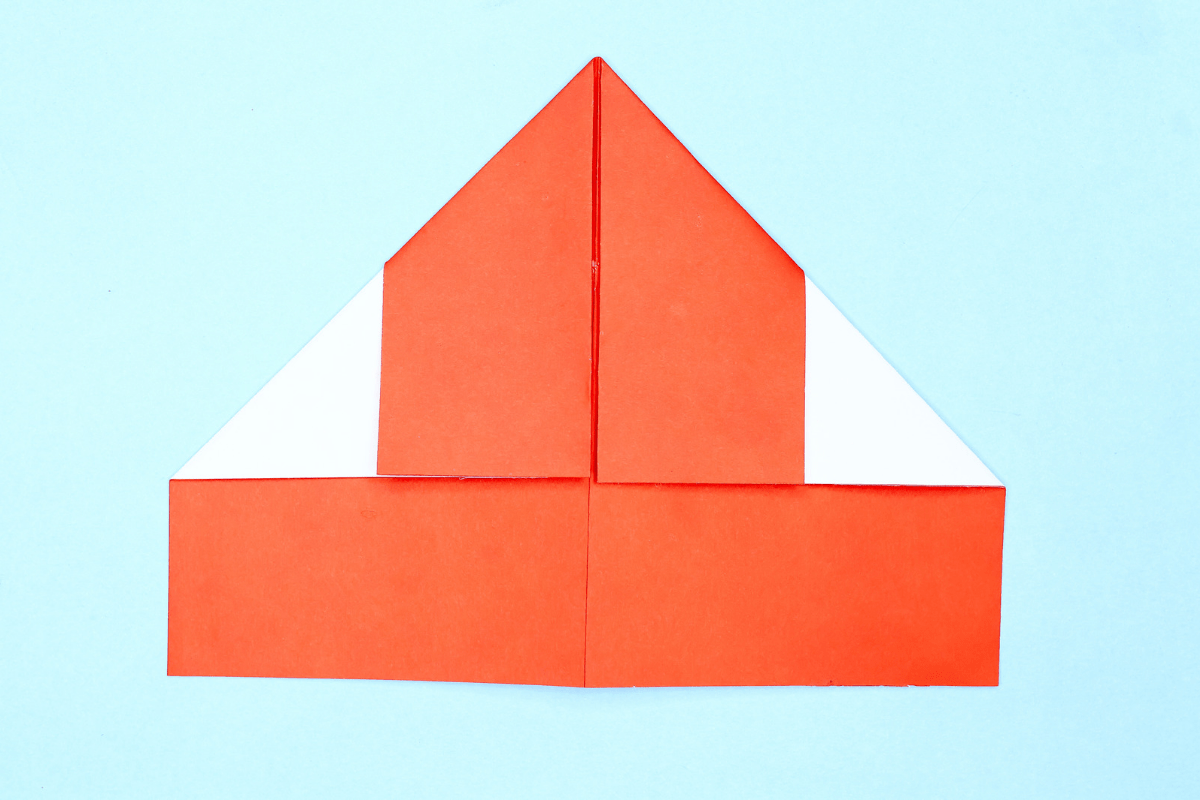
Fold the right corner to meet at the middle
Step 11

11
Fold the right edge to meet at the middle.
Step 12
12
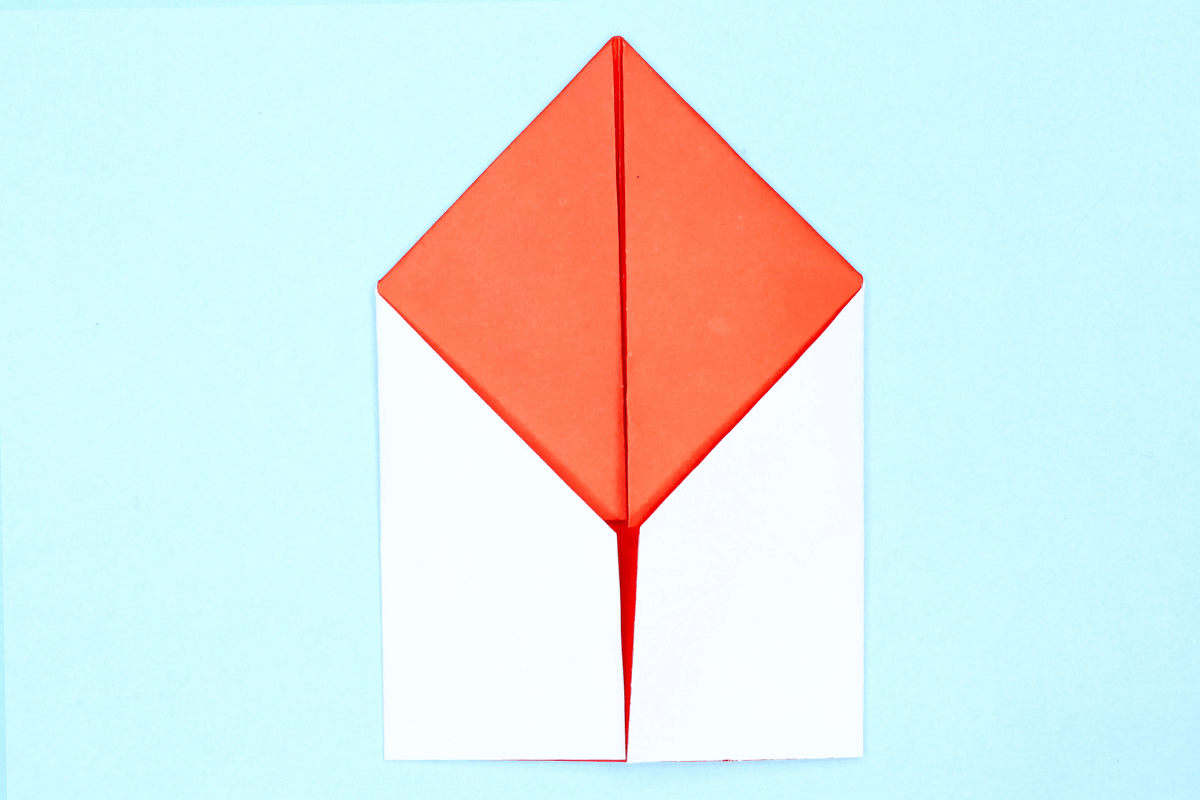
Fold the left edge to meet at the middle.
Step 13

13
Fold about 2/3rds (two thirds) of the left and right flaps out.
Step 14

14
Turn the figure over.
Step 15

15
You can decorate it the way you want it! Now are you ready to fly this?
Share and Comment
We would love to see your creations! Scroll down to the comments section and share a photo of your origami.

Leave a Reply