        |
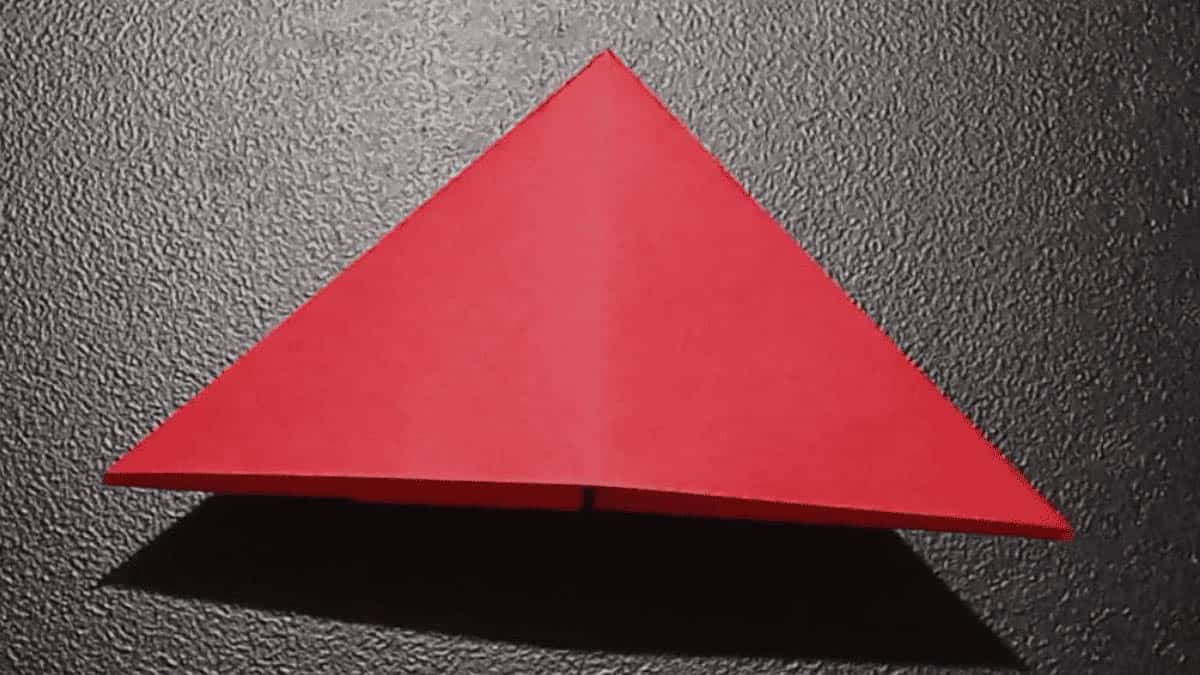
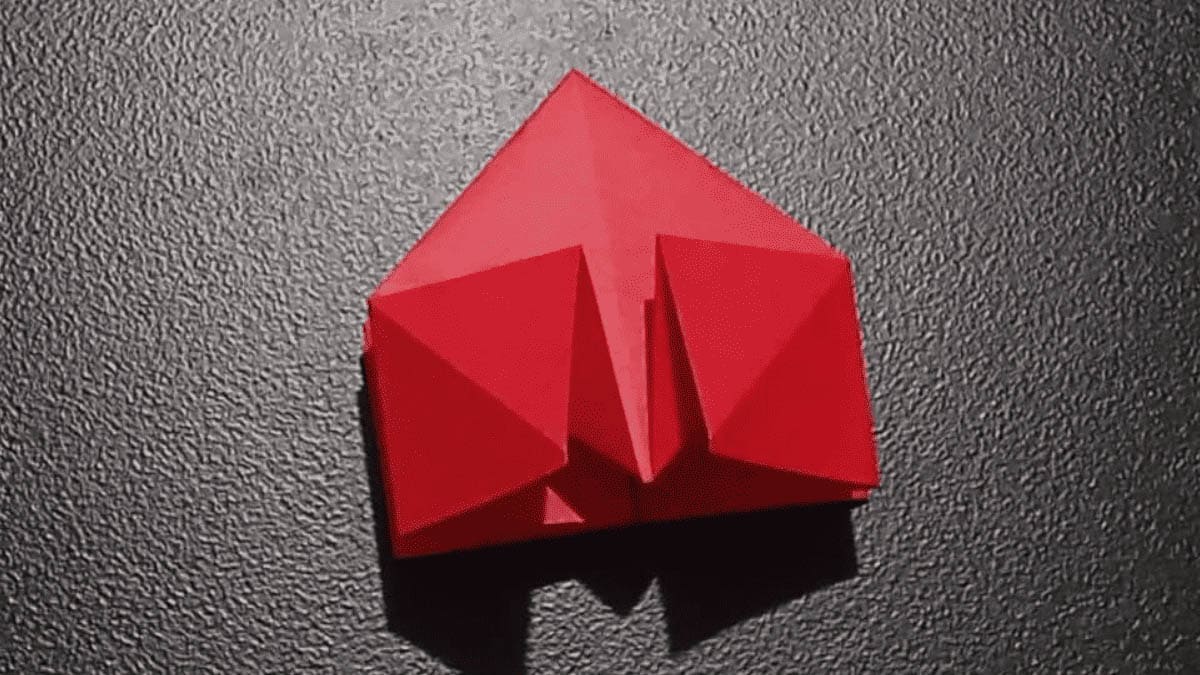
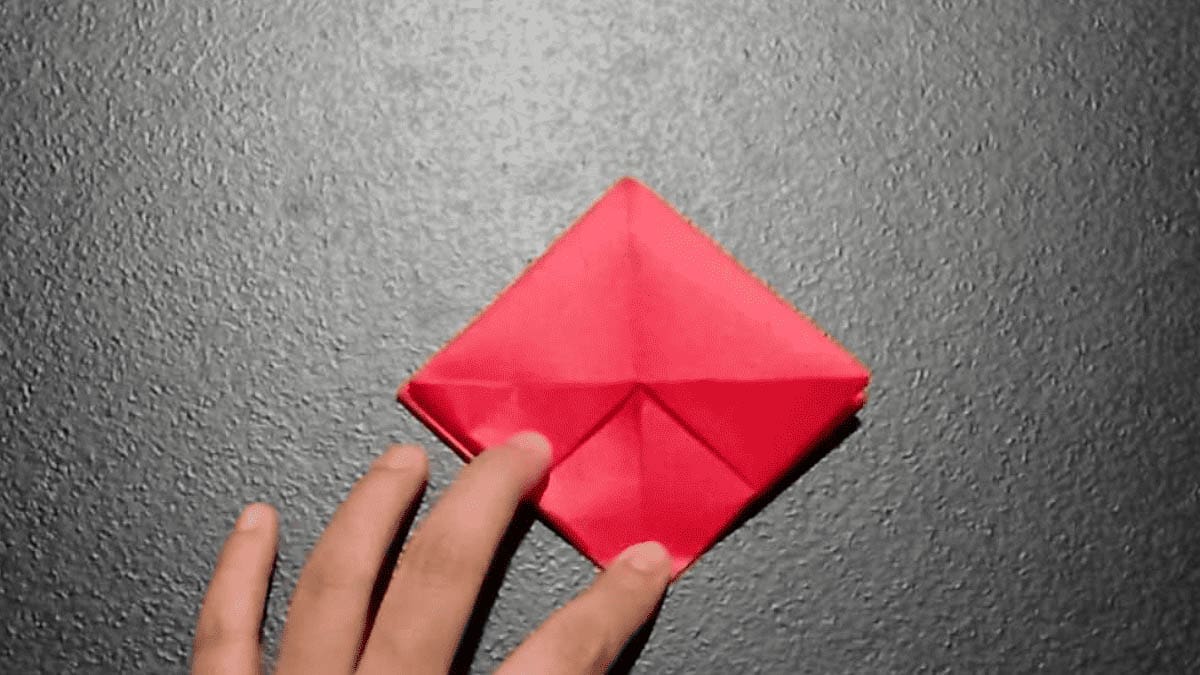
Step 11: Turn the paper over. Repeat the steps from Step 6-10 on this side of the paper. |
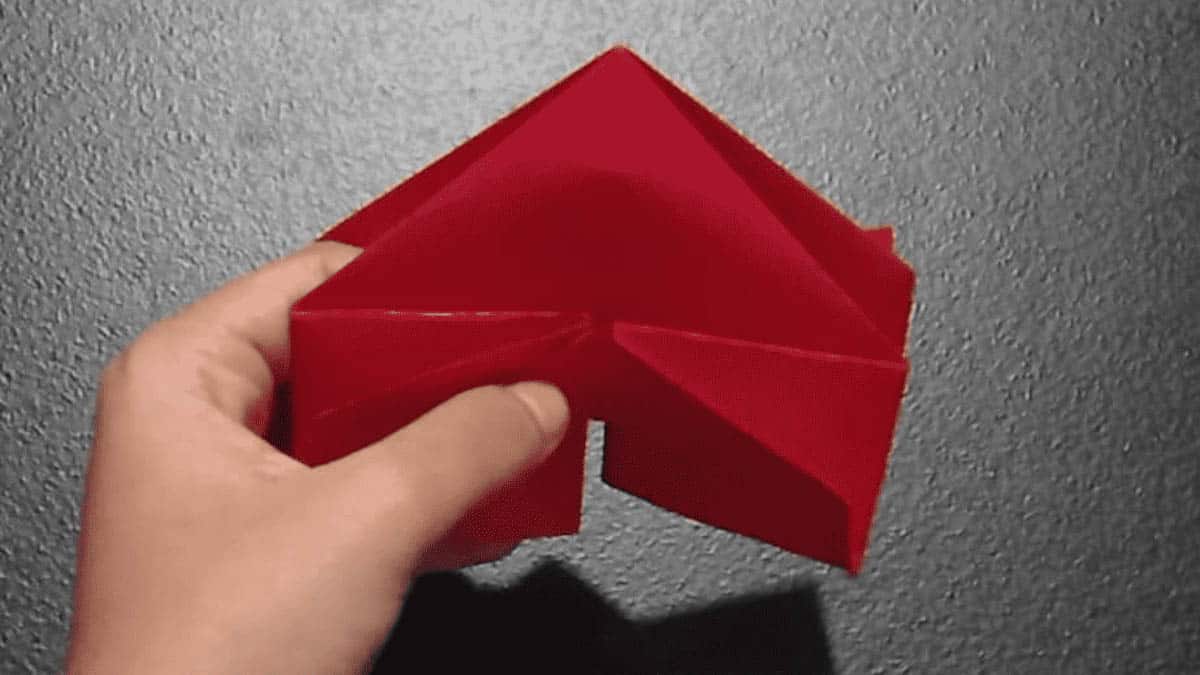   |
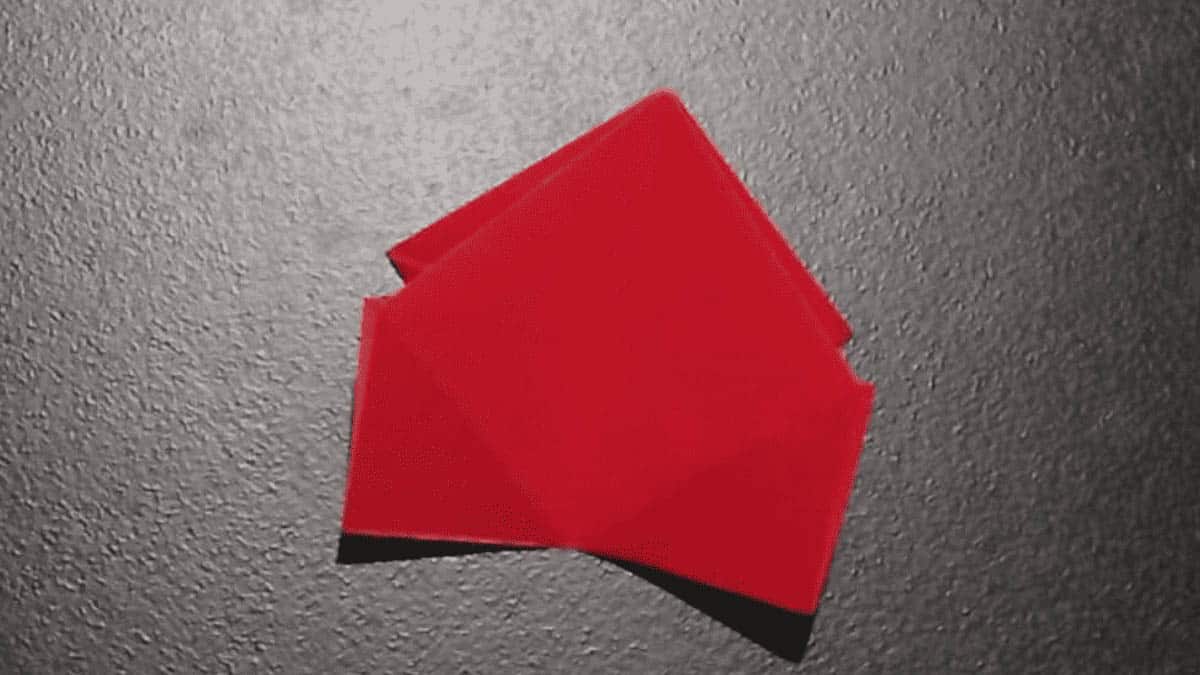
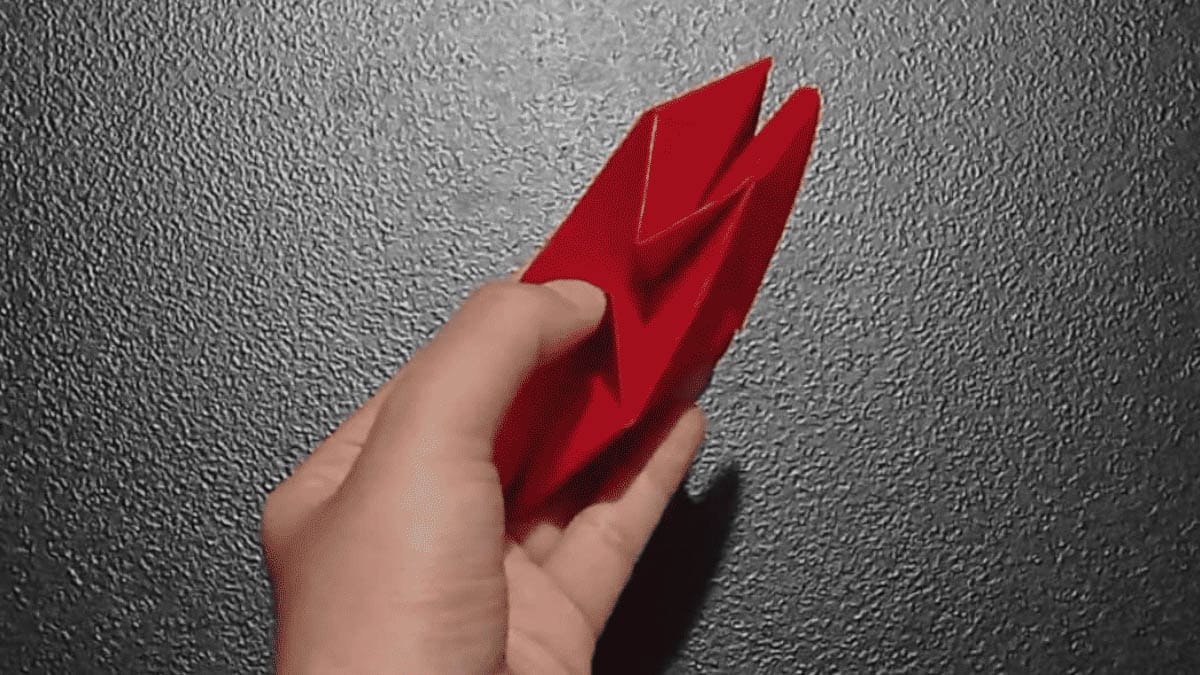
Step 12: Fold the sides together. |
   |
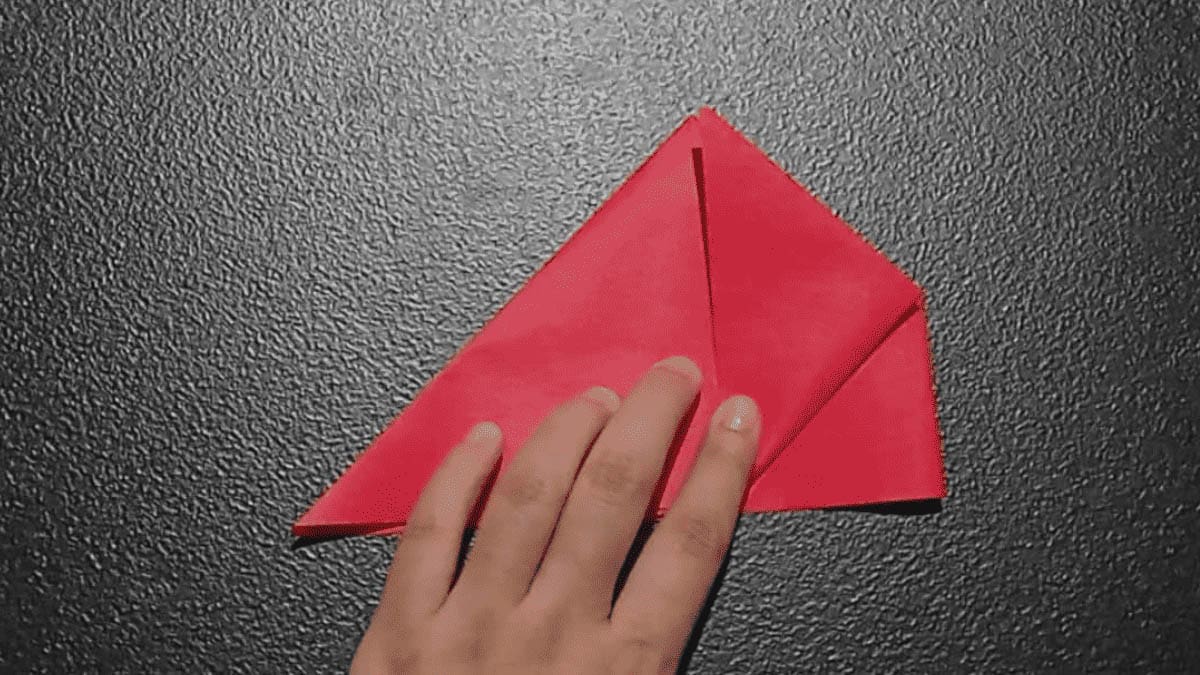
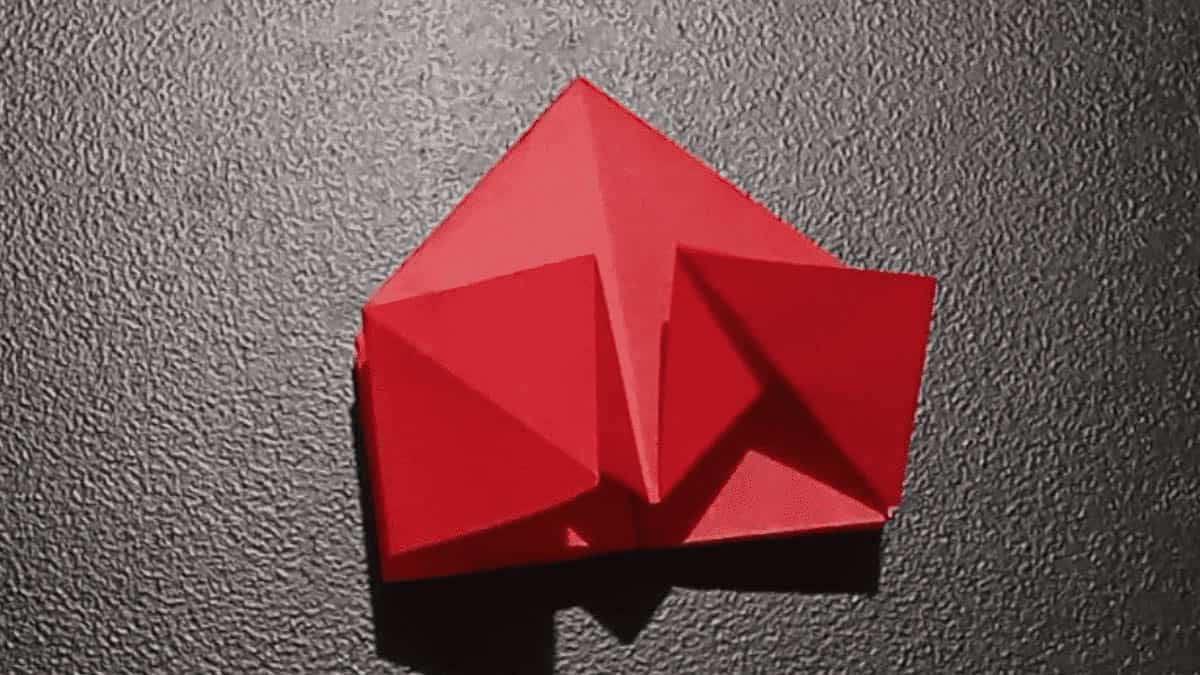
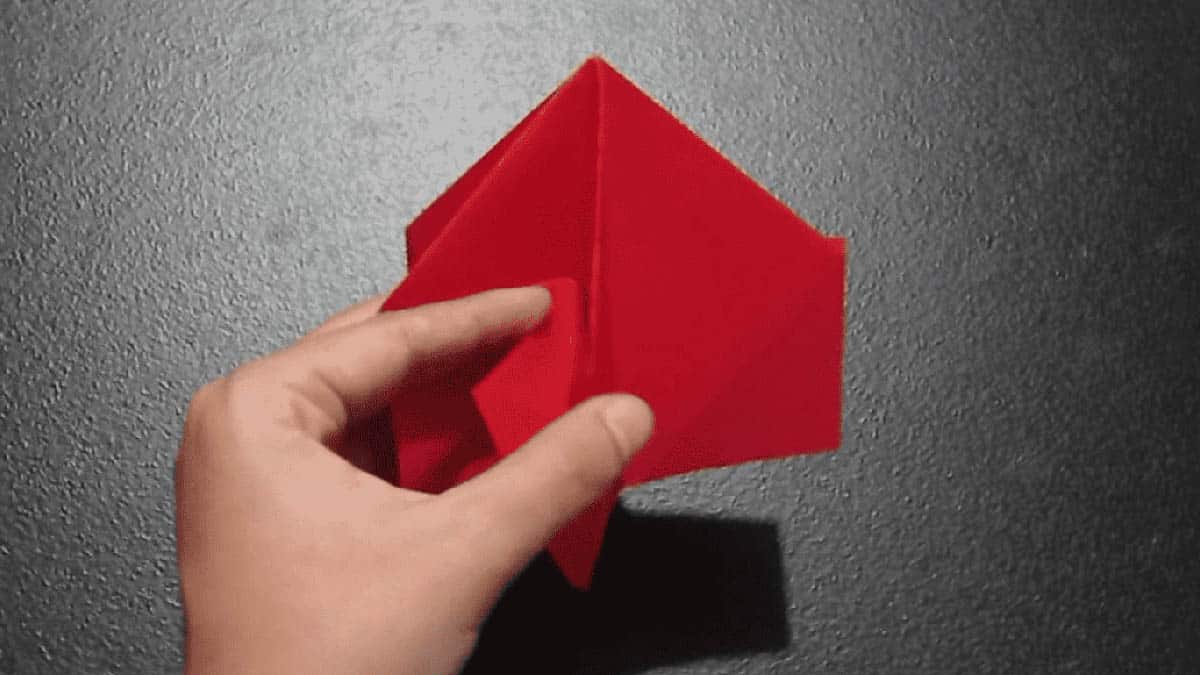
Step 13: Fold the bottom left and right corners to the center, then fold the bottom pointy corner upward. |
 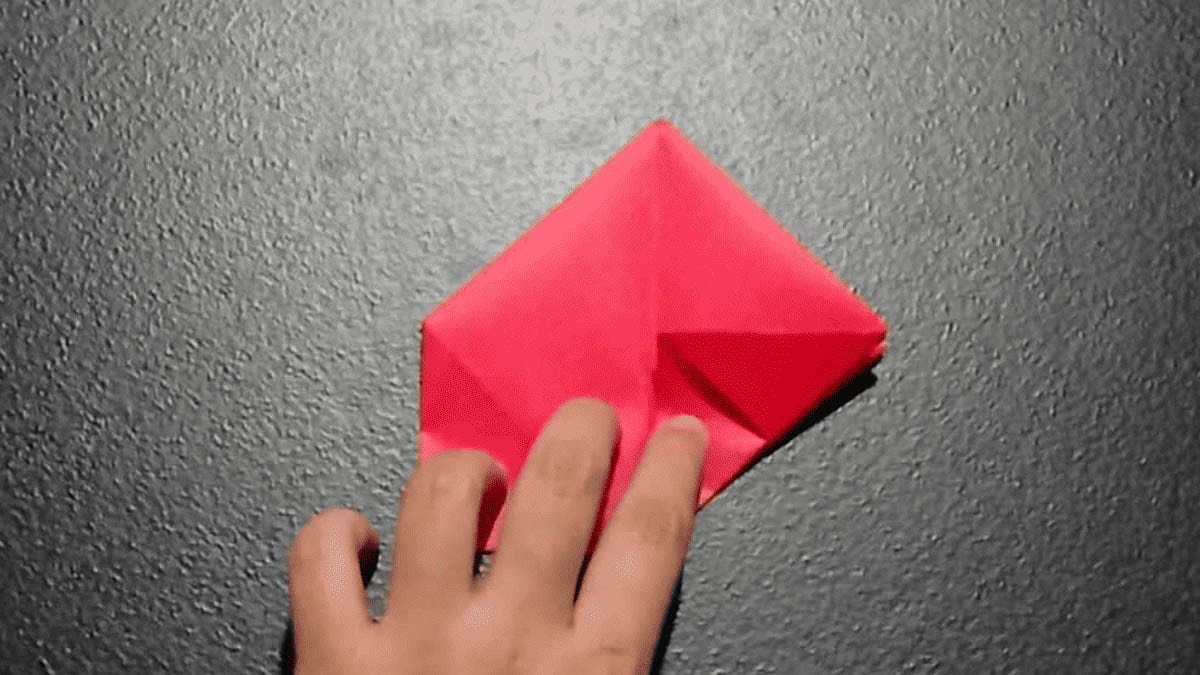  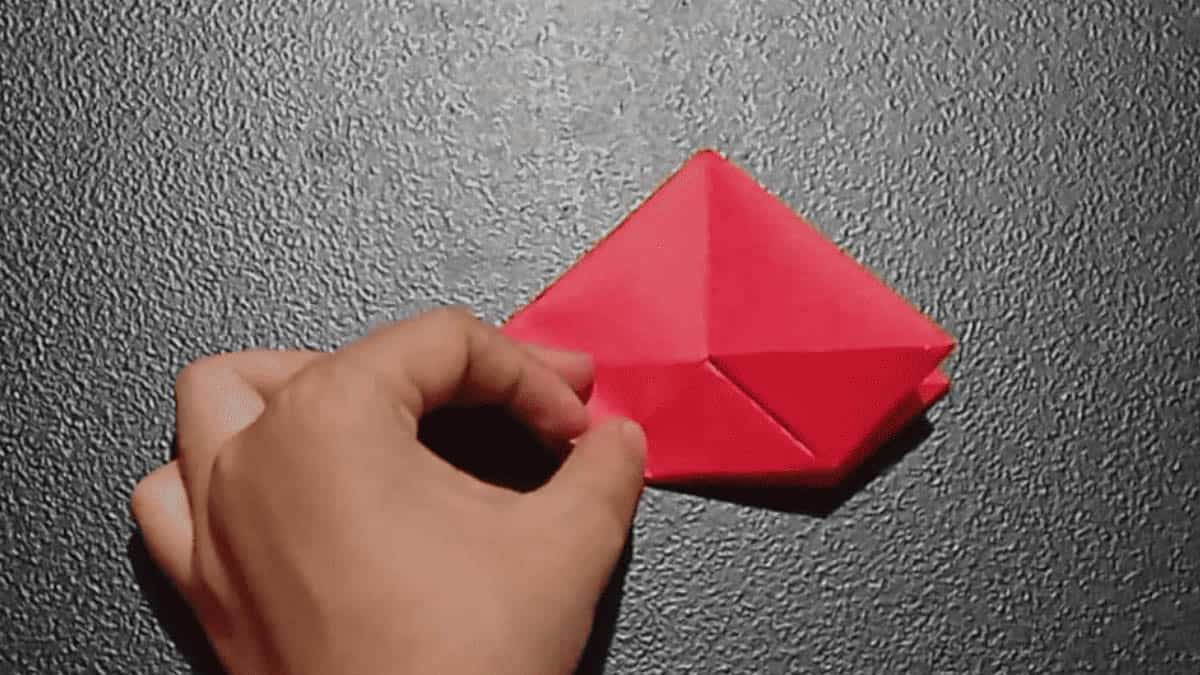 |
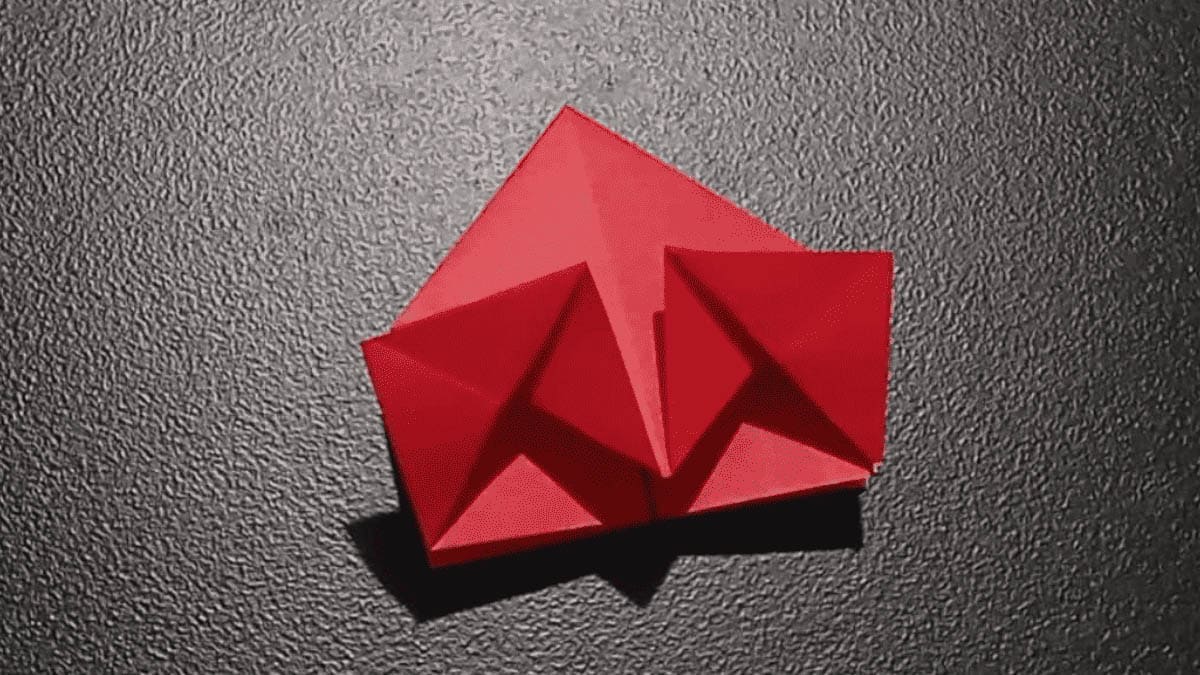
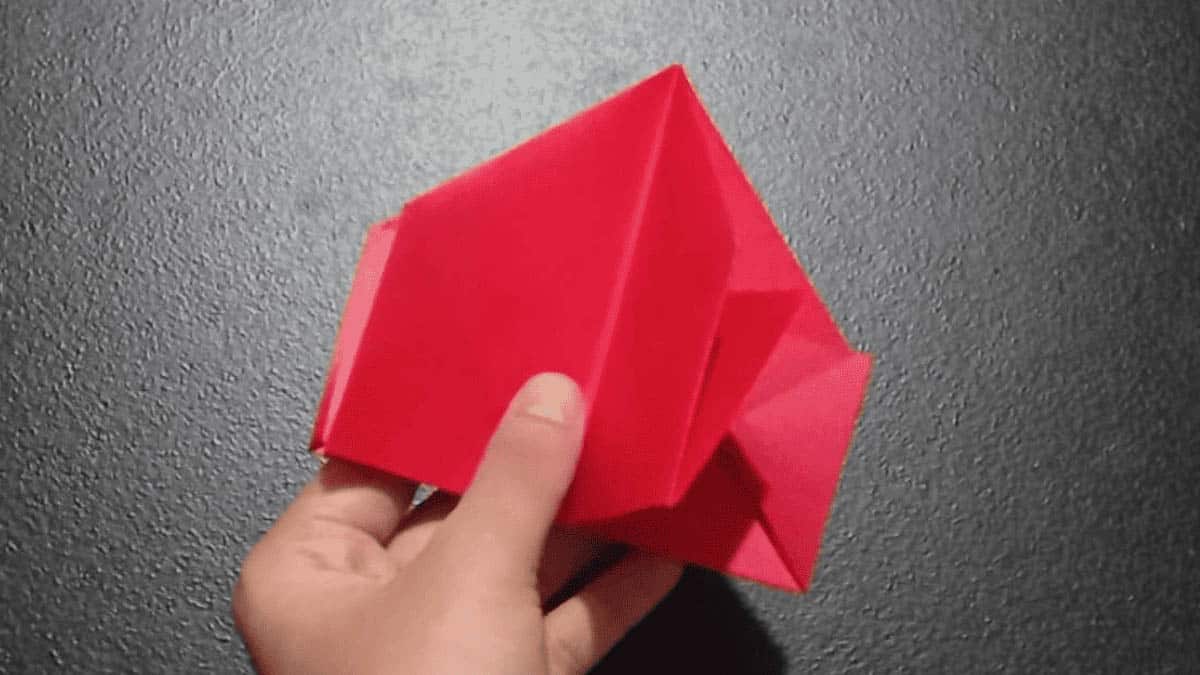
Step 14: Do the same thing to the other side like in step 13. |
 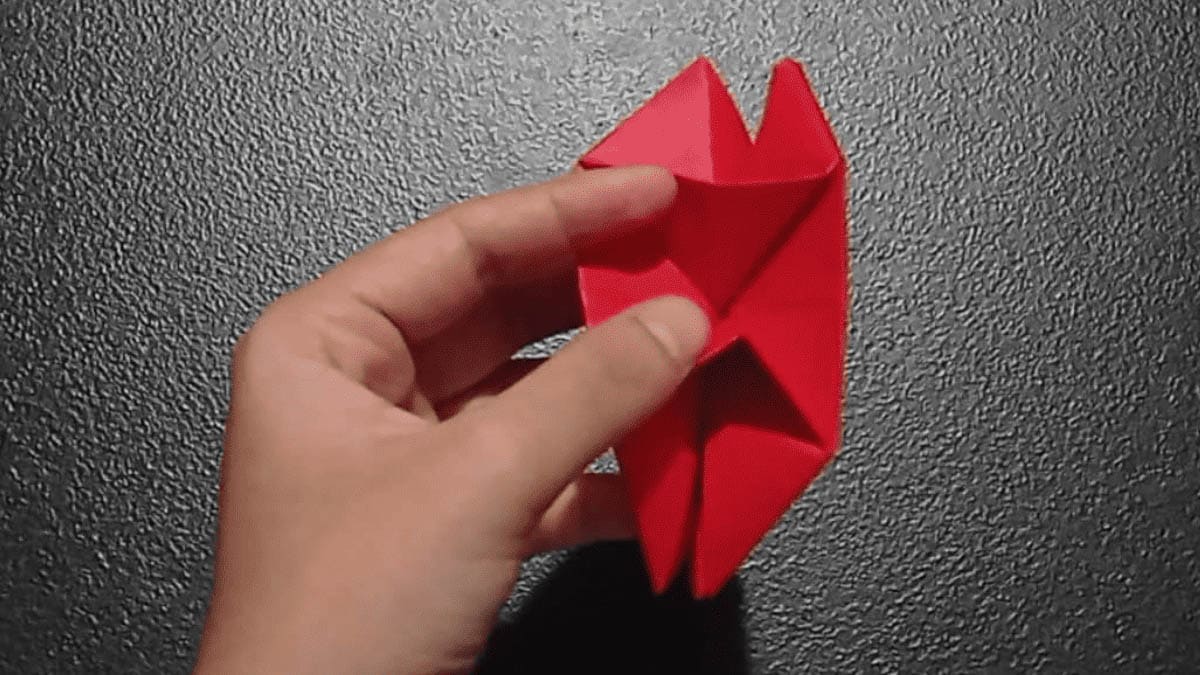  |
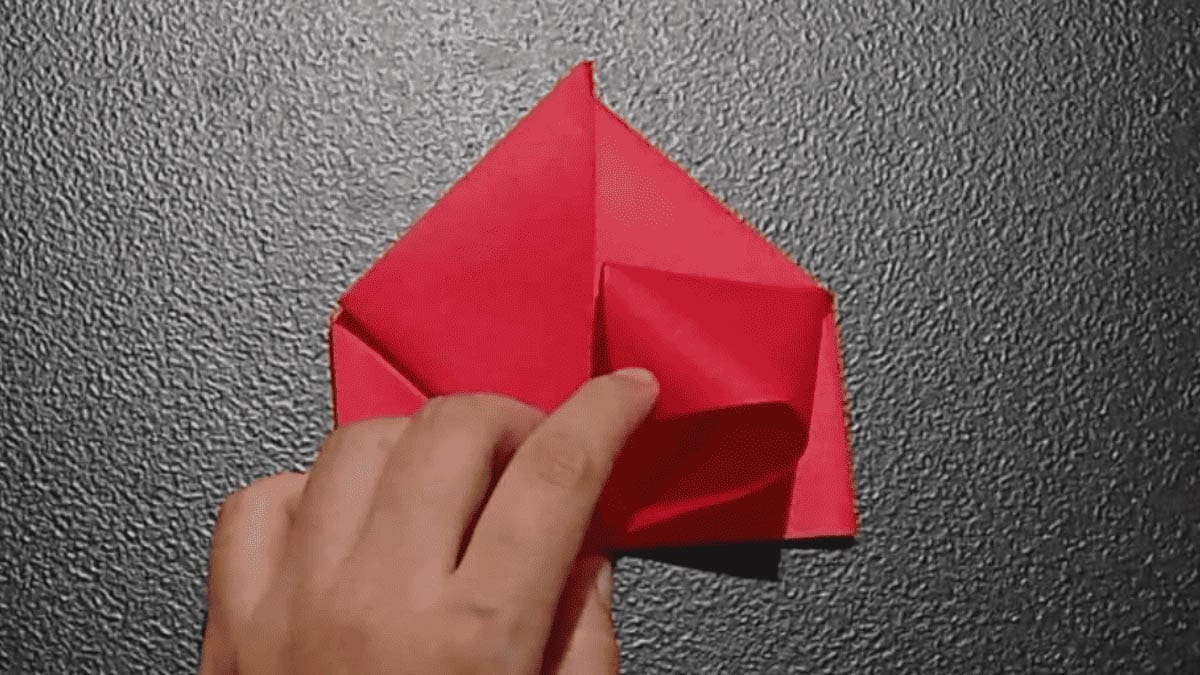
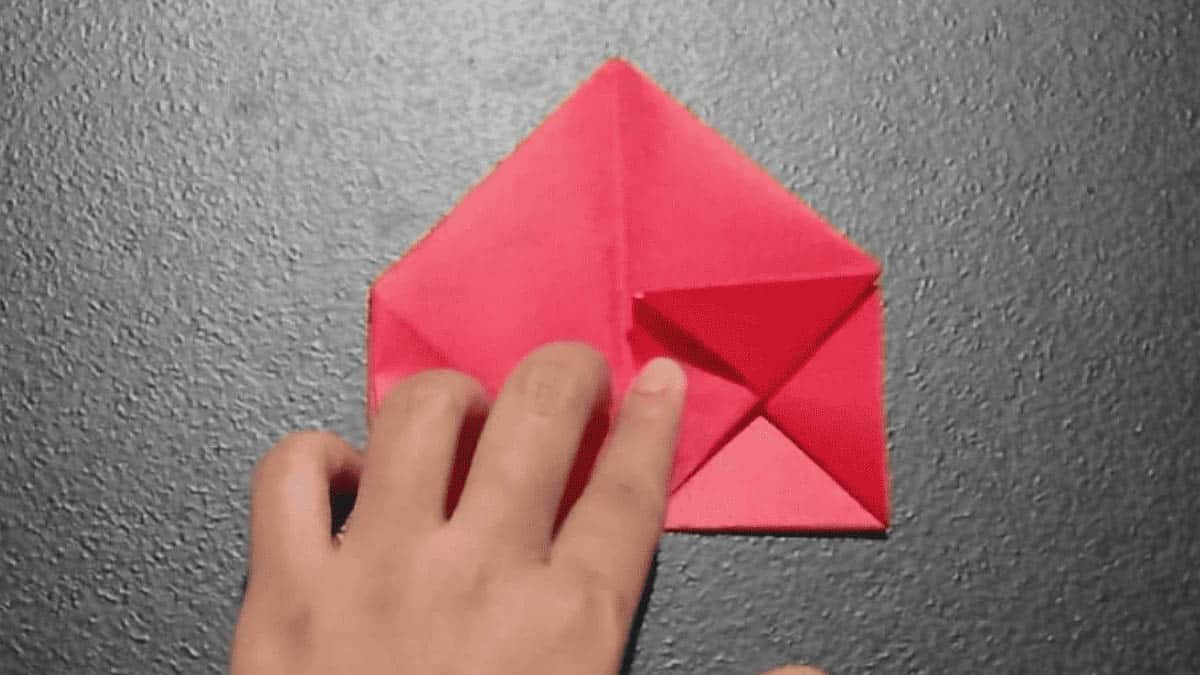
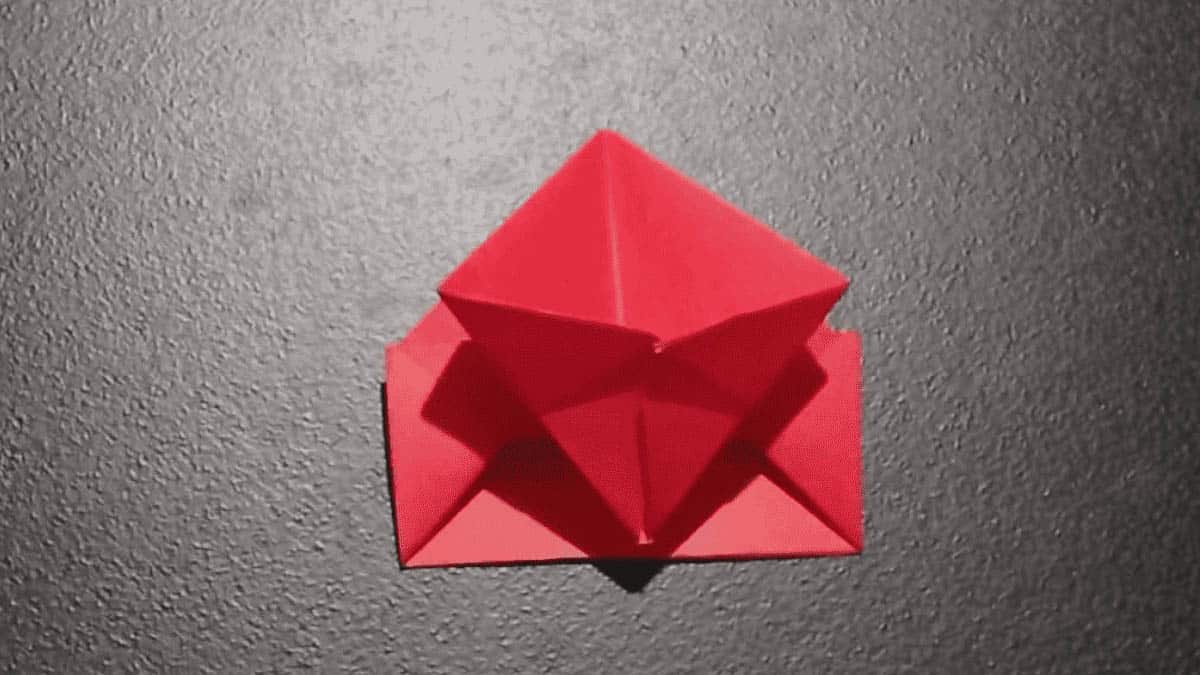
Step 15: Open the bottom side of the flap, there will be a mini square in the middle. |
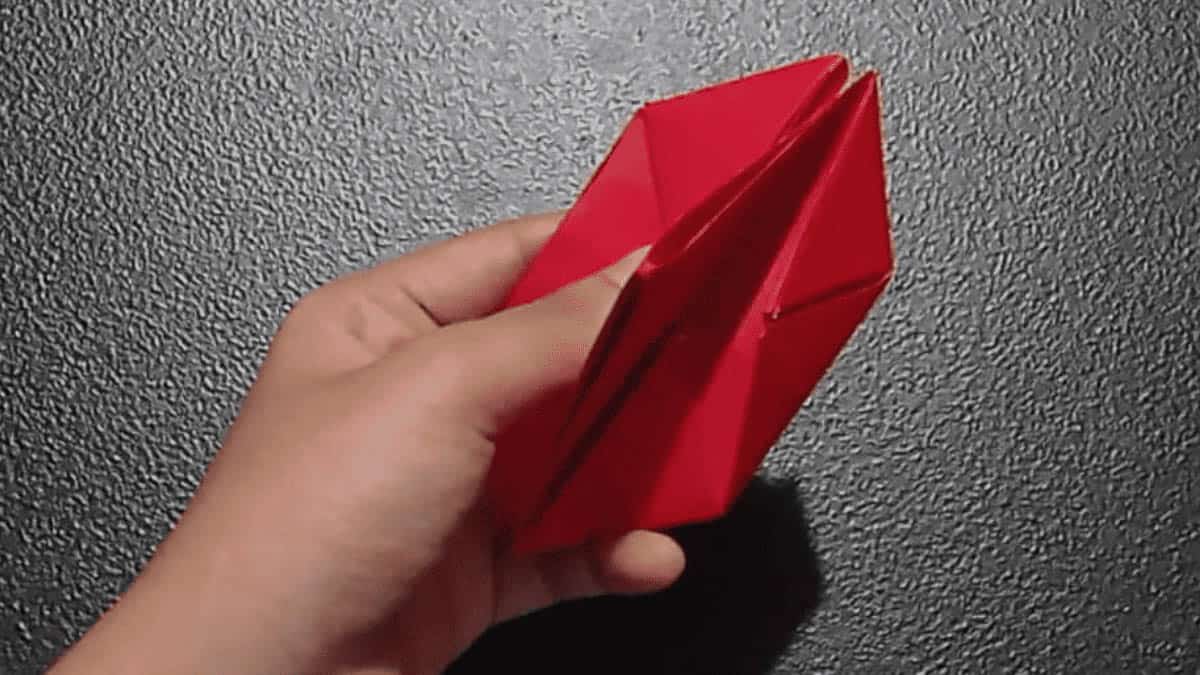 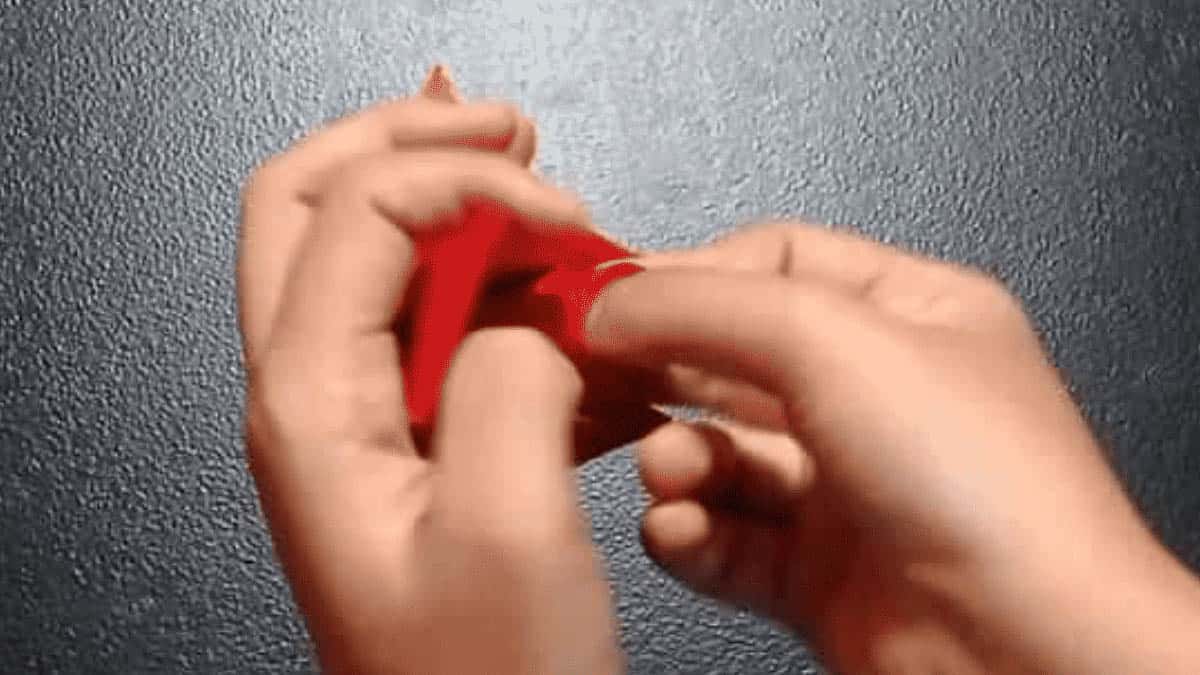   |
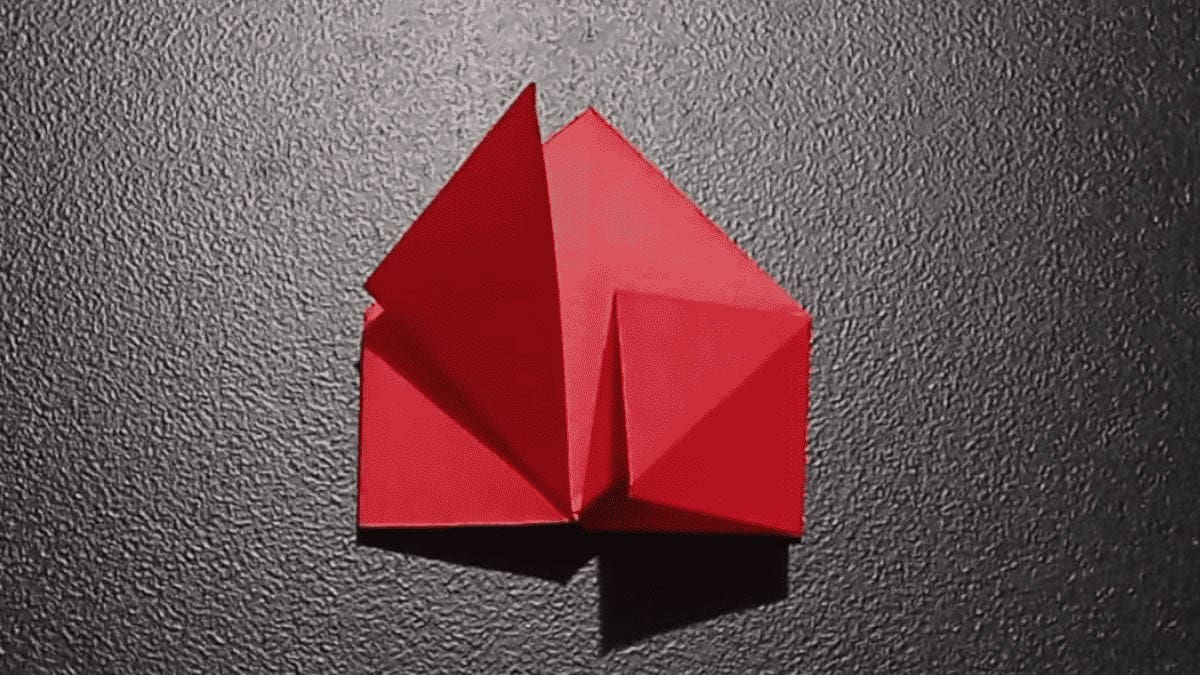
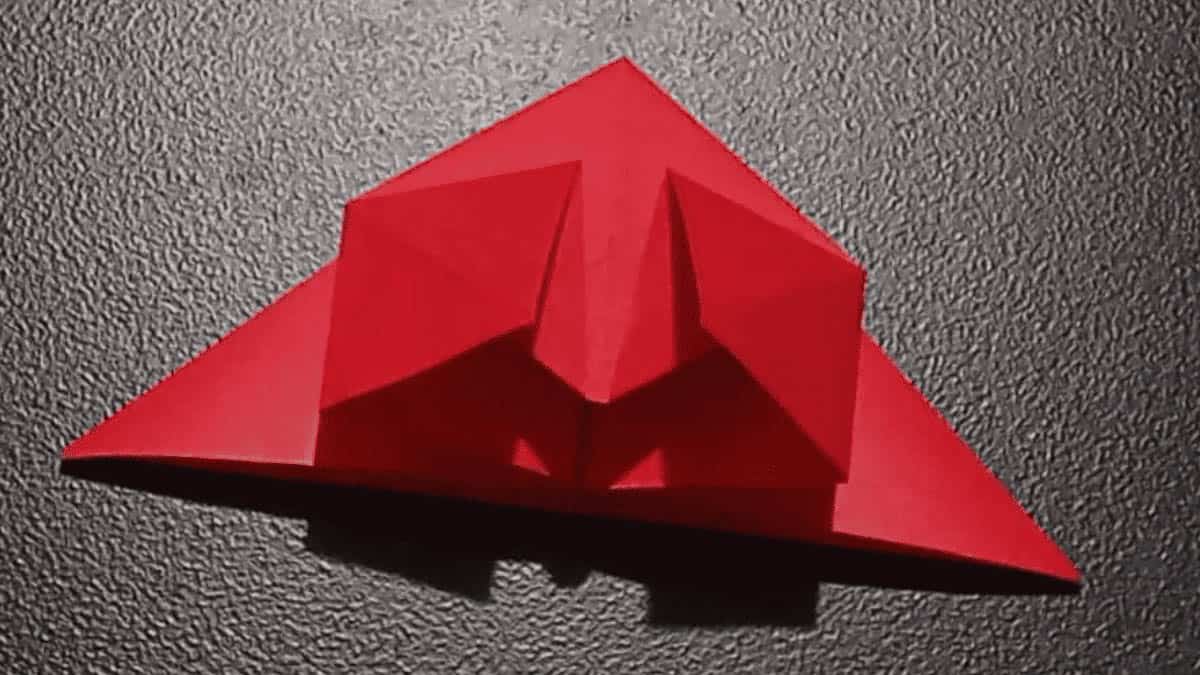
Step 16: Turn the paper over, open the sides again in the middle then keep on twirling the paper until it looks like a petal. |
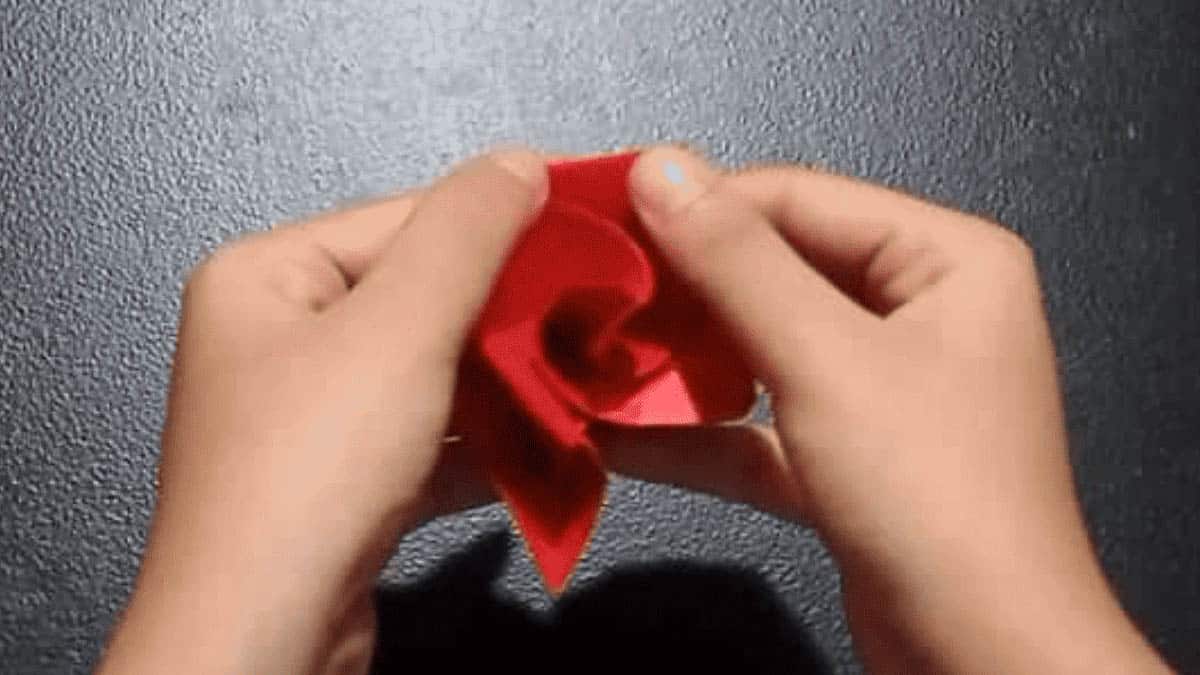 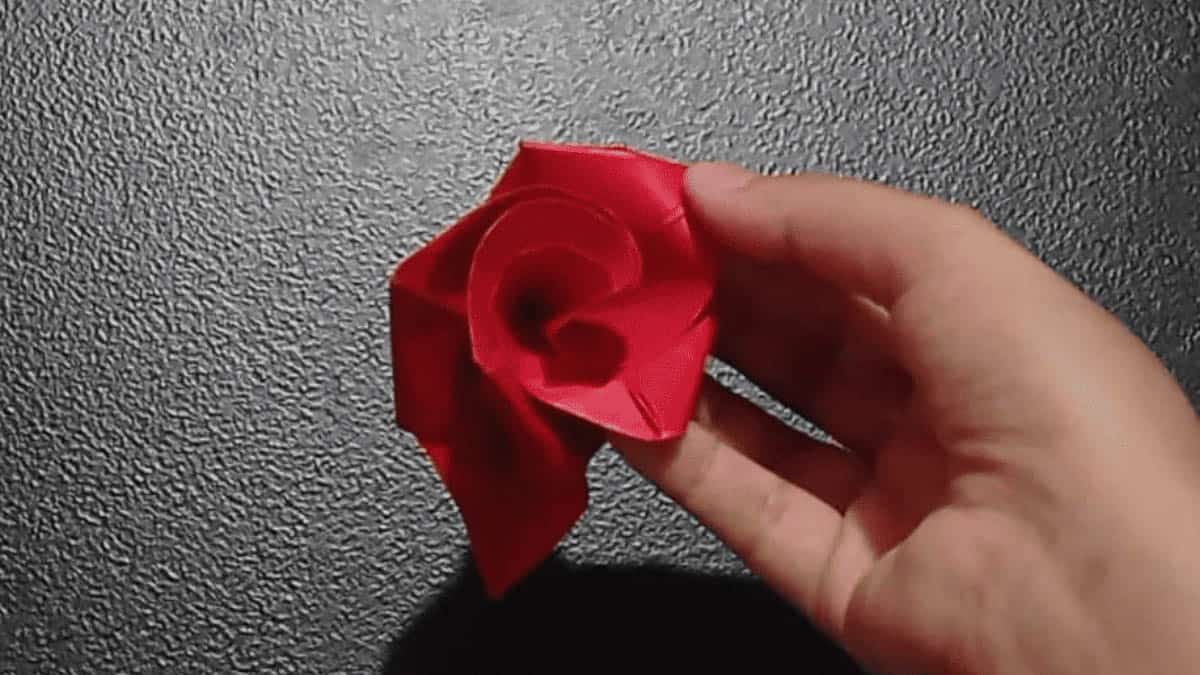  |
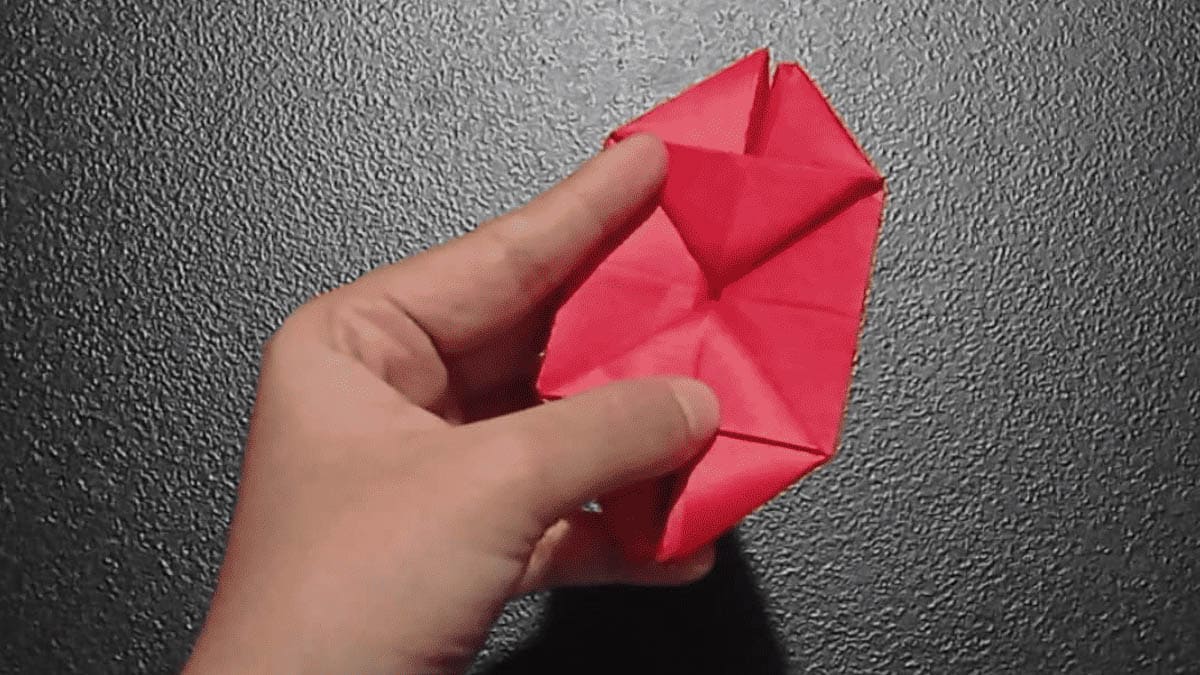
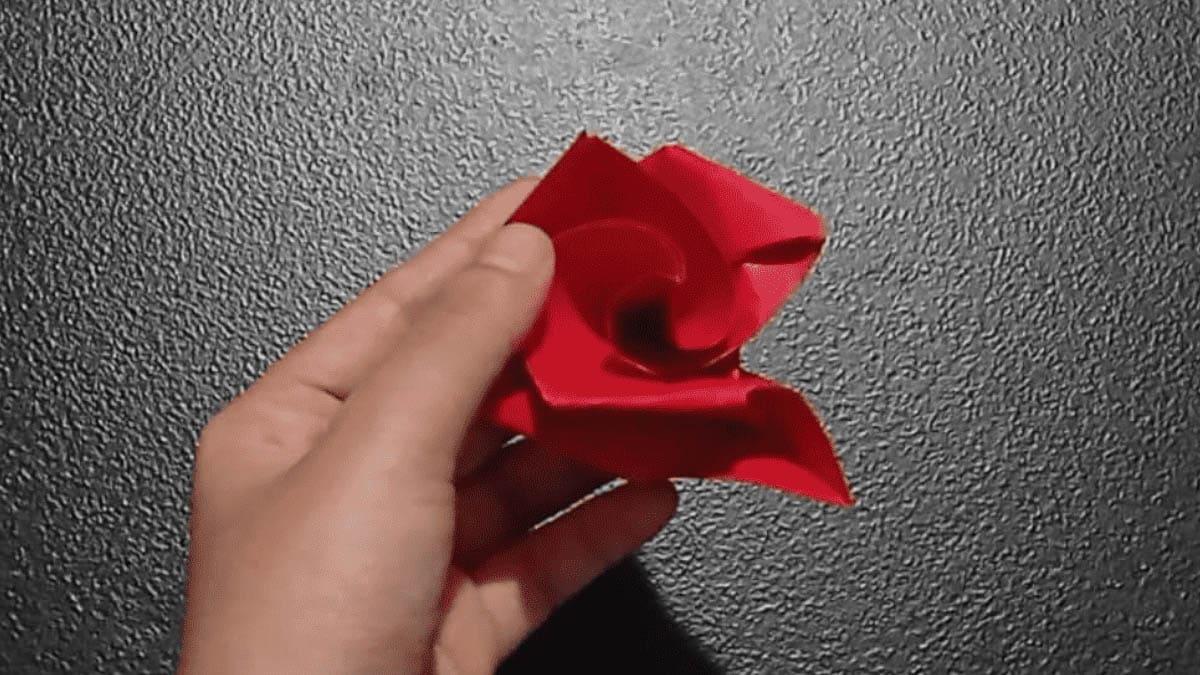
Step 17: Bend fold the sides corner so the petals will be emphasized and you’re all done! |
