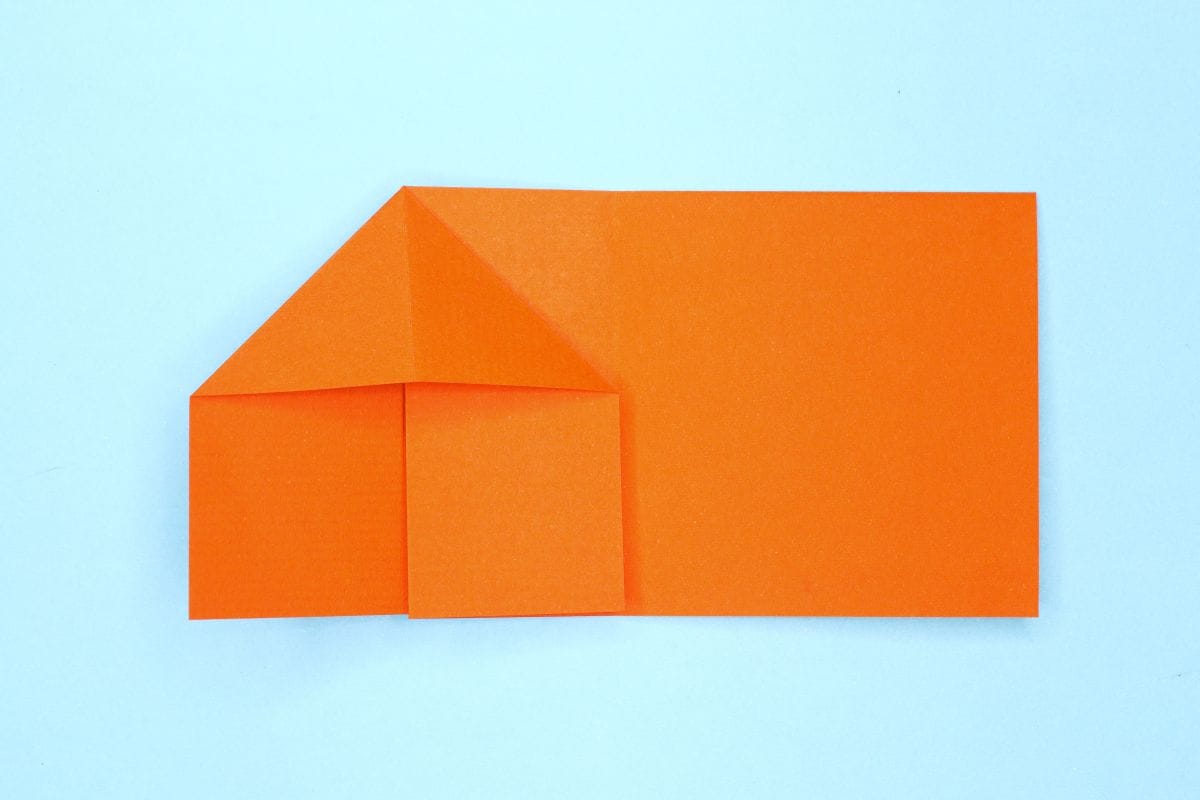
The Squash Fold is a fundamental folding technique in origami that is used to flatten and reshape part of the paper by opening a flap and pressing it down symmetrically. It is commonly used in both simple and complex origami models.
Origami Basics: Origami Squash Fold Instructions
Category: Basic Origami Folds
Difficulty: Easy
This step-by-step guide with clear pictures shows you how to easily make the origami squash fold.
Step 1
1
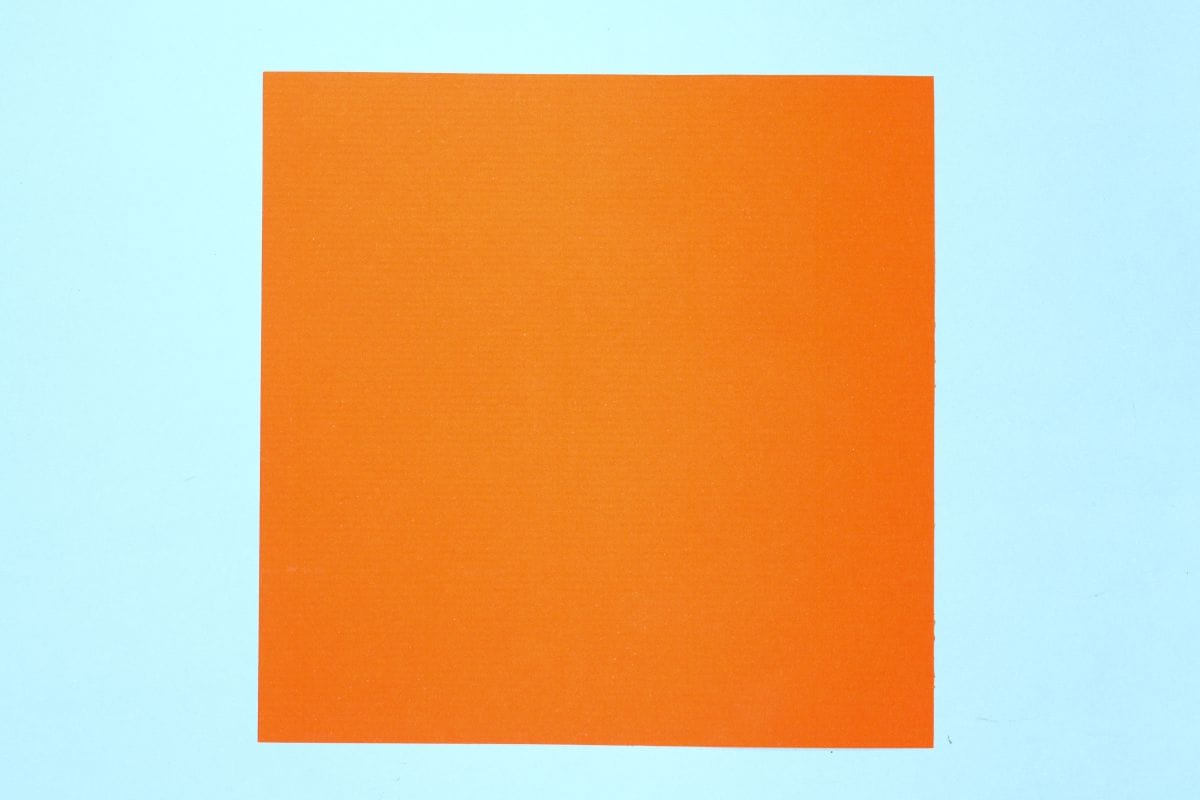
Start with a square sheet of origami paper of any dimension. I am using an 7×7 inches origami paper.
If you only have regular paper, follow these instructions on how to make a square origami paper.
If you only have regular paper, follow these instructions on how to make a square origami paper.
Step 2
2
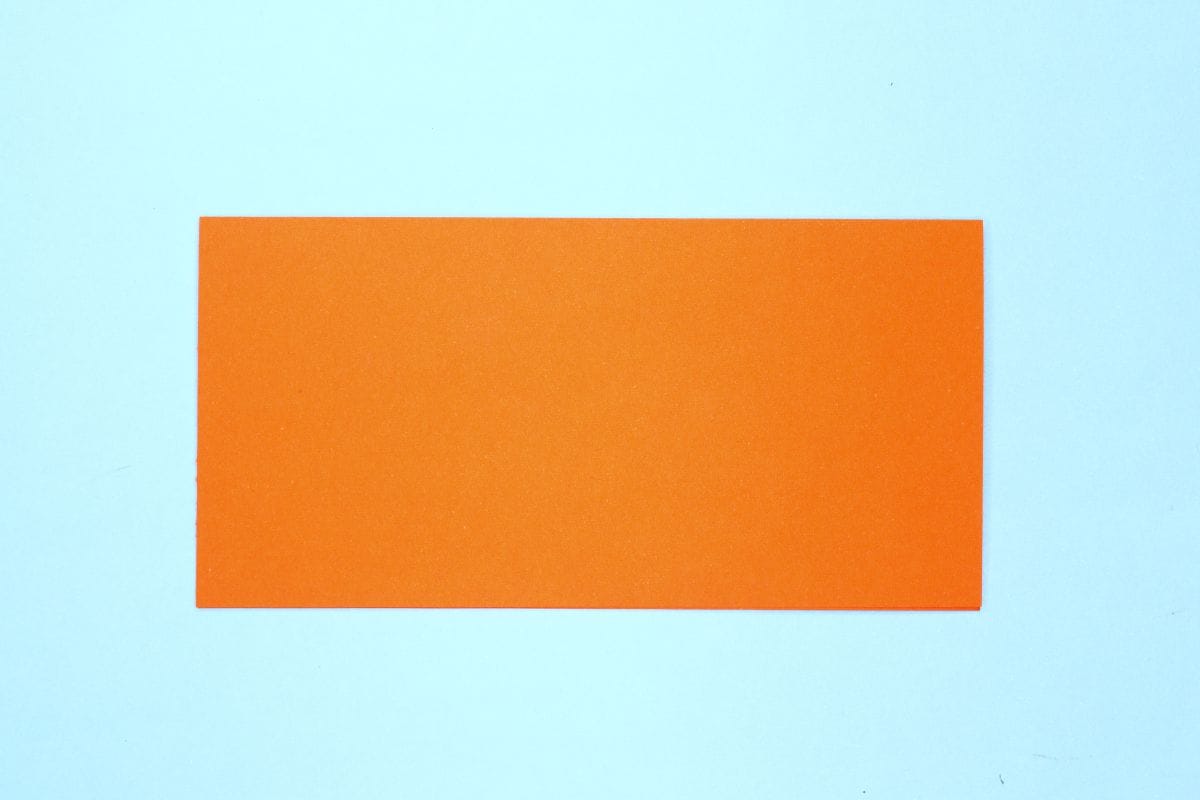
This is the first of three sqash fold examples. Fold a square sheet of paper in half.
Step 3
3
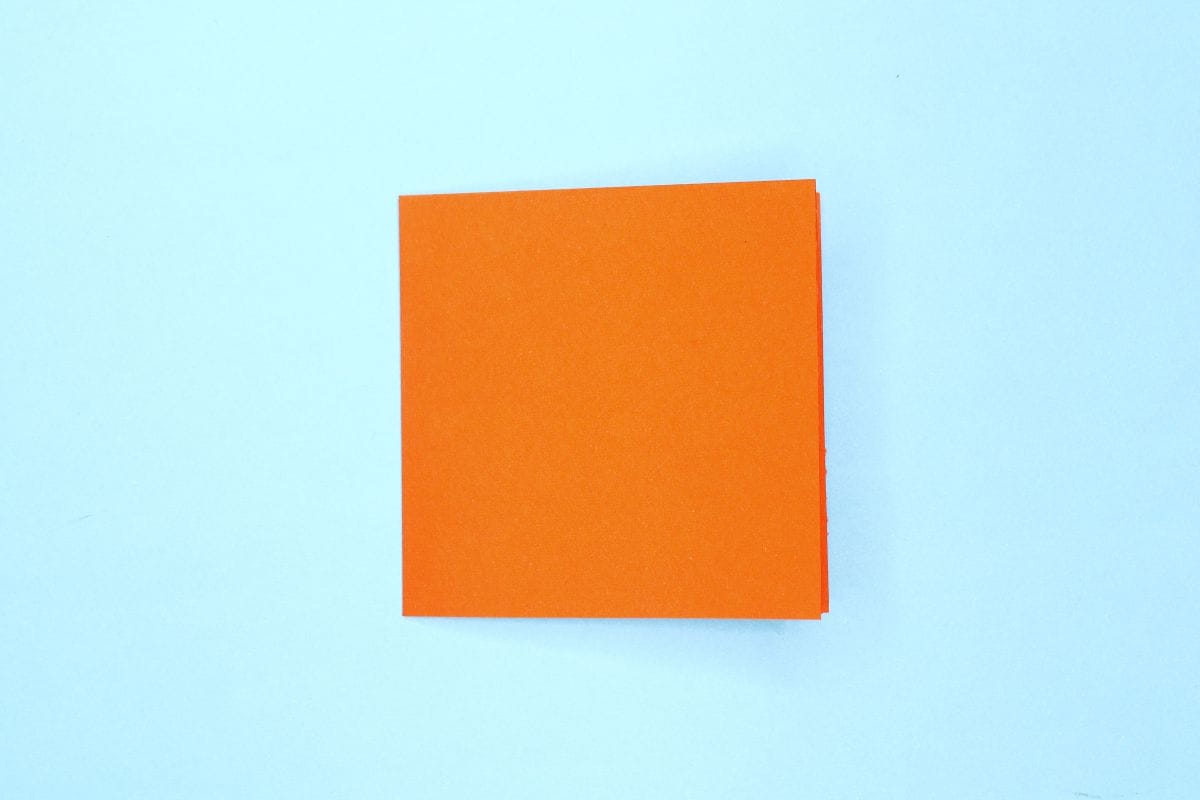
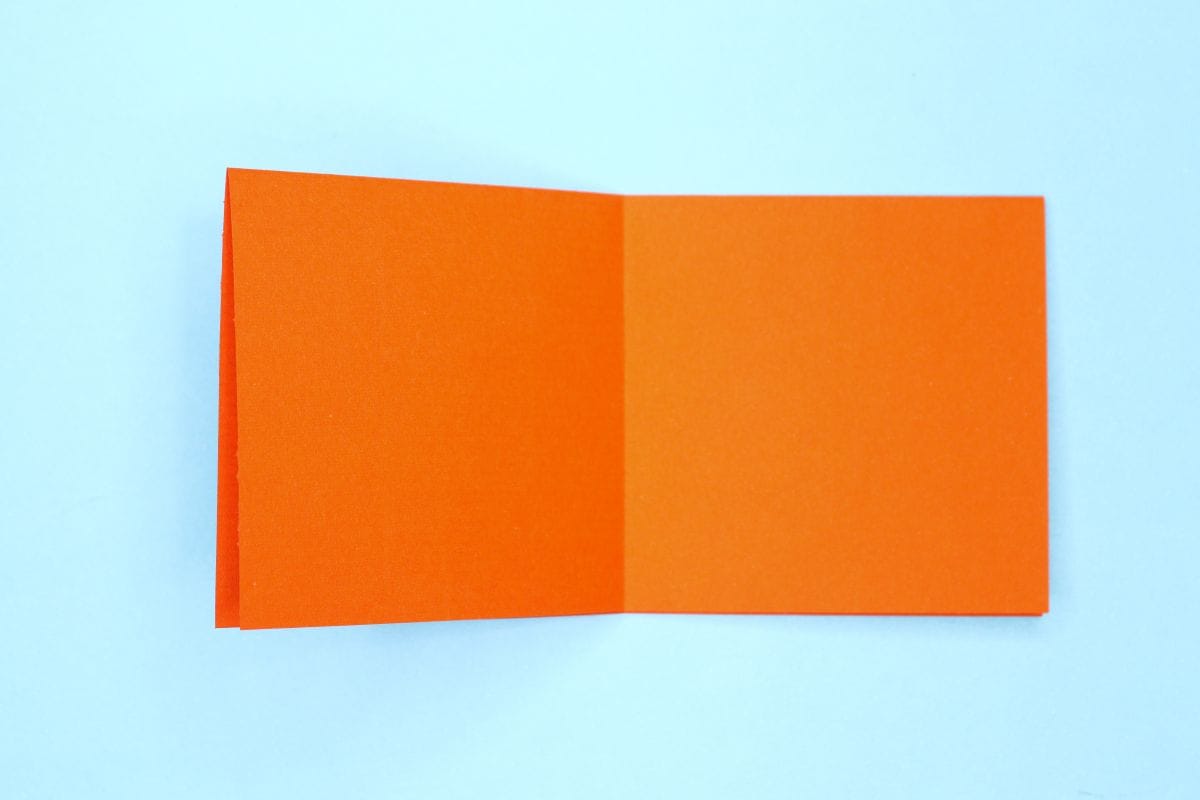
Fold the left half to the right.
Step 4
4
Unfold.
Step 5
5
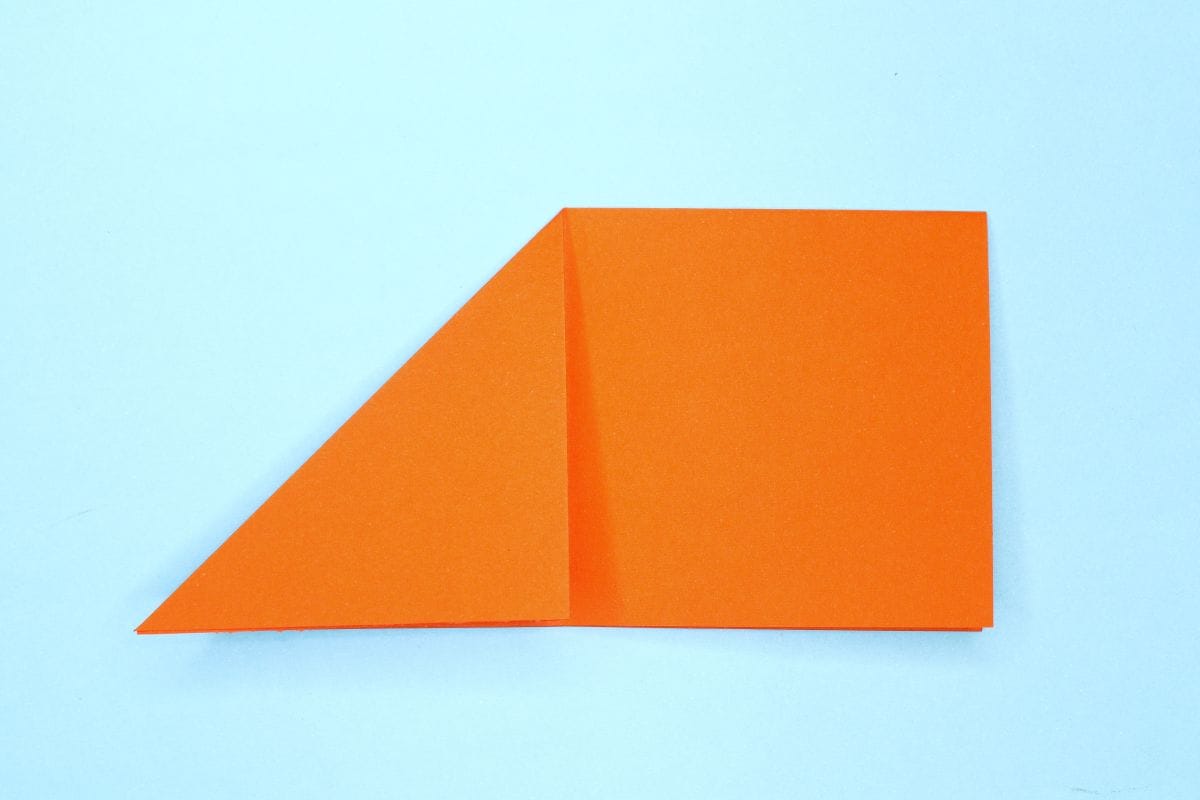
Fold the top left corner down to the center.
Step 6
6
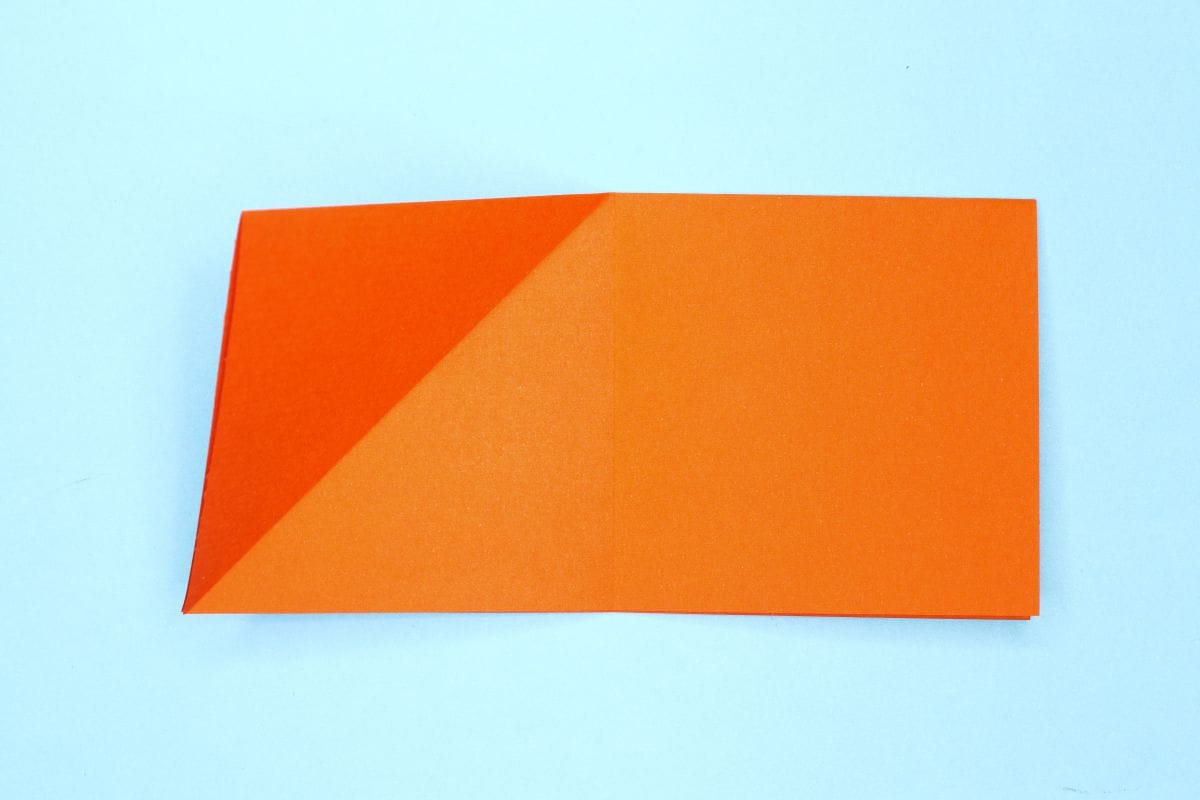
Unfold.
Step 7
7
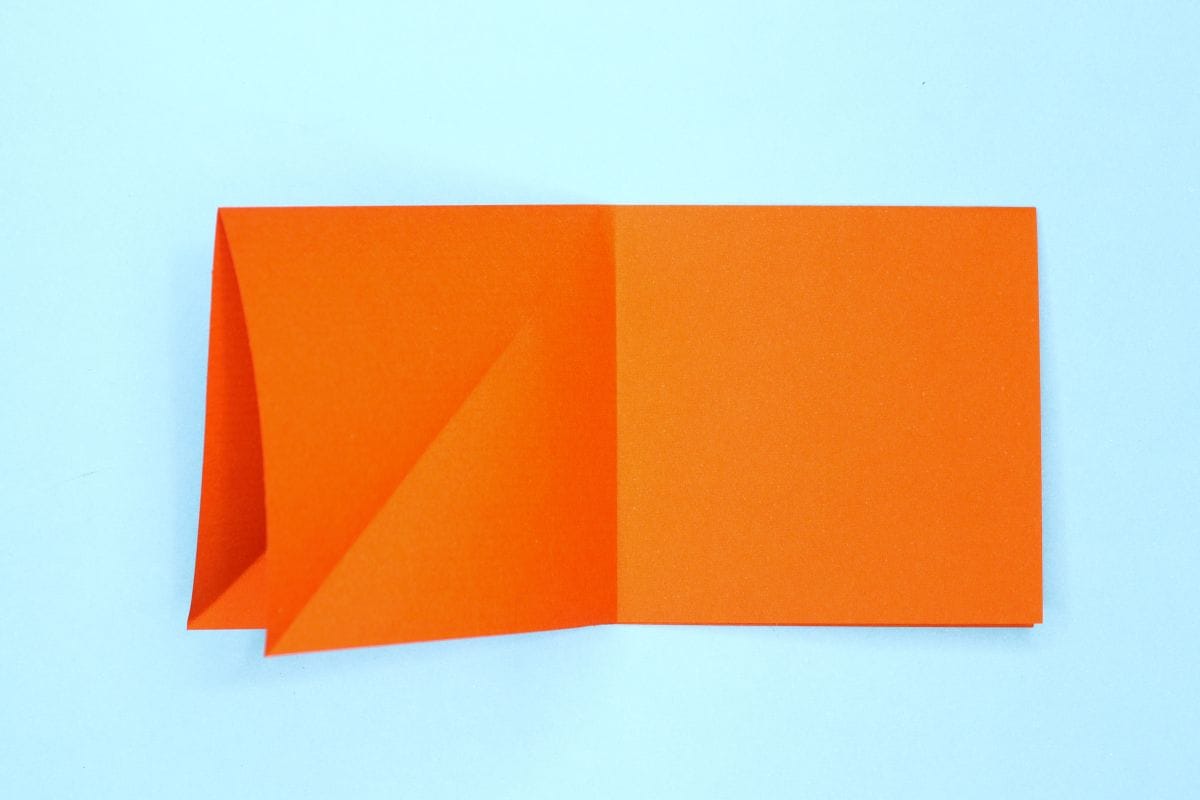
Open the left flap.
Step 8
8
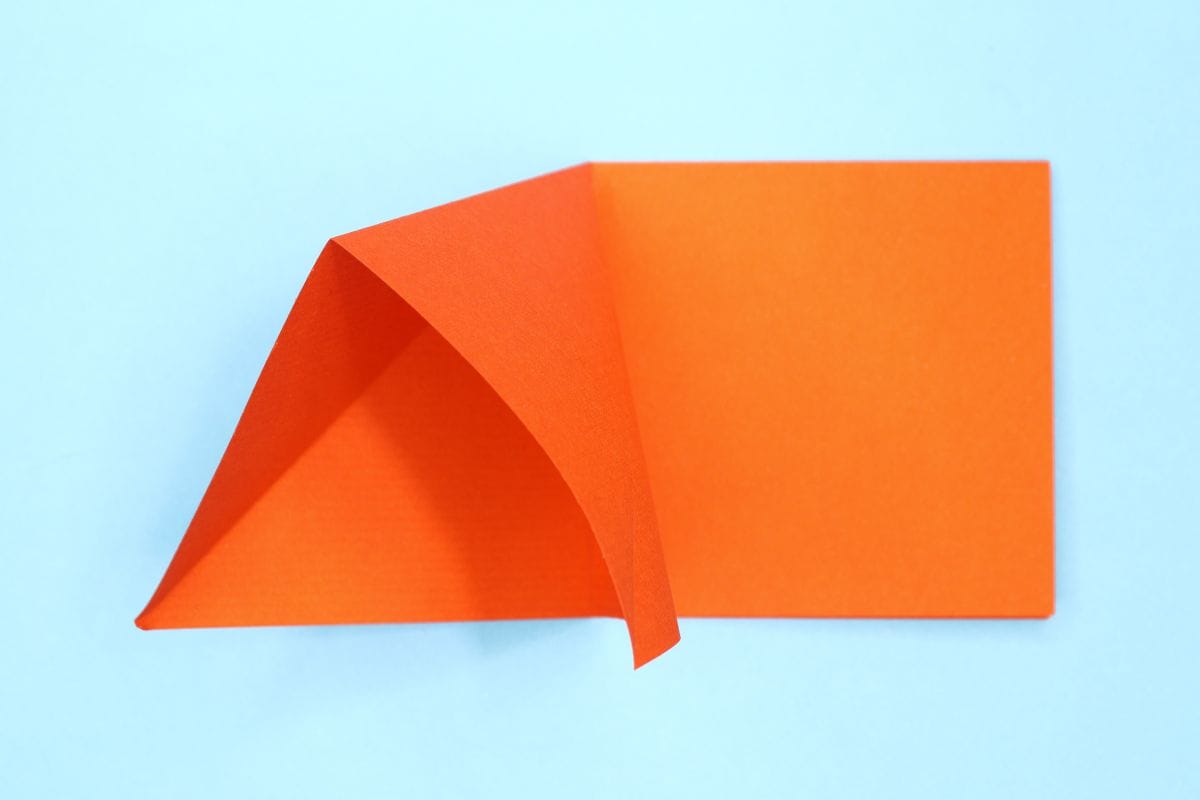
Fold the bottom left corner of top layer to the bottom right corner while meeting the top left edge to the bottom of midline.
Step 9
9
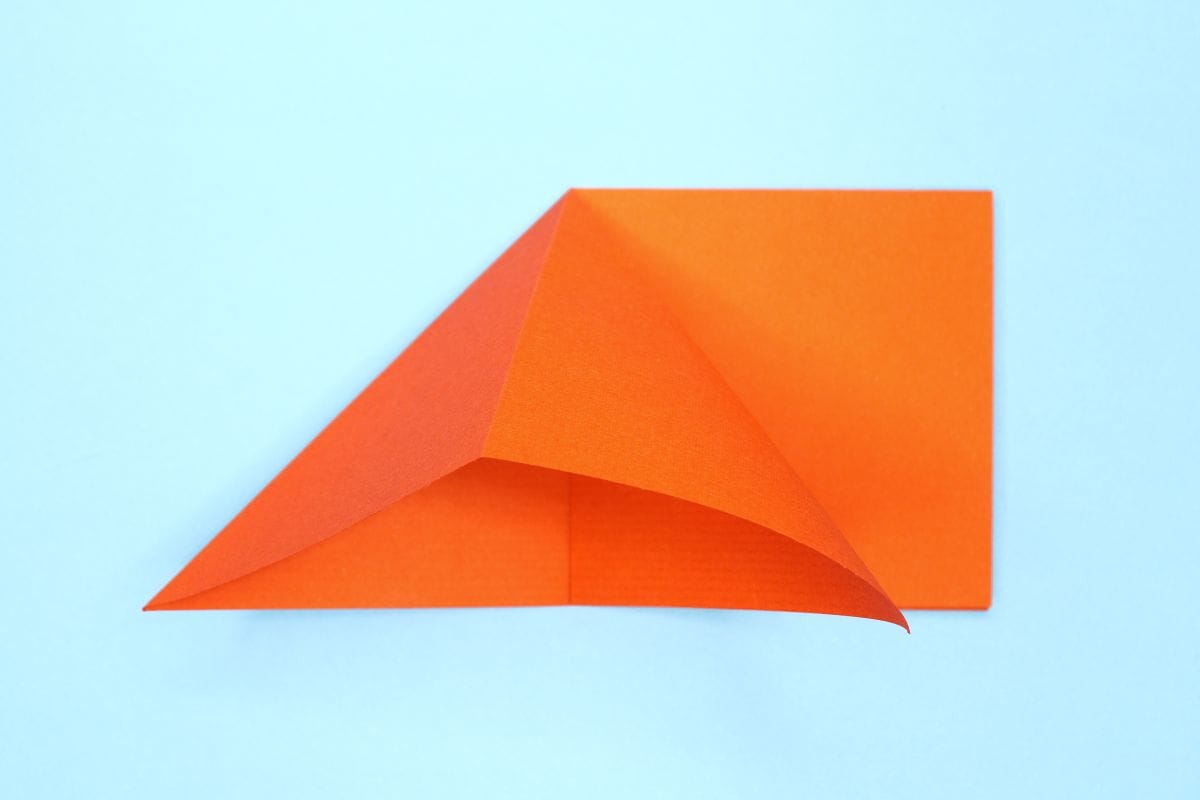
Squash the fold down.
Step 10
10
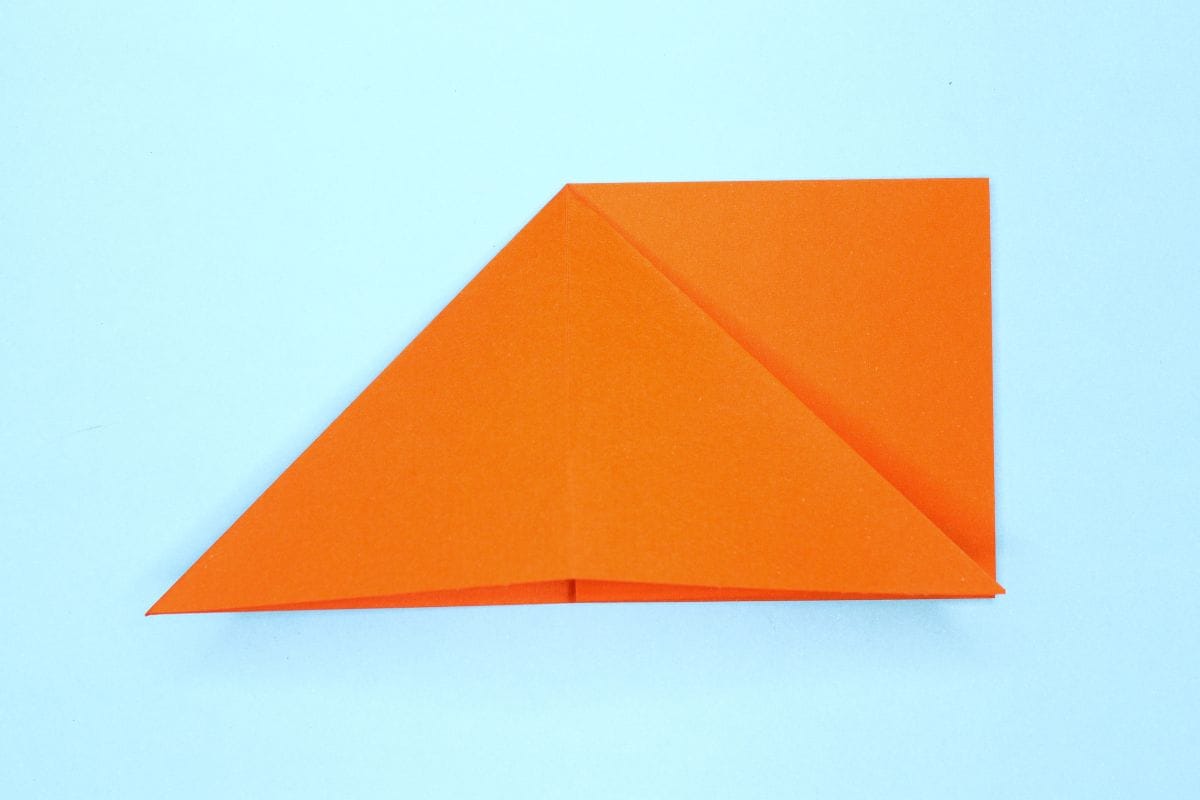
Voila! This is the first example of squash fold.
Step 11
11
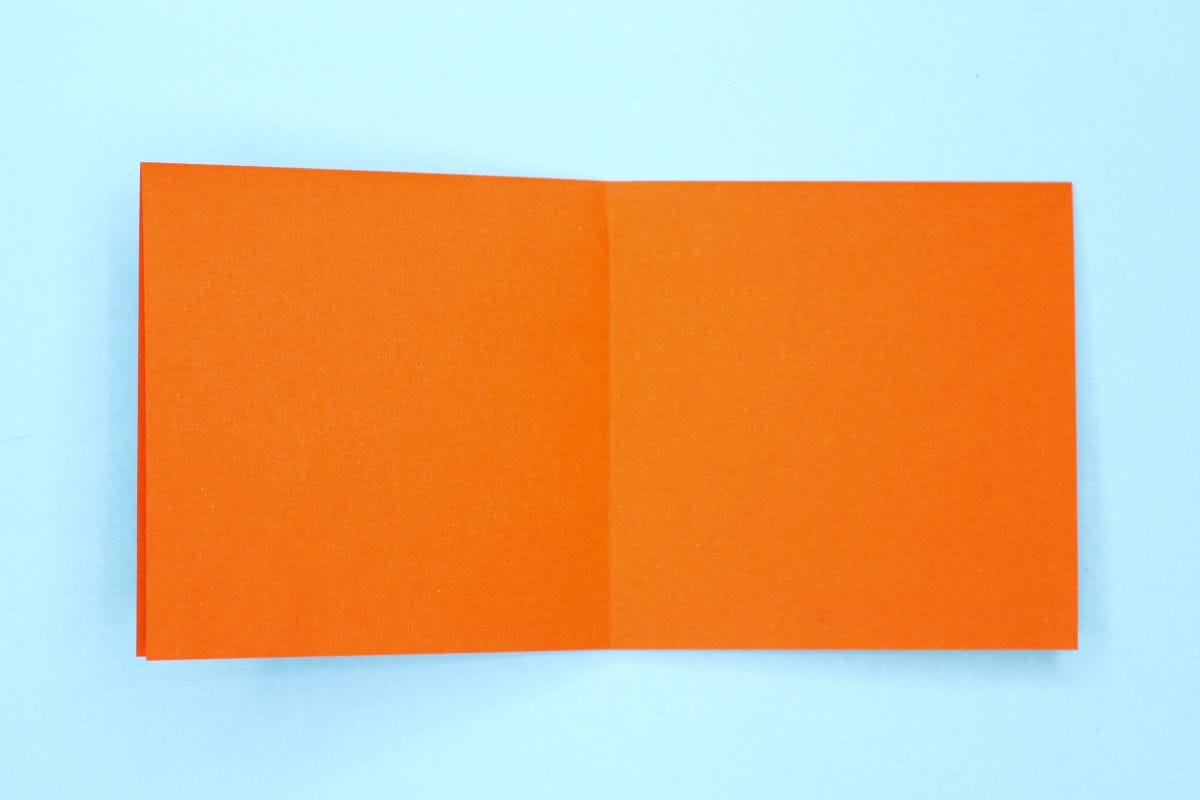
Here’s the second example. With a square sheet of paper folded in half like before.
Step 12
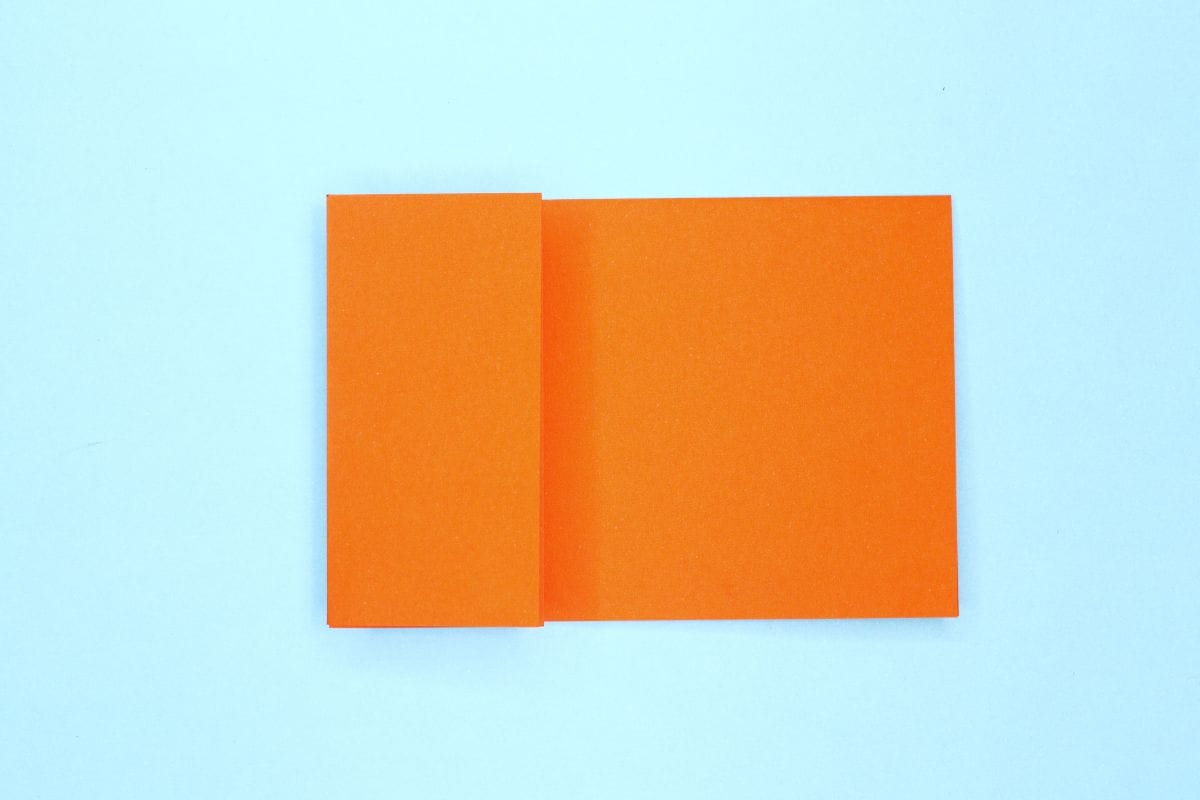
12
Fold the left edge to the center.
Step 13
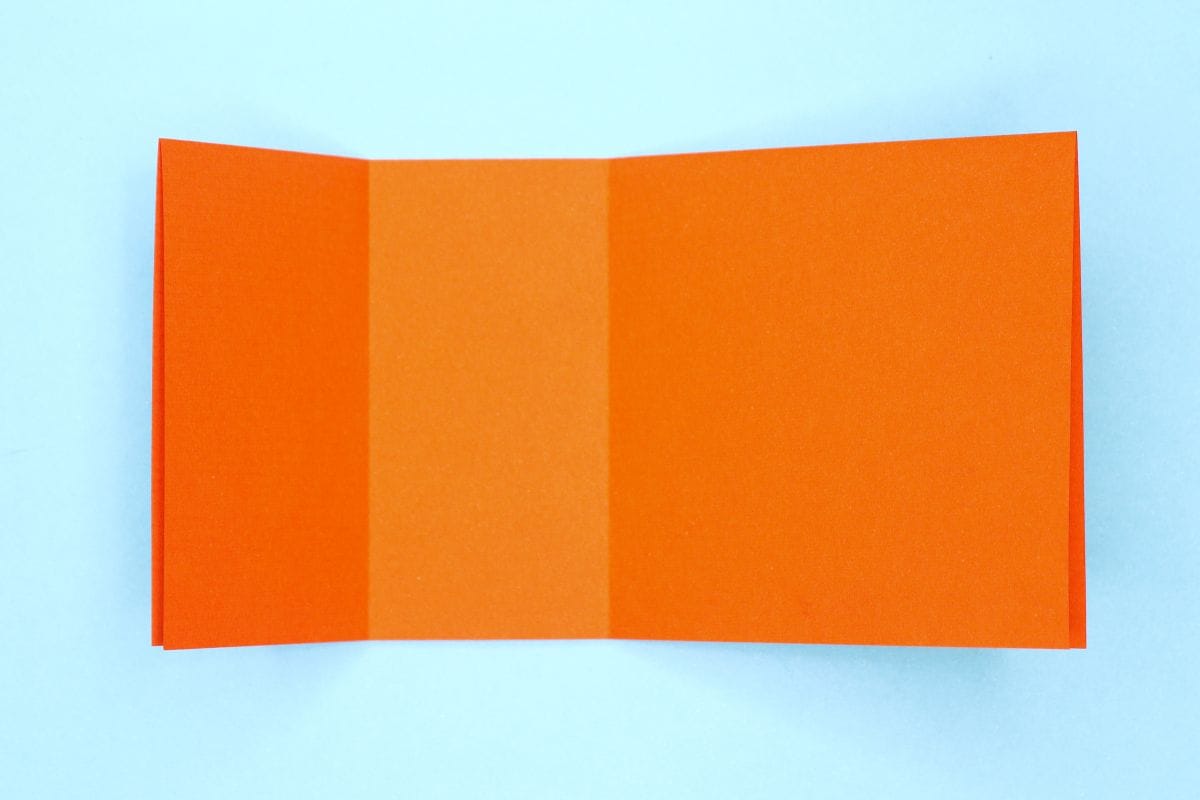
13
Unfold.
Step 14
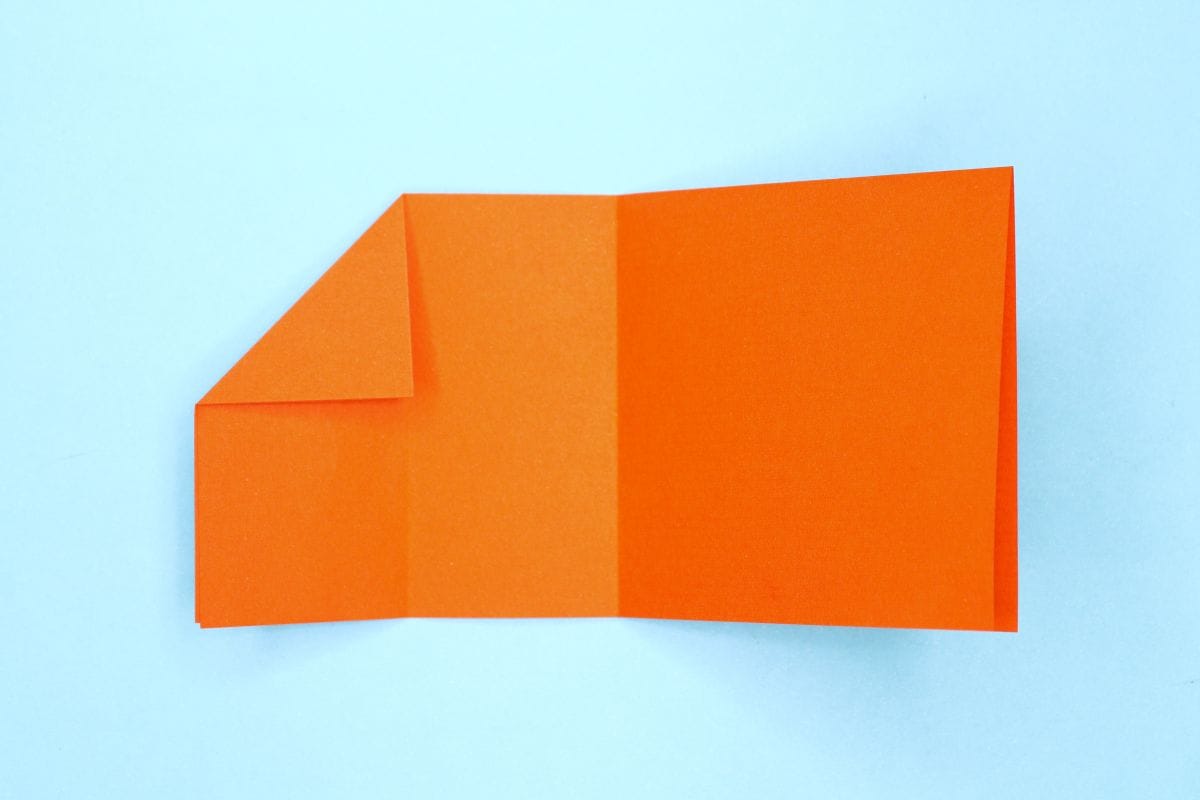
14
Now fold the top left corner down to the crease you just made.
Step 15
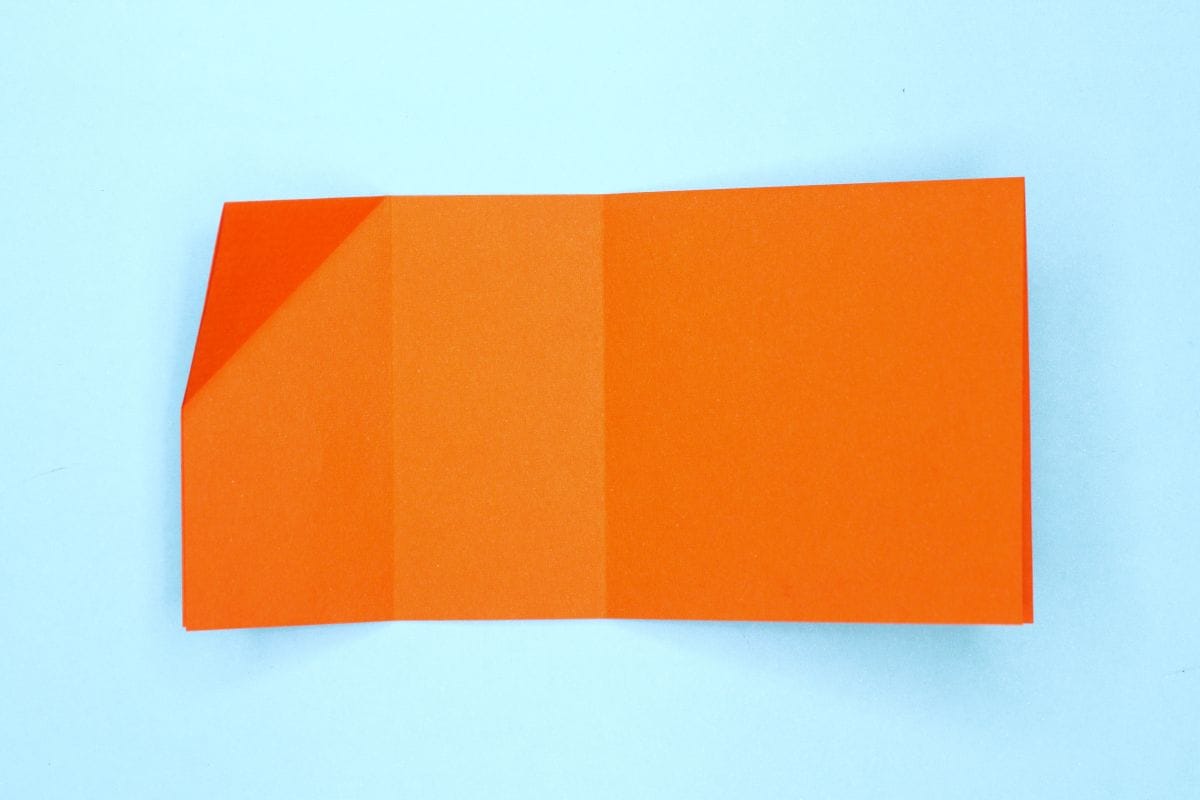
15
Unfold.
Step 16
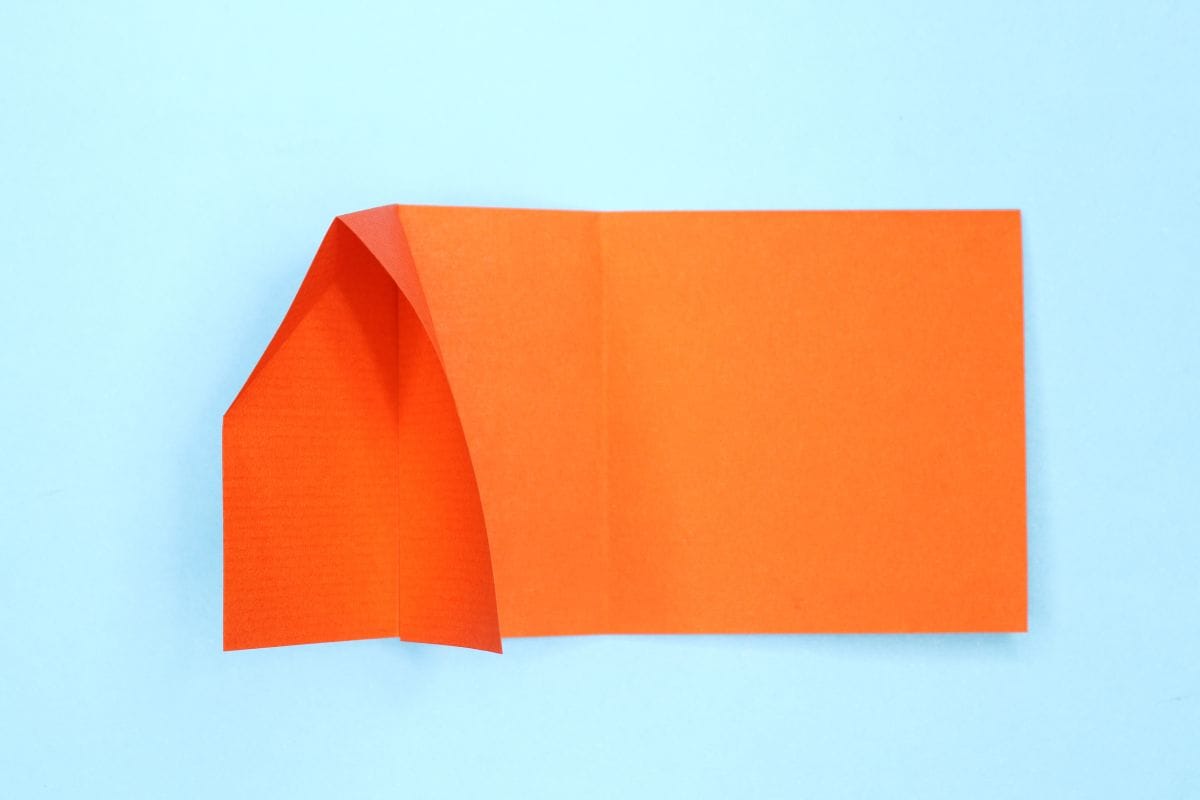
16
Open that flap.
Step 17
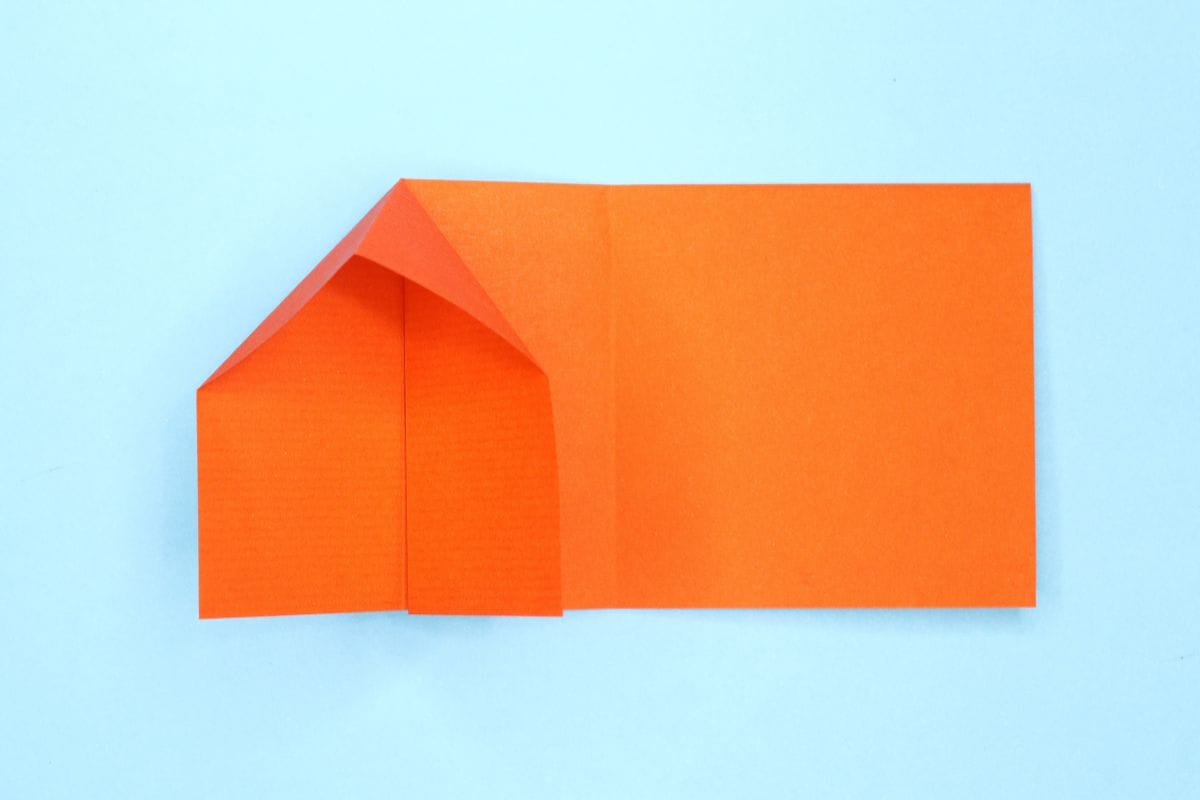
17
Squash down the fold as shown.
Step 18

18
This is the second example of squash fold.
Step 19
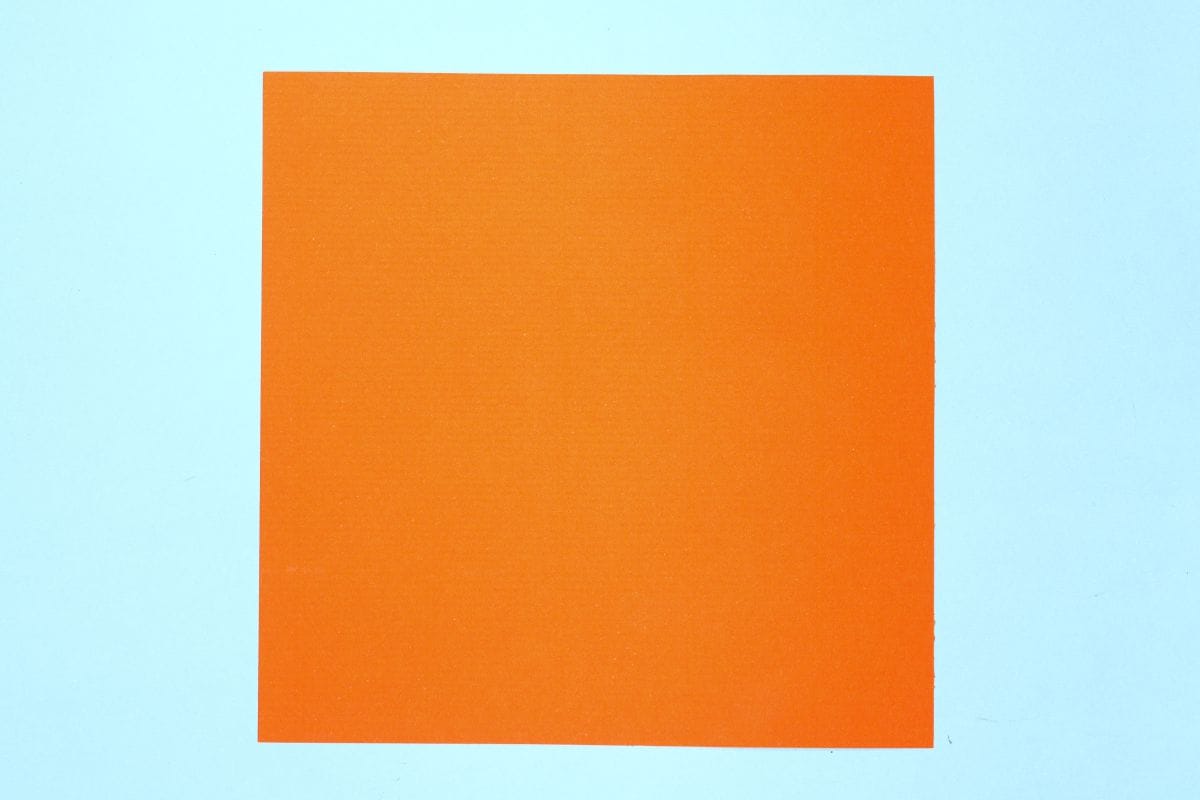
19
This is the third example of the squash fold. Start with a square sheet of origami paper of any dimension. I am using an 7×7 inches origami paper.
Step 20
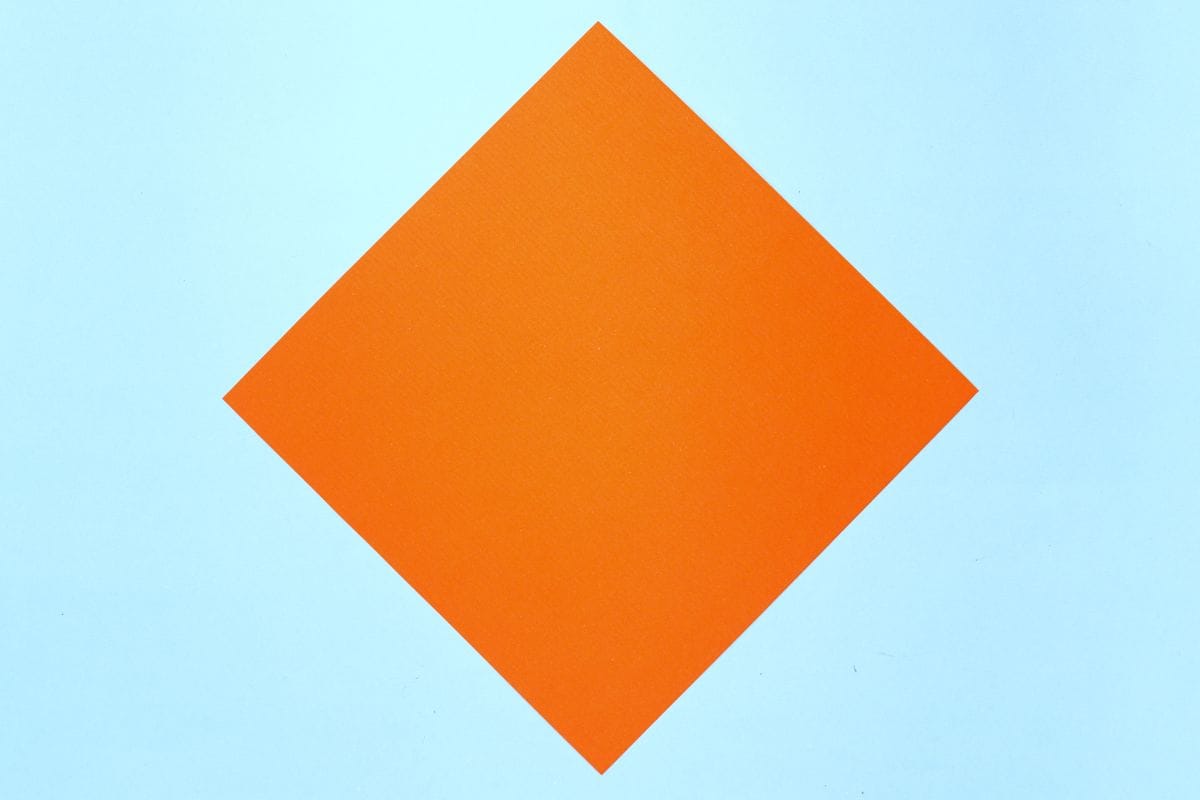
20
Rotate the paper to make it resemble a diamond.
Step 21
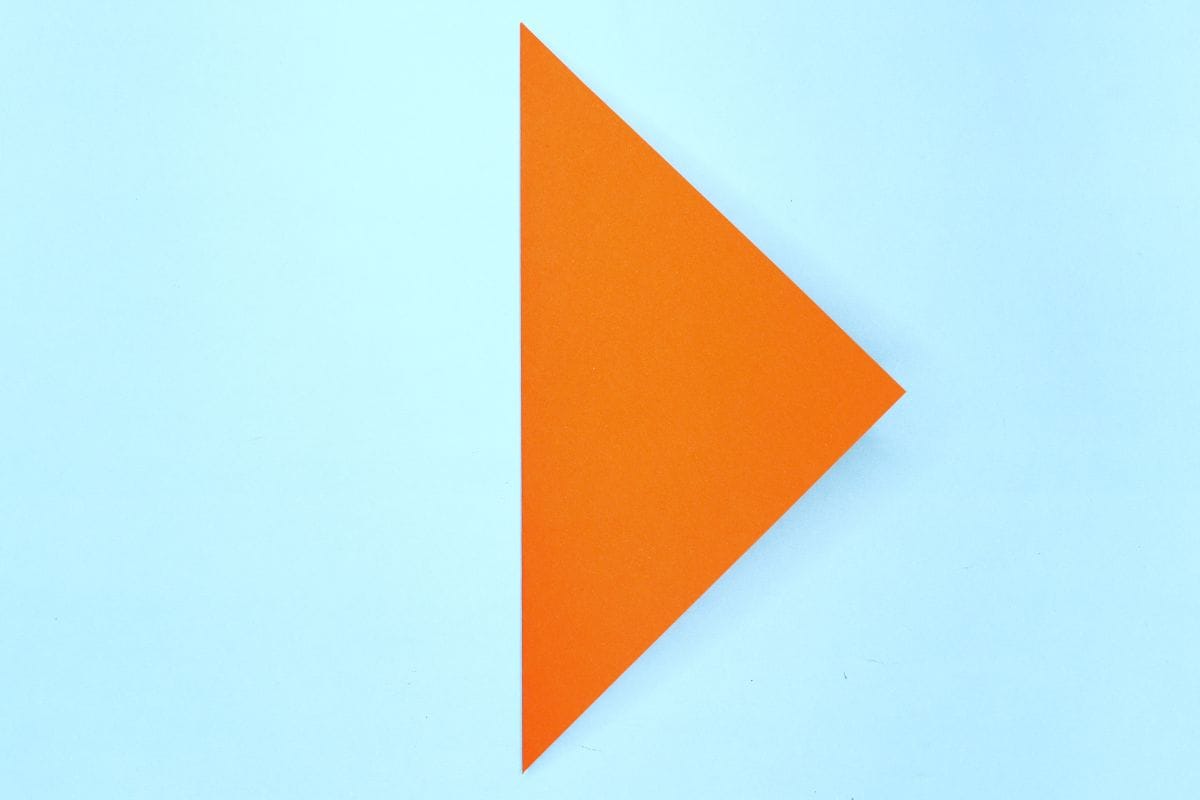
21
Fold the left corner to the right.
Step 22
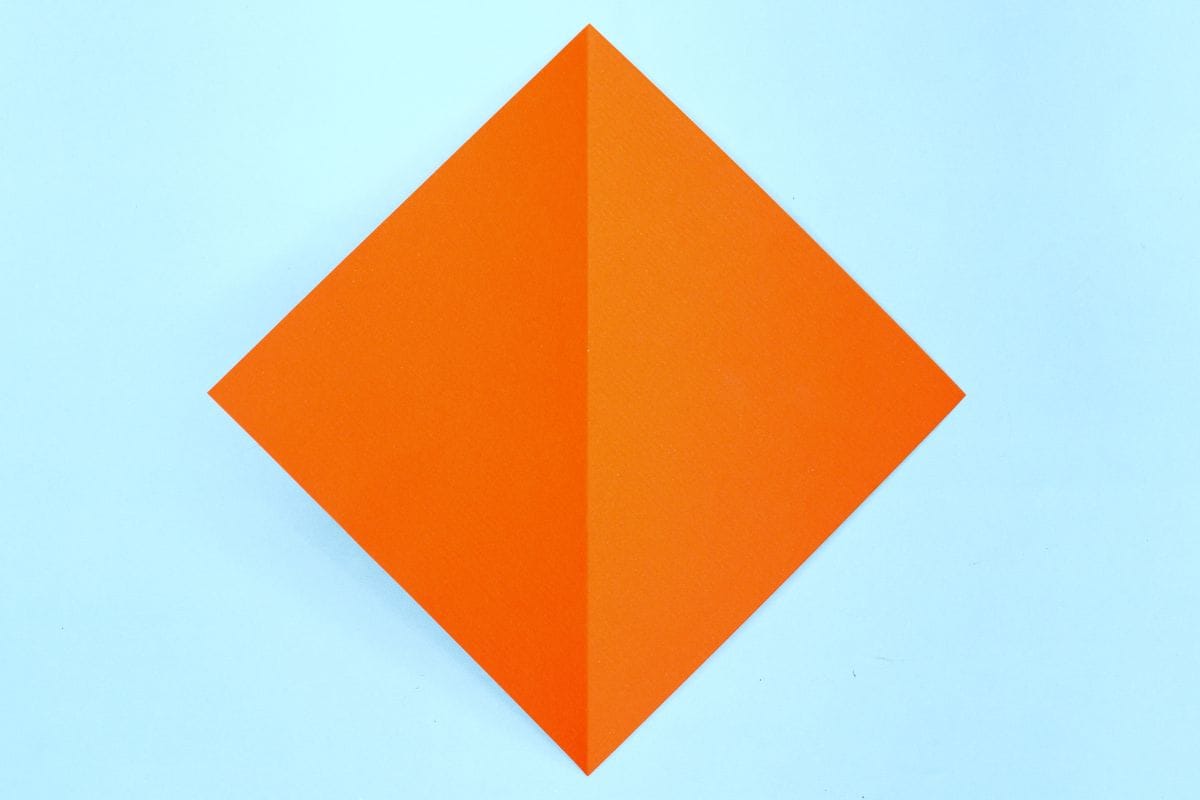
22
Unfold.
Step 23
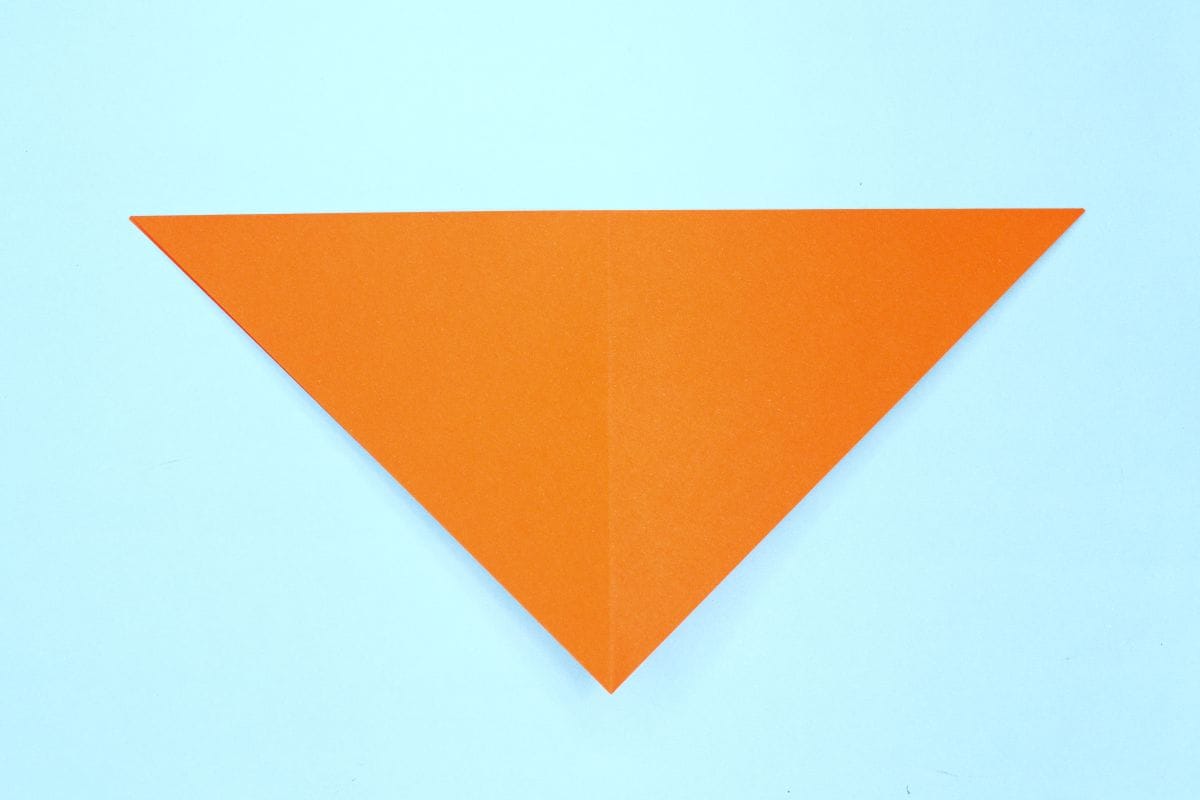
23
Fold the top corner to the bottom.
Step 24
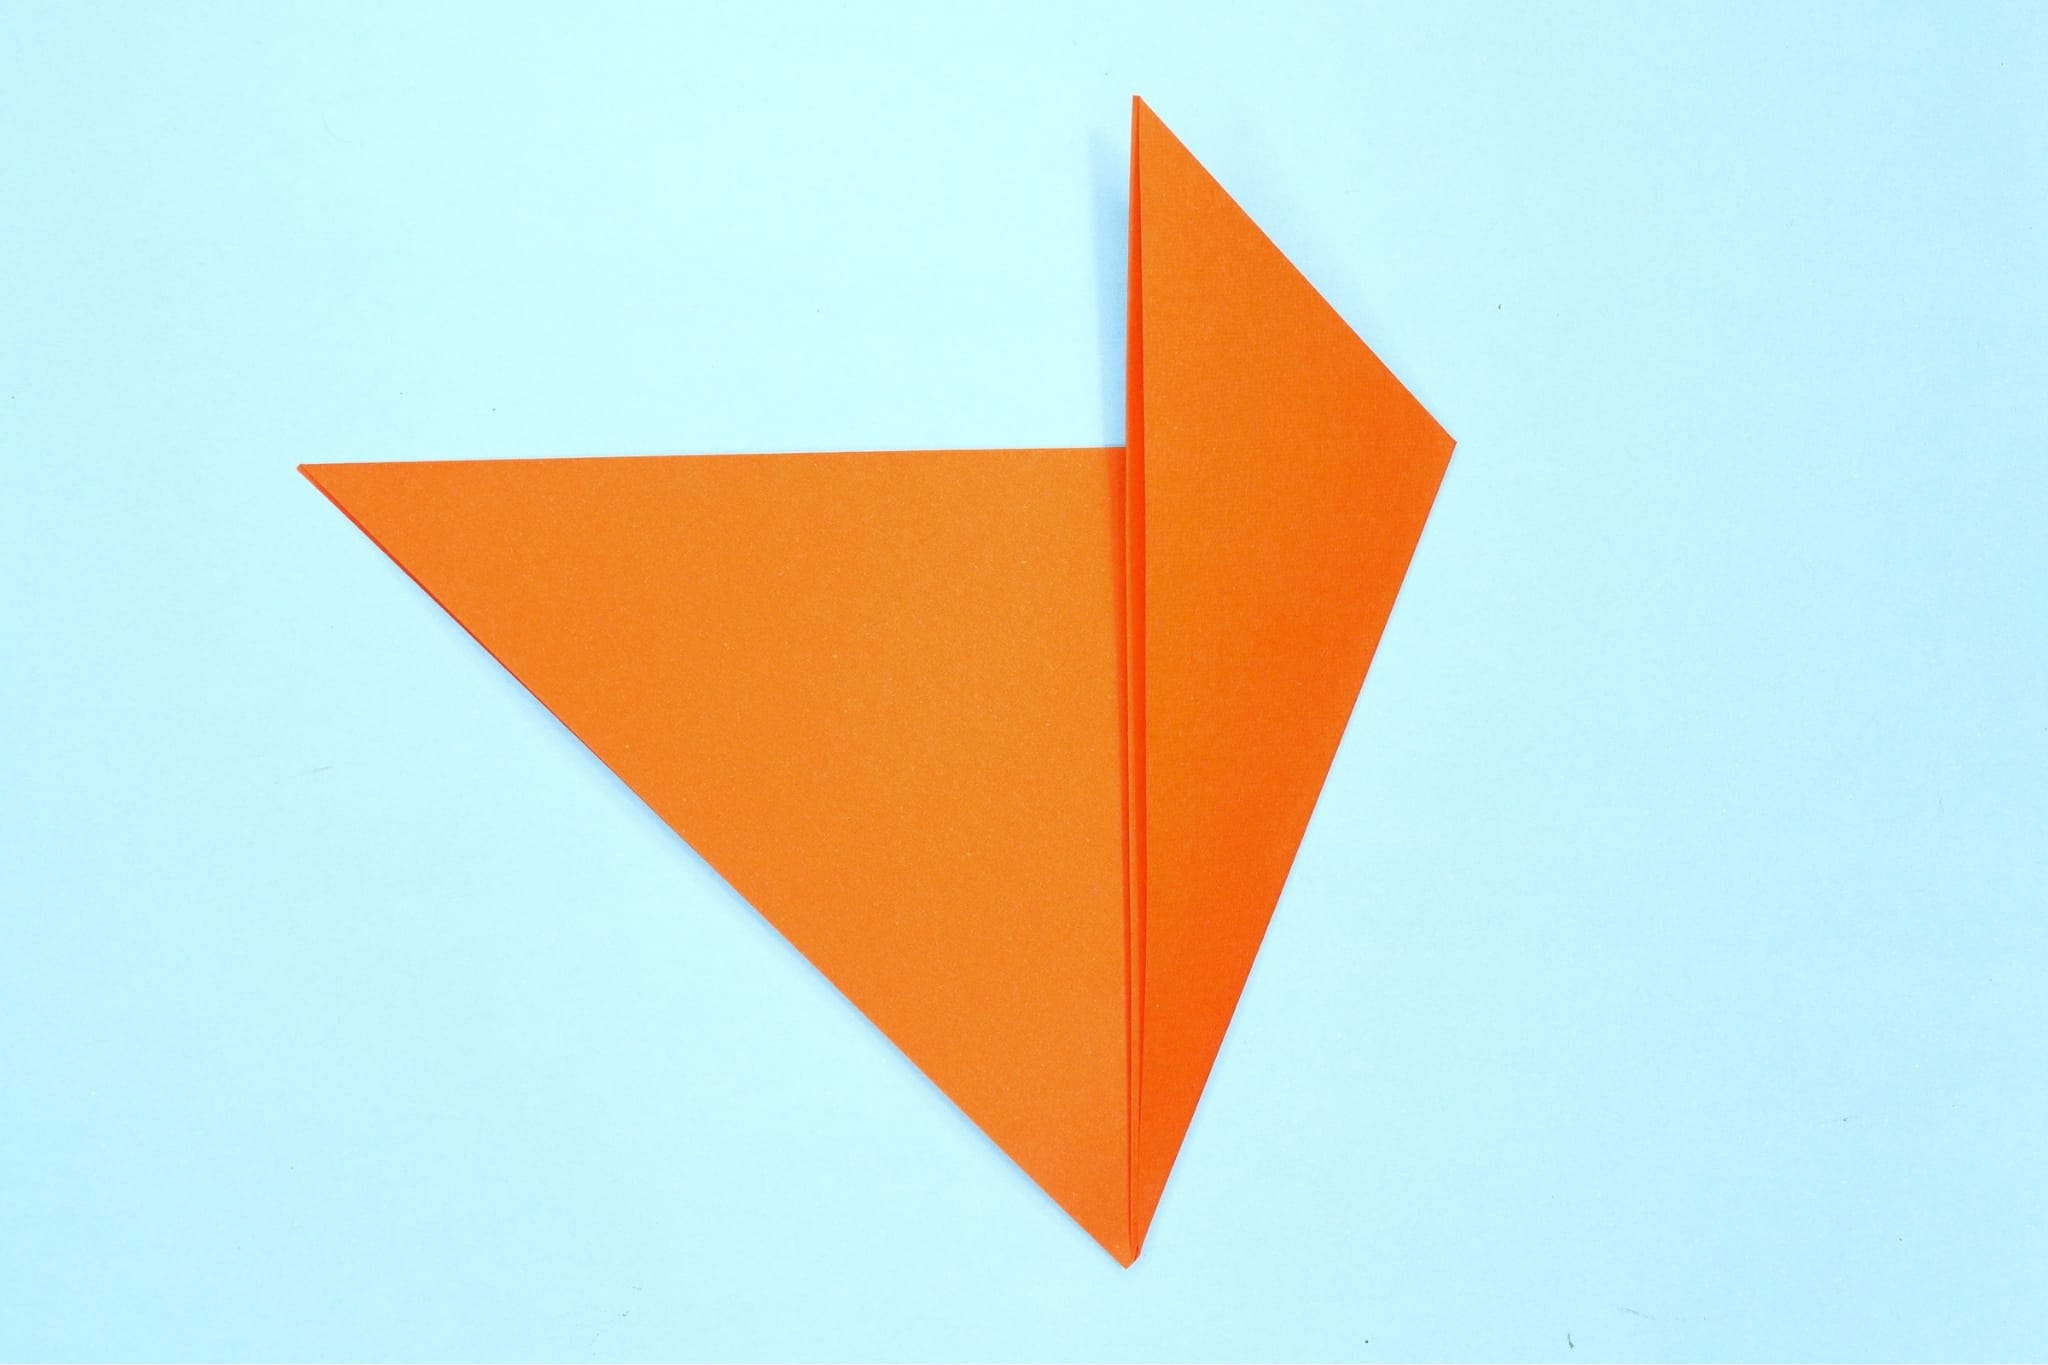
24
Fold the right edge of the triangle to the center.
Step 25
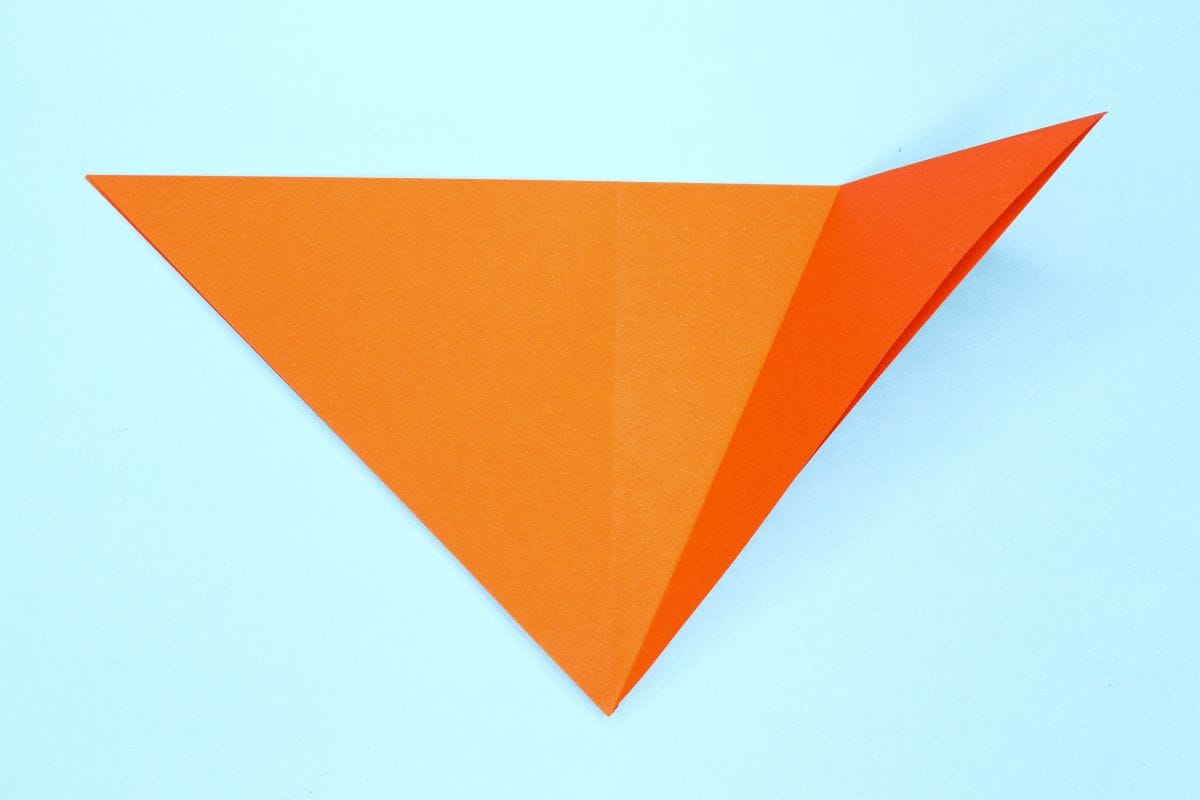
25
Unfold.
Step 26
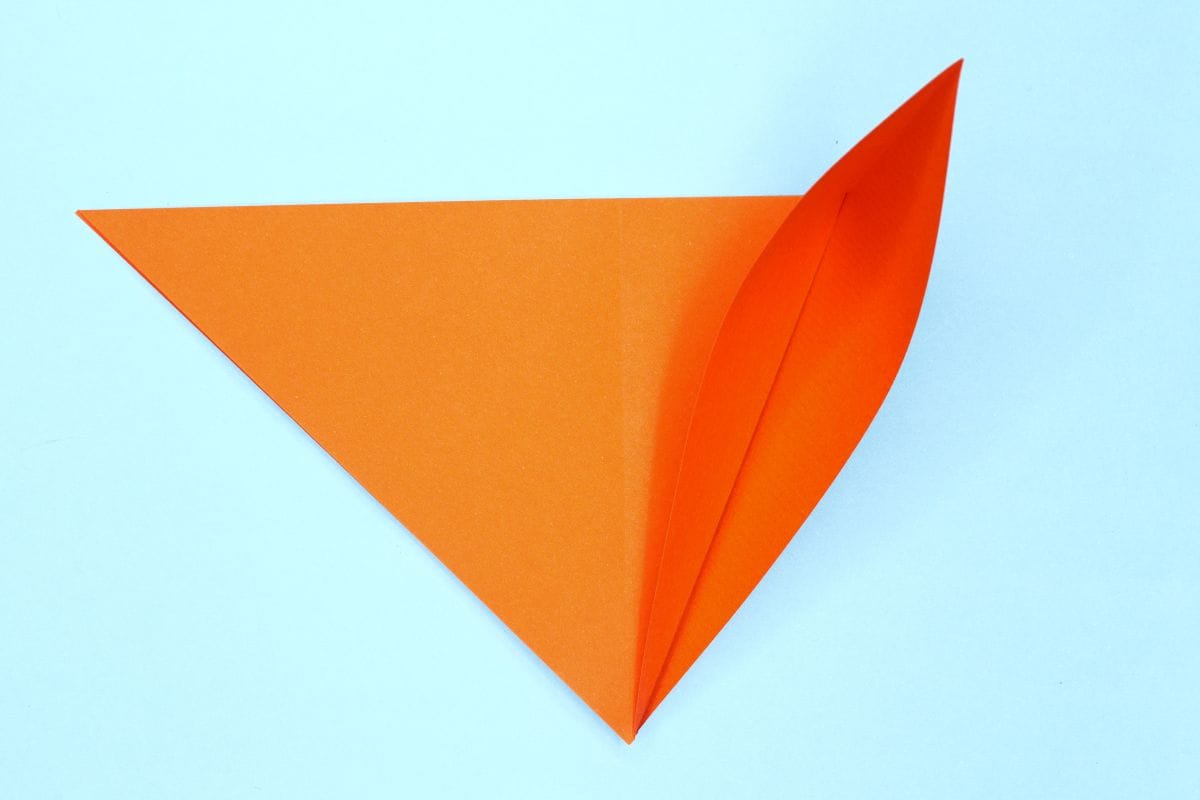
26
Open that flap.
Step 27
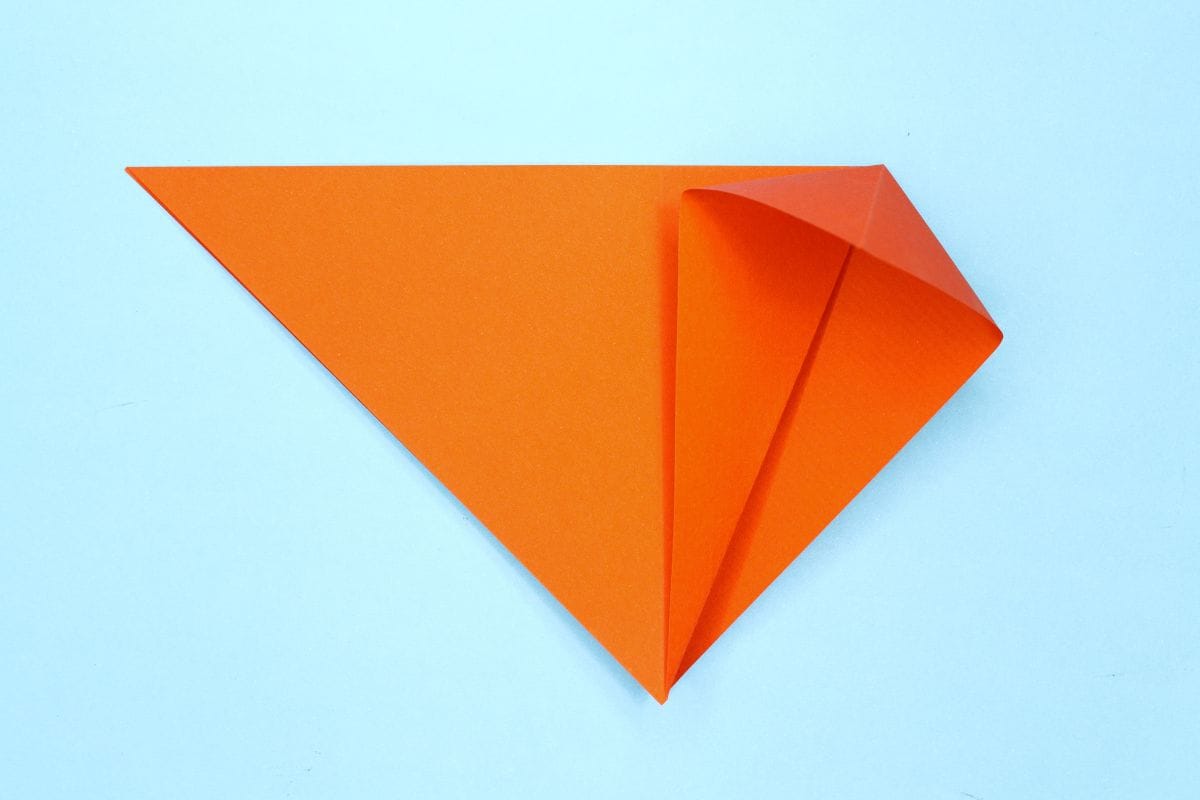
27
Squash the top layer down.
Step 28
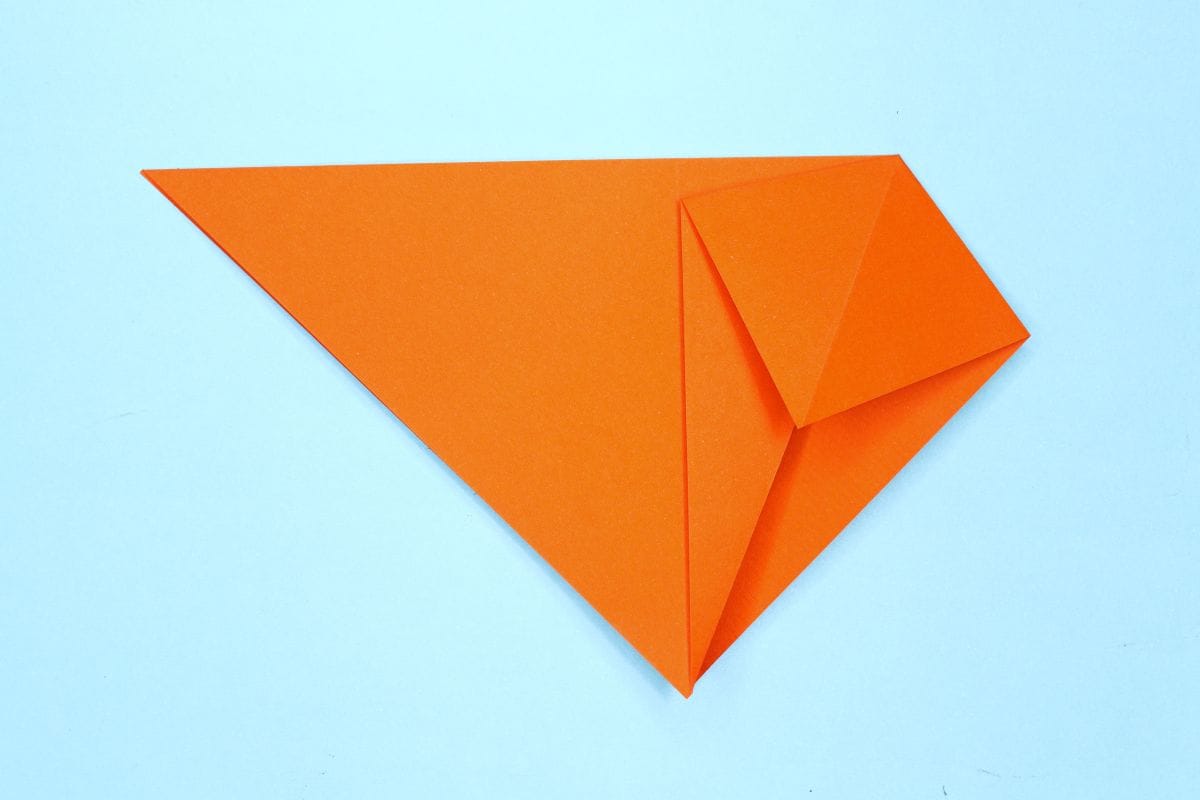
28
Flatten the fold and voila! This is the third example of origami paper.
Share and Comment
We would love to see your creations! Scroll down to the comments section and share a photo of your origami.

Leave a Reply