Origami Star Box Instructions
 Follow the instructions below to make this Origami Star Box
Difficulty: Medium
You are about to learn how to make an origami star box that is both useful and cute. Instead of spending your hard earned money or allowance on a box in the stores, you'll know how to make your very own. This box is perfect for your jewelry, coins, paper clips, etc.
I know it looks difficult, but it's actually pretty easy to fold. Just follow the origami star box instructions carefully and you should have no problem making one.
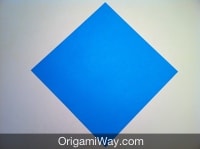 |
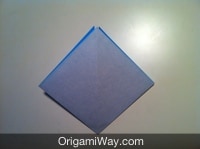
Step 1: Start with a square piece of origami paper, but if you only have regular 8.5x11 paper, follow these instructions to make a square sheet. |
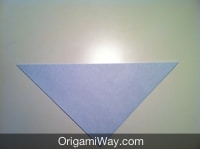 |
Step 2: Fold in half by folding the top corner to the bottom corner. |
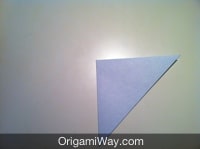 |
Step 3: Fold the left corner to the right corner. |
 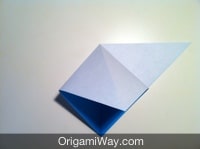 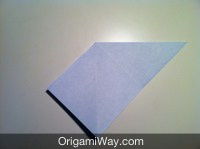 |
Step 4: Open the top layer so you can squash fold the right corner to the bottom corner as shown in the pictures. |
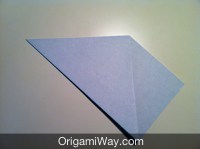 |
Step 5: Turn the paper over. |
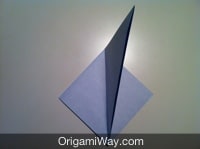  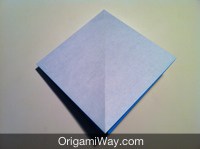 |
Step 6: Lift the left flap up vertically, then open and squash down like other side. |
 |
Step 7: Rotate the figure so it's upside down. Go to Next page to continue with the origami star box instructions. |
 Origami Way