Origami Transforming Ninja Star with 8-points

Category:
Ninja blade final step
Difficulty: Intermediate
Learn how to fold a cool Origami ninja star with our simple, step-by-step tutorial. Fun, easy, and action-packed!

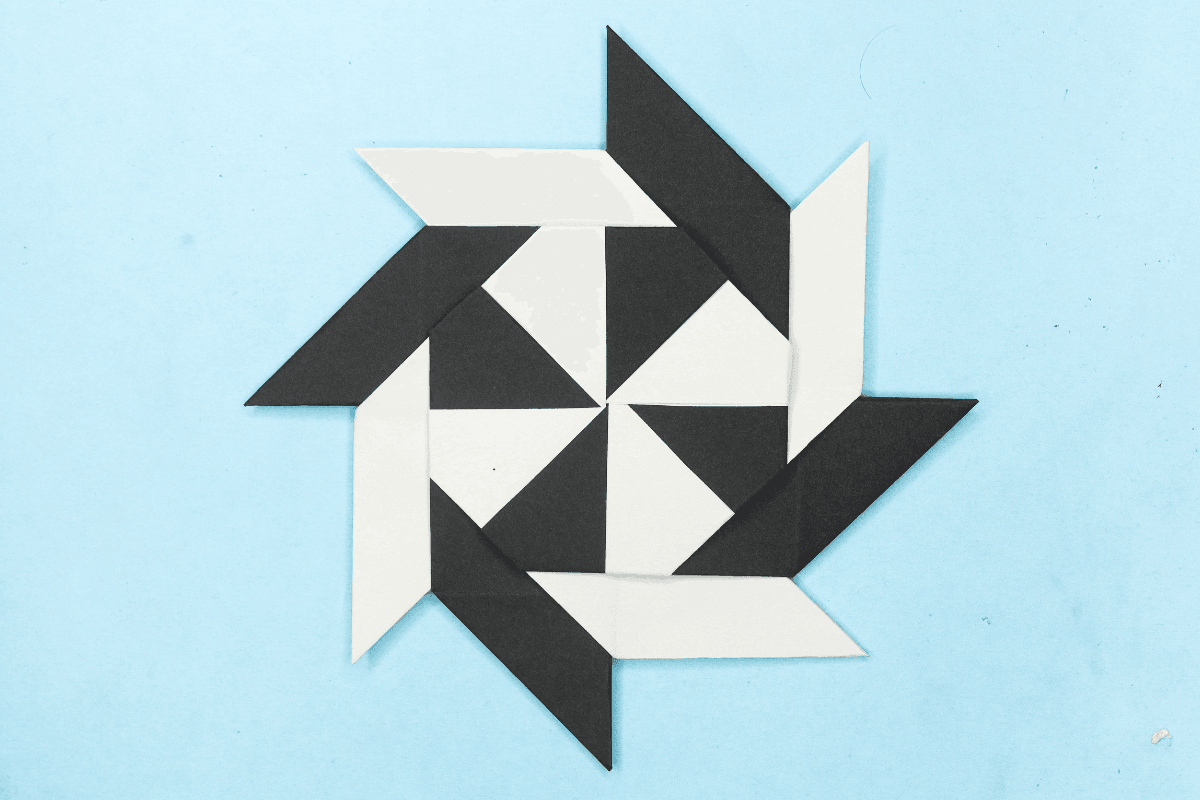
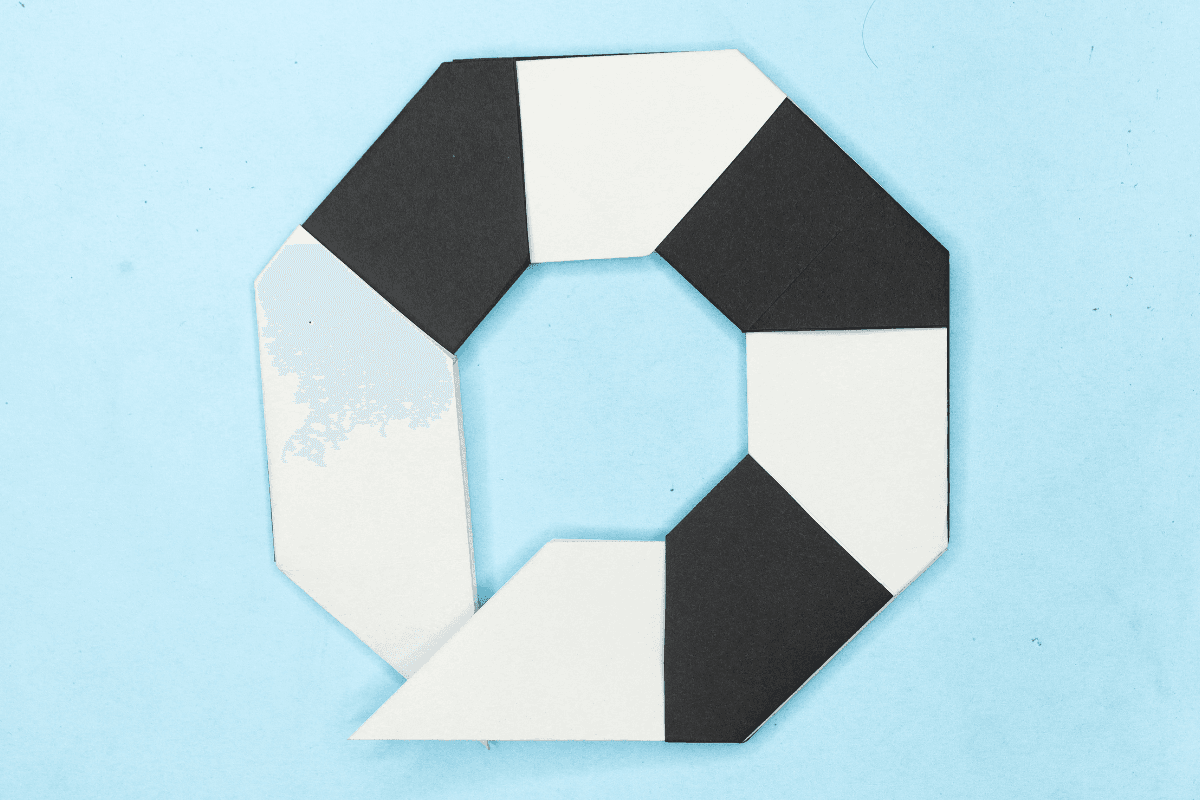
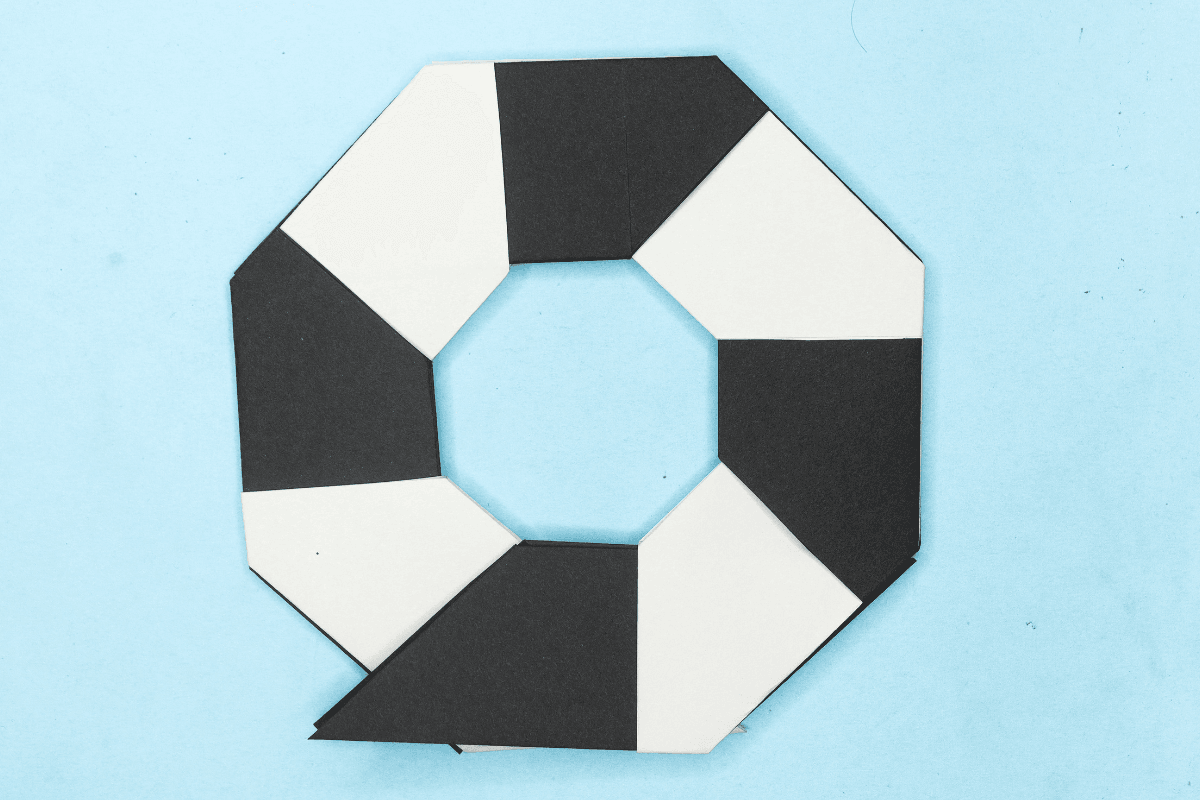
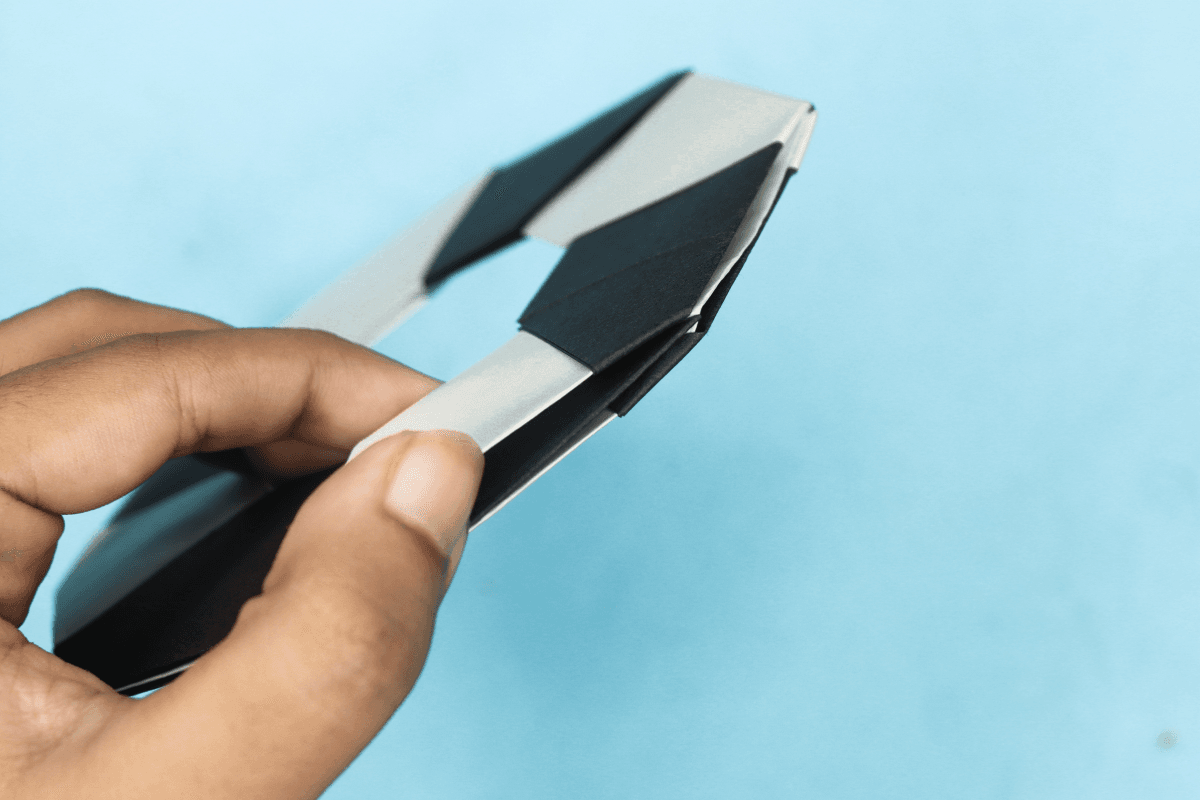
This 8-point ninja star (or 8-sided ninja star) is one of the coolest origami you’ll ever learn to fold. What makes this shuriken so special is that it can also transform into some sort of round blade or frisbee.

This makes the shuriken a very dangerous under cover weapon. Oh yeah, it’s dangerous because the points are very sharp, so watch where you throw it.

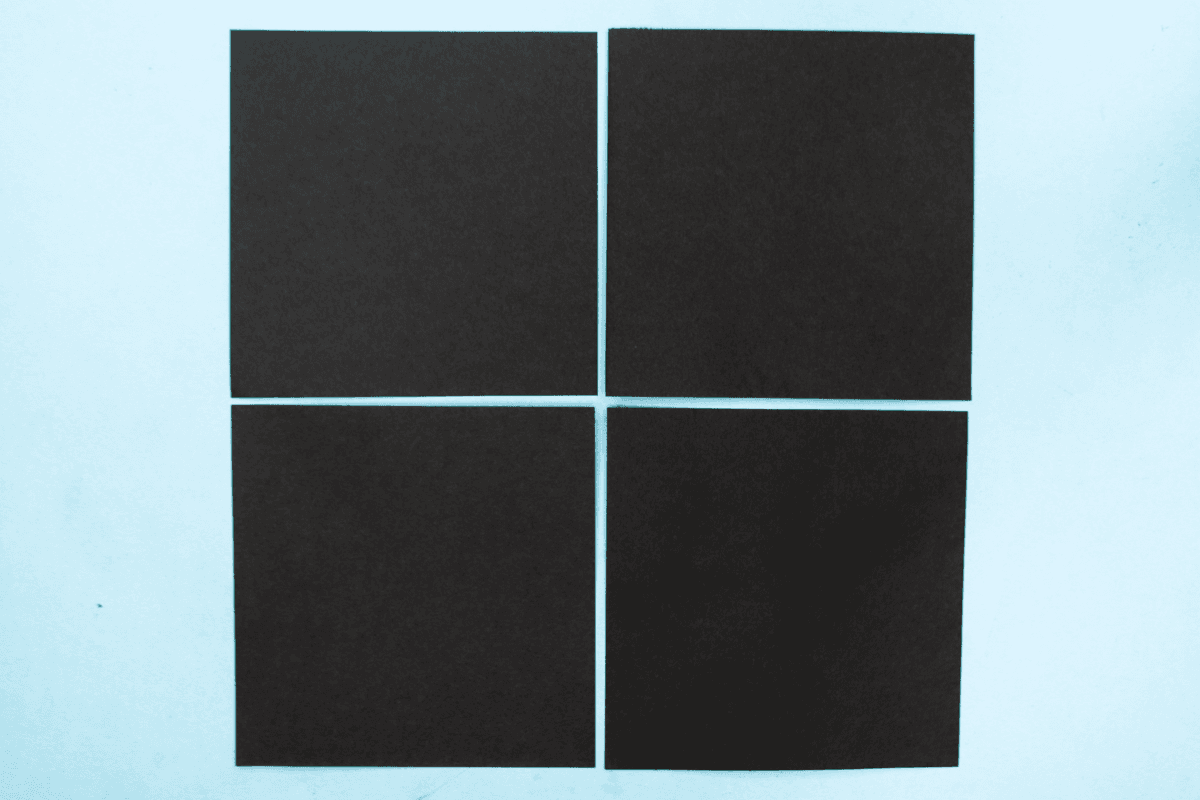
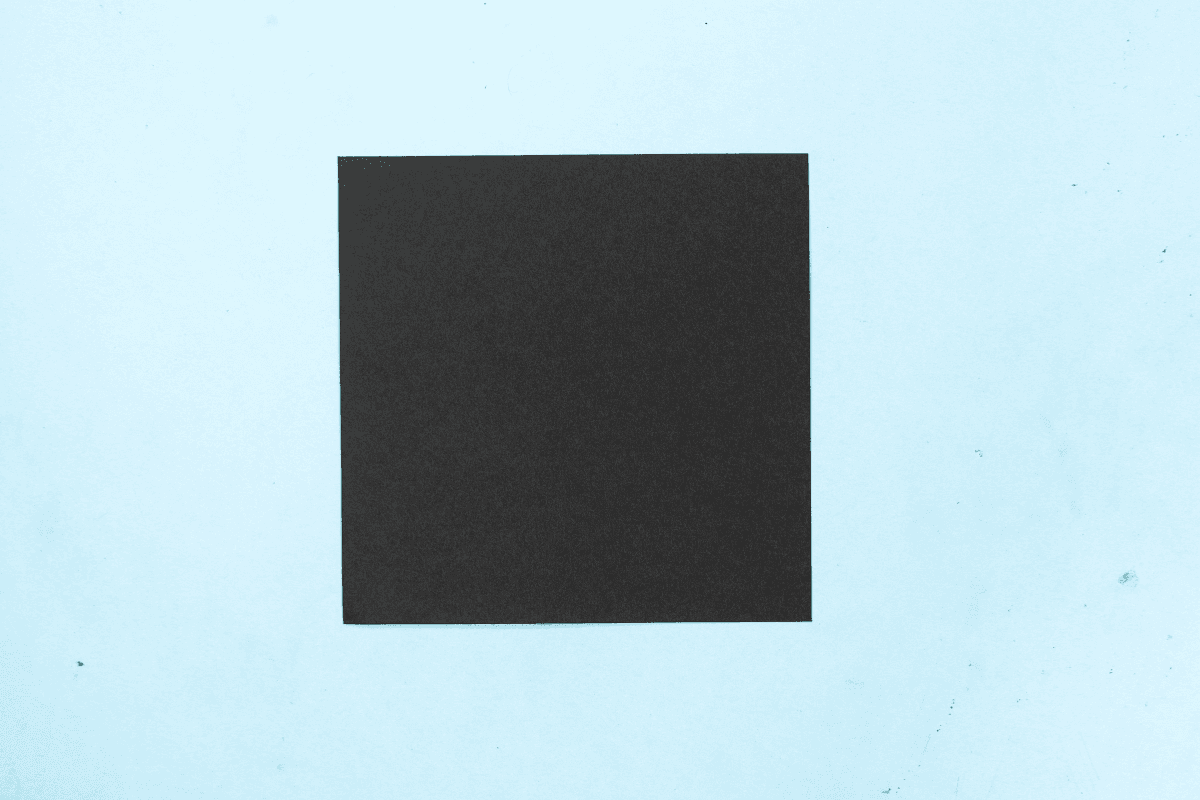
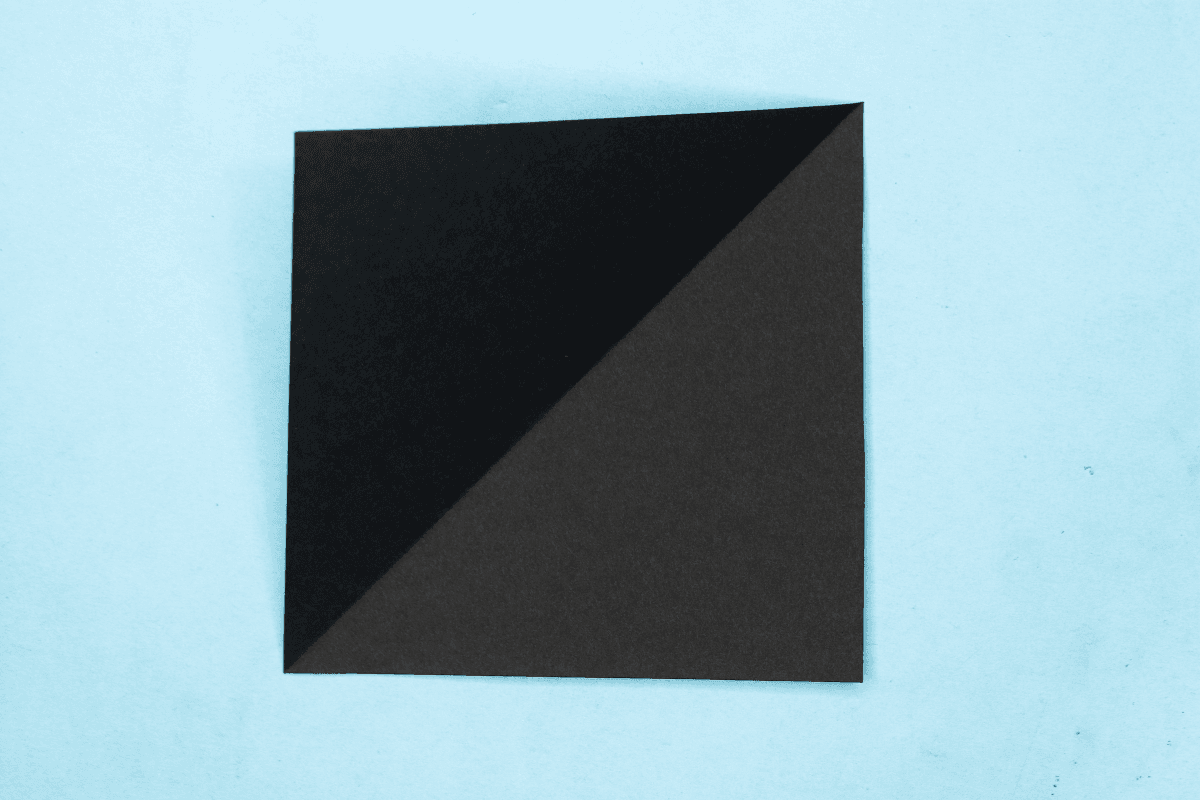
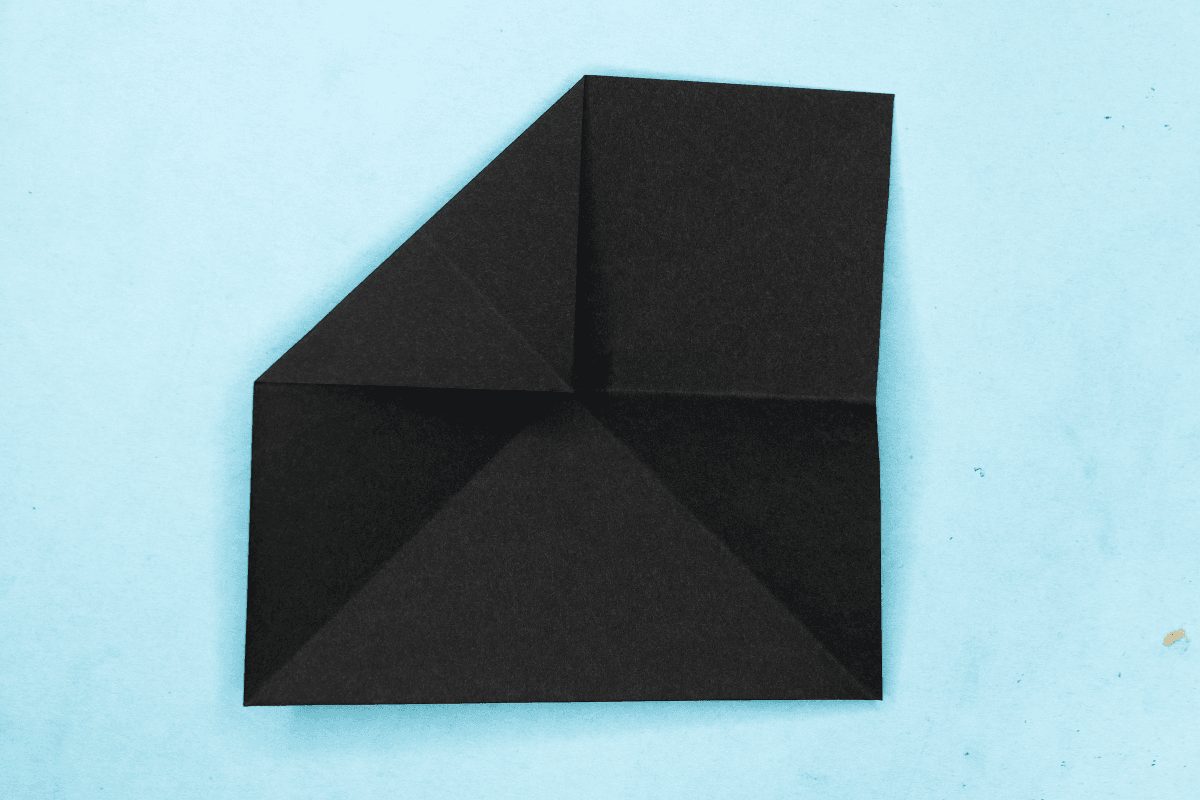
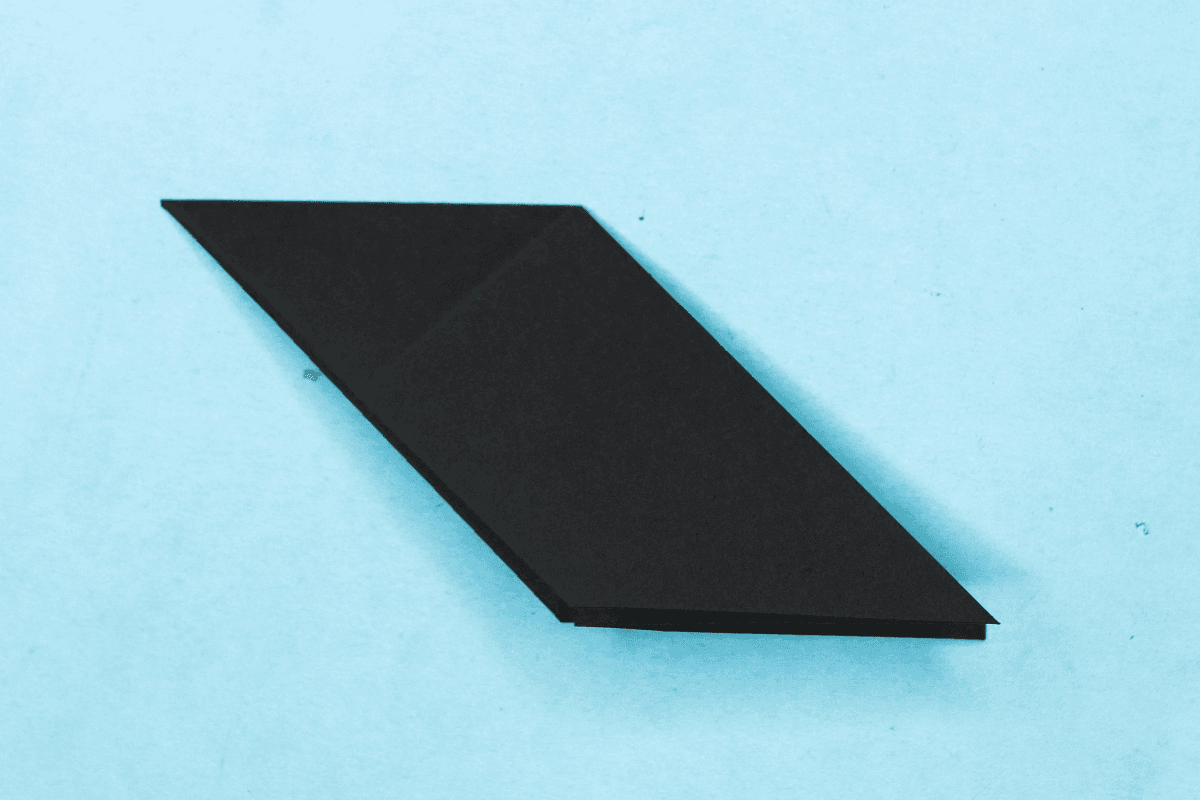
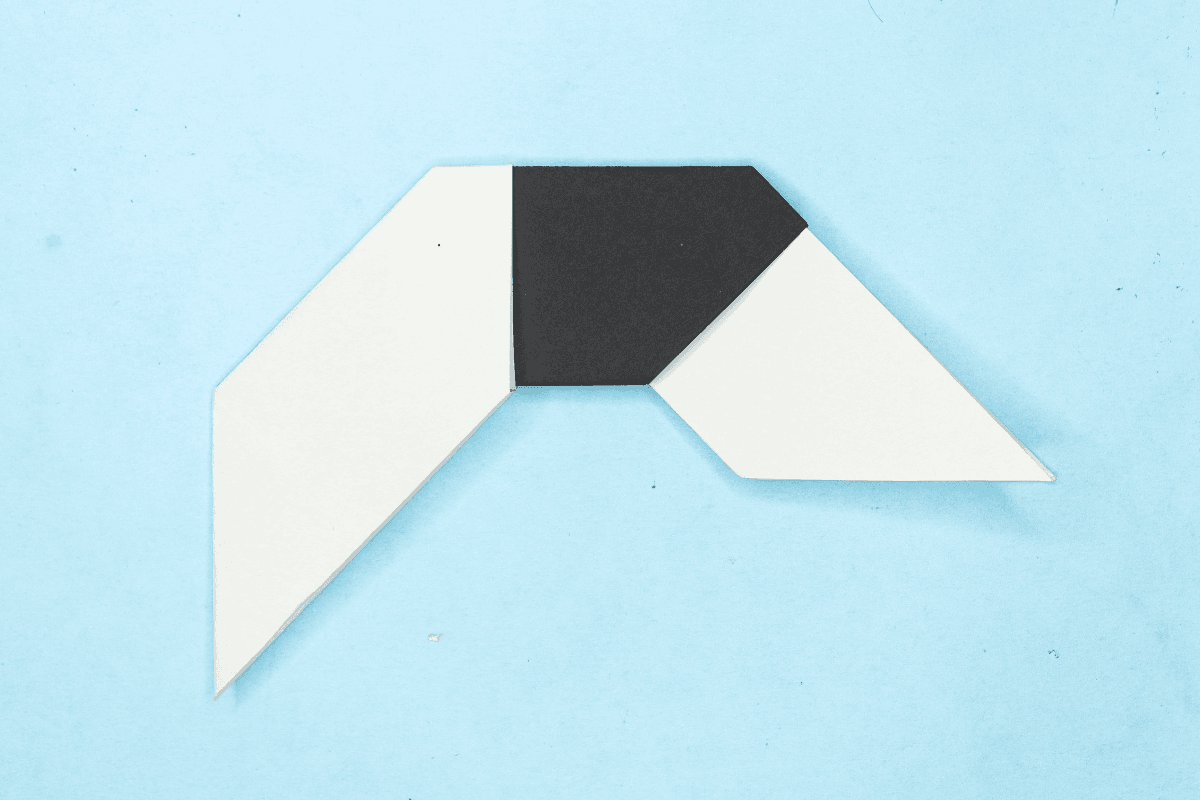
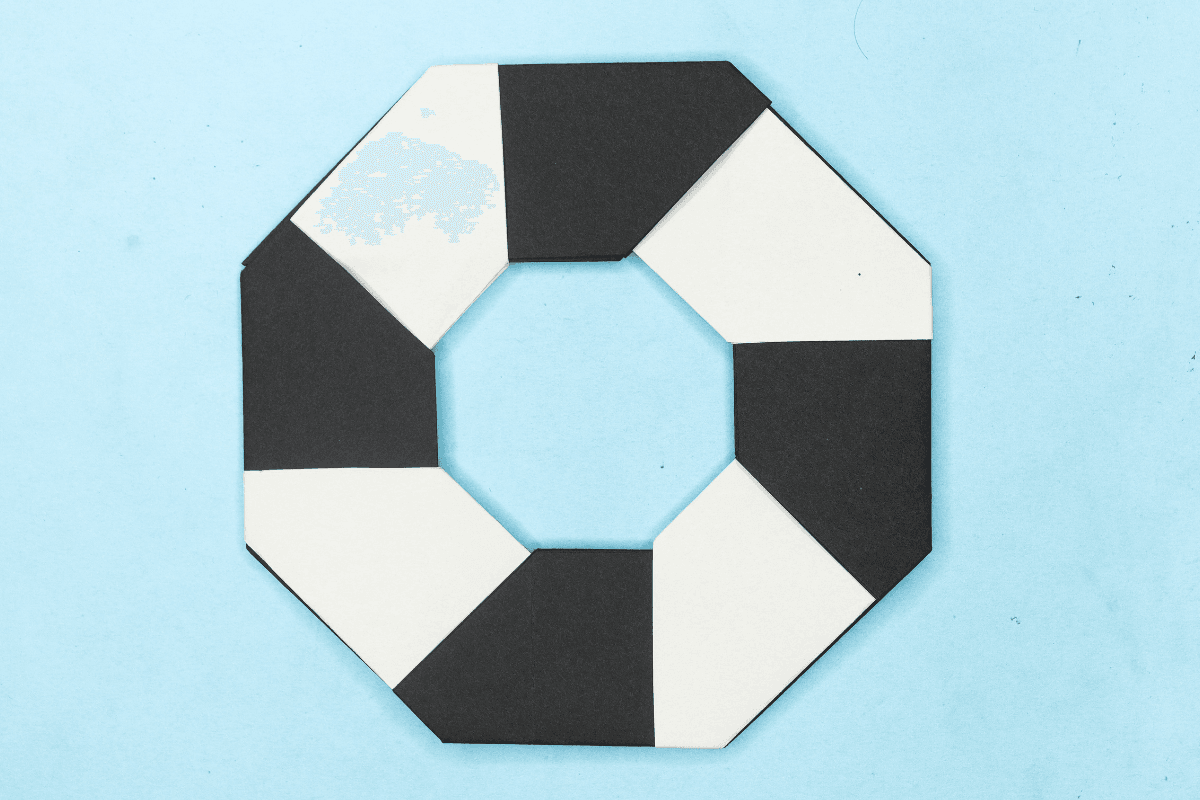
I know it looks hard to make, but this transforming origami ninja star is actually quite easy. Just follow the instructions carefully and you’ll be able to make one. You’re going to need two pieces of square paper.
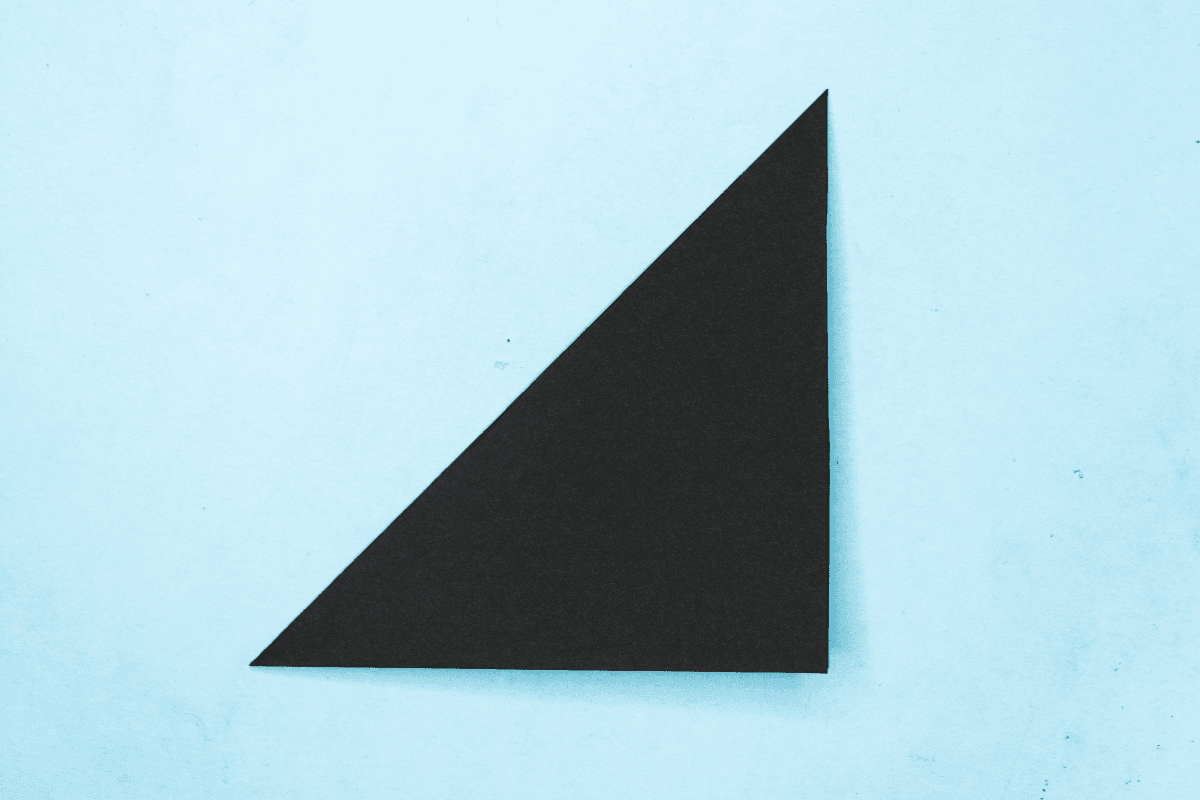
Ready? Let’s start.

Check out the origami ninja star when you’re done with this one.

Step 1
Ninja blade step 01
1
Start with a square piece of origami paper. Here I am using an 9×9 inches origami paper.

If you only have regular paper, follow these instructions on how to make a square origami paper.

Step 2
Ninja blade step 02
2
Fold the paper in half two times and cut the paper into four squares.

Step 3
Ninja blade step 03
3
Begin with one of the four squares.

Step 4
Ninja blade step 04
4
Fold it in half by folding the upper left corner to the bottom right corner.

Step 5
Ninja blade step 05
5
Unfold.

Step 6
Ninja blade step 06
6
Fold in half diagonally the other way.

Step 7
Ninja blade step 07
7
Unfold.

Step 8
Ninja blade step 08
8
Fold the top half backwards.

Step 9
Ninja blade step 09
9
Unfold.

Step 10
Ninja blade step 10
10
Poke the center with your finger so that it pops in.

Step 11
Ninja blade step 11
11
Fold the upper left corner to the center, but don’t fold pass the center divider.

Step 12
Ninja blade step 12
12
Fold the bottom left corner to the center.

Step 13
Ninja blade step 13
13
Fold the upper half to the lower half.

Step 14
Ninja blade step 14
14
While folding the upper half to the lower half, invert the right crease to the center.

Step 15
Ninja blade step 15
15
One blade is ready.

Step 16
Ninja blade step 16
16
Make three more in the same color.

Step 17
Ninja blade step 17
17
Make another set of four in different color.

Step 18
Ninja blade step 18
18
Put one blade between the double flaps of another blade. Just like in the picture, the black blade is placed between the flaps of the white blade.

Step 19
Ninja blade step 19
19
Fold in the flaps of the left (white) blade to lock the right (black) blade into place.

Step 20
Ninja blade step 20
20
Then pull down the right blade so it locks at the end.

Step 21
Ninja blade step 21
21
Add another blade to the flaps of the right one.

Step 22
Ninja blade step 22
22
Fold in the flaps of the left (white) blade to lock the right (black) blade into place.

Step 23
Ninja blade step 23
23
Pull down the right blade as shown.

Step 24
Ninja blade step 24
24
Keep adding and locking blades until all 8 blades are used. I have added 4 in this image.

Step 25
Ninja blade step 25
25
Added another blade.

Step 26
Ninja blade step 26
26
Added another blade.

Step 27
Ninja blade step 27
27
Added another blade.

Step 28
Ninja blade step 28
28
Now we have to lock the last blade into the first blade.

Step 29
Ninja blade step 29
29
Put the first blade between the double flaps of last blade.

Step 30
Ninja blade step 30
30
Lock the last to the first blade and you have yourself a frisbee.

Step 31
Ninja blade step 31
31
We will now transform the frisbee into an 8 point ninja star.

Step 32
Ninja blade step 32
32
With both hands, hold opposite sides and begin pushing in towards the center.

Step 33
Ninja blade final step
33
Voila! Now you have an 8 point ninja star.

Share and Comment
We would love to see your creations! Scroll down to the comments section and share a photo of your origami.

Comments

Leave a Reply

Your email address will not be published. Required fields are marked *

Drop file here