Make a Paper Hat: Origami Hat Instructions

Hat origami final step
Difficulty: Easy
Follow the simple step-by-step instructions with pictures to learn how to make an easy origami paper hat.

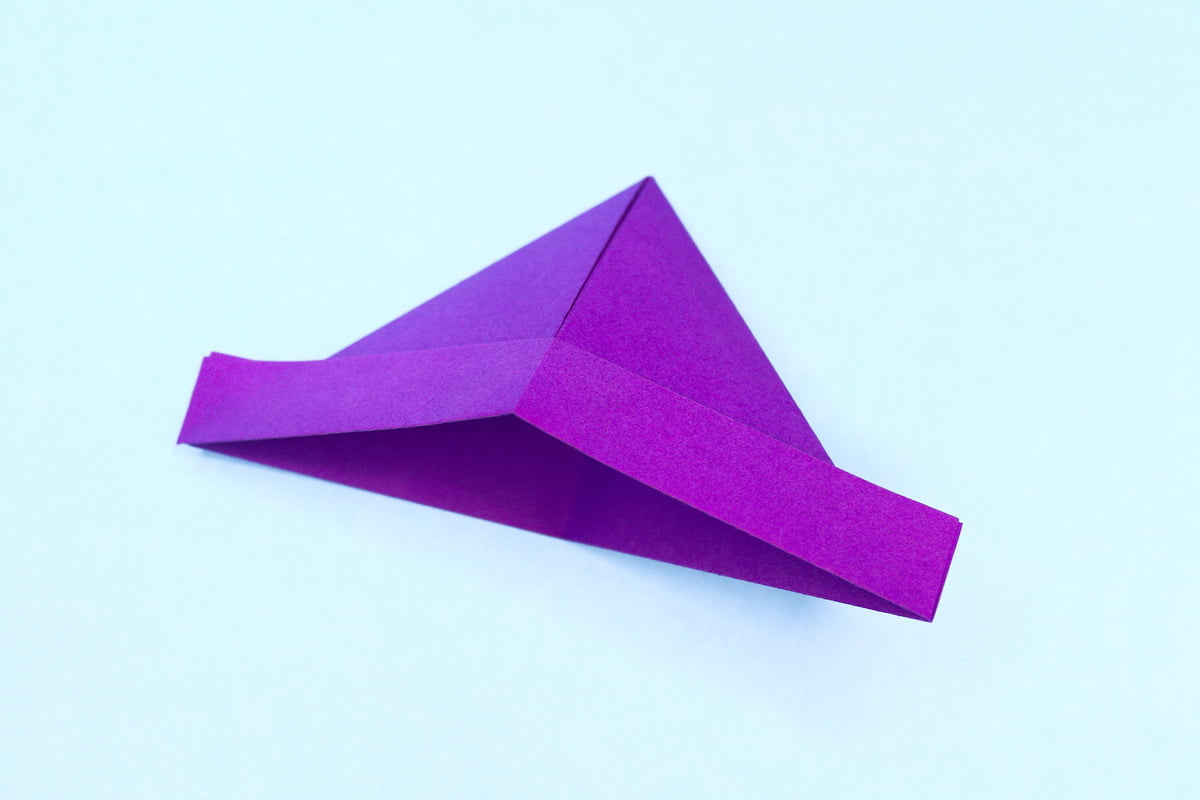
So everyone you know is wearing some kind of cool hat and you want one for yourself. Well, I’m going to show you how to make a cooler hat than anybody else, out of paper! First, we’ll use a regular rectangular piece of paper which most likely will not fit your head. But once you can fold one with confidence, I suggest making your origami hat with newspaper because those are big enough and more stylish than plain white paper 😉

How to Make a Paper Hat?

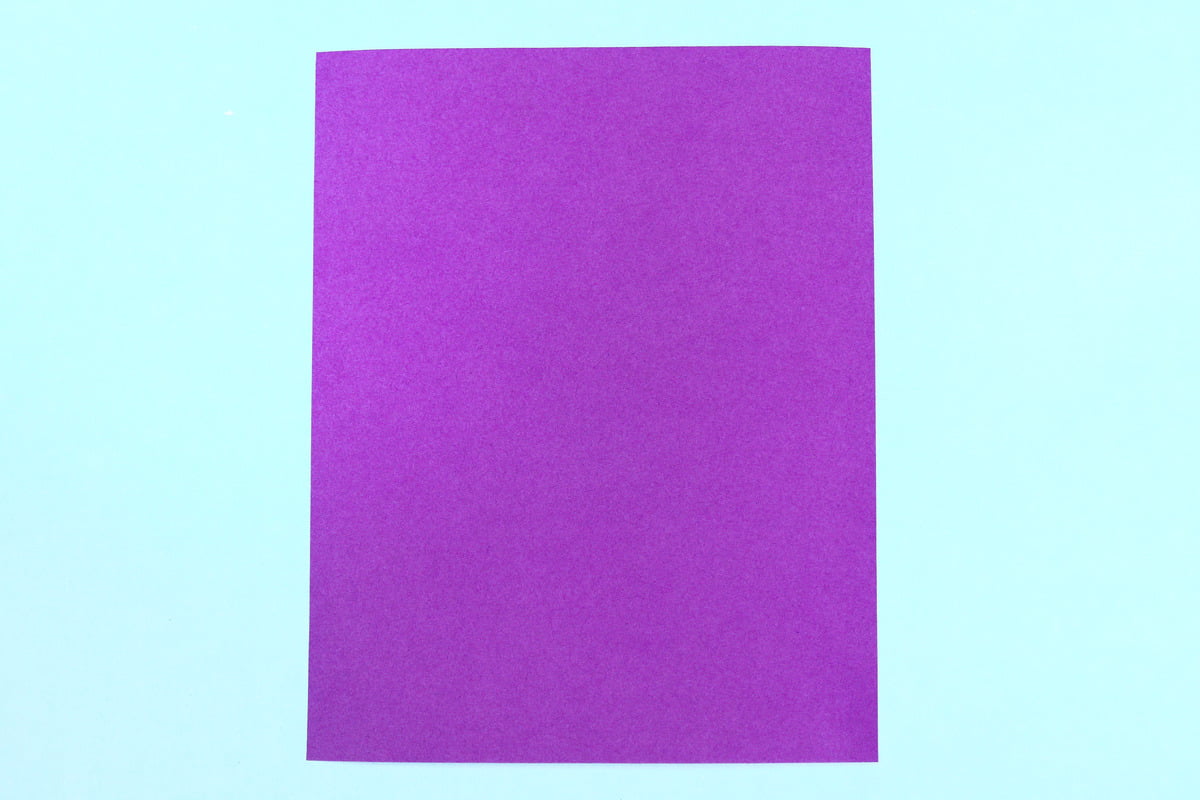
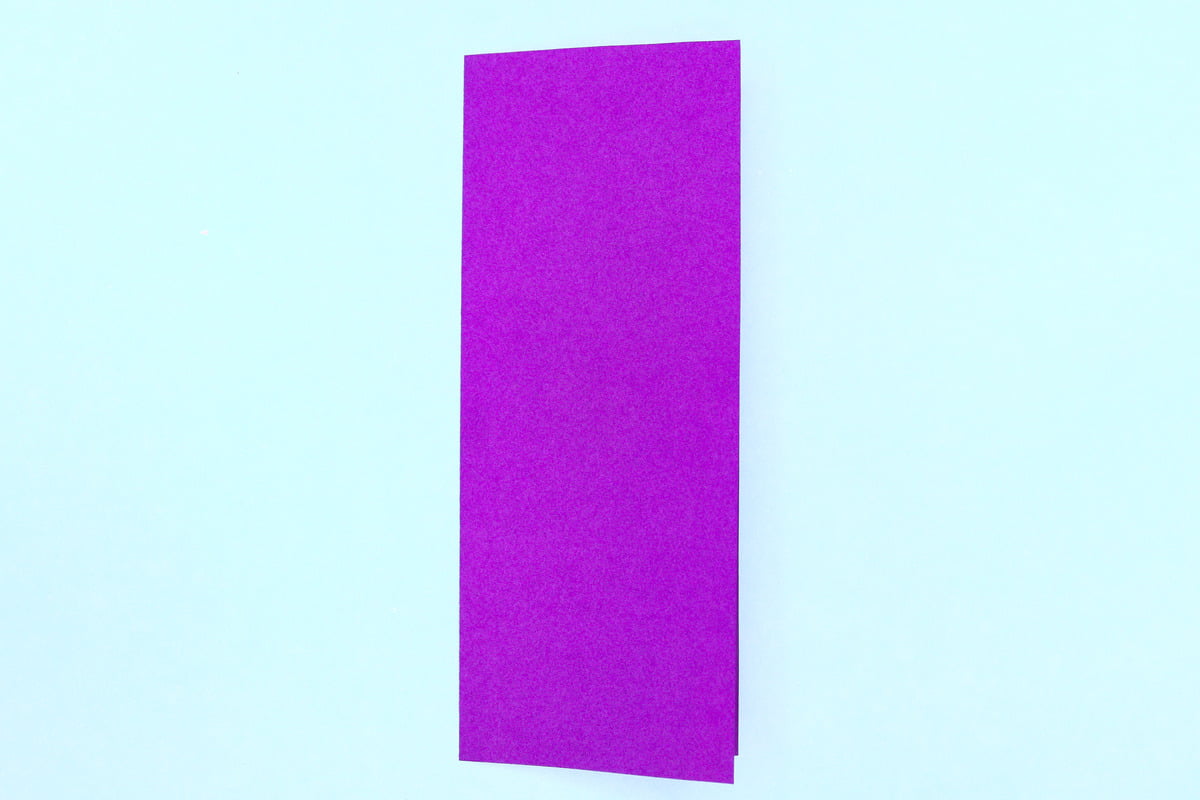
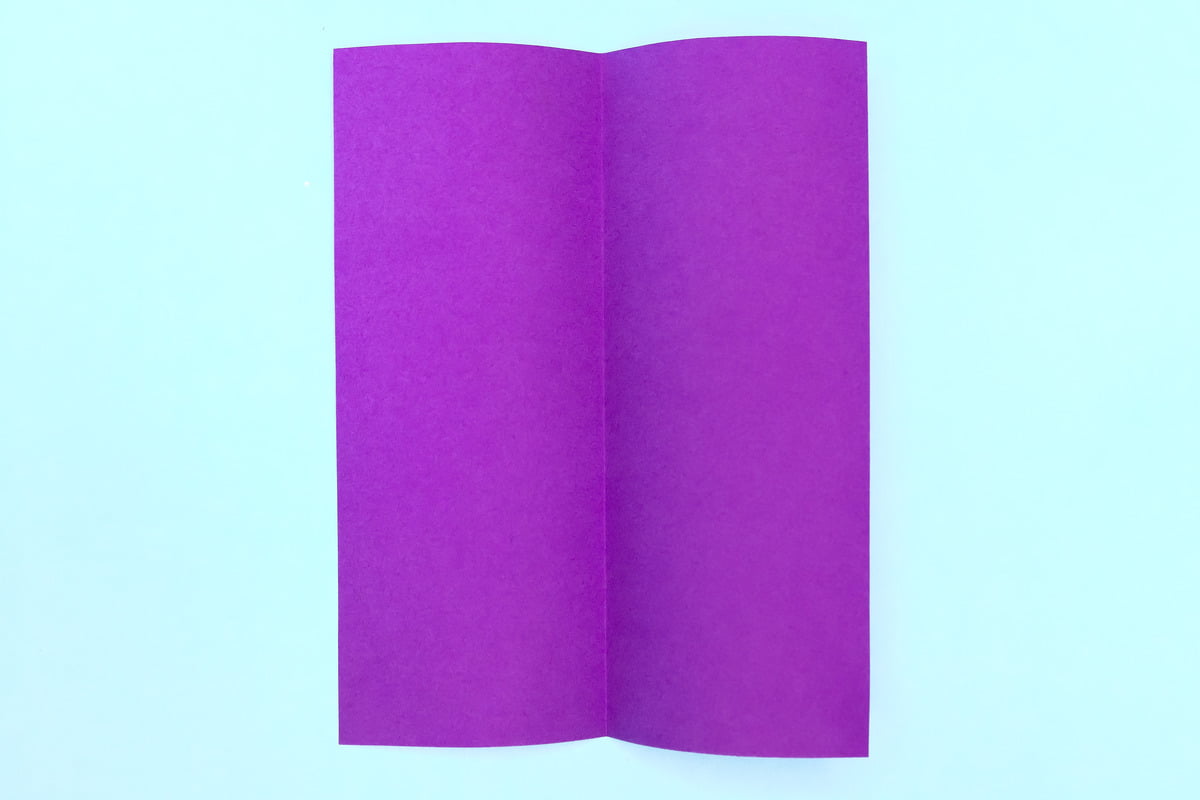
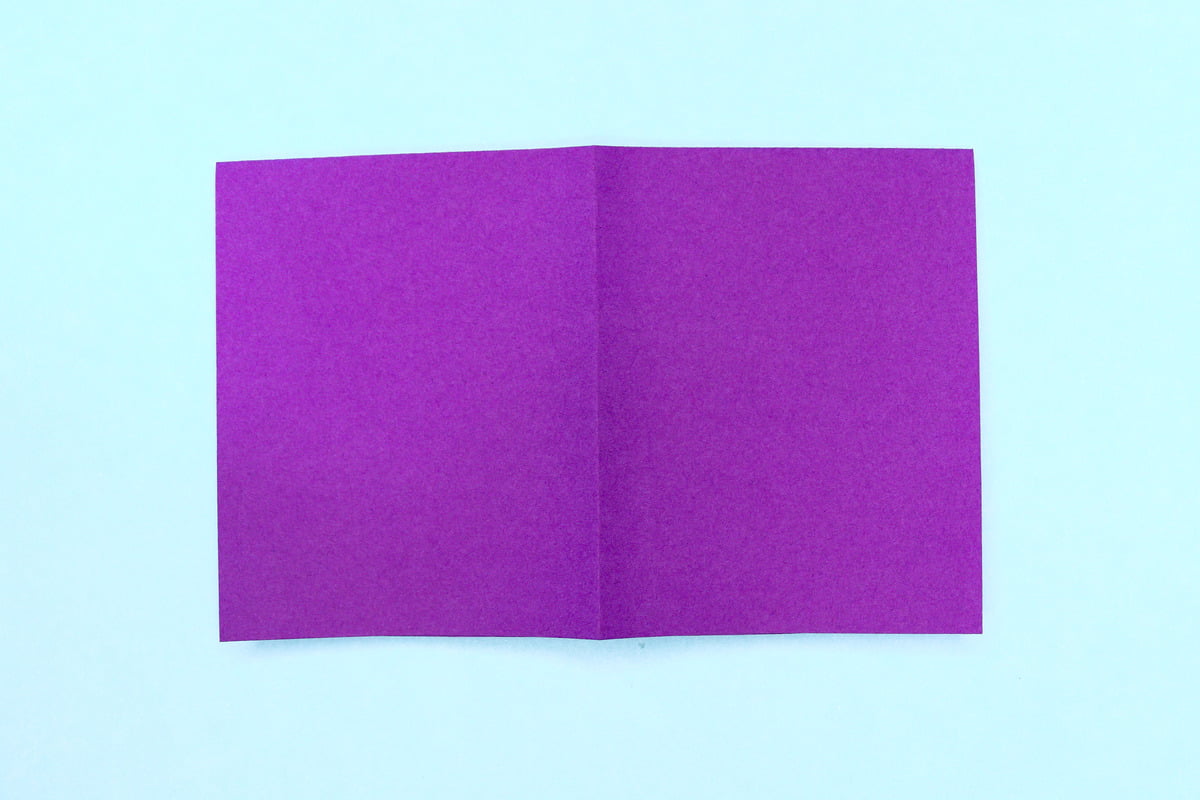
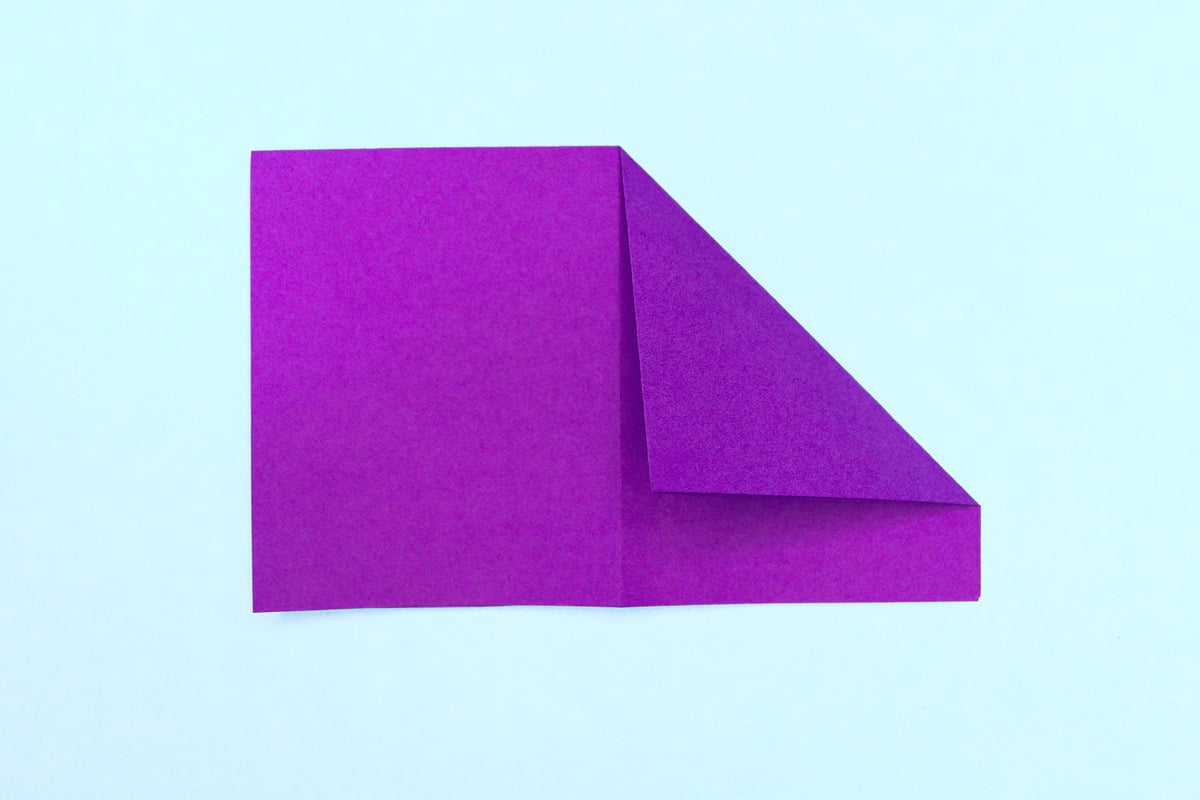
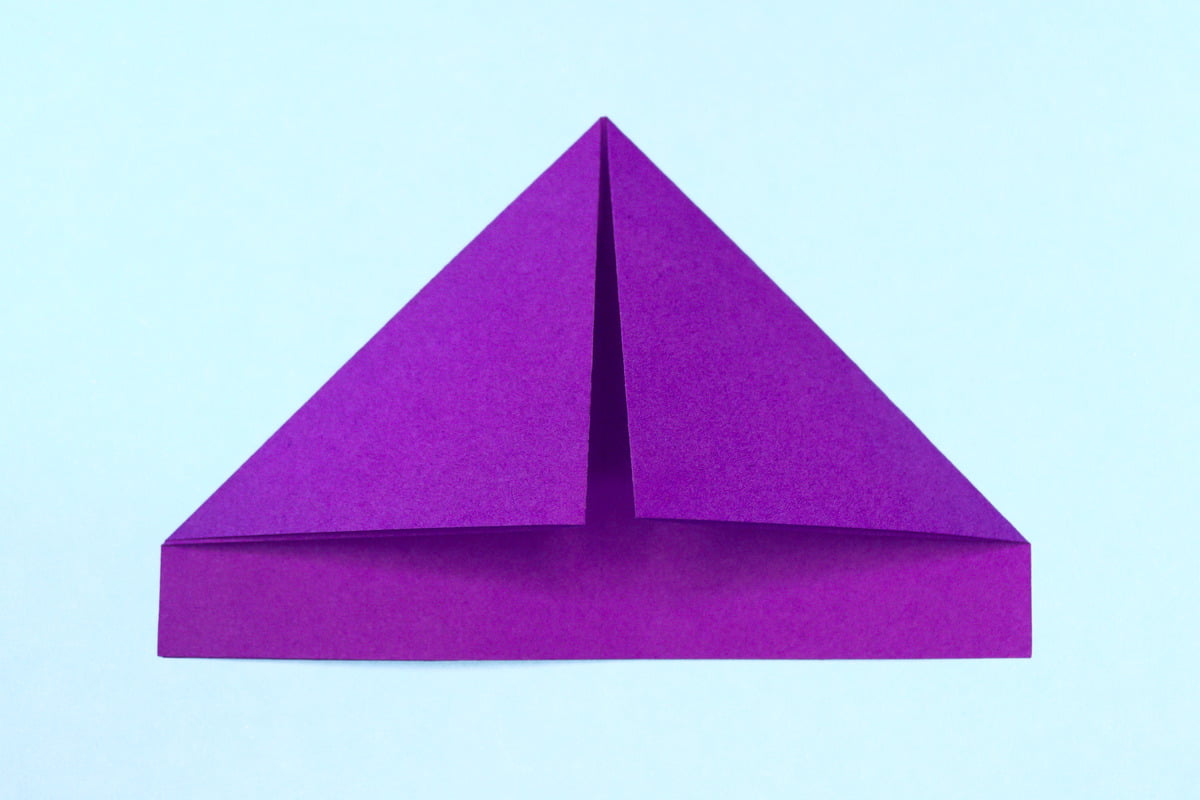
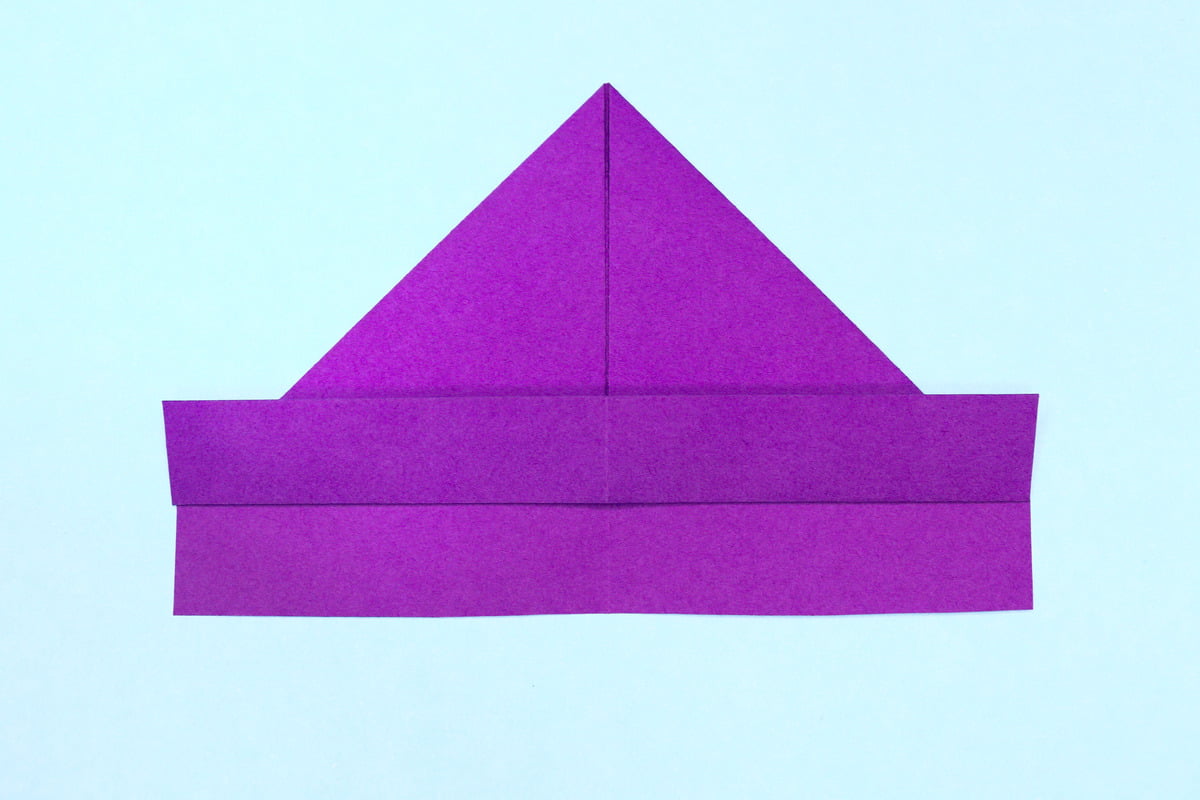
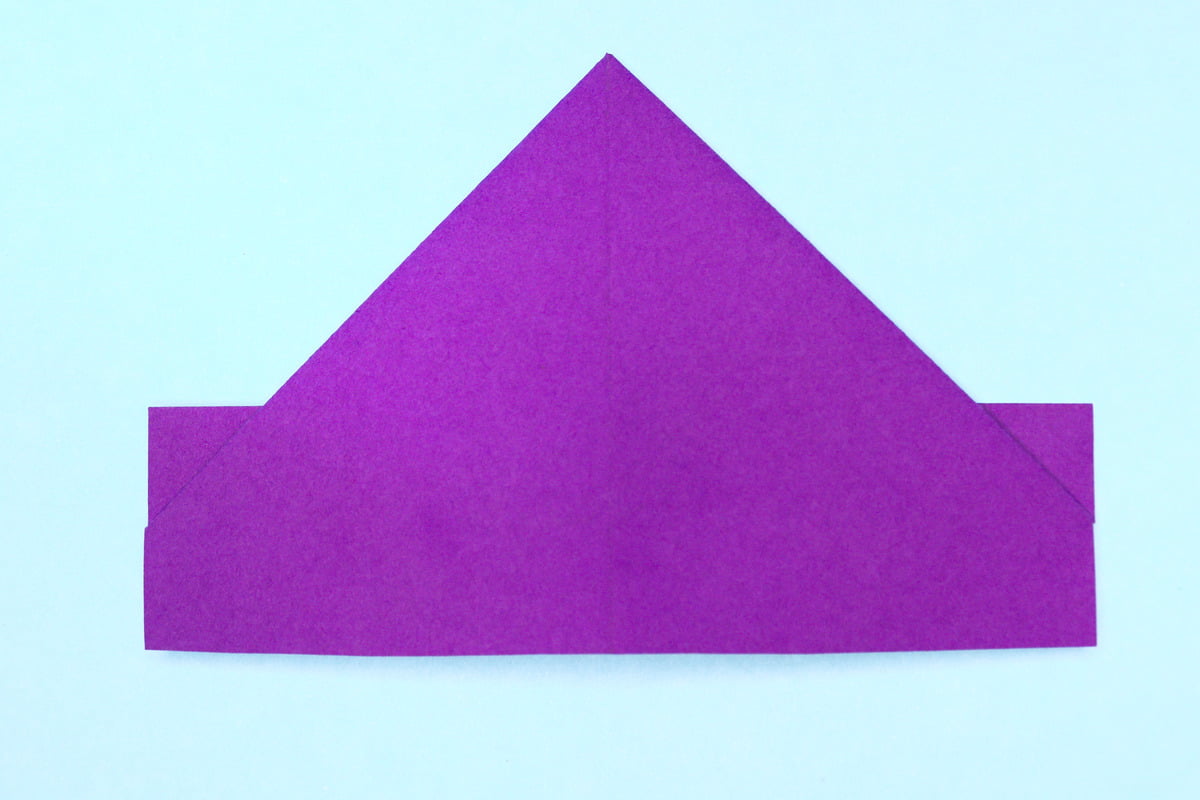
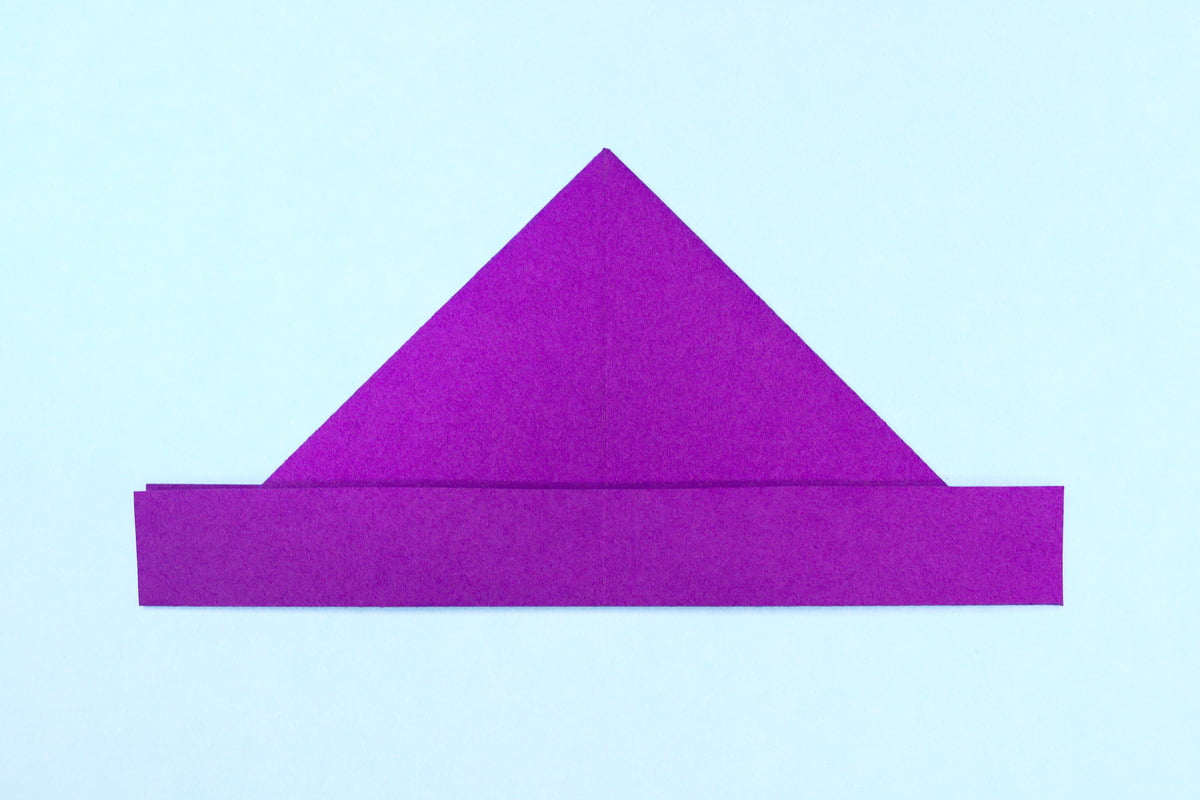
Follow these instructions to create your unique origami hat. The only material needed for this activity is a square piece of paper. This hat should also be pretty easy for kids to make.

Create other paper hats in different colors to decorate your study table or your favorite spot in your room. Think of more decorations, including attractive colors, glitters, or gemstones, that are perfect for taking your origami paper hat to the next level.

Step 1
Hat origami step 01
1
Get a regular piece of rectangular paper.

Step 2
Hat origami step 02
2
Fold the paper in half lengthwise.

Step 3
Hat origami step 03
3
Unfold.

Step 4
Hat origami step 04
4
Fold the paper in half again from top to the bottom.

Step 5
Hat origami step 05
5
Fold the right corner to the center to form a triangle.

Step 6
Hat origami step 06
6
Fold the left corner to the center to form a triangle.

Step 7
Hat origami step 07
7
Fold up the bottom flap along the base of the triangle.

Step 8
Hat origami step 08
8
Turn the paper over.

Step 9
Hat origami step 09
9
Fold up the bottom flap along the base of the triangle.

Step 10
Hat origami final step
10
Put the hat on and you’re done!

Comments

Leave a Reply

Your email address will not be published. Required fields are marked *