  |
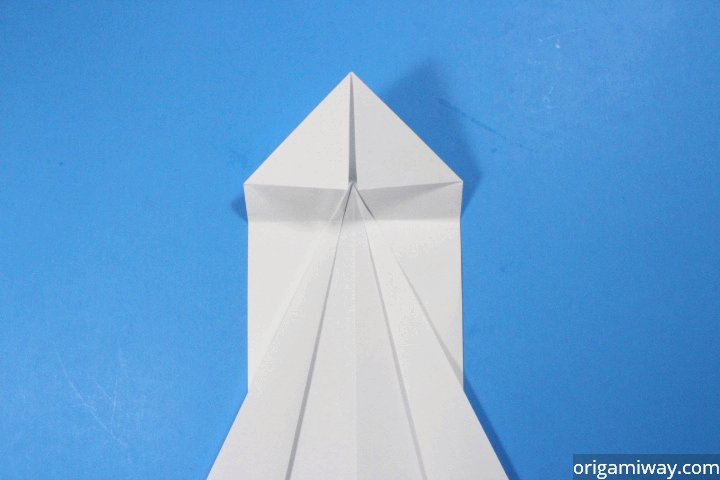
Step 12: At about one inch (25.4mm) below the top triangle, fold down. |
  |
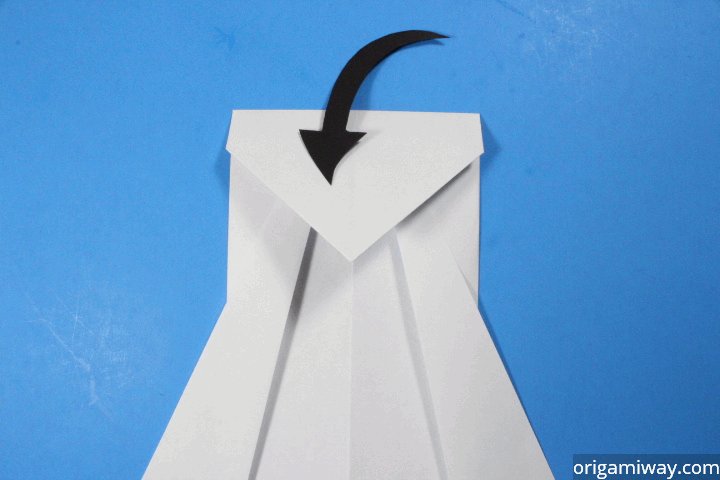
Step 13: Fold the bottom tip of the triangle to the top edge. |
 |
Step 14: Unfold to reveal a crease. |
 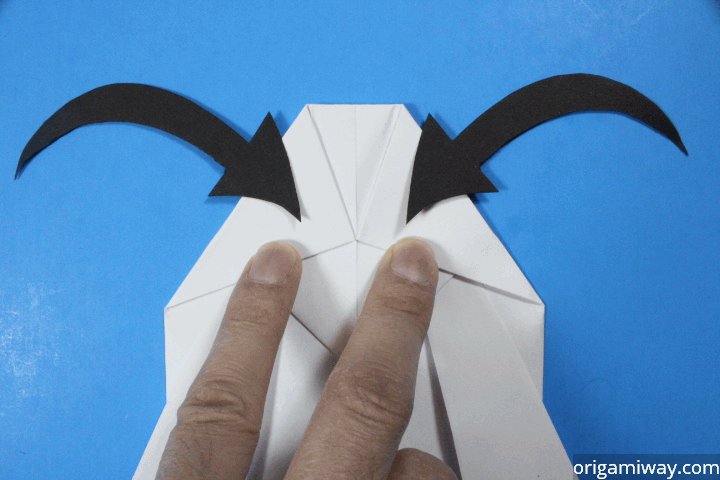 |
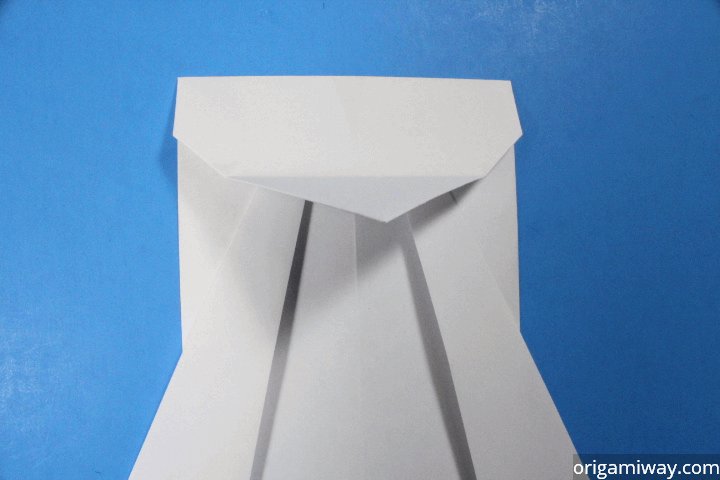
Step 15: Fold the top two corners to the center of the crease. |
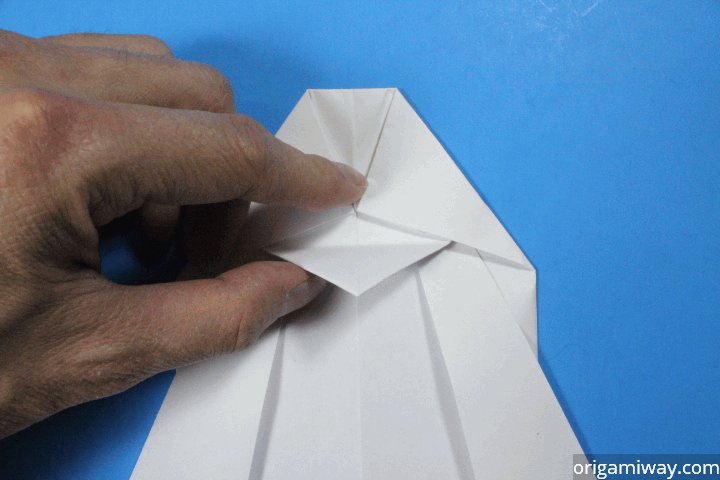 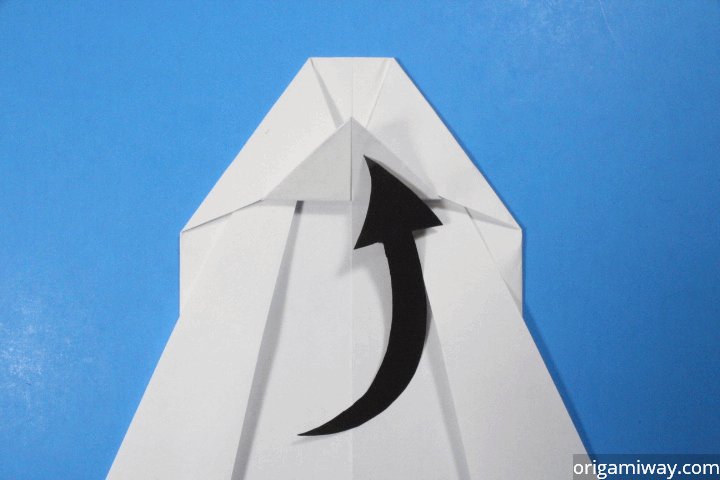 |
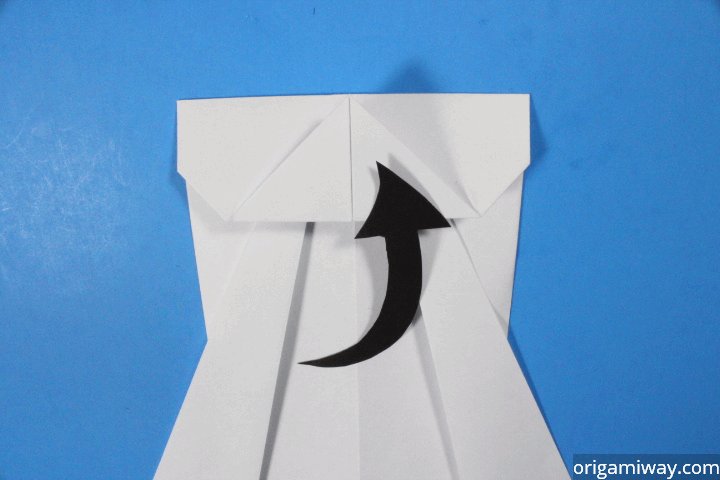
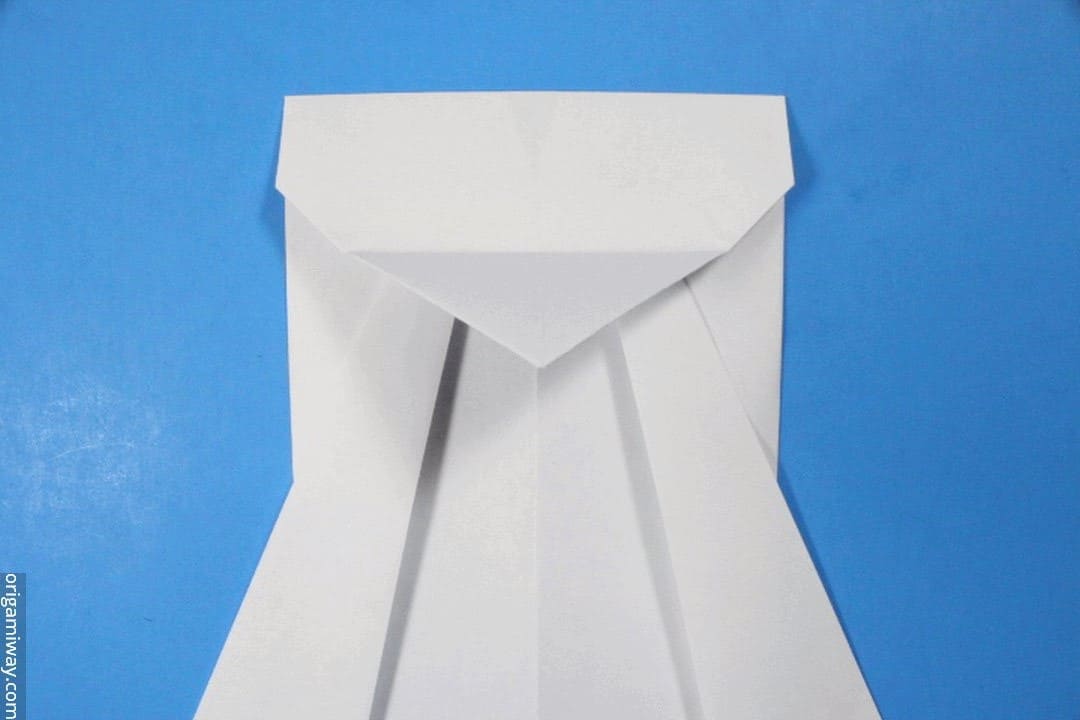
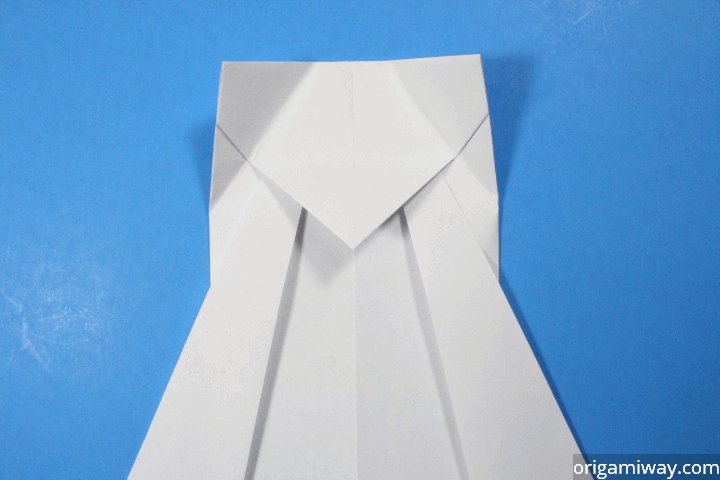
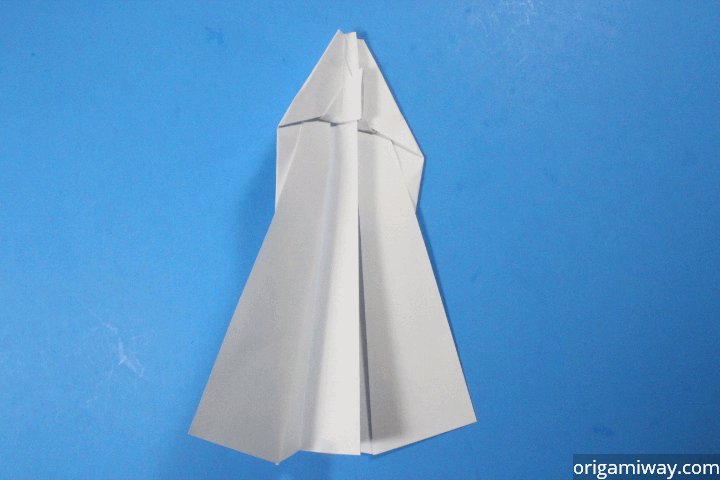
Step 16: Fold the triangle back up to lock the corers in place. |
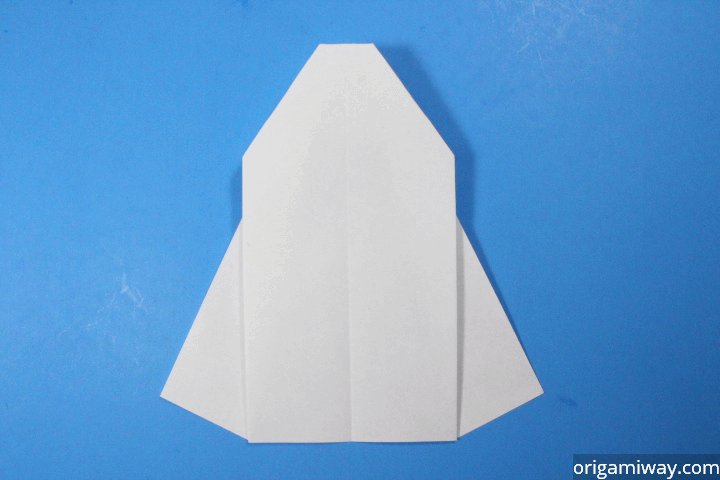 |
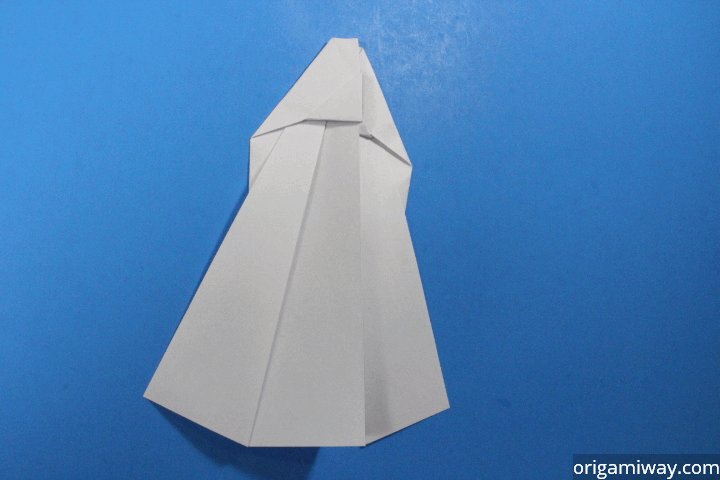
Step 17: Turn the paper over. |
 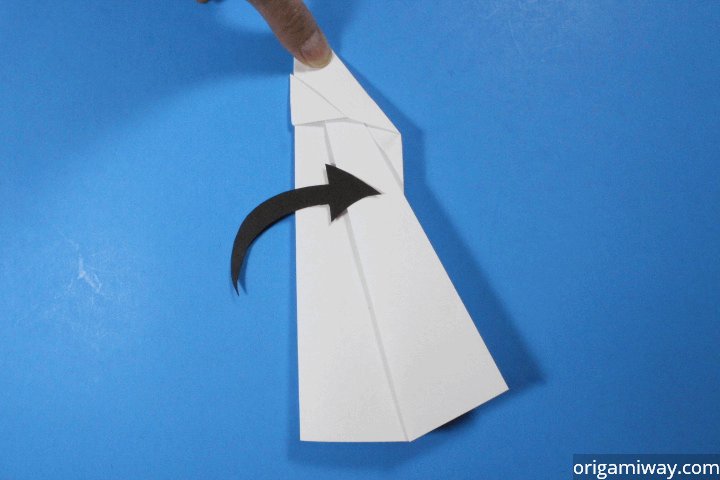 |
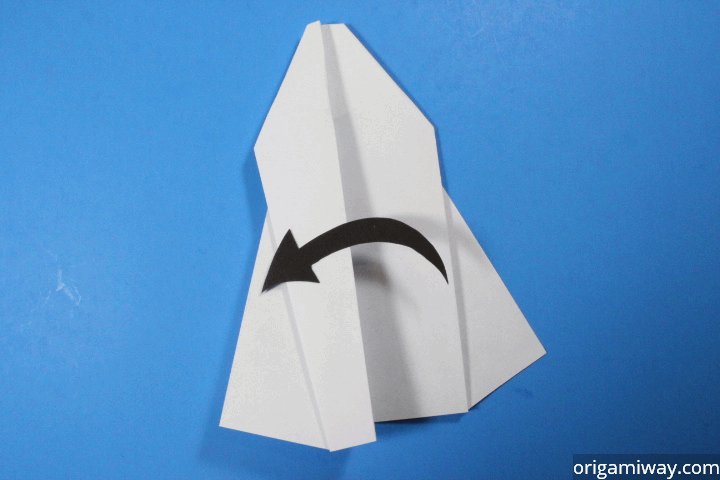
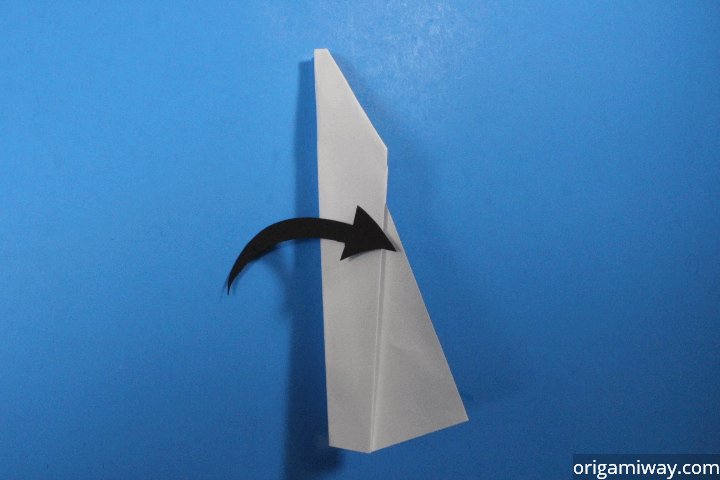
Step 18: Fold the left half of the plane to the right. |
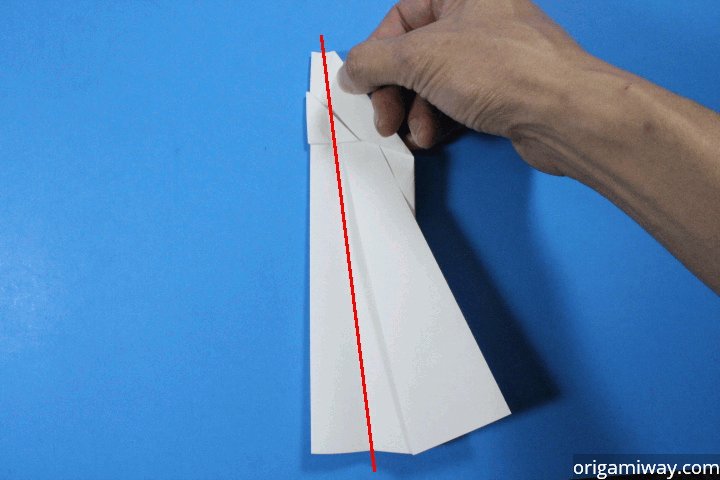 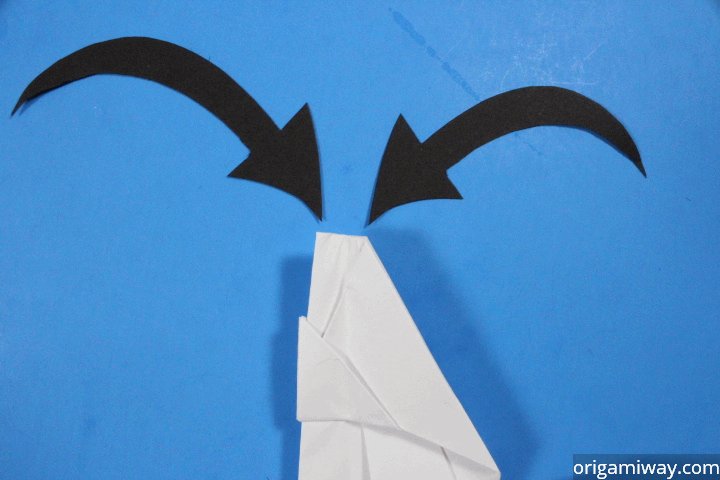  |
Step 19: Fold the wing along the red line from right to left, and make sure the two corners indicated by the black arrows meet. |
 |
Step 20: Turn the paper over. |
  |
Step 21: Fold the second wing to line up with the first wing. |
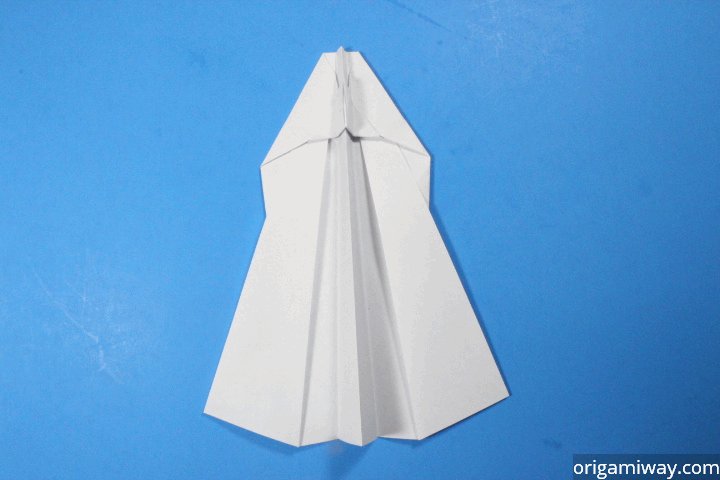 |
Step 22: Unfold the wings. All done. Continue to learn how to fly this. |
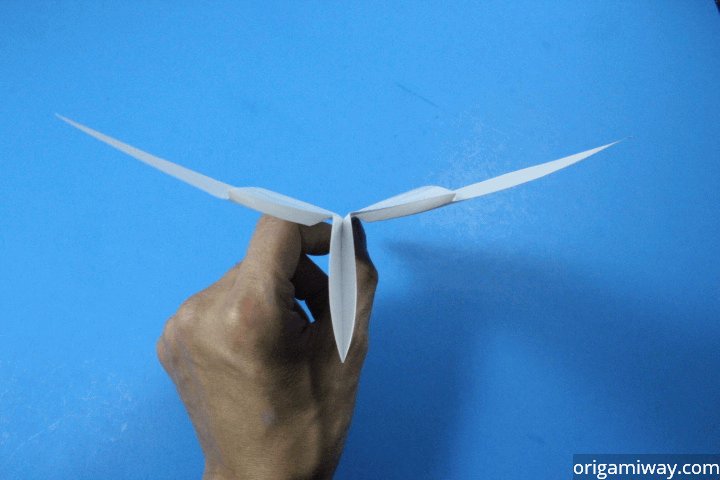 |
Step 23: When unfolding the wings, make sure the they tilt up a bit. |
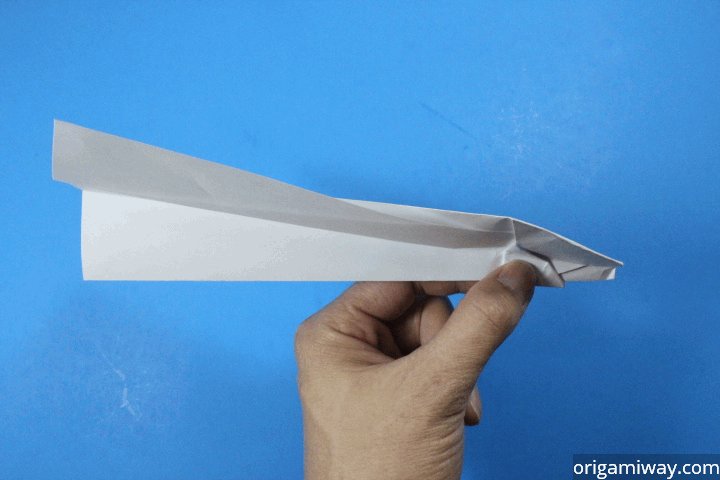 |
Step 24: Hold the plane at the lock to get a good throw. Throw it at a slight upward angle. |
